

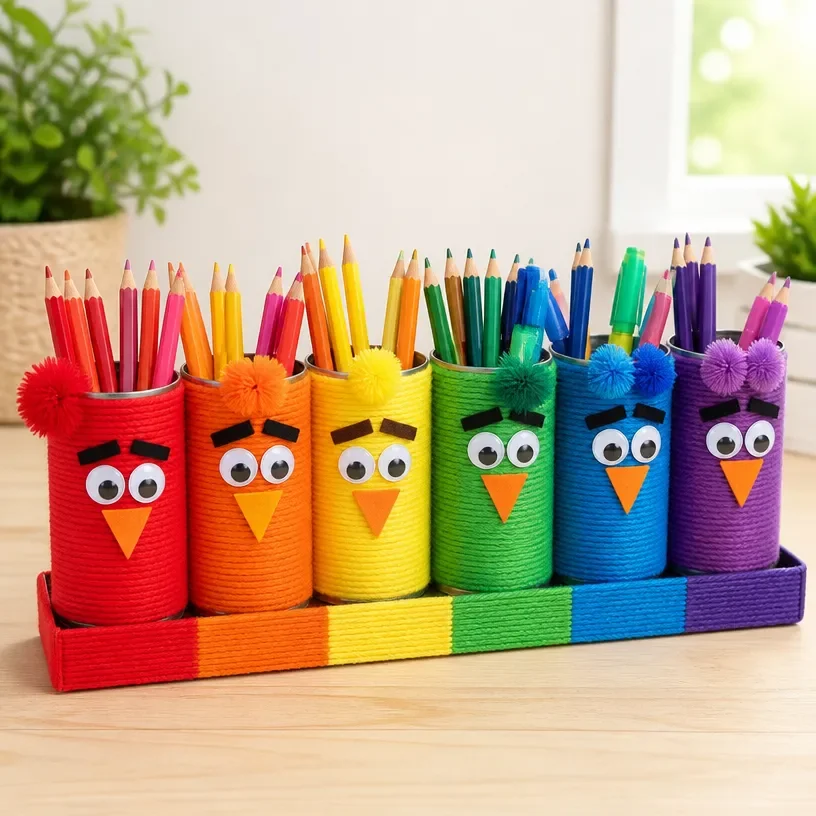
Rainbow Monster Pencil Tin Desk Organizer for Classroom Storage
Creating a Rainbow Monster Pencil Tin Desk Organizer is not only a fun craft but also a practical solution for keeping school supplies organized. This colorful project brightens up any workspace and teaches children about recycling and creativity. Using everyday materials, you can create a unique organizer that will make any desk cheerful and organized. You may also find Colorful Monster Pencil Tin Organizer Classroom useful.
In this tutorial, you’ll learn how to transform an ordinary pencil tin into a whimsical monster that will help your kids keep their supplies easily accessible. This project is perfect for classrooms or home study areas and is enjoyable for both children and adults. Let’s get started! You may also find Pencil Holder For Kids Rainbow Panda Desk Organizer useful.
Why You’ll Enjoy This Project
- Creative Customization: You can use various colors and designs to make each pencil tin unique.
- Functional Art: Not only does this craft serve as a decorative item, but it also provides practical storage for school supplies.
- Easy to Make: The project requires simple materials and easy steps, making it accessible for crafters of all ages.
- Teaches Eco-Friendliness: This project encourages the use of recyclable materials, promoting sustainability while crafting. You may also find inspiration from other designs like the Colorful Panda Pencil Cup.
You may also find Rainbow Ruler Pencil Jar Desk Organizer For Teachers useful.
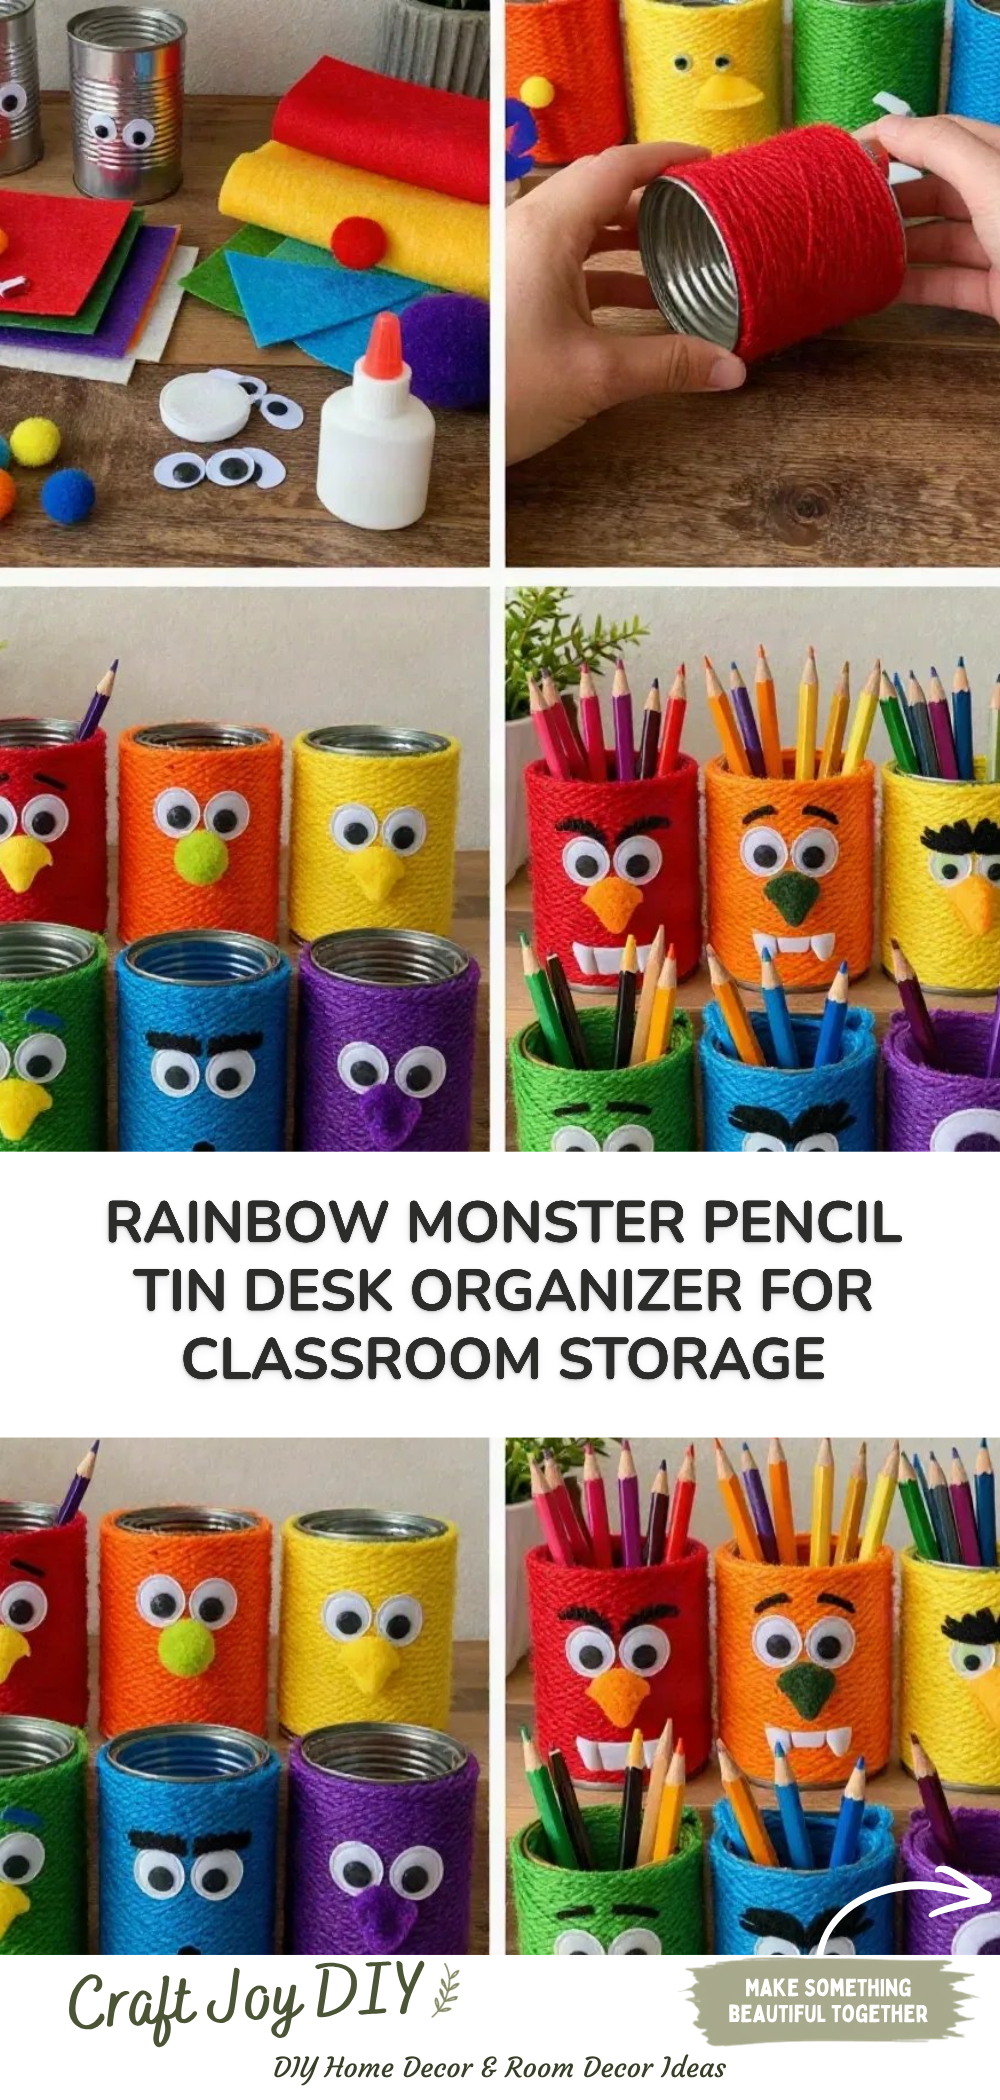
Materials You’ll Need
- Empty tin can
- Acrylic paint in various colors (for the body and face)
- Brushes (small and medium sizes)
- Googly eyes
- Craft felt (for features like ears, teeth, etc.)
- Craft glue or hot glue gun
- Scissors
- Optional: Washi tape or stickers for decoration
Using acrylic paints is recommended because they dry quickly and give vibrant color. You can substitute the tin can with any similar container that can hold pencils and supplies.
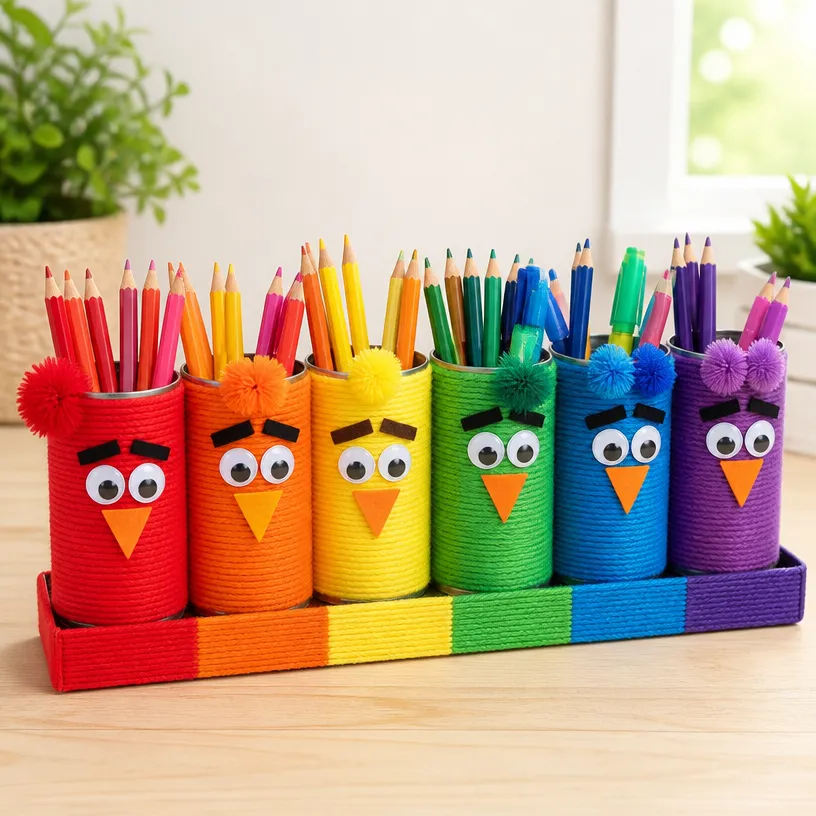
How to Make Rainbow Monster Pencil Tin Desk Organizer for Classroom Storage
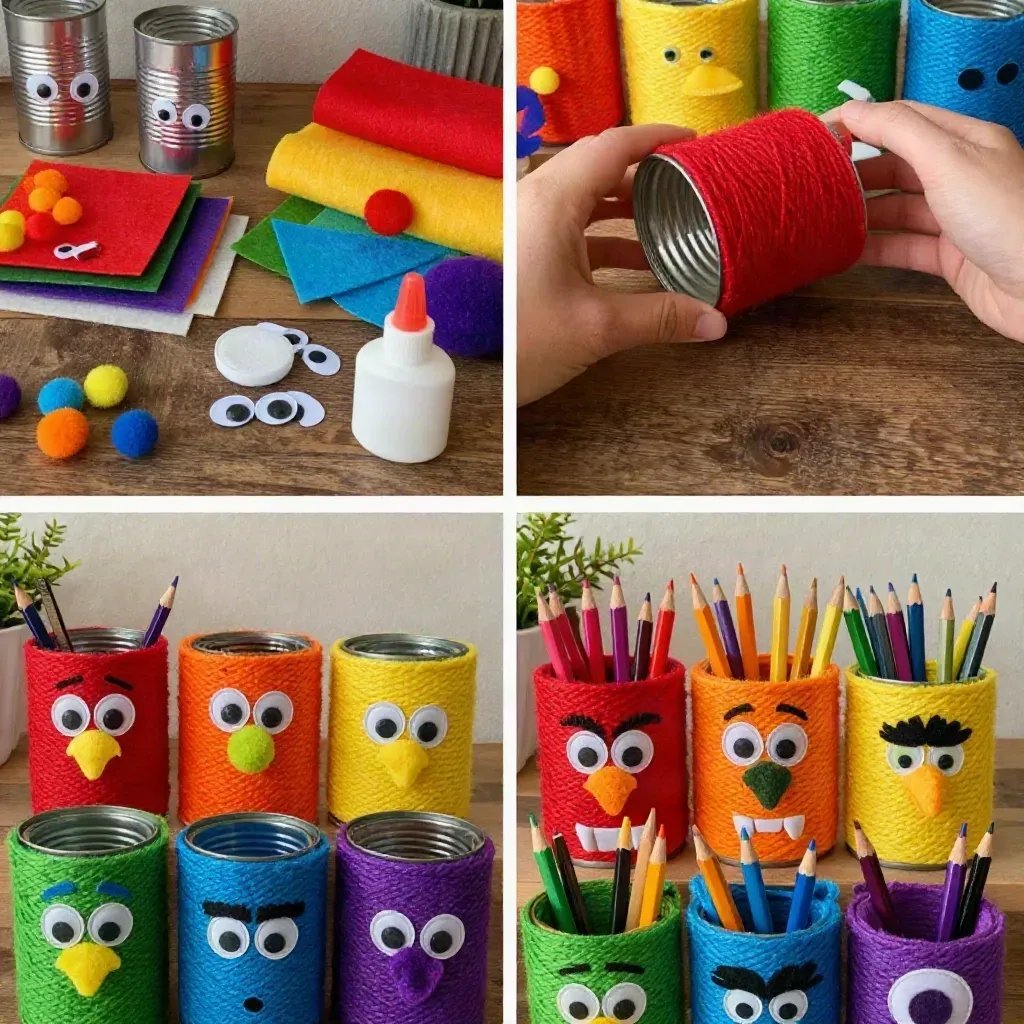
Prepare the Tin Can: Clean the tin can thoroughly and make sure there are no sharp edges. You can remove the label if there is one.
Paint the Base Color: Using a medium-sized brush, paint the outside of the tin can with a bright base color of your choice. Allow it to dry completely before moving on to the next step.
Add Facial Features: Once the base color is dry, use a smaller brush to paint on eyes, a mouth, and any other features you’d like. You can also glue on googly eyes for a fun effect.
Create Ears and Teeth: Cut out shapes from the craft felt for ears and teeth. Glue these onto the can to give your monster character.
Decorate: Finally, you can use washi tape or stickers to add extra details and personalize it more. For ideas on additional designs, check out our project on Desk Organizer Kids Rainbow Monster Pencil Cup.
Helpful Tips
- Use a variety of colors: Ensure your monster stands out by mixing and matching pint colors.
- Supervision for kids: When using scissors and a glue gun, adult supervision is recommended.
- Drying: Make sure each layer of paint is thoroughly dry before applying the next to prevent smudging.
- Texture is Fun: Experiment with different textures using other materials like pipe cleaners or pom-poms for added fun.
Easy Variations
- Seasonal Themes: Create monsters with themes based on holidays, like a spooky one for Halloween or a snowy one for winter.
- Different Sizes: Use larger or smaller tin containers to create different sizes of organizers.
- Use Mixed Media: Incorporate beads, sequins, or glitter for a magical touch.
- Color Scheme Variations: Make all pink monsters or stick with a pastel theme for a softer look.
- Monster Sets: Make a collection of different monsters for a more eclectic decor look.
Making This Craft With Kids
This project is perfect for children, as it encourages them to use their imagination. However, adults may need to help with cutting and using the glue gun. Kids can enjoy painting and decorating their tins in whatever whimsical way they prefer.
How to Display or Use It
The finished Rainbow Monster Pencil Tin can be placed on a desk, utilized as a decorative item in the classroom, or even gifted to friends. It’s a great way to keep crayons, markers, and other art supplies organized and in one place.
Frequently Asked Questions
1. Can I use any kind of can for this project?
Yes! Any clean tin can or container that can hold pencils and supplies will work.
2. What other features can I add to my monster?
You can add hair using yarn or pipe cleaners for a unique look.
3. How can I make it more durable?
To protect the paint, consider applying a clear sealant once everything is dry.
4. Is there a way to create a themed set?
Yes! You can create different monsters based on your favorite movie characters or themes like animals or fantasy creatures.
Conclusion
Creating a Rainbow Monster Pencil Tin Desk Organizer is a delightful way to add a splash of color and organization to any workspace. For additional fun storage solutions, visit Kids Crayon Box Storage – Etsy and consider exploring fun pencil pouches like those available at Pencil Pouches – Monster, Unicorn & Fun Designs | ZIPIT®. Enjoy crafting!
Print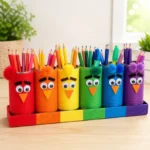
Rainbow Monster Pencil Tin Desk Organizer
- Total Time: 15 minutes
- Makes: 1 organizer
Description
A fun and colorful craft project to transform an ordinary tin can into a whimsical monster pencil organizer, perfect for classrooms and home study areas.
Materials
- Empty tin can
- Acrylic paint in various colors
- Brushes (small and medium sizes)
- Googly eyes
- Craft felt (for features like ears, teeth, etc.)
- Craft glue or hot glue gun
- Scissors
- Optional: Washi tape or stickers for decoration
Instructions
- Prepare the tin can by cleaning it thoroughly and removing the label.
- Paint the outside of the tin can with a bright base color of your choice and allow it to dry.
- Add facial features with a smaller brush or glue on googly eyes for effect.
- Create ears and teeth by cutting shapes from craft felt and gluing them onto the can.
- Decorate with washi tape or stickers to personalize your monster.
Notes
Use adult supervision for children during the cutting and gluing process. Experiment with textures using pipe cleaners or pom-poms for added fun.