

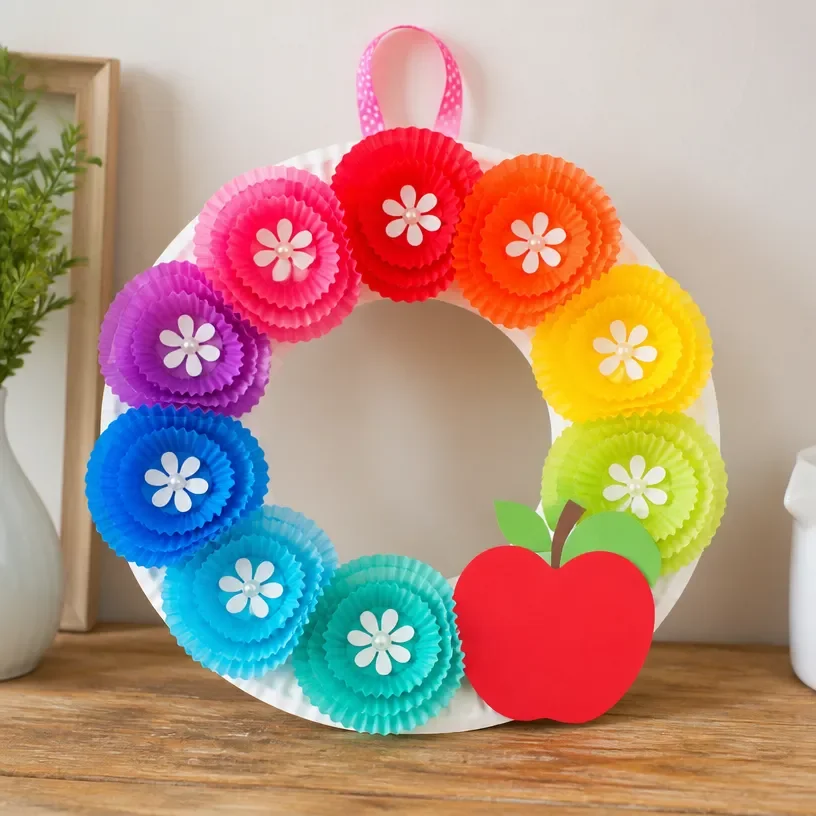
Rainbow Apple Cupcake Liner Flower Wreath for Kids – DIY Craft Decor
Creating a colorful Rainbow Apple Cupcake Liner Flower Wreath is not just a fun project; it also provides a wonderful way for kids to express their creativity. This DIY craft decor is perfect for brightening up your home, giving children a chance to work with their hands while improving fine motor skills. In this tutorial, we’ll guide you through the steps to create this vibrant wreath using simple materials easily found at home. You may also find Diy Rainbow School Bus Craft For Kids useful.
Crafting this wreath is an enjoyable activity for families, as it can bring everyone together for a good time. If you love projects that can be easily adapted for different occasions, you might also enjoy making a colorful cupcake liner sunflower wreath or various other adorable crafts.
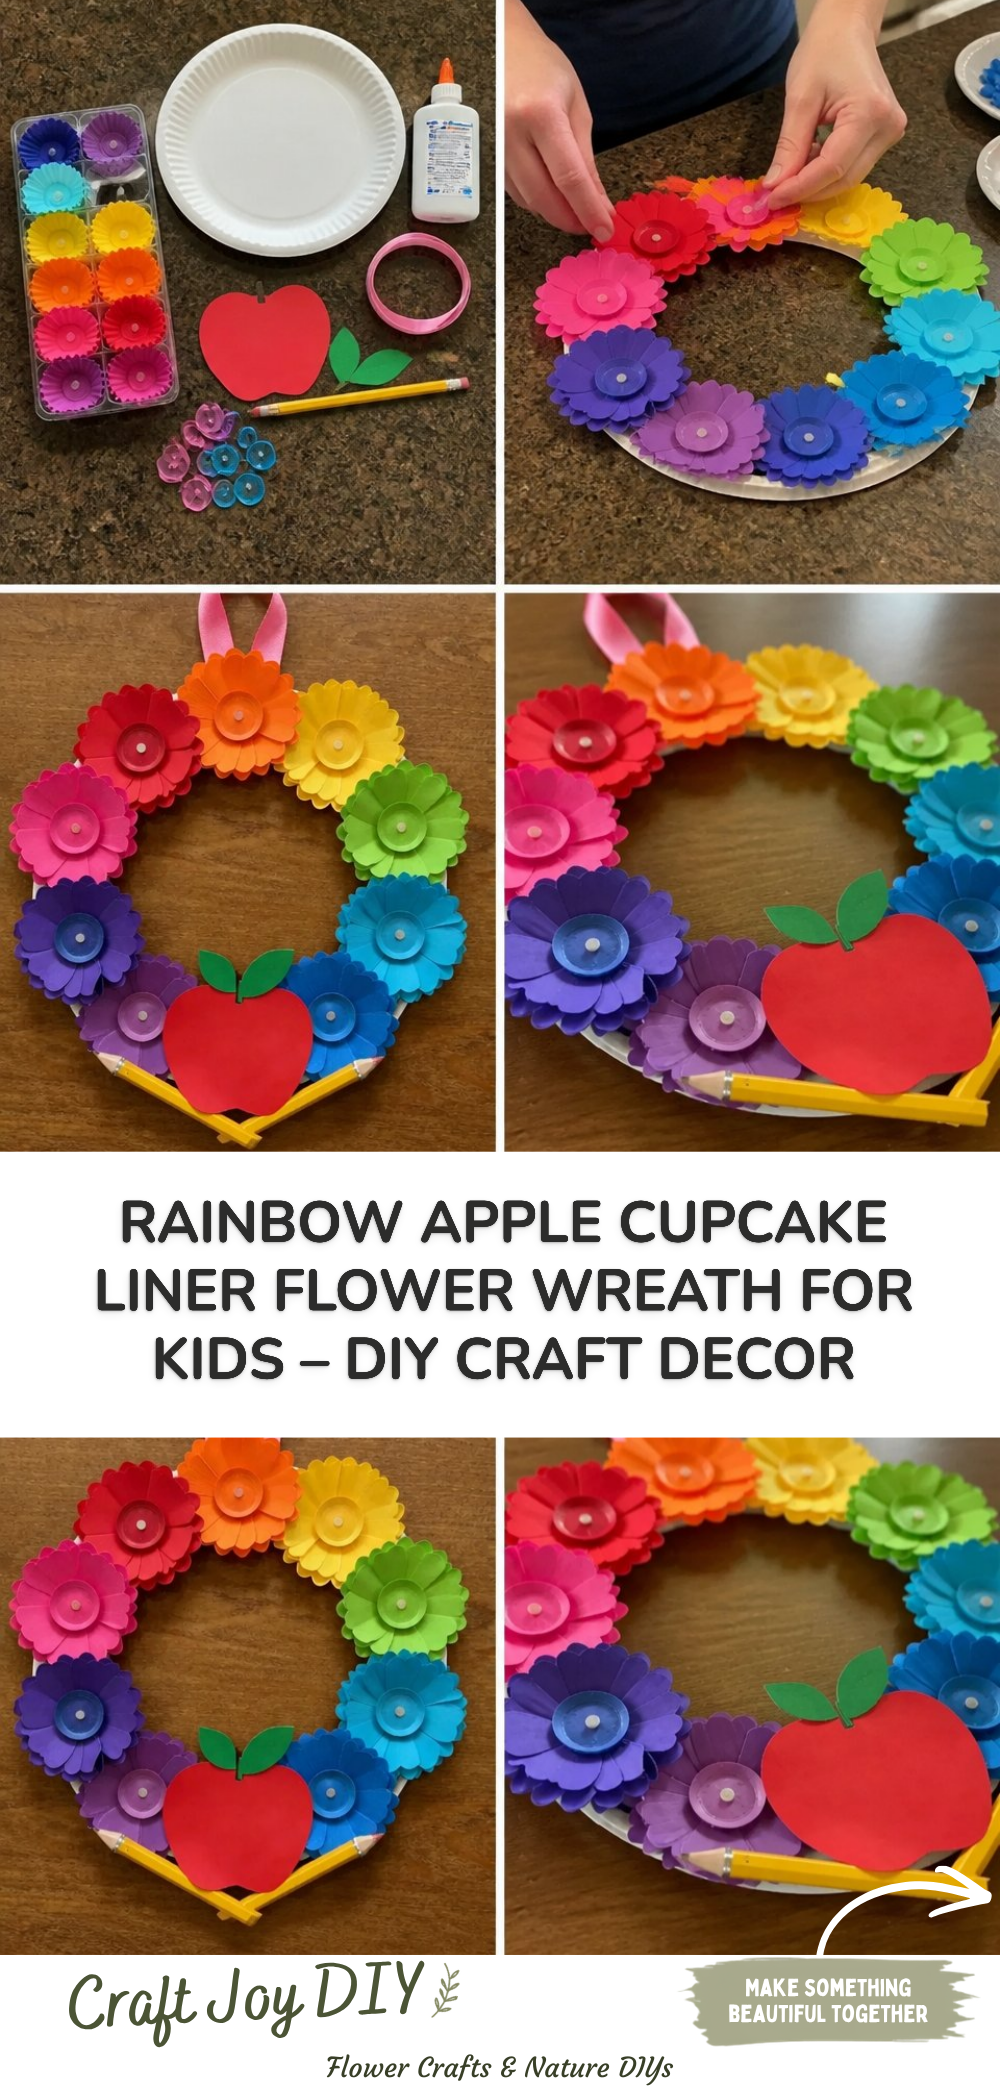
You may also find Diy Rainbow School Bus Photo Frame Craft For Kids useful.
Why You’ll Enjoy This Project
- Simple Techniques: This craft uses easy techniques that anyone can master quickly, making it great for kids.
- Budget-Friendly: Using cupcake liners and common supplies keeps costs low while still allowing for a creative outlet.
- Creative Expression: Kids can choose their favorite colors for the flowers, promoting individuality and creativity.
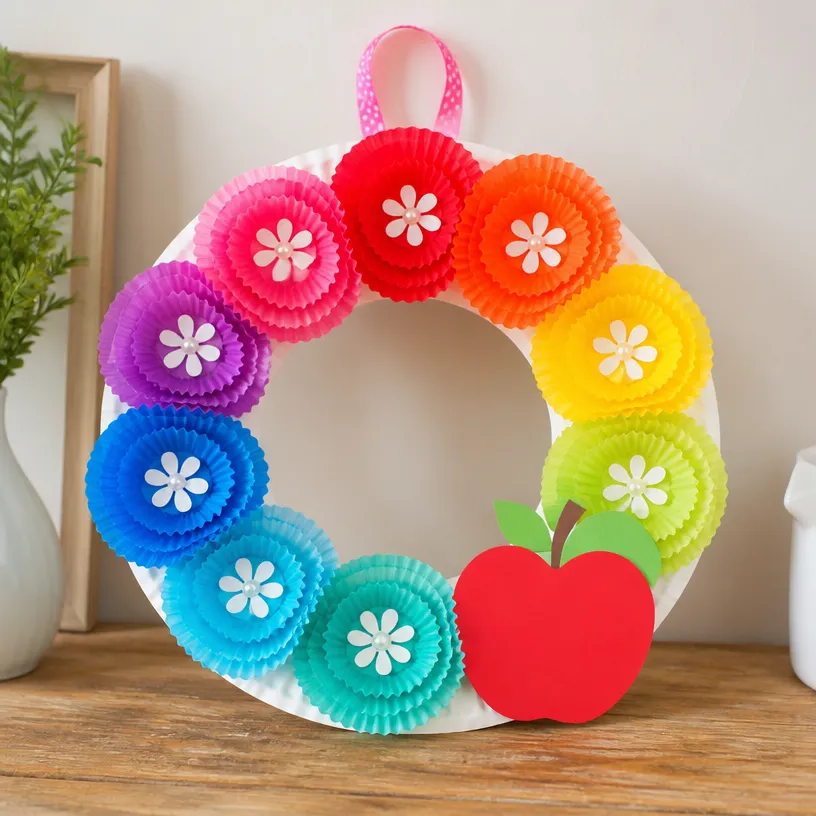
Materials You’ll Need
- Cupcake liners in various colors (red, yellow, blue, green, etc.)
- Cardboard for the base
- Glue (craft or hot glue)
- Scissors
- Green paper for leaves (optional)
- Ribbon for hanging (optional)
Feel free to substitute any colors you may have at home! Using recycled materials can also make this project more environmentally friendly. You may also find Rainbow Monster Pencil Holders Diy Craft For Kids useful.
How to Make Rainbow Apple Cupcake Liner Flower Wreath for Kids – DIY Craft Decor
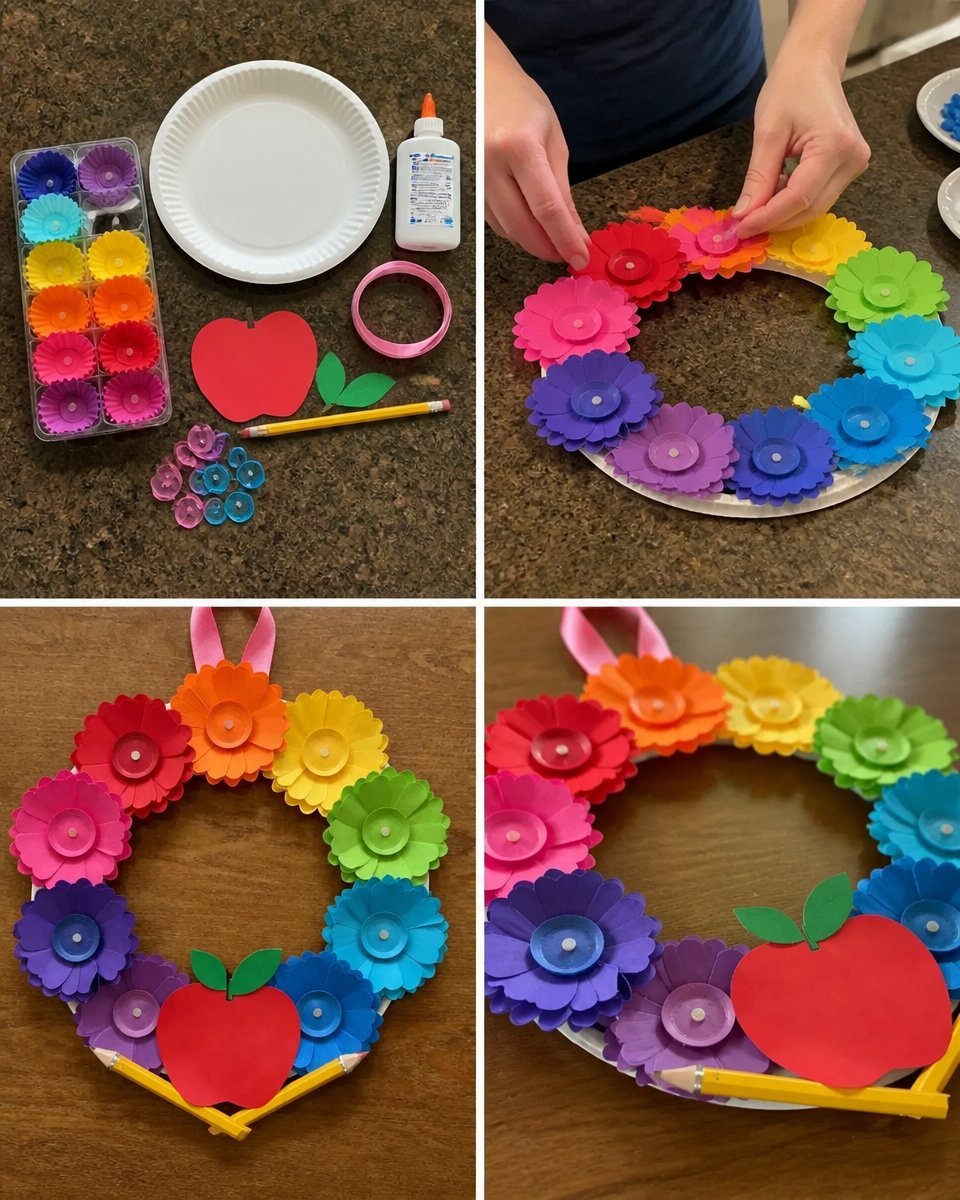
- Prepare the Base: Cut a large circle out of the cardboard to serve as the wreath’s base.
- Make the Flowers: Take a cupcake liner and pinch it in the center to form petals. Repeat with several liners to create more flowers in various colors.
- Glue the Flowers: Starting from the outside edge of the cardboard base, glue each flower in a circular pattern until the base is covered.
- Add Leaves: If using green paper, cut out leaf shapes and glue them between the flowers for a natural look.
- Finishing Touches: Once the flowers and leaves are in place, allow the glue to dry completely. If you wish, attach a ribbon at the top for hanging.
For more ideas on how to reuse cupcake liners, consider creating cupcake liner sunflowers as an additional decoration.
Helpful Tips
- Choosing Liners: Look for different patterned cupcake liners to add unique textures to your wreath.
- Supervision: Younger children may need assistance with cutting and using hot glue; be ready to help them.
- Display Idea: This wreath looks lovely on the front door or as wall decor in a child’s room.
Easy Variations
- Seasonal Changes: Customize the wreath with colors for different seasons or holidays, like orange and black for Halloween.
- Size Options: Create smaller wreaths for adorning tables or larger ones to hang as statement pieces.
- Material Swaps: Experiment with fabric flowers or other recycled materials for different effects.
Making This Craft With Kids
This project is well-suited for children, although older kids can handle most of the steps independently. Adults might want to oversee cutting and gluing to ensure safety and precision.
How to Display or Use It
The finished wreath can be hung on a door or wall for a welcoming touch. It can also be gifted to friends or family, spreading joy and creativity.
Frequently Asked Questions
Can I use any type of glue?
Yes, craft glue works well, but hot glue provides a quick hold for impatient crafters.
What if I don’t have cardboard?
You can substitute with a sturdy paper plate or any thick paper to make the base.
How can I clean up glue spills?
If glue spills occur, damp cloths work well for cleaning before the glue dries.
Is this project suitable for large groups?
Yes! This activity is perfect for classes or groups, allowing each child to make their own unique wreath.
Conclusion
Crafting the Rainbow Apple Cupcake Liner Flower Wreath for Kids not only promotes creativity but also provides a fun and interactive experience. For more ideas like this, check out the DIY Rainbow Rag Wreath project, or explore a variety of other DIY tutorials on Kerri Creates. Happy crafting!
Print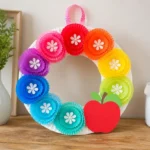
Rainbow Apple Cupcake Liner Flower Wreath for Kids
- Total Time: 30 minutes
- Makes: 1 wreath
Description
A fun and colorful DIY craft project that allows kids to express their creativity by making a beautiful flower wreath using cupcake liners.
Materials
- Cupcake liners in various colors (red, yellow, blue, green, etc.)
- Cardboard for the base
- Glue (craft or hot glue)
- Scissors
- Green paper for leaves (optional)
- Ribbon for hanging (optional)
Instructions
- Prepare the base: Cut a large circle out of the cardboard to serve as the wreath’s base.
- Make the flowers: Take a cupcake liner and pinch it in the center to form petals. Repeat with several liners to create more flowers in various colors.
- Glue the flowers: Starting from the outside edge of the cardboard base, glue each flower in a circular pattern until the base is covered.
- Add leaves: If using green paper, cut out leaf shapes and glue them between the flowers for a natural look.
- Finishing touches: Once the flowers and leaves are in place, allow the glue to dry completely. If you wish, attach a ribbon at the top for hanging.
Notes
Encourage children to be creative with color choices and flower shapes. Supervise younger kids with scissors and glue.