

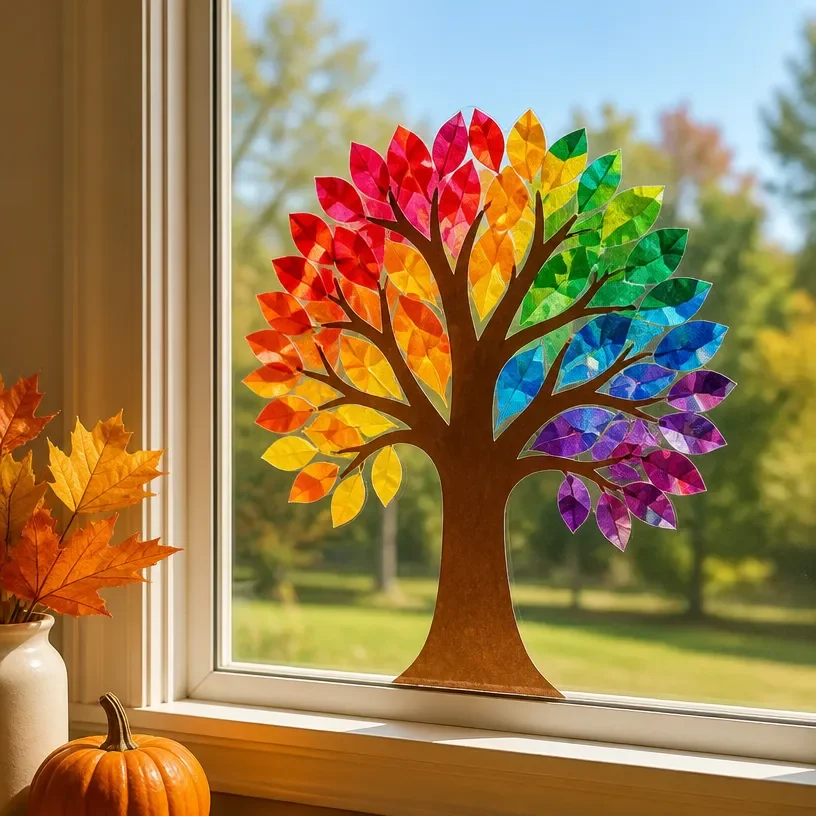
Autumn Window Art: Melted Crayon Rainbow Tree for Decor
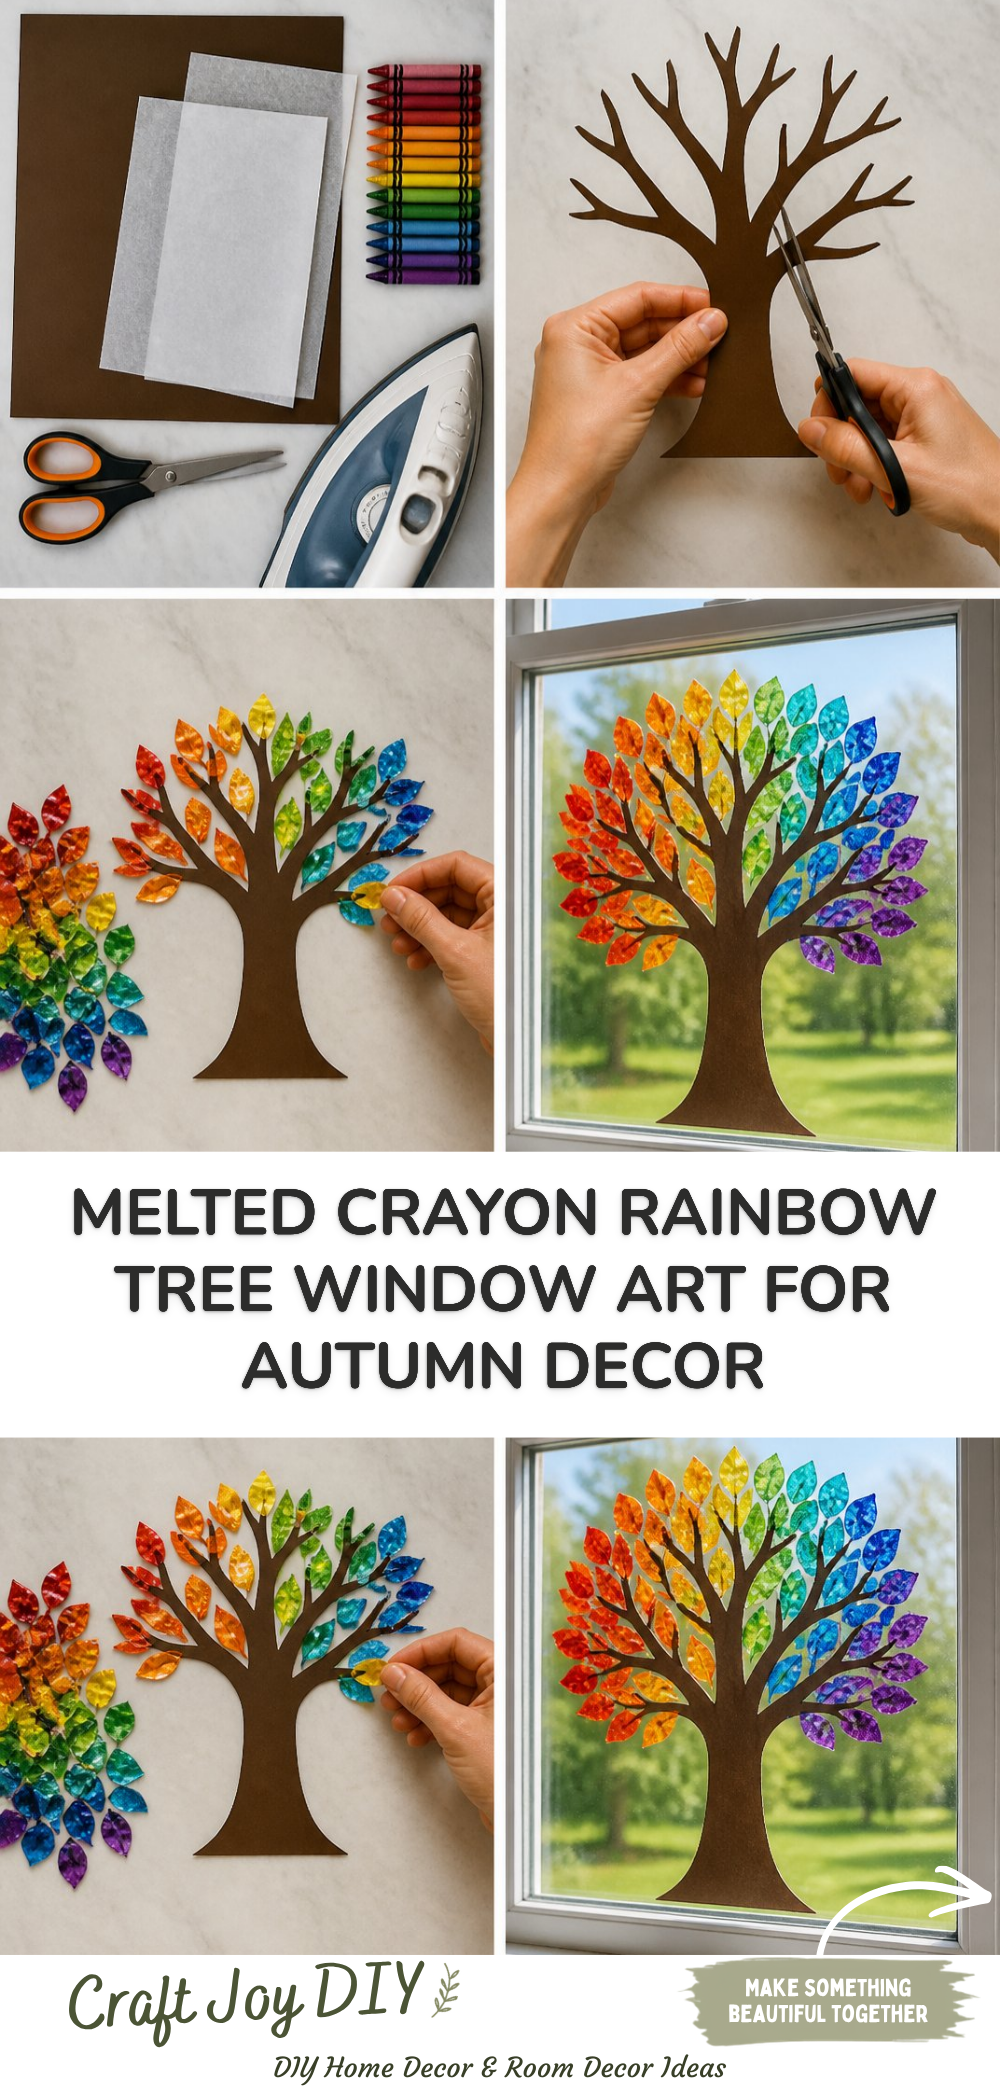
Creating a vibrant melted crayon rainbow tree for your windows is a delightful way to celebrate autumn. This project allows families to engage in a fun craft that not only brightens your home but also encourages creativity in children. Using simple materials, you’ll transform crayons into beautiful, colorful art that reflects the beautiful changing seasons. You may also find Melted Crayon Rainbow Butterfly Suncatcher For Kids useful.
Whether it’s for a classroom decoration or a family fun day, this autumn window art provides a wonderful opportunity to express yourself while enjoying quality time with loved ones. You’ll find this craft easy to follow, and it can spark endless creativity in kids. For more colorful ideas, consider trying the rainbow crayon suncatcher craft.
Why You’ll Enjoy This Project
Easy for All Ages: This project is designed to be simple enough for children but enjoyable for adults as well. You may also find Melted Crayon Rainbow Heart Suncatcher For Kids useful.
Budget-Friendly: You can create beautiful art using inexpensive materials you may already have at home. You may also find Rainbow Melted Crayon Ghost Suncatcher For Kids useful.
Creative Expression: Kids can explore their artistic side by choosing colors and patterns. You may also find Rainbow Melted Crayon Pumpkin Suncatcher For Kids useful.
Beautiful Display: The finished product looks stunning in any window, letting sunlight illuminate your colorful creation.
Learning Experience: While crafting, children can learn about color mixing and the properties of wax.
Materials You’ll Need
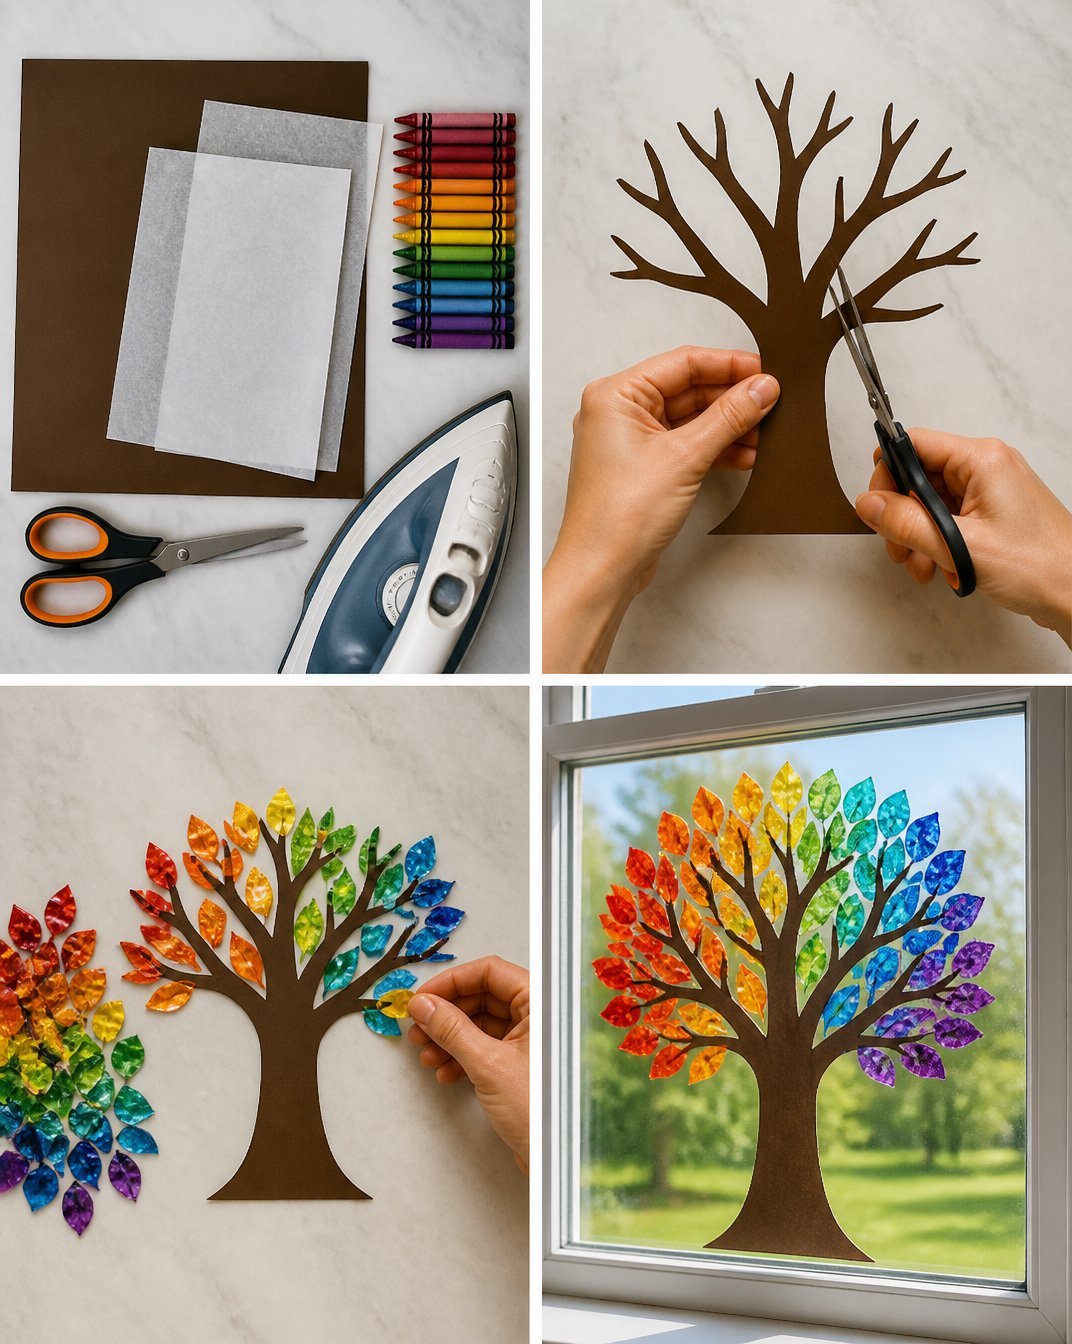
- Crayons (variety of autumn colors like orange, red, yellow, and brown)
- Wax paper
- Iron
- Scissors
- Cookie sheet
- Parchment paper
Using recycled crayons can be a great idea here, especially broken pieces. Just remember to peel off the paper.
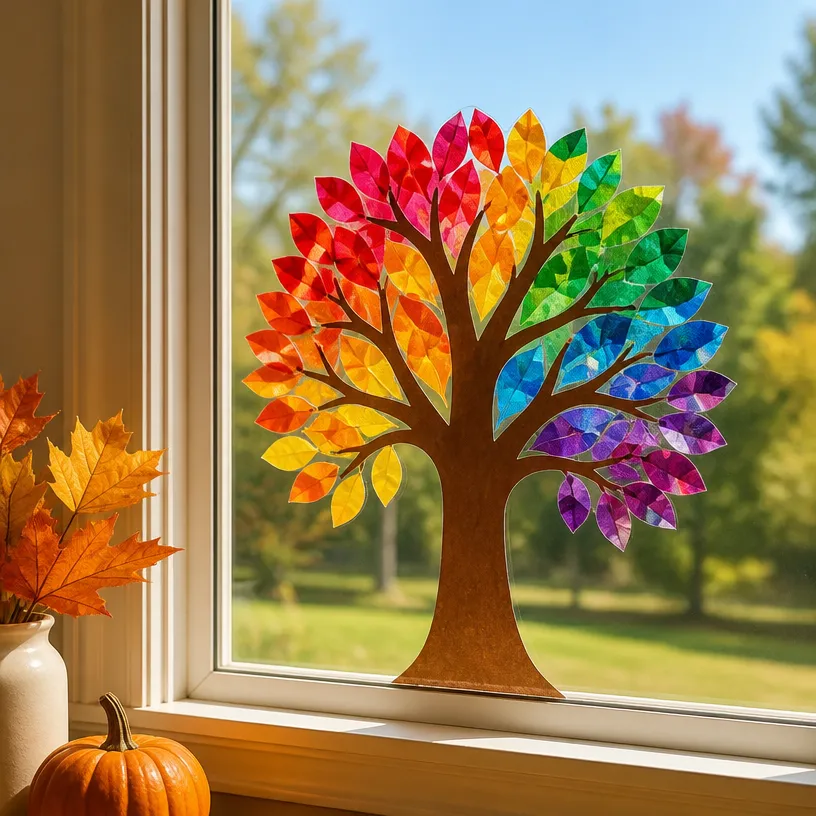
How to Make Autumn Window Art: Melted Crayon Rainbow Tree for Decor
Preheat the Oven: Start by preheating your oven to 200°F (93°C). This low temperature is perfect for melting the crayons without burning them.
Prepare the Crayons: Break the crayons into small pieces. You can sort them by color to create a beautiful gradient.
Create Your Design: On a piece of wax paper, arrange the crayon pieces in the shape of a tree. Aim to create a trunk and a canopy of vibrant colors.
Cover with Parchment: Sandwich your crayon design between two sheets of parchment paper. Ensure it’s completely covered to prevent any mess.
Melt the Crayons: Place the parchment-covered design on a cookie sheet and put it in the preheated oven. Keep an eye on it, as it should take about 10-15 minutes for the crayons to melt.
Cool and Cut: Once melted, remove the cookie sheet from the oven and let it cool completely. Once sturdy, cut out the tree shape carefully, making sure it retains its form.
Display Your Art: Use tape to attach your melted crayon art to the window, allowing sunlight to showcase your stunning autumn colors.
Helpful Tips
- Less Mess: Working in a well-ventilated area is great for reducing the smell of melting wax.
- Supervision Required: Adults should handle any hot items or any steps that could pose a risk to children, such as using an iron.
- Creative Patterns: Encourage kids to experiment with different designs and shapes, not just trees.
- Durability: For added durability, you can laminate the finished art piece.
Easy Variations
Seasonal Colors: Swap traditional autumn colors for winter or spring colors to make seasonal art.
Different Shapes: Instead of a tree, create shapes like pumpkins or hearts, which are great for Halloween or Valentine’s Day.
Layering: Create deeper colors by layering the melted crayon pieces.
Framed Art: Once done, frame your art for a more polished look.
Add Glitter: For extra flair, sprinkle some glitter on before the wax cools.
Making This Craft With Kids
This project is a fantastic opportunity to craft with kids. However, adults should supervise the melting process and assist with cutting the shapes. Children can choose the colors and arrange the wax, which promotes decision-making and fine motor skills.
How to Display or Use It
These melted crayon trees can be prominently featured in your home windows or even on classroom walls. Consider rotating different designs each season to keep your space fresh and inviting.
Frequently Asked Questions
Can I use different types of crayons?
Yes, but standard wax crayons yield the best results.
What if the crayons don’t melt completely?
If you notice that they haven’t melted fully, you can put them back in the oven for a few more minutes.
How do I clean my workspace after the project?
A little soap and warm water should clean up any wax residue from your surfaces.
Can this art be removed easily from the window?
Yes, it should peel off the window without any difficulty. Just be gentle during removal.
Is this project safe for younger children?
While the coloring part is safe and fun, younger children will need supervision during the melting process.
How long does the melted crayon art last?
With proper care, the melted art can last several months, provided it’s not exposed to extreme heat.
Conclusion
Making handmade crafts not only sparks creativity but also brings families together. If you’re inspired by coloring projects, you might want to check out the Melted Crayon Cross for another unique craft idea. For those looking for a cosmic twist, try the Melted Crayon Planets project. Enjoy your crafting!
Print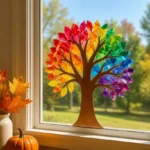
Autumn Window Art: Melted Crayon Rainbow Tree for Decor
- Total Time: 25 minutes
- Makes: 1 window art piece
Description
Create a vibrant melted crayon rainbow tree for your windows, celebrating autumn with colorful art.
Materials
- Crayons (variety of autumn colors like orange, red, yellow, and brown)
- Wax paper
- Iron
- Scissors
- Cookie sheet
- Parchment paper
Instructions
- Preheat the oven to 200°F (93°C).
- Prepare the crayons by breaking them into small pieces.
- Create your design on wax paper by arranging crayon pieces in the shape of a tree.
- Cover the design with parchment paper.
- Melt the crayons in the oven for about 10-15 minutes.
- Cool and cut out the tree shape once it’s sturdy.
- Display your art on the window with tape.
Notes
Adult supervision is required during the melting process. Work in a well-ventilated area.