

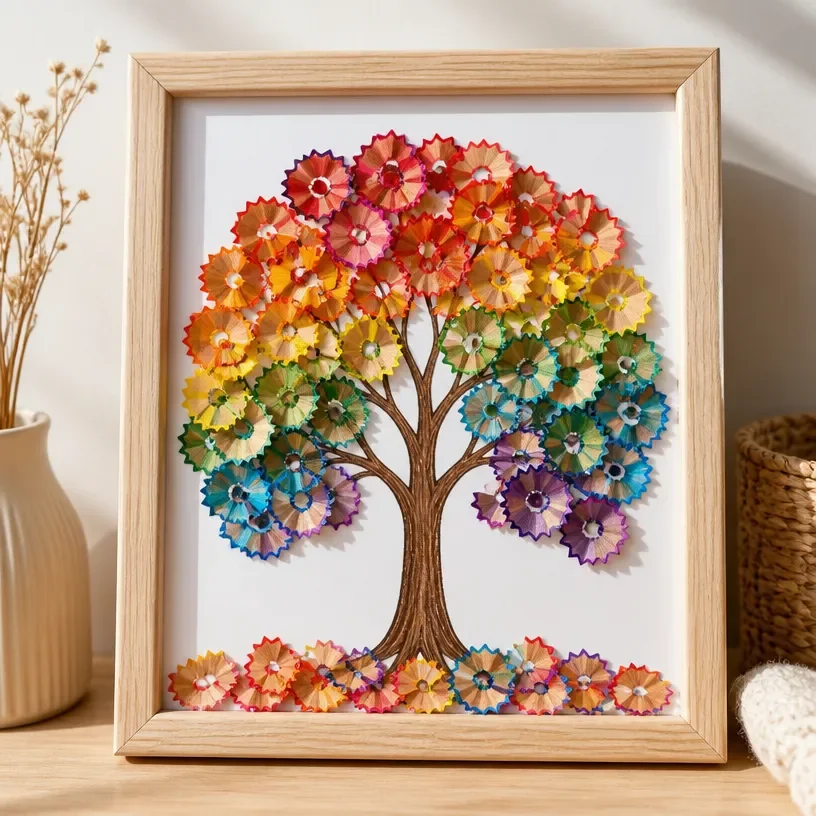
Autumn Tree Art with Rainbow Pencil Shavings
Creating beautiful autumn-themed art can be a delightful experience for families. This project, which focuses on Autumn Tree Art with Rainbow Pencil Shavings, is not only fun but also allows for creativity and exploration with colors. Using simple materials, you can make colorful and unique tree art that captures the essence of autumn. You may also find Bubble Paint Canvas Art Autumn Rainbow Tree Craft useful.
The process is highly engaging for both kids and adults, as it combines easy-to-follow steps with artistic expression. You’ll appreciate how manageable and enjoyable this craft can be, making it a perfect weekend project. You may also find Rainbow Pencil Shaving Fall Tree Art For Kids useful.
You may also find Autumn Rainbow Pinecone Fairies useful.
Why You’ll Enjoy This Project
- Colorful Fun: Using rainbow pencil shavings adds vibrancy and excitement to the artwork.
- Eco-Friendly: This project utilizes waste materials, teaching kids about reusing and recycling.
- Creativity: Each tree can turn out completely unique, offering endless possibilities for personal expression.
- Easy Steps: The straightforward instructions make it accessible for beginners and children alike.
Materials You’ll Need
- Pencil shavings (from various colored pencils)
- Construction paper or canvas
- Glue
- Scissors
- Brown crayon or marker (for the trunk and branches)
- Optional: Small embellishments like glitter or stickers
Using a variety of colored pencil shavings will give your autumn tree a beautiful and rich texture. You may also find Colorful Button Mosaic Art Apple Inspired Rainbow Design useful.
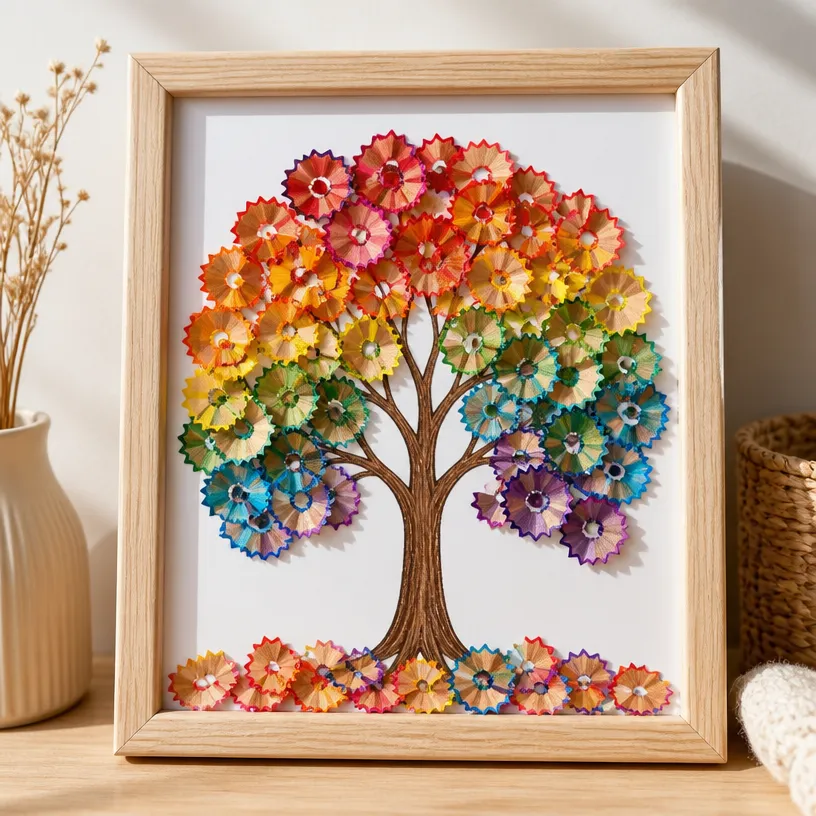
How to Make Autumn Tree Art with Rainbow Pencil Shavings
- Prepare Your Materials: Gather all your materials on a clean work surface.
- Make Pencil Shavings: Sharpen colored pencils to create shavings. You can use multiple colors to get a beautiful effect.
- Draw a Tree: On your construction paper or canvas, draw a tree with a brown crayon or marker. Include branches extending out from the trunk.
- Spread Glue: Apply a layer of glue on the areas where you want to place the pencil shavings.
- Add Shavings: Carefully sprinkle the pencil shavings over the glued areas. Press down gently to make sure they stick.
- Let Dry: Allow your artwork to dry completely before handling it to avoid mess.
Once completed, your autumn tree will brilliantly display all the colors of fall! If you’re interested in alternative crafts, you might want to explore pencil shaving autumn tree art for kids.
Helpful Tips
- Pick the Right Paper: Use thick construction paper to avoid it bending from the glue.
- Clean Up: Have a small container handy to collect excess pencil shavings for easy cleanup.
- Supervising Kids: If making this with children, supervise them while they use scissors and glue to ensure safety.
Easy Variations
- Different Seasons: Change the color palette to represent different seasons such as winter or spring.
- Size of Art: Use smaller or larger canvases depending on where you plan to display the art.
- Add Texture: Incorporate buttons or leaves to bring additional texture to your project.
- Use Other Materials: Experiment with different shavings, like from crayons or pastels.
Making This Craft With Kids
This project is excellent for kids, but adults should supervise the use of scissors and glue to ensure safety. Encourage children to express their creativity by choosing colors and arranging shavings as they like.
How to Display or Use It
Your finished autumn tree art can be proudly displayed on the wall, used as a seasonal decoration, or even given as a personalized gift. It’s a wonderful way to bring a touch of autumn into your home.
Frequently Asked Questions
Can I use other types of glue?
Yes, you can use craft glue or hot glue for more durability if preferred.
What if I don’t have colored pencils?
You can use crayons or markers as an alternative to create layers of color.
How can I prevent the shavings from falling off?
Ensure to use enough glue and allow sufficient drying time to help secure them.
Can older kids do this project alone?
Yes, older kids can follow the steps independently, but have younger siblings monitored during the process.
Conclusion
Crafting Autumn Tree Art with Rainbow Pencil Shavings is an enjoyable way to embrace the colors and themes of the fall season. Explore more ideas on autumn-related crafts by checking out this informative resource on autumn. You can also find additional inspiration on projects similar to this one with Pencil Shaving Autumn Tree Art for Kids – Craft Joy DIY.
Print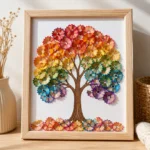
Autumn Tree Art with Rainbow Pencil Shavings
- Total Time: 25 minutes
- Makes: 1 art piece
Description
Create beautiful autumn-themed art using rainbow pencil shavings for a vibrant and eco-friendly project.
Materials
- Pencil shavings (from various colored pencils)
- Construction paper or canvas
- Glue
- Scissors
- Brown crayon or marker (for the trunk and branches)
- Optional: Small embellishments like glitter or stickers
Instructions
- Prepare Your Materials: Gather all your materials on a clean work surface.
- Make Pencil Shavings: Sharpen colored pencils to create shavings. You can use multiple colors to get a beautiful effect.
- Draw a Tree: On your construction paper or canvas, draw a tree with a brown crayon or marker. Include branches extending out from the trunk.
- Spread Glue: Apply a layer of glue on the areas where you want to place the pencil shavings.
- Add Shavings: Carefully sprinkle the pencil shavings over the glued areas. Press down gently to make sure they stick.
- Let Dry: Allow your artwork to dry completely before handling it to avoid mess.
Notes
Use thick construction paper to avoid bending from the glue. Supervise children while using scissors and glue.