

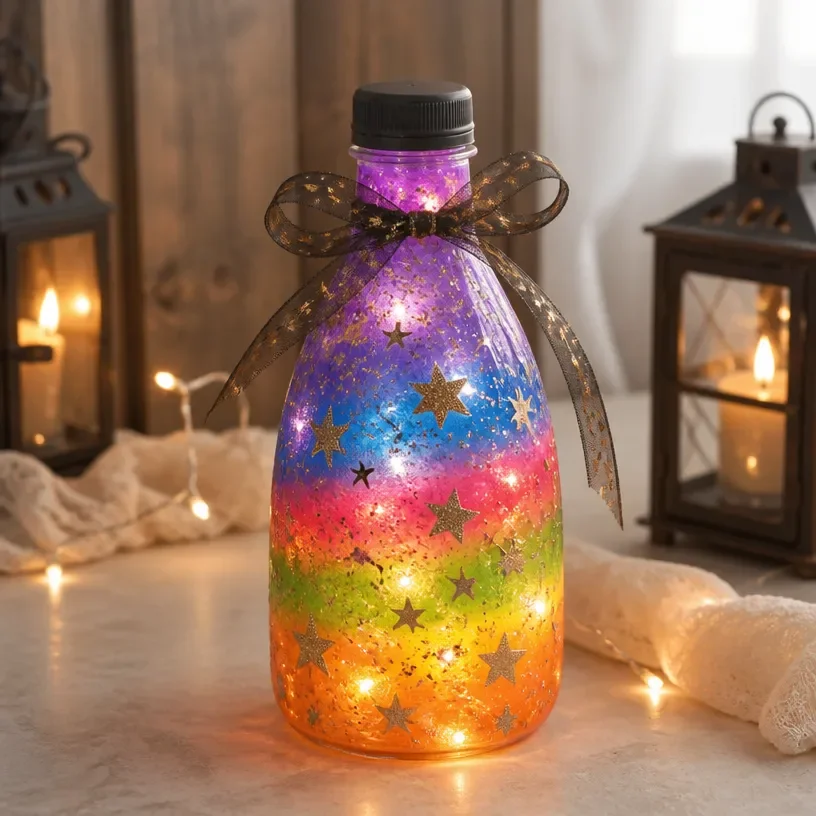
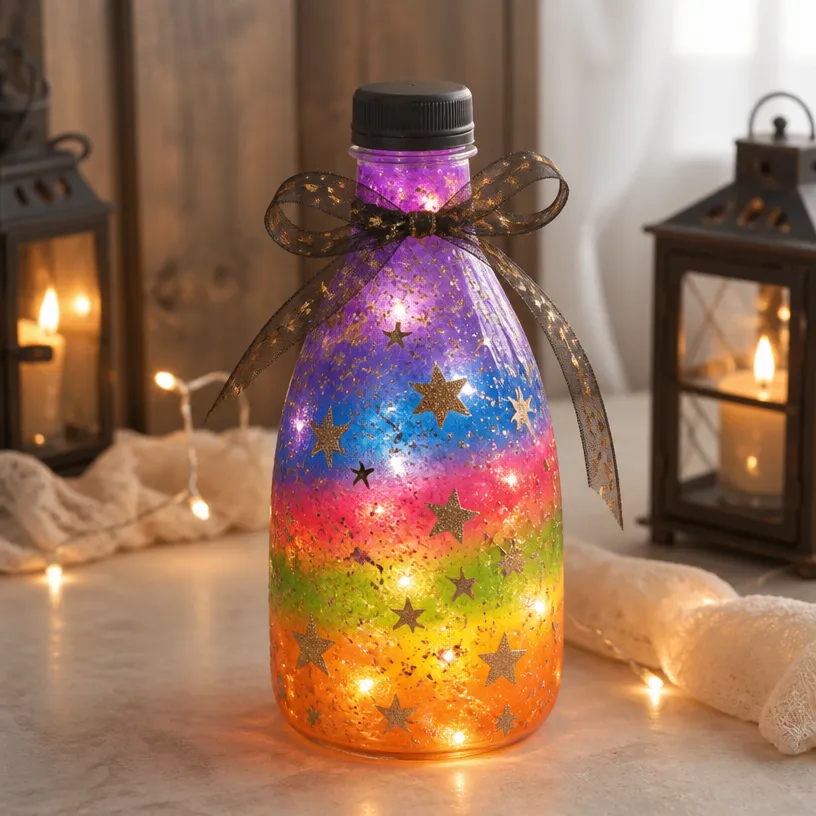
Rainbow Potion Bottle Halloween Lantern DIY
Creating your very own Rainbow Potion Bottle Halloween Lantern is a delightful project that brings a splash of color and creativity to your home. This lantern not only brightens up your space with its colorful glow, but it also serves as a fantastic way to engage kids in crafting. As you create this lantern, you will enjoy the process of mixing colors and seeing your creation come to life. You may also find Rainbow Tissue Paper Flower Lantern Diy For Kids useful.
This craft is perfect for families looking to make unique decorations for Halloween while spending quality time together. Each bottle can reflect your personality and style, and it can easily be customized to fit your preferences. If you’re in the mood for more colorful crafting ideas, check out our rainbow tissue paper lantern project for another fun option.
Why You’ll Enjoy This Project
- Easy to Make: This project is simple enough for crafters of all skill levels, making it ideal for beginners.
- Customizable: You can choose your favorite colors to create a unique design that fits your home decor.
- Fun for Kids: Children will love participating in the process of creating their own colorful lanterns.
- Decorative: Perfect for Halloween, these lanterns can illuminate your home and add a festive touch.
- Recyclable Materials: Use items you already have at home, making it an eco-friendly project.
You may also find Coffee Filter Ghost Garland Diy Halloween Decor useful.
Materials You’ll Need
- Empty glass or plastic bottles (such as soda bottles)
- Colorful tissue paper or construction paper
- Mod Podge or school glue
- Scissors
- A paintbrush (for applying glue)
- LED tea light candles (for safety)
- Optional: glitter for extra sparkle
Each material is easy to find, and many families will already have them at home. Feel free to use any leftover paper or lantern parts from previous projects, like our glow-in-the-dark lanterns.
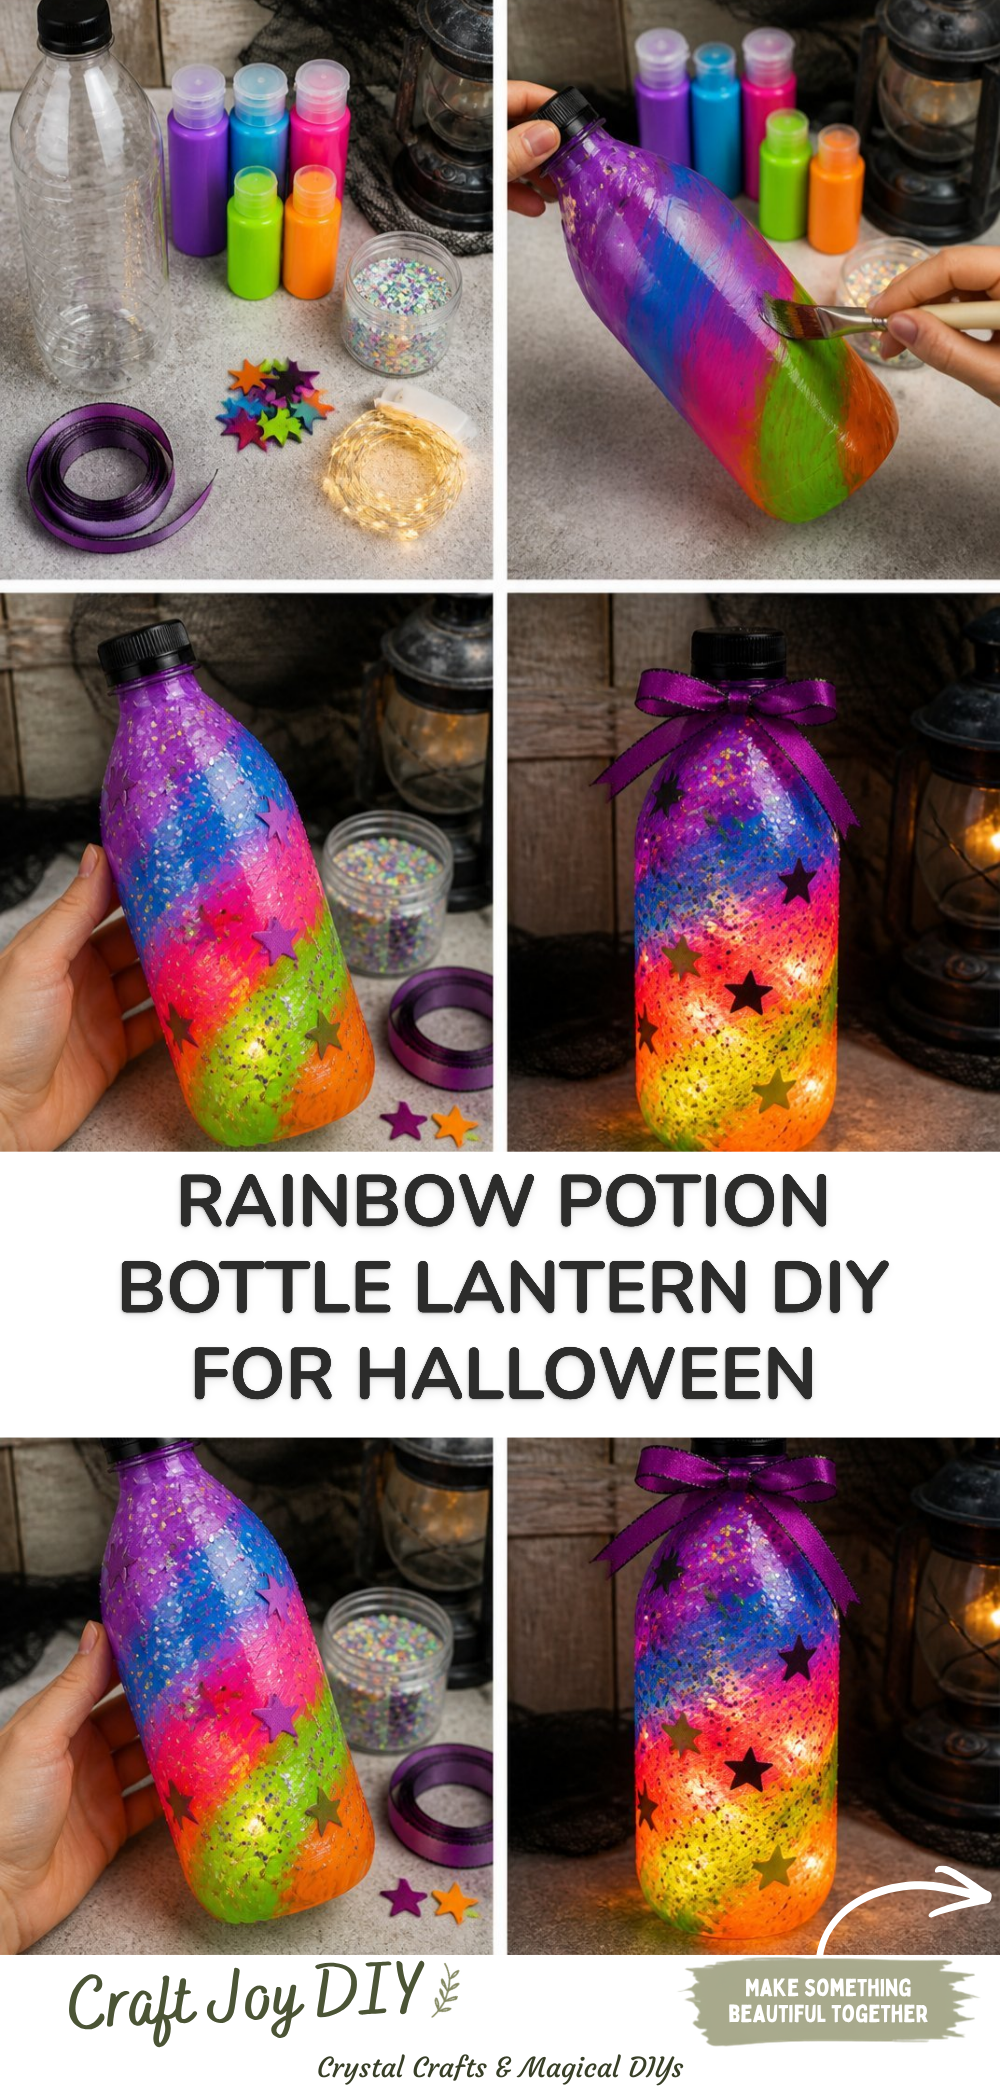
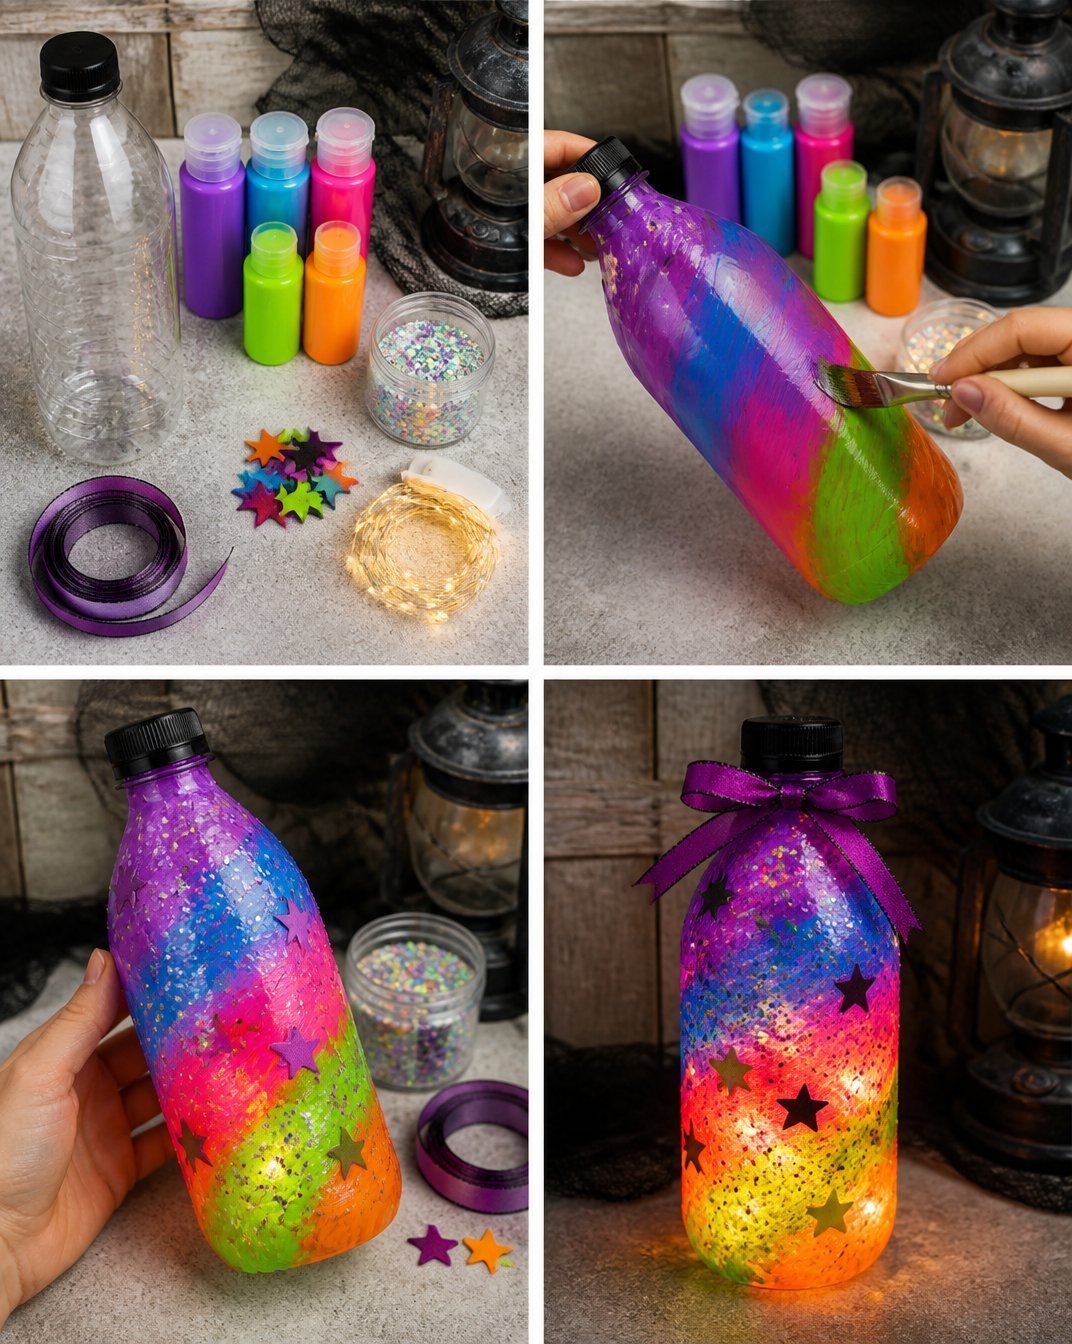
How to Make Rainbow Potion Bottle Halloween Lantern DIY
- Prepare Your Bottles: Start by cleaning your bottles. Remove any labels and ensure they are dry.
- Cut the Tissue Paper: Cut colorful tissue paper into small squares or shapes. You can mix and match colors for a more vibrant look.
- Apply Glue: Using a paintbrush, apply a thin layer of Mod Podge or glue to the outside of the bottle.
- Add Tissue Paper: Stick the cut tissue paper pieces onto the glue-coated areas of the bottle. Overlap them to create a beautiful mosaic effect.
- Seal the Paper: Once all the paper is applied, add another layer of glue over the top to seal everything in place.
- Dry Completely: Let the bottles dry for several hours or overnight until the glue is fully set.
- Add Light: Once dry, place an LED tea light candle inside each bottle, ensuring it’s secure.
Helpful Tips
- Color Combinations: Try using three or four colors for a balanced look.
- Handling the Glue: If the glue gets too sticky, you can add a little water to it for easier application.
- Placement: Place your lanterns in well-ventilated areas during drying to avoid any strong odors.
- Supervision for Kids: Children may need an adult’s assistance with cutting the tissue paper or applying the glue.
Easy Variations
- Seasonal Themes: Change the colors based on the season use orange and black for Halloween, or red and green for Christmas.
- Size Differences: Create larger lanterns by combining two or more smaller bottles for a more dramatic effect.
- Adding Elements: Consider adding other decorative elements like stickers, gemstones, or even twine for added texture.
- Different Shapes: Experiment with different bottle shapes, like tall and narrow or round, for variety in your decor.
- Light Options: Use colored LED lights instead of standard tea lights for a unique glow.
Making This Craft With Kids
This project is perfect for children, but adults should supervise when handling scissors and applying glue. Encourage kids to express their creativity by picking their favorite colors and designs. Allow them to experiment with layering the tissue paper for a fun visual effect. You may also find Colorful Rainbow Monster Pencil Holders Diy useful.
How to Display or Use It
Once your Rainbow Potion Bottle Lanterns are complete, they can be displayed prominently on your porch, inside your home, or at a Halloween party. Arrange them in a cluster for a captivating centerpiece or place them along a pathway for a whimsical effect. Remember to use LED lights only for safety, especially if children are involved.
Frequently Asked Questions
1. Can I use any type of bottle?
Yes! Any clear or transparent bottle works well, but glass bottles provide a nice effect when lit from within.
2. How long will the lanterns last?
If made with quality materials, your lanterns can last for many years, especially if stored properly after the season.
3. What safety precautions should I take?
Always use LED lights instead of real candles to avoid the risk of fire, especially when children are involved.
4. Can I use other materials besides tissue paper?
Absolutely! You can experiment with colored plastic, fabric, or even paint for different textural effects.
5. How do I clean the lanterns?
Gently wipe them with a soft cloth to maintain their colorful appearance. Avoid using heavy cleaners that could damage the paper.
Conclusion
Creating these Rainbow Potion Bottle Halloween Lanterns is not just a fun craft but also an opportunity to make meaningful memories with your loved ones. For more inspiration, check out the fantastic idea for Halloween Potion Bottles or explore cookie cutter pumpkin carving for more festive projects. Happy crafting!