

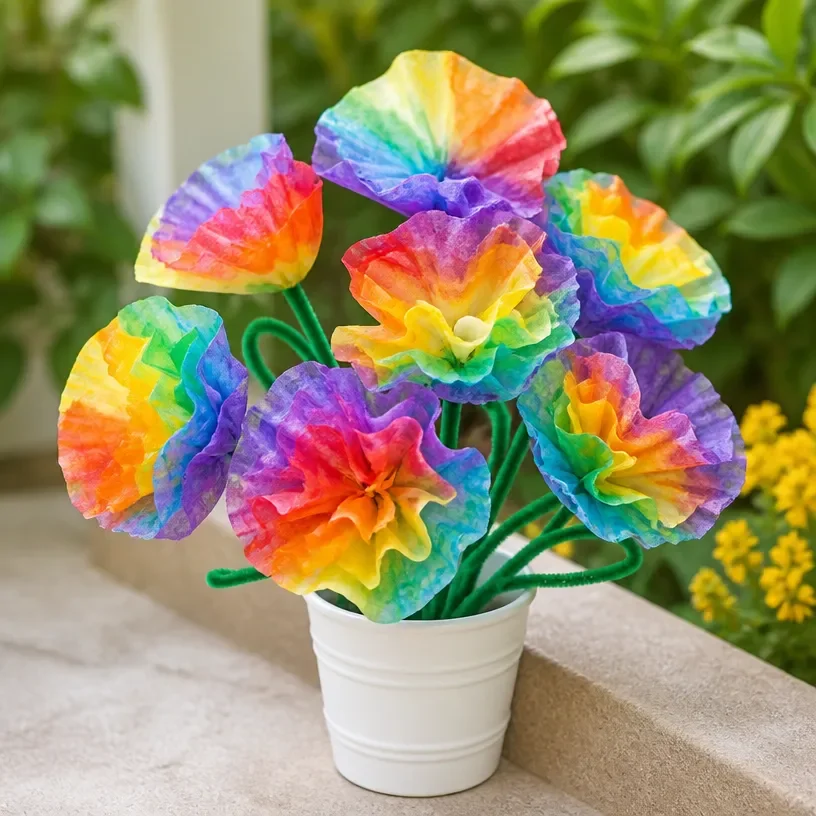
DIY Rainbow Coffee Filter Bouquet for Garden-Inspired Decor
Creating a beautiful DIY Rainbow Coffee Filter Bouquet is a fun and colorful way to bring a touch of nature indoors. This vibrant craft transforms ordinary coffee filters into eye-catching decorations that brighten up any space. Not only is this project enjoyable, but it also allows children and adults to explore their creativity through color mixing and simple craft techniques. Plus, it’s perfect for using up materials you might already have at home! You may also find Coffee Filter Butterfly Chromatography Craft For Kids useful.
This tutorial will guide you through crafting your very own bouquet using easy-to-find supplies and straightforward steps. If you’re looking for a project that’s both artistic and practical, making a rainbow bouquet is a delightful choice. You may also find Diy Egg Carton Tulip Bouquet Spring Decor useful.
Why You’ll Enjoy This Project
- Creative Expression: Designing your bouquet lets you experiment with colors and patterns while showcasing your personal style.
- Easy to Make: With simple materials and instructions, this craft is accessible for all ages.
- Great for Decor: Once finished, your bouquet can brighten up your space or make a lovely gift for someone special.
- Fun for the Family: This project is a fantastic way to spend quality time with kids, encouraging teamwork and creativity together.
- Limited Cleanup: Since it uses coffee filters and food coloring, the mess is minimal, making it manageable for crafters of all ages.
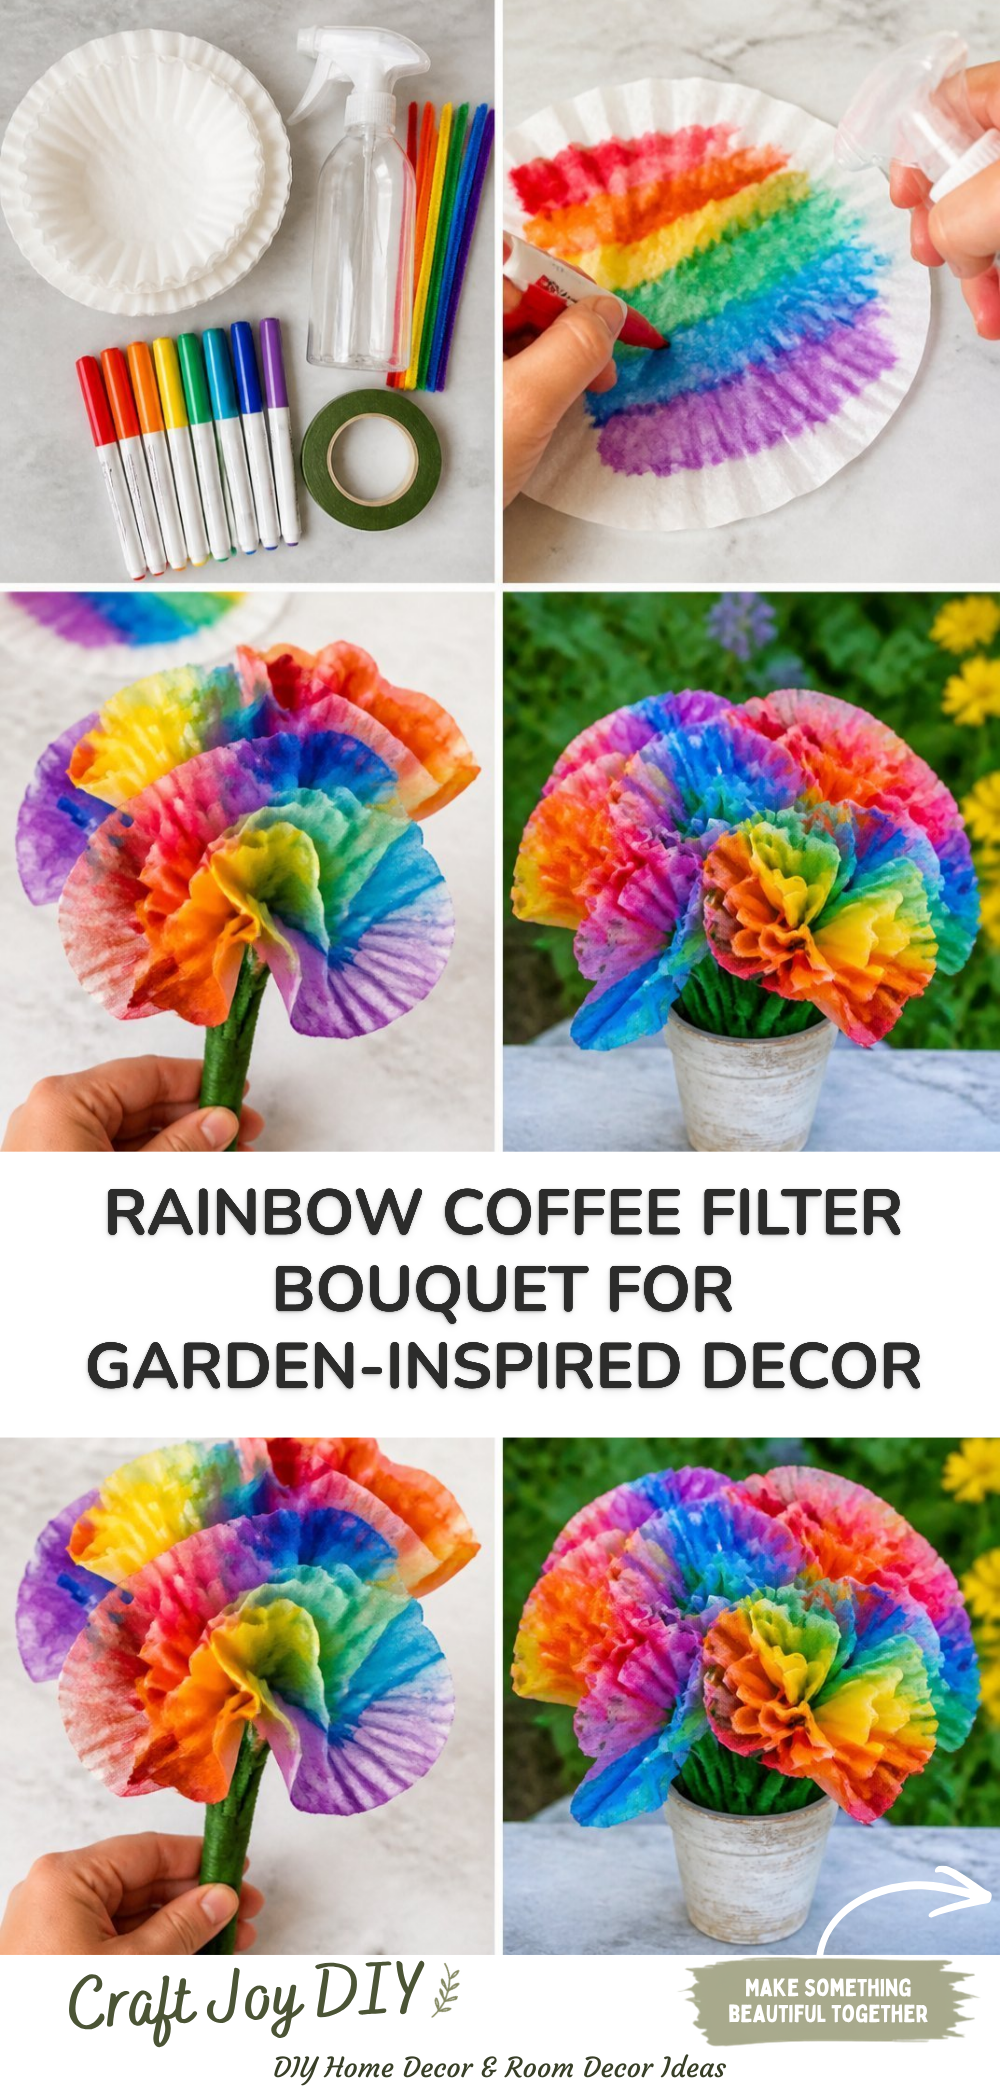
You may also find Diy Pumpkin Suncatchers Tie Dye Coffee Filters useful.
Materials You’ll Need
- Coffee filters (white)
- Food coloring (various colors)
- Spray bottle or sponge
- Water
- Green floral wire or pipe cleaners
- Scissors
- A container or vase for displaying your bouquet
Feel free to substitute materials based on what you have at home. For example, if you don’t have floral wire, pipe cleaners work just as well! You may also find Diy Rainbow School Bus Craft For Kids useful.
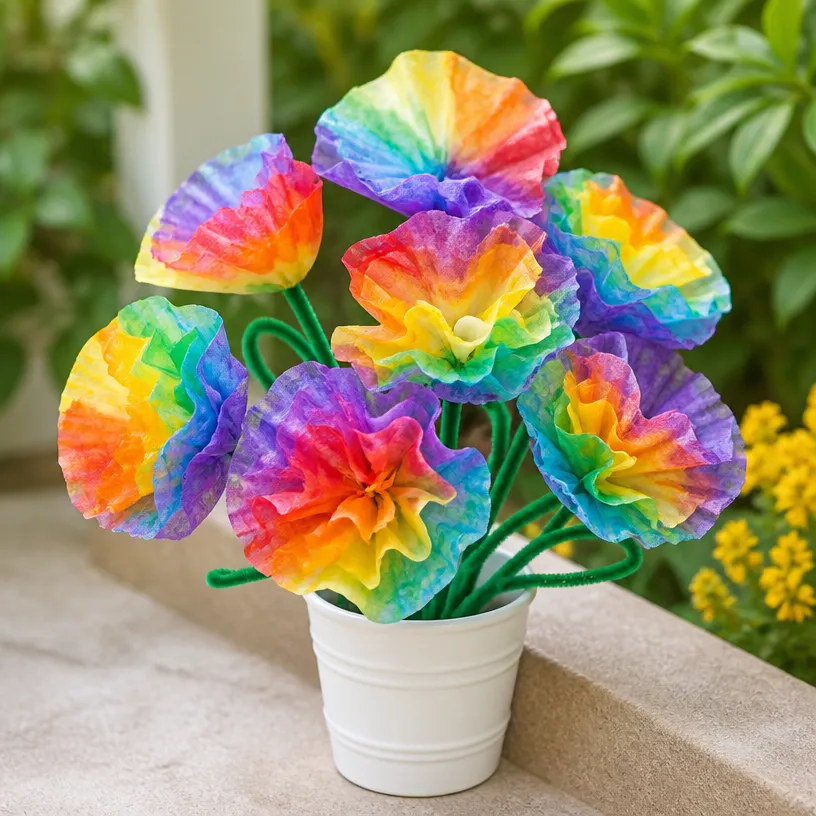
How to Make DIY Rainbow Coffee Filter Bouquet for Garden-Inspired Decor
Prepare Your Workspace: Lay down old newspapers or a plastic sheet to catch any drips or spills from the food coloring.
Mix the Colors: In a small bowl, mix a few drops of food coloring with some water to create vibrant solutions. You can create different shades by adjusting the amount of coloring used.
Soak the Filters: Dip each coffee filter into the colored water using a spray bottle or a sponge, allowing the colors to blend and spread. The more you soak, the more intense the color will become.
Dry the Filters: After soaking, gently place the filters on a drying rack or a layer of paper towels to let them dry completely. This may take a little time, so be patient!
Create the Bouquet: Once the filters are dry, stack several filters together and pinch them at the base. Use the green floral wire or pipe cleaners to secure the filters, shaping them into a flower form.
Arrange the Flowers: Trim the stems to your desired length and arrange the finished filters in a vase or container. You can mix different colors for a more dynamic look.
Helpful Tips
- Color Mixing: Experiment with layering different colors on your coffee filters for unique patterns.
- Sponge Technique: Using a sponge can give a softer color effect than just dipping, allowing you to control the saturation.
- Display: Consider placing your bouquet in a sunny spot to highlight the beautiful colors you’ve created.
- Supervision for Kids: While kids can enjoy most steps, adult supervision is recommended when handling scissors and food coloring.
Easy Variations
- Seasonal Themes: Customize the colors for different seasons or holidays, such as red and green for Christmas or pastel colors for spring.
- Size Options: Vary the size of your coffee filters for a more dynamic bouquet.
- Additional Decor: Attach small beads or stickers to your bouquets for added fun and texture.
- Incorporate nature: Use real leaves or twigs alongside your bouquet for a more garden-like feel.
Making This Craft With Kids
This project is ideal for kids, as it helps develop their understanding of colors and art. Adult supervision is advisable during cutting and when using food coloring, but children can mostly work independently on the assembly and decoration aspects.
How to Display or Use It
Your finished DIY Rainbow Coffee Filter Bouquet can be proudly displayed in your living room, on a dining table, or even gifted to a friend. You could also create a matching theme to enhance other home decor or craft activities, like this fall garland using coffee filters.
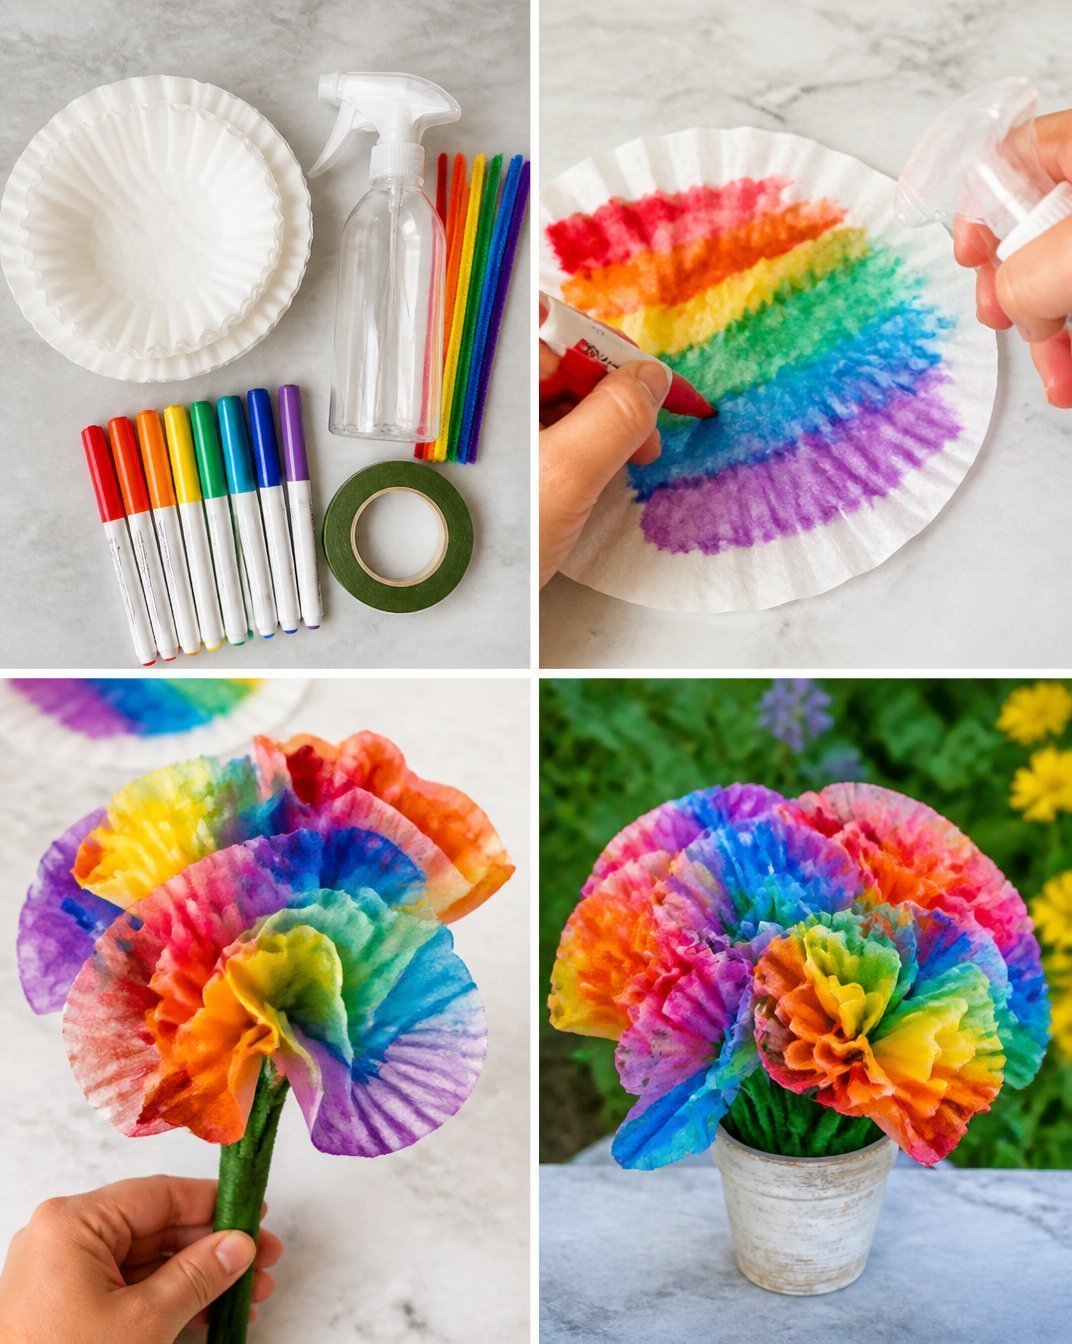
Frequently Asked Questions
Can I use any type of food coloring?
Yes! You can use liquid food coloring, gel coloring, or even natural dyes made from fruits.
What if I want brighter colors?
Soaking the filters longer in a stronger dye solution will help achieve deeper hues.
How long will the bouquet last?
As long as the flowers are kept out of direct sunlight and moisture, they will maintain their appearance for a good while.
Can this craft be adapted for other occasions?
Absolutely! Change the color schemes to match birthdays, holidays, or even seasonal decor.
What if I don’t have a spray bottle?
You can use a sponge or simply dip the coffee filters into the dye solution instead.
What should I do with leftover colored water?
Dispose of it down the sink and rinse thoroughly to avoid staining.
Conclusion
Creating a DIY Rainbow Coffee Filter Bouquet is a beautiful way to bring color into your home while enjoying a fun crafting activity. If you’re interested in more rainbow-themed projects, consider checking out these rainbow crafts that your family will love. Additionally, for those who appreciate nature, learn different techniques for preserving flowers so you can enjoy their beauty year-round by visiting this resource on pressing flowers. Enjoy your crafting!
Print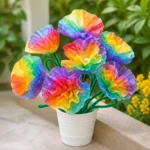
DIY Rainbow Coffee Filter Bouquet
- Total Time: 15 minutes
- Makes: 1 bouquet
Description
A fun and colorful DIY project that transforms ordinary coffee filters into eye-catching decorations.
Materials
- Coffee filters (white)
- Food coloring (various colors)
- Spray bottle or sponge
- Water
- Green floral wire or pipe cleaners
- Scissors
- A container or vase for displaying your bouquet
Instructions
- Prepare your workspace: Lay down old newspapers or a plastic sheet to catch any drips or spills from the food coloring.
- Mix the colors: In a small bowl, mix a few drops of food coloring with some water to create vibrant solutions.
- Soak the filters: Dip each coffee filter into the colored water using a spray bottle or a sponge.
- Dry the filters: After soaking, gently place the filters on a drying rack or paper towels to let them dry completely.
- Create the bouquet: Once dry, stack several filters together and pinch them at the base.
- Arrange the flowers: Trim the stems to your desired length and arrange the finished filters in a vase or container.
Notes
Use a sponge for softer color effects and consider seasonal themes for your bouquet.