

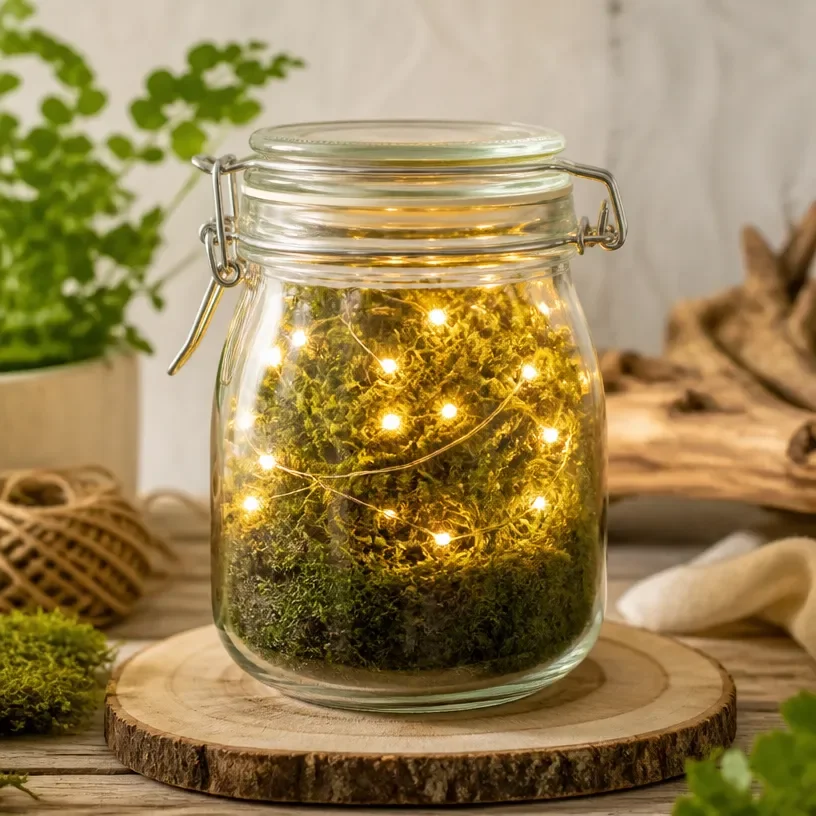
DIY Enchanted Jar Lanterns for Garden Decor
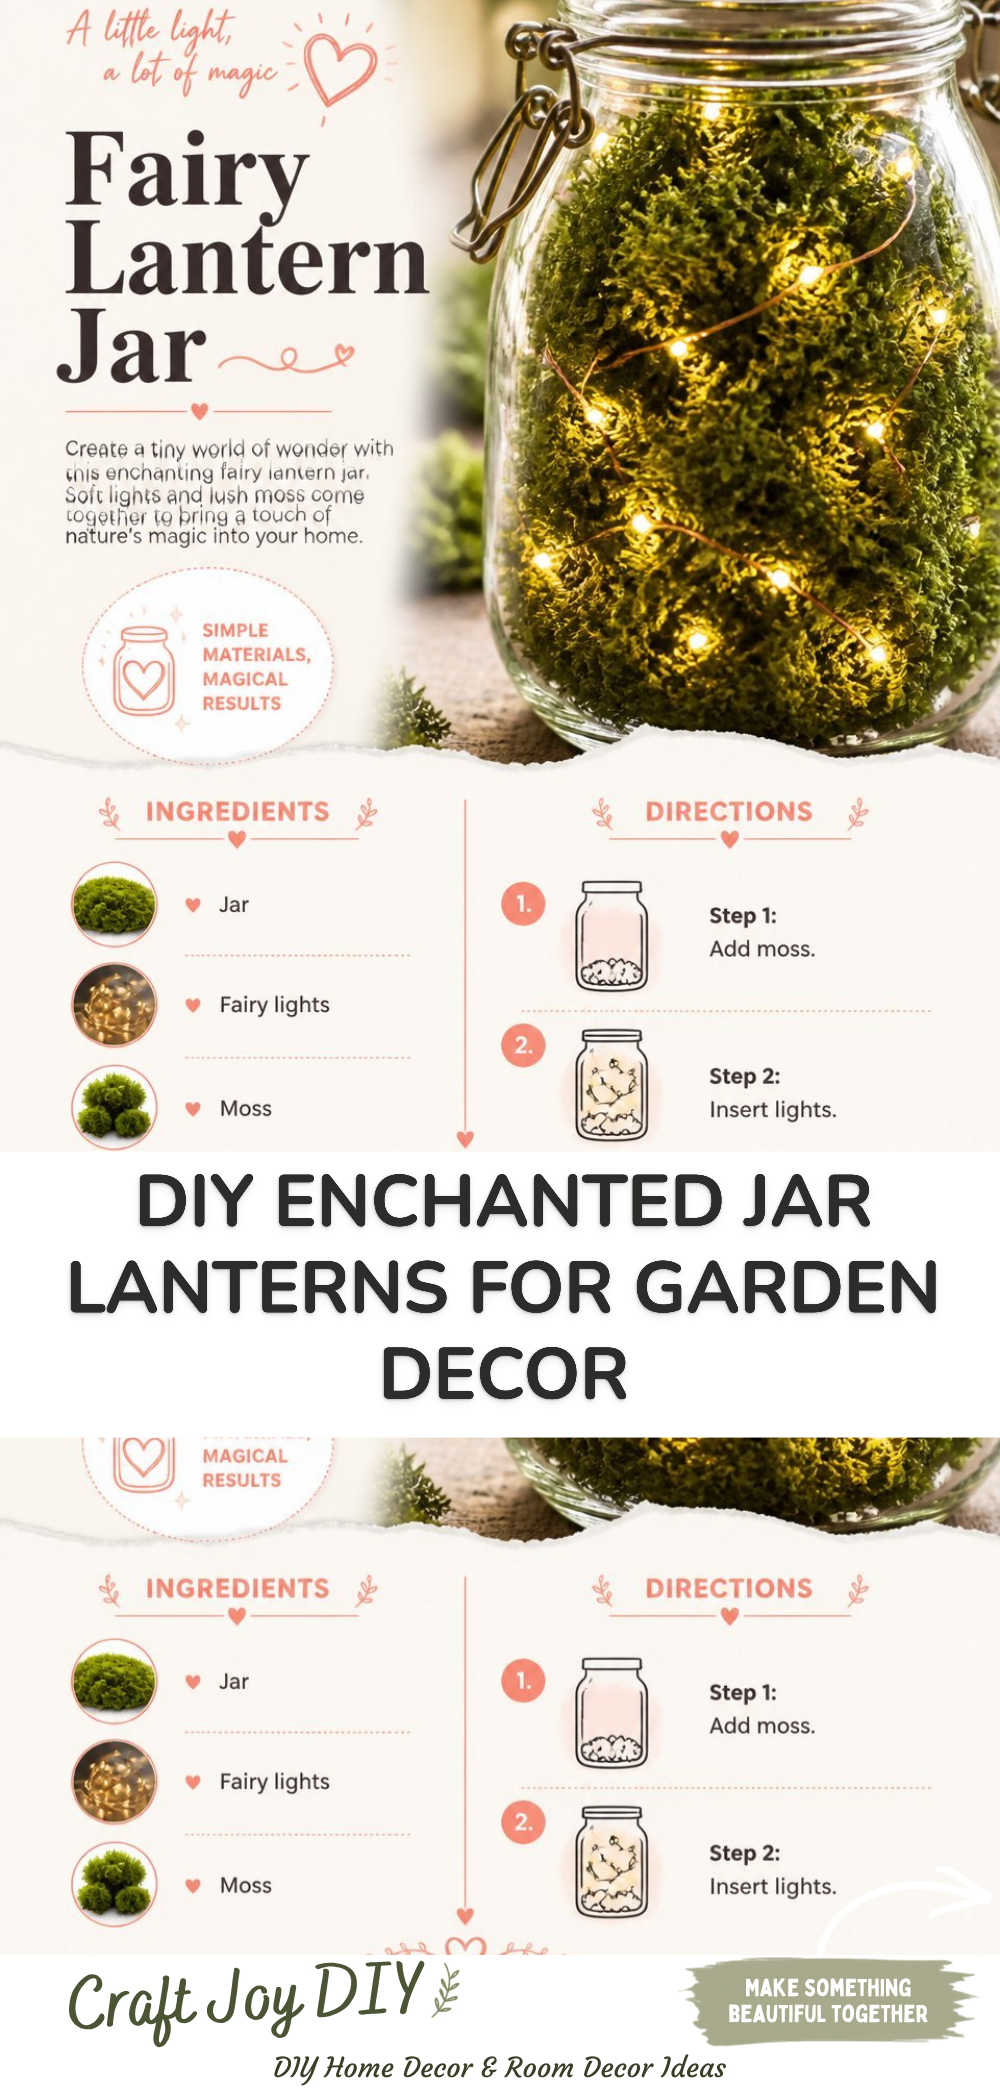
Creating enchanting jar lanterns can add a magical touch to your garden decor. This DIY project is not only enjoyable but also easy to accomplish with materials you likely have at home. Plus, these lanterns can be placed anywhere, from garden pathways to hanging from trees, creating a beautiful ambiance for your outdoor space. With a few simple steps, you can turn ordinary jars into glowing wonders that delight both kids and adults alike. You may also find Bird Feeder Vintage Teacup Garden Decor useful.
These DIY enchanted jar lanterns shine brightly when lit, making them a perfect evening decoration. To enhance your crafting experience, valuable tips for assembly and decoration are shared throughout the guide. You may also find Bubble Dough Sensory Play Diy Activity For Kids useful.
You may also find Diy Bubble Printed Butterfly Wings Craft For Kids useful.
Why You’ll Enjoy This Project
- Creative Expression: Customize your lanterns with various colors and designs, making each jar uniquely yours.
- Family-friendly Fun: Children will love participating in this simple project while learning about crafting.
- Low-cost Materials: Most supplies are low-cost or even free from nature, making this a budget-friendly activity.
- Easy to Display: These lanterns are versatile; you can place them on tables, hang them, or line walkways.
- Sustainable Crafting: Recycle jars that would otherwise be thrown away, helping reduce waste.
Materials You’ll Need
- Glass jars (such as mason jars or empty sauce jars)
- Battery-operated tea lights or candles (to ensure safety)
- Craft paints or Mod Podge
- Paintbrushes or sponges
- Twine or ribbon (for decoration)
- Decorative elements (like glitter, leaves, or flowers)
- Optional: Paint sealing spray (to protect outdoor creations)
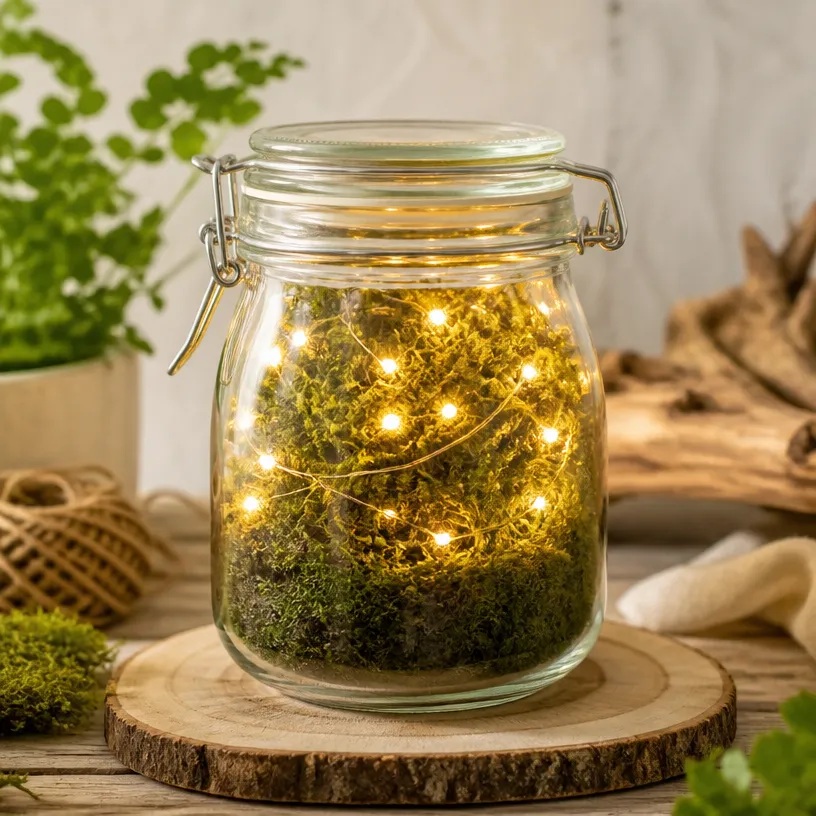
How to Make DIY Enchanted Jar Lanterns for Garden Decor
- Prepare Your Jar: Clean the glass jars thoroughly and ensure they are dry before starting.
- Apply Base Coat: Using a paintbrush or sponge, apply the craft paint to the outside of the jar. If you’d like a soft glow, you might consider using a translucent paint.
- Decorate the Jar: Add any decorative elements like glitter or dried flowers while the paint is still wet. For a cohesive look, consider following a theme like your favorite seasons found in dried flower artistry.
- Let It Dry: Place the jar upside down on a clean surface to dry thoroughly. If you used Mod Podge, seal it with a spray after it’s dried to protect it from outdoor elements.
- Insert Lighting: Once the jar is dry, place a battery-operated tea light inside to transform your jar into a glowing lantern. Ensure the light is secure and won’t tip over.
- Add Finishing Touches: Tie twine or ribbon around the neck of the jar for an extra decorative look.
Helpful Tips
- Use a Wide Jar: For easier access while decorating, choose jars with a wider opening.
- Test Your Paints: If using unfamiliar paints, do a small test strip on the glass to see how the color looks when dry.
- Secure Candle Placement: Make sure the tea lights are stable by placing a dab of glue on the bottom or using adhesive putty.
- Arrange for Effect: Hang your lanterns at different heights to create a captivating sight when they glow at night.
Easy Variations
- Color Themes: Try creating a set of lanterns in different shades that match your garden flowers or seasonal changes.
- Nature Finds: Instead of glitter, consider attaching natural elements like leaves or pebbles to give a more rustic vibe.
- Size Variations: Use different-sized jars to create a tiered effect in your display.
- Themed Lanterns: Make seasonal lanterns such as autumn colors using oranges and browns, or winter vibes with silver and blue tones.
- Functional Decor: Add a hook to the lanterns for hanging them around your home or yard.
Making This Craft With Kids
This project is perfect for kids, but supervision is recommended, especially when using paints and cutting materials. Have adults handle the use of scissors or sharp tools, while kids can focus on painting and decorating the jars. You may also find Diy Egg Carton Tulip Bouquet Spring Decor useful.
How to Display or Use It
These enchanting jar lanterns can be displayed along your garden path to create a warm, inviting atmosphere. Hang them from tree branches with twine or place them on tables during outdoor gatherings to add charm. You can also create a lovely centerpiece by grouping several together, illuminated during evening barbecues or family dinners.
Frequently Asked Questions
1. Can I use real candles inside the jars?
It’s best to use battery-operated tea lights for safety concerns, especially outdoors.
2. How should I clean the jars before starting the project?
Using warm, soapy water will help remove any residues. Allow them to dry completely before decorating.
3. How long do these lanterns last?
The longevity will depend on the materials used; the paint may fade over time if not sealed.
4. Can we paint the inside of the jars?
While you can paint the inside, it’s more effective to paint the outside for better light diffusion.
5. What if it rains?
Ensure any outdoor lanterns are sealed with a protective spray to withstand the elements.
Conclusion
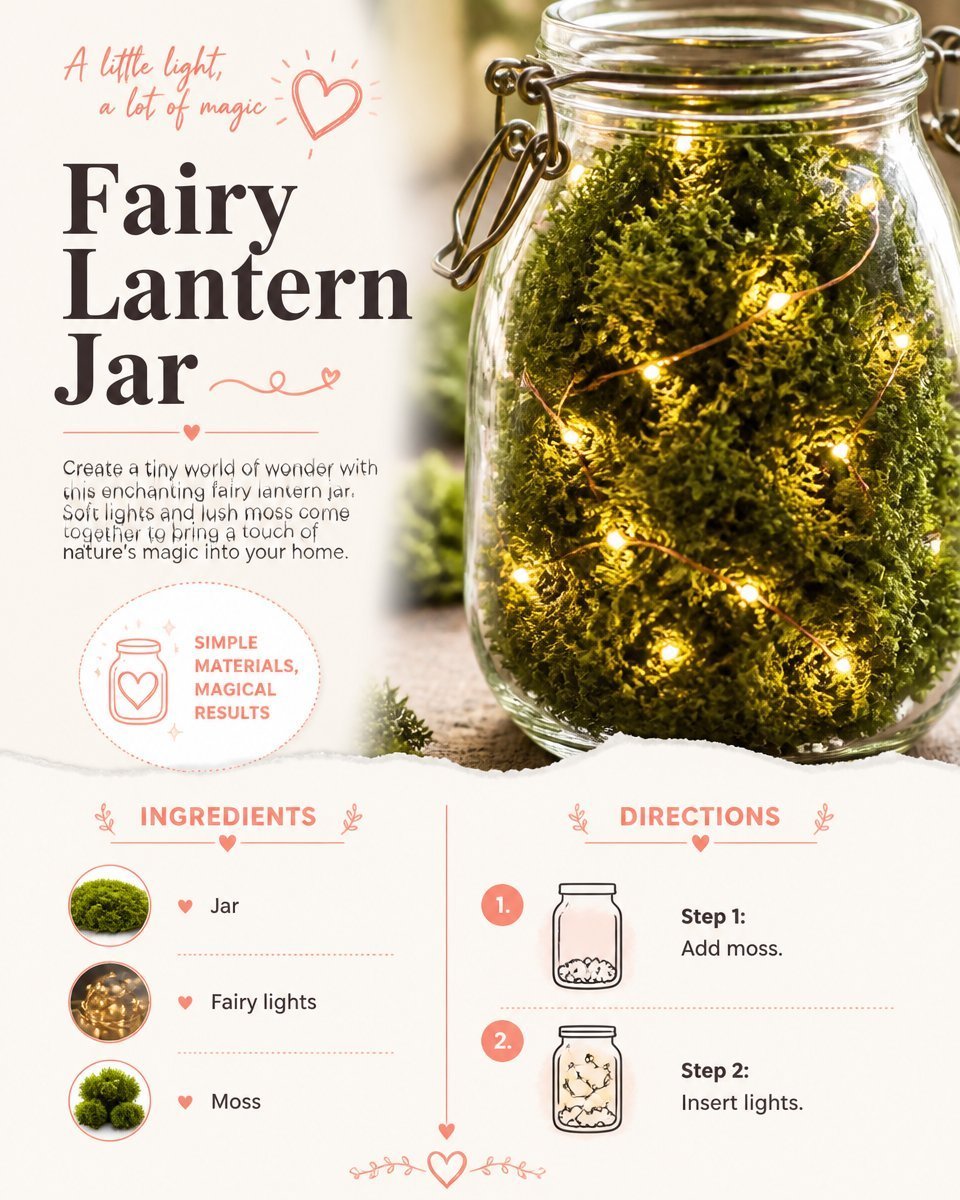
Making DIY enchanted jar lanterns is a fulfilling and fun crafting experience. Not only do these jars add a beautiful glow to your outdoor spaces, but they also provide opportunities for family bonding through creativity. If you’re looking to expand your fun projects, consider exploring additional options such as fairy lanterns or check out DIY fairy house kits for more enchanting decor.
Print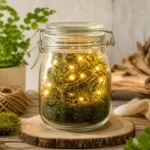
DIY Enchanted Jar Lanterns for Garden Decor
- Total Time: 15 minutes
- Makes: 4 lanterns
Description
Create enchanting jar lanterns that add a magical touch to your garden decor with simple materials at home.
Materials
- Glass jars (mason jars or empty sauce jars)
- Battery-operated tea lights or candles
- Craft paints or Mod Podge
- Paintbrushes or sponges
- Twine or ribbon
- Decorative elements (glitter, leaves, or flowers)
- Optional: Paint sealing spray
Instructions
- Prepare your jar: Clean the glass jars thoroughly and ensure they are dry before starting.
- Apply a base coat: Using a paintbrush or sponge, apply the craft paint to the outside of the jar.
- Decorate the jar: Add any decorative elements like glitter or dried flowers while the paint is still wet.
- Let it dry: Place the jar upside down on a clean surface to dry thoroughly.
- Insert lighting: Once the jar is dry, place a battery-operated tea light inside to transform your jar into a glowing lantern.
- Add finishing touches: Tie twine or ribbon around the neck of the jar for an extra decorative look.
Notes
It’s recommended to supervise children while crafting, especially when using paints and cutting materials.