

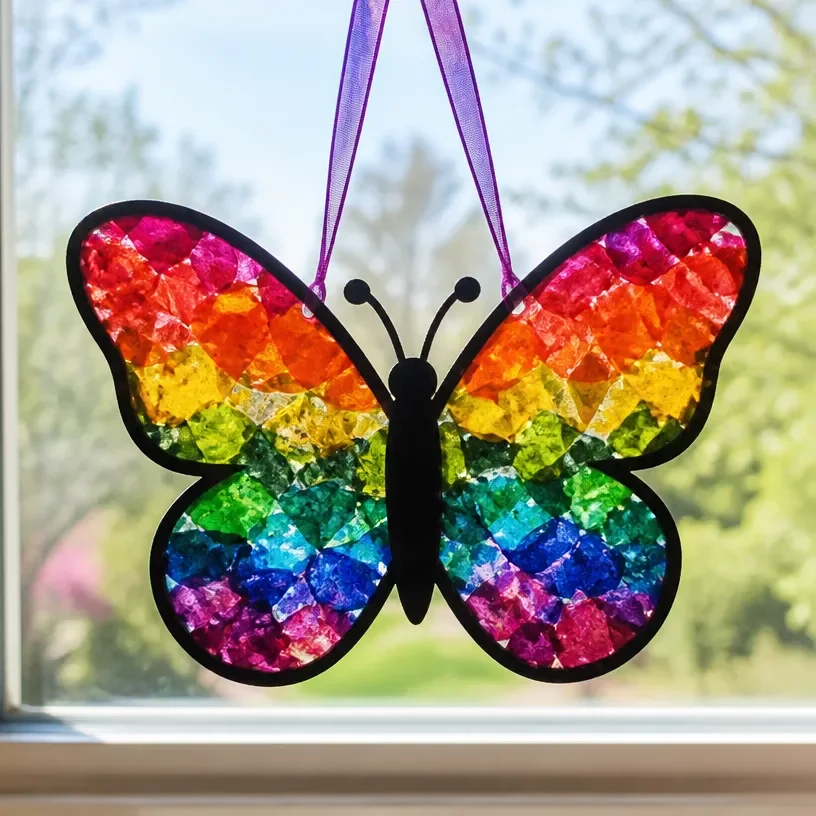
DIY Melted Crayon Rainbow Butterfly Suncatcher Tutorial
Creating a melted crayon rainbow butterfly suncatcher is a delightful craft that brings vibrant colors into your home. This project is not only visually stunning, but it also allows children and adults to enjoy the process of melting crayons and transforming them into art. By making this DIY melted crayon rainbow butterfly suncatcher, you’ll create a beautiful piece that catches sunlight and colorfully brightens any window. You may also find Melted Crayon Rainbow Butterfly Suncatcher For Kids useful.
In this tutorial, I’ll guide you through the steps needed to create your very own suncatcher. Perfect for a fun afternoon of crafting, this project uses easily accessible materials, making it a great choice for families and beginner crafters. You may also find Rainbow Melted Crayon Maple Leaf Suncatcher Diy useful.
Why You’ll Enjoy This Project
- Simple and Affordable: You likely have most of the supplies already at home.
- Creative Expression: It’s a fantastic way for kids to explore colors and patterns.
- Engaging for All Ages: Children can participate with some adult supervision, making it a fun family activity.
- Stunning Results: Once completed, it provides beautiful decoration for any space.
You may also find Melted Crayon Rainbow Haunted House Suncatcher Craft useful.
Materials You’ll Need
- Crayons: assorted colors (broken pieces work well)
- Oven-safe glass or metal pan: for melting the crayons
- Parchment paper: to line the pan and protect surfaces
- Butterfly template: for shaping your suncatcher
- Scissors: for cutting the template and parchment
- Mod Podge or clear glue: for securing the suncatcher to a window
- String or ribbon: optional, for hanging
For a different take, you can also explore other suncatcher designs like the melted crayon rainbow heart suncatcher.
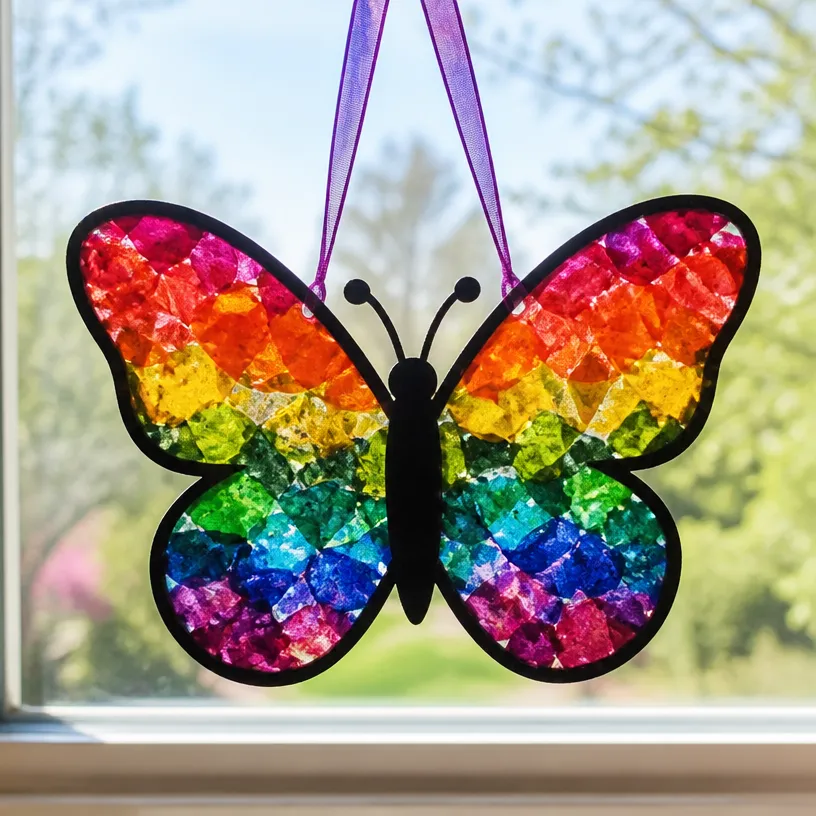
How to Make DIY Melted Crayon Rainbow Butterfly Suncatcher Tutorial
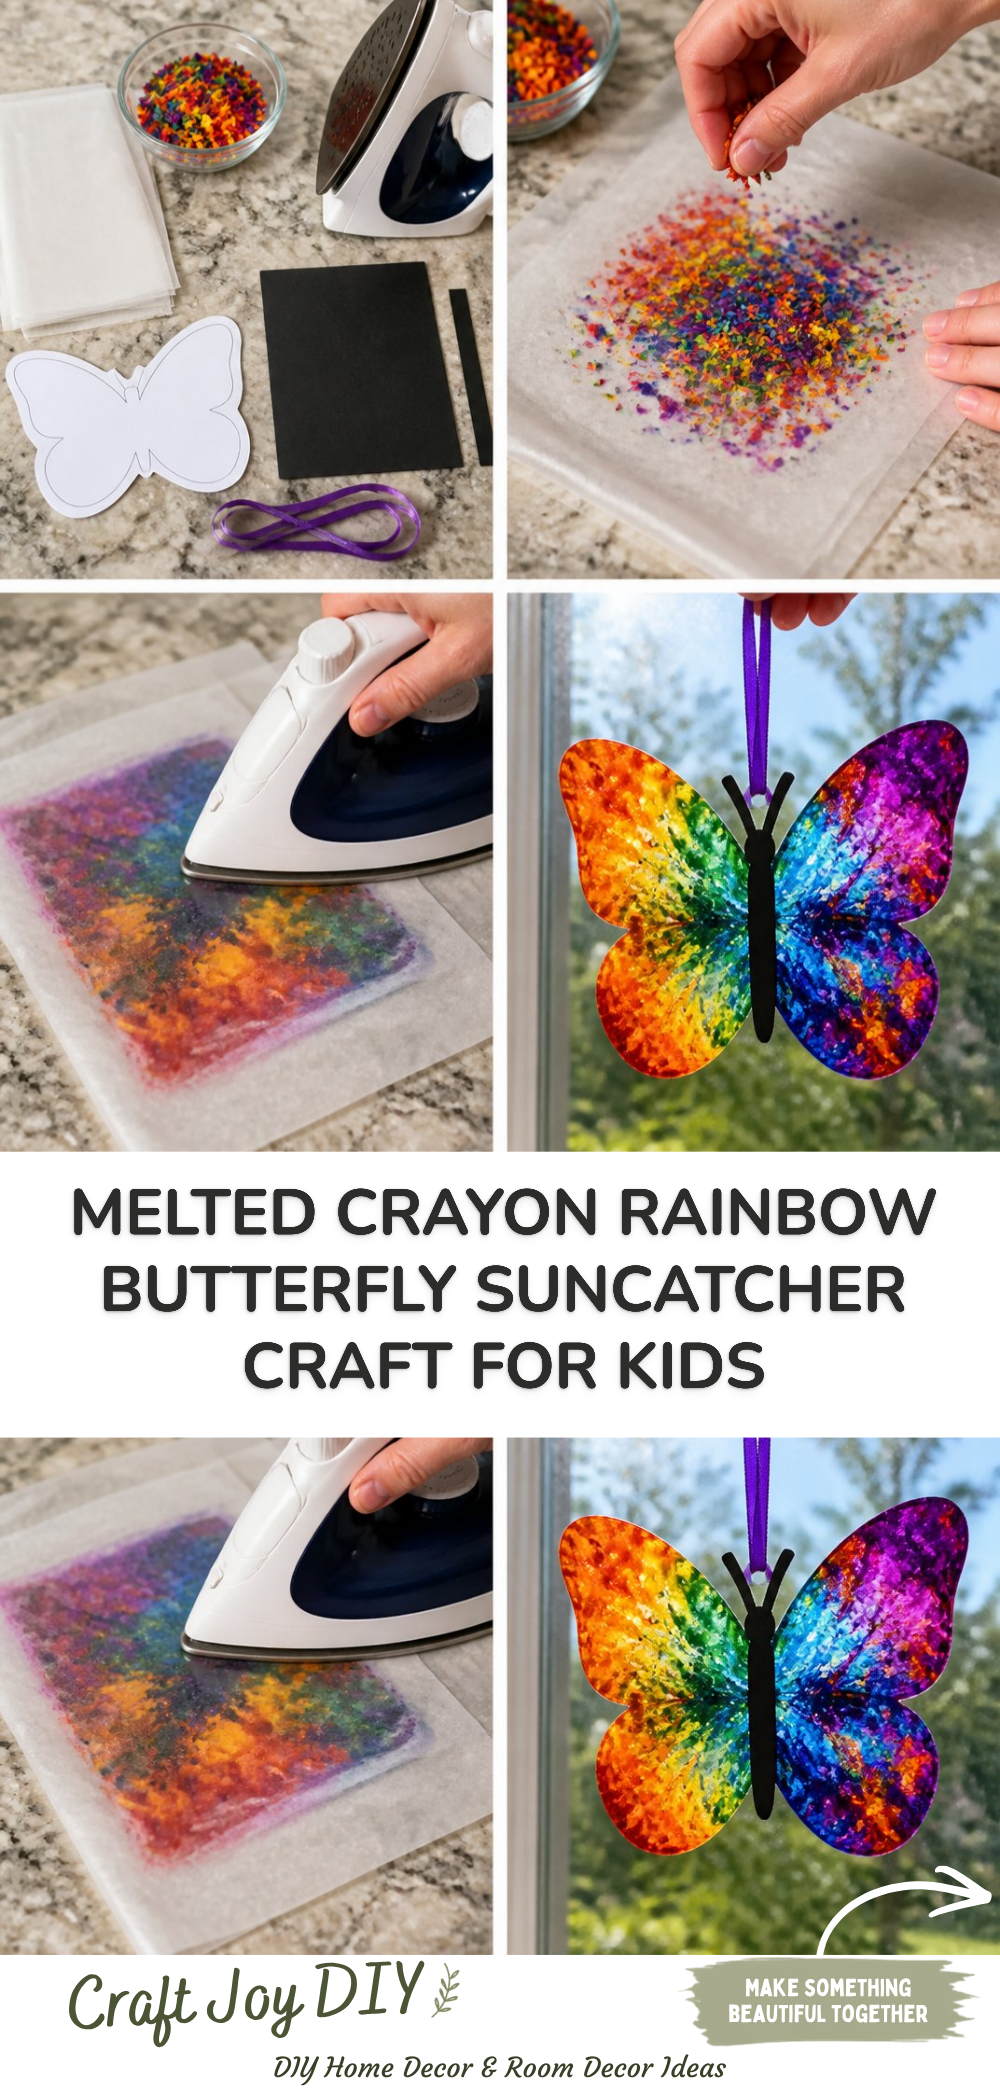
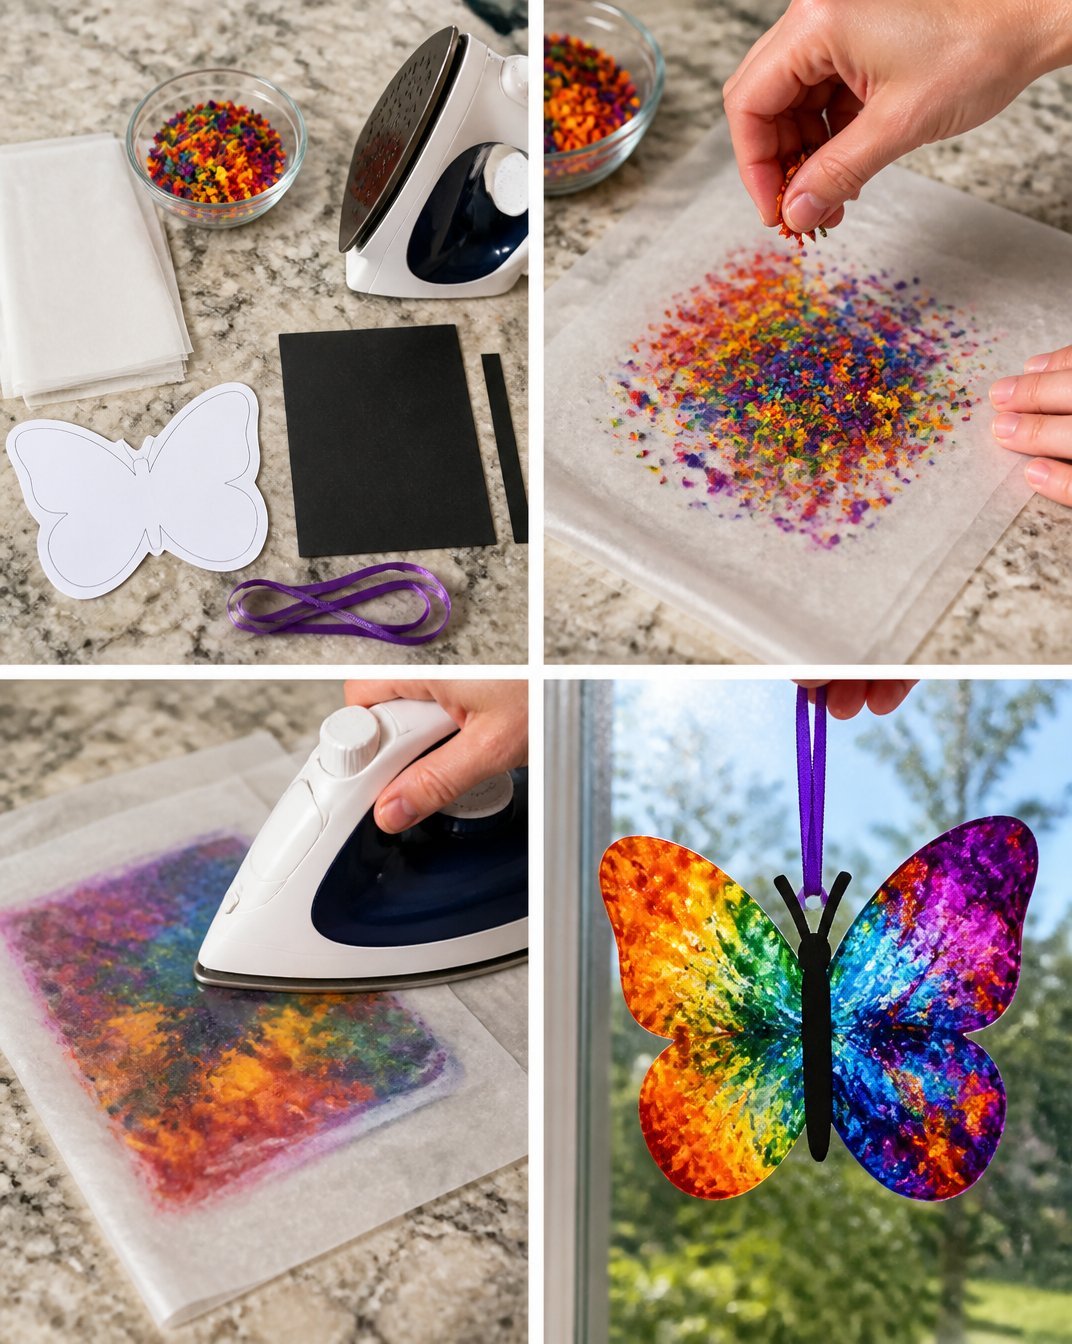
Preheat the Oven: Start by preheating your oven to 200 degrees Fahrenheit.
Prepare Your Pan: Line your oven-safe pan with parchment paper. This prevents the melted crayon from sticking.
Break Crayons: Break the crayon pieces into smaller chunks. You can choose your favorite colors or create a rainbow effect.
Arrange Crayons: Place the broken crayon pieces into the lined pan. Make sure to spread them evenly to create a beautiful blend of colors.
Melt the Crayons: Carefully place the pan in the preheated oven. Keep an eye on it and let the crayons melt completely (about 10-15 minutes). Remove when fully melted and let it cool for a few minutes.
Create the Butterfly Shape: Once the crayon mixture has cooled slightly but is still soft, place your butterfly template on top. Use a sharp object to trace the outline of the butterfly.
Cut the Butterfly Out: Once the entire mixture hardens, carefully peel it out of the pan and cut along the traced lines.
Secure the Suncatcher: Apply a thin layer of Mod Podge to one side and attach string or ribbon if you want to hang it.
Helpful Tips
- For cleaner results, always work in a well-covered area as melted crayon can be messy.
- If combining colors, stick to complementary shades to avoid muddiness.
- Use a butter knife to help pry the cooled suncatcher from the pan, if needed.
- Hang your suncatcher in a sunny window for the best visual effect.
- Supervise children closely, especially when handling melted materials.
Easy Variations
- Use seasonal colors like reds and oranges for autumn or pastels for spring.
- Experiment with different shapes; why not create a melted crayon rainbow owl suncatcher instead? Check out the tutorial for that here.
- Change the size of your butterfly for varied looks, or use multiple templates for a colorful collage.
Making This Craft With Kids
This project is perfect for families! Younger children may need adult supervision when using the oven and handling melted crayon surfaces. Encourage them to choose their favorite colors and help with sorting the crayons.
How to Display or Use It
Once your suncatcher is complete, display it in a window to catch the sunlight. You can create a series of suncatchers to decorate different rooms or to give as gifts to family and friends.
Frequently Asked Questions
Is it safe to melt crayons in the oven?
Yes, it is safe as long as you monitor the process closely and use suitable oven-safe containers.
Can I use other materials besides crayons?
While this tutorial focuses on crayons, you could experiment with other melting materials, but they might yield different effects.
How long does it take for the suncatcher to cool?
It usually takes about 15-20 minutes to cool completely, but this can vary depending on the thickness.
Can I use a microwave to melt the crayons?
Yes, you can melt crayon pieces in a microwave-safe container, checking every 30 seconds until fully melted.
What if I don’t have a butterfly template?
Feel free to draw your own design or find other templates online or in craft books.
What can I do with leftover crayons?
You can always save leftover crayon bits for future projects or donate them to schools or community centers.
Conclusion
Making a melted crayon rainbow butterfly suncatcher is a joyful experience that combines creativity and family fun. Not only do you end up with a lovely colorful display for your home, but you also engage in a delightful crafting process. For more inspiration, you can explore this melted crayon sun catcher project or check out these cool craft projects for kids for additional crafting ideas!
Print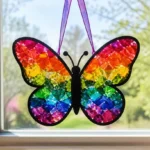
DIY Melted Crayon Rainbow Butterfly Suncatcher
- Total Time: 30 minutes
- Makes: 1 suncatcher
Description
Create a vibrant melted crayon rainbow butterfly suncatcher that brightens any window, perfect for family crafting fun.
Materials
- Assorted color crayons (broken pieces work well)
- Oven-safe glass or metal pan
- Parchment paper
- Butterfly template
- Scissors
- Mod Podge or clear glue
- String or ribbon (optional)
Instructions
- Preheat the oven to 200 degrees Fahrenheit.
- Line your oven-safe pan with parchment paper.
- Break the crayon pieces into smaller chunks.
- Place the broken crayon pieces into the lined pan evenly.
- Carefully put the pan in the preheated oven for 10-15 minutes.
- Remove the pan and let the melted crayon cool for a few minutes.
- Position your butterfly template on top and trace the outline.
- Cut out the butterfly shape once fully hardened.
- Apply a thin layer of Mod Podge on one side and attach string or ribbon if desired.
Notes
Always supervise children closely when melting materials and handling hot objects.