

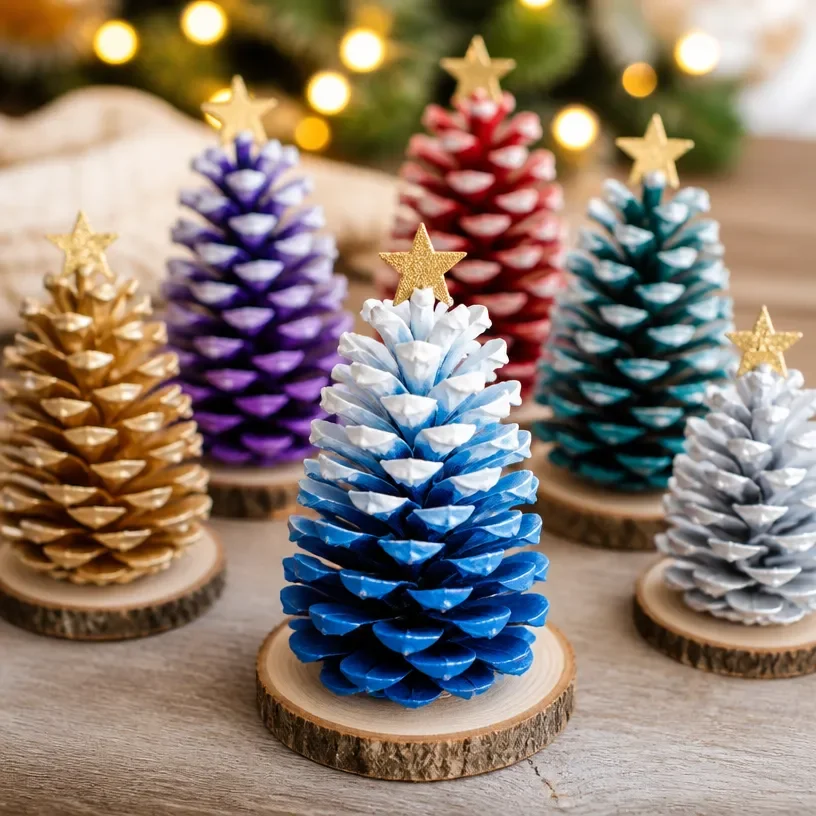
DIY Pine Cone Christmas Trees
Creating DIY Pine Cone Christmas Trees is a delightful way to bring a touch of nature into your holiday decor. These charming little trees are not only simple to make but also provide an opportunity for family bonding. Utilizing everyday materials, you can craft unique decorations that capture the spirit of the season. Whether you’re decorating your home or making gifts for loved ones, this project is both enjoyable and rewarding. You may also find Cupcake Liner Dahlia Bouquet Diy Centerpiece Kids useful.
Why You’ll Enjoy This Project
- Simple and Accessible: Most of the materials you need can be found around your home or in nature, making it a low-cost project.
- Creative Expression: You can customize your pine cone trees with different colors, decorations, and sizes to match your personal style or holiday theme.
- Family-Friendly: This craft is suitable for all ages, making it a perfect activity to do with kids and other family members, allowing everyone to add their unique touch.
- Eco-Friendly: By using natural materials, you create beautiful crafts that are environmentally conscious.
You may also find Diy Botanical Butterfly Ornament Pressed Flowers useful.
Materials You’ll Need
- Pine cones (various sizes)
- Green paint or craft foam for the tree’s foliage
- Paintbrush
- Hot glue gun and glue sticks
- Decorative items (e.g., beads, ribbons, glitter)
- Small pots or bases for support
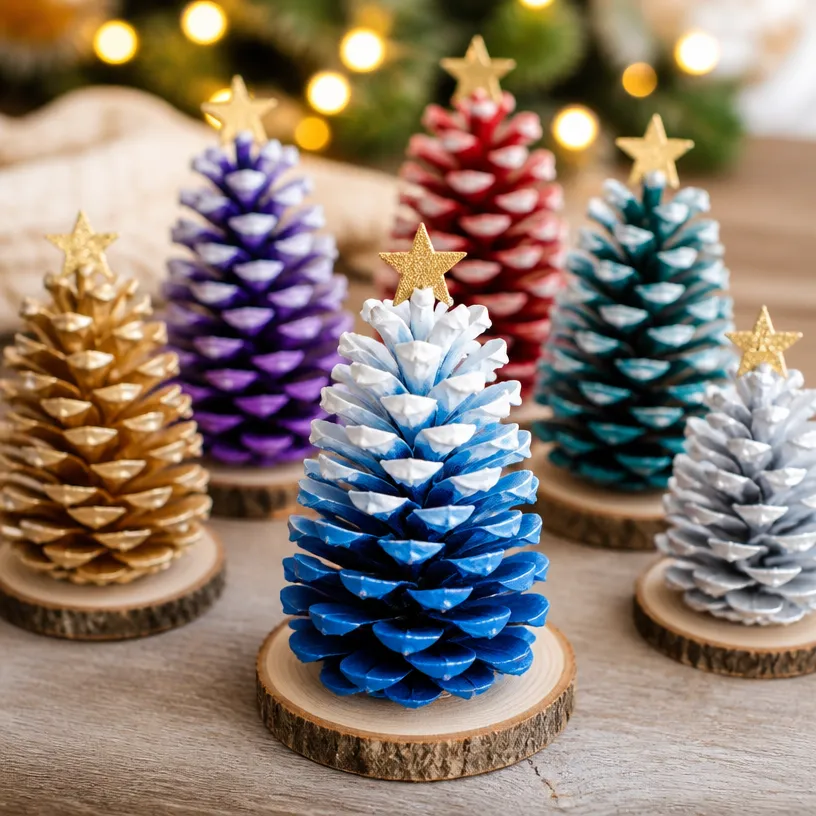
How to Make DIY Pine Cone Christmas Trees
- Prepare Your Pine Cones: Start by gathering pine cones. Choose ones that are open and sturdy. If they are a bit dirty, you can wash them and let them dry fully before proceeding.
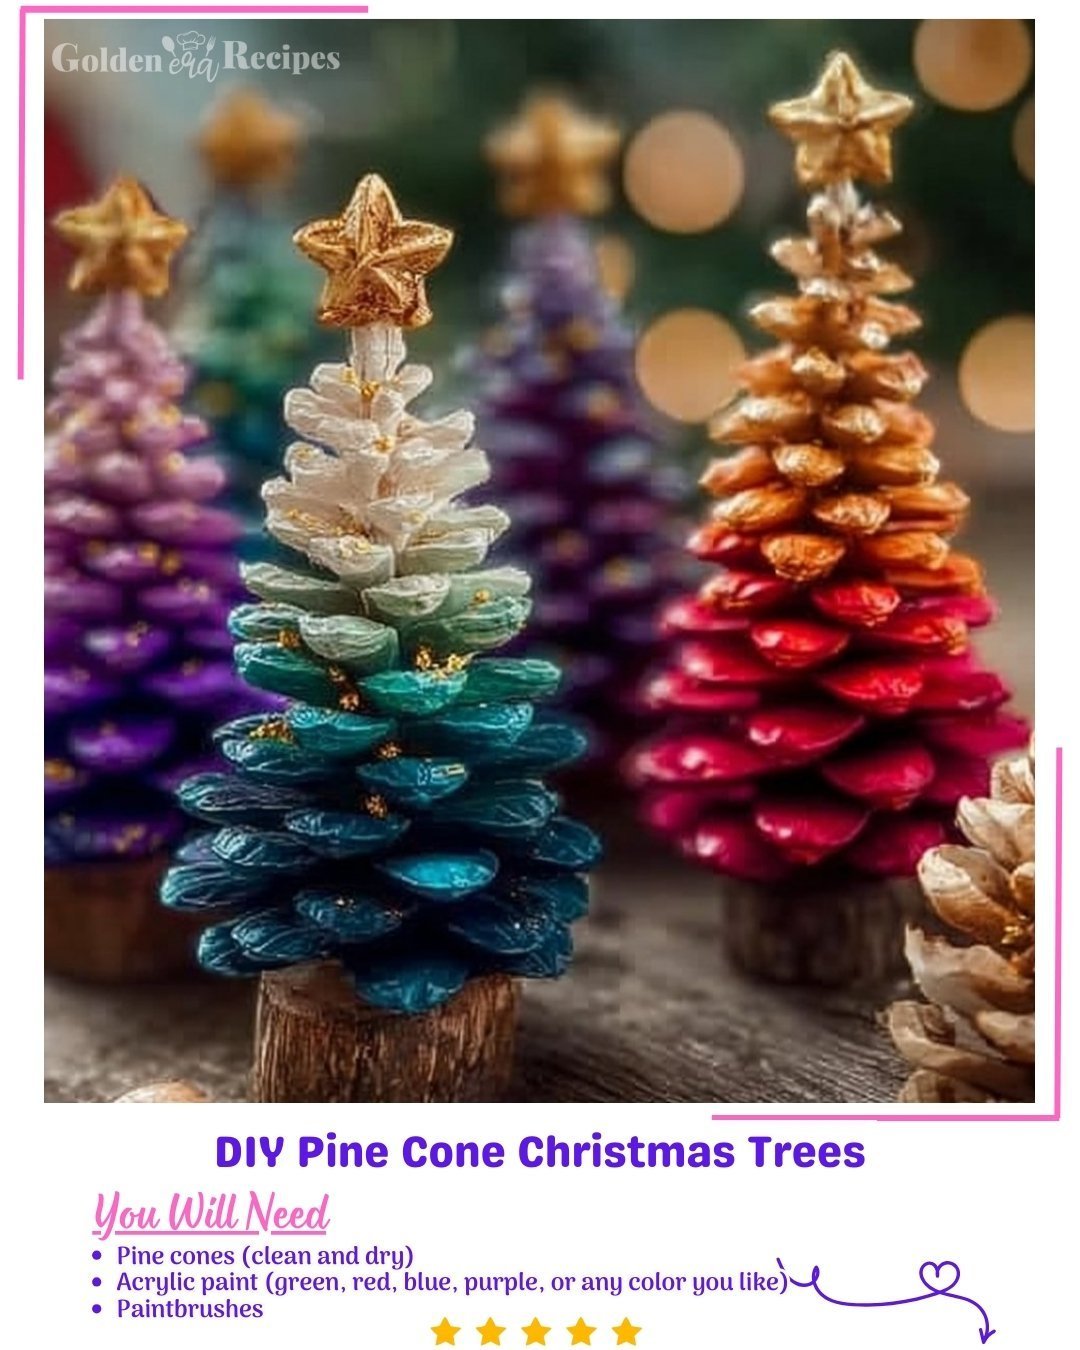
- Paint the Foliage: Using green paint, carefully paint the edges of the pine cone scales to mimic branches. If you prefer, you can also cut out leaf shapes from green craft foam to glue onto the pine cone.
- Add a Base: If desired, place your painted pine cone into a small pot or a sturdy base to give it more stability. You can use a bit of hot glue to secure it in place.
- Decorate: Once the paint is dry, decorate your tree with small ribbons, beads, or glitter. Use the hot glue gun to attach these decorative elements securely.
- Display Your Creation: Find the perfect spot in your home to showcase your new pine cone trees, or consider giving them as a handmade gift.
Helpful Tips
- Easier Assembly: When applying paint, use small amounts to avoid making a mess. It’s easier to add more than to take it away.
- Handling Small Parts: If children are involved, supervising the use of the hot glue gun is essential for safety.
- Placement and Display: Allow your trees to dry completely in a stable position to avoid any accidents or mess.
Easy Variations
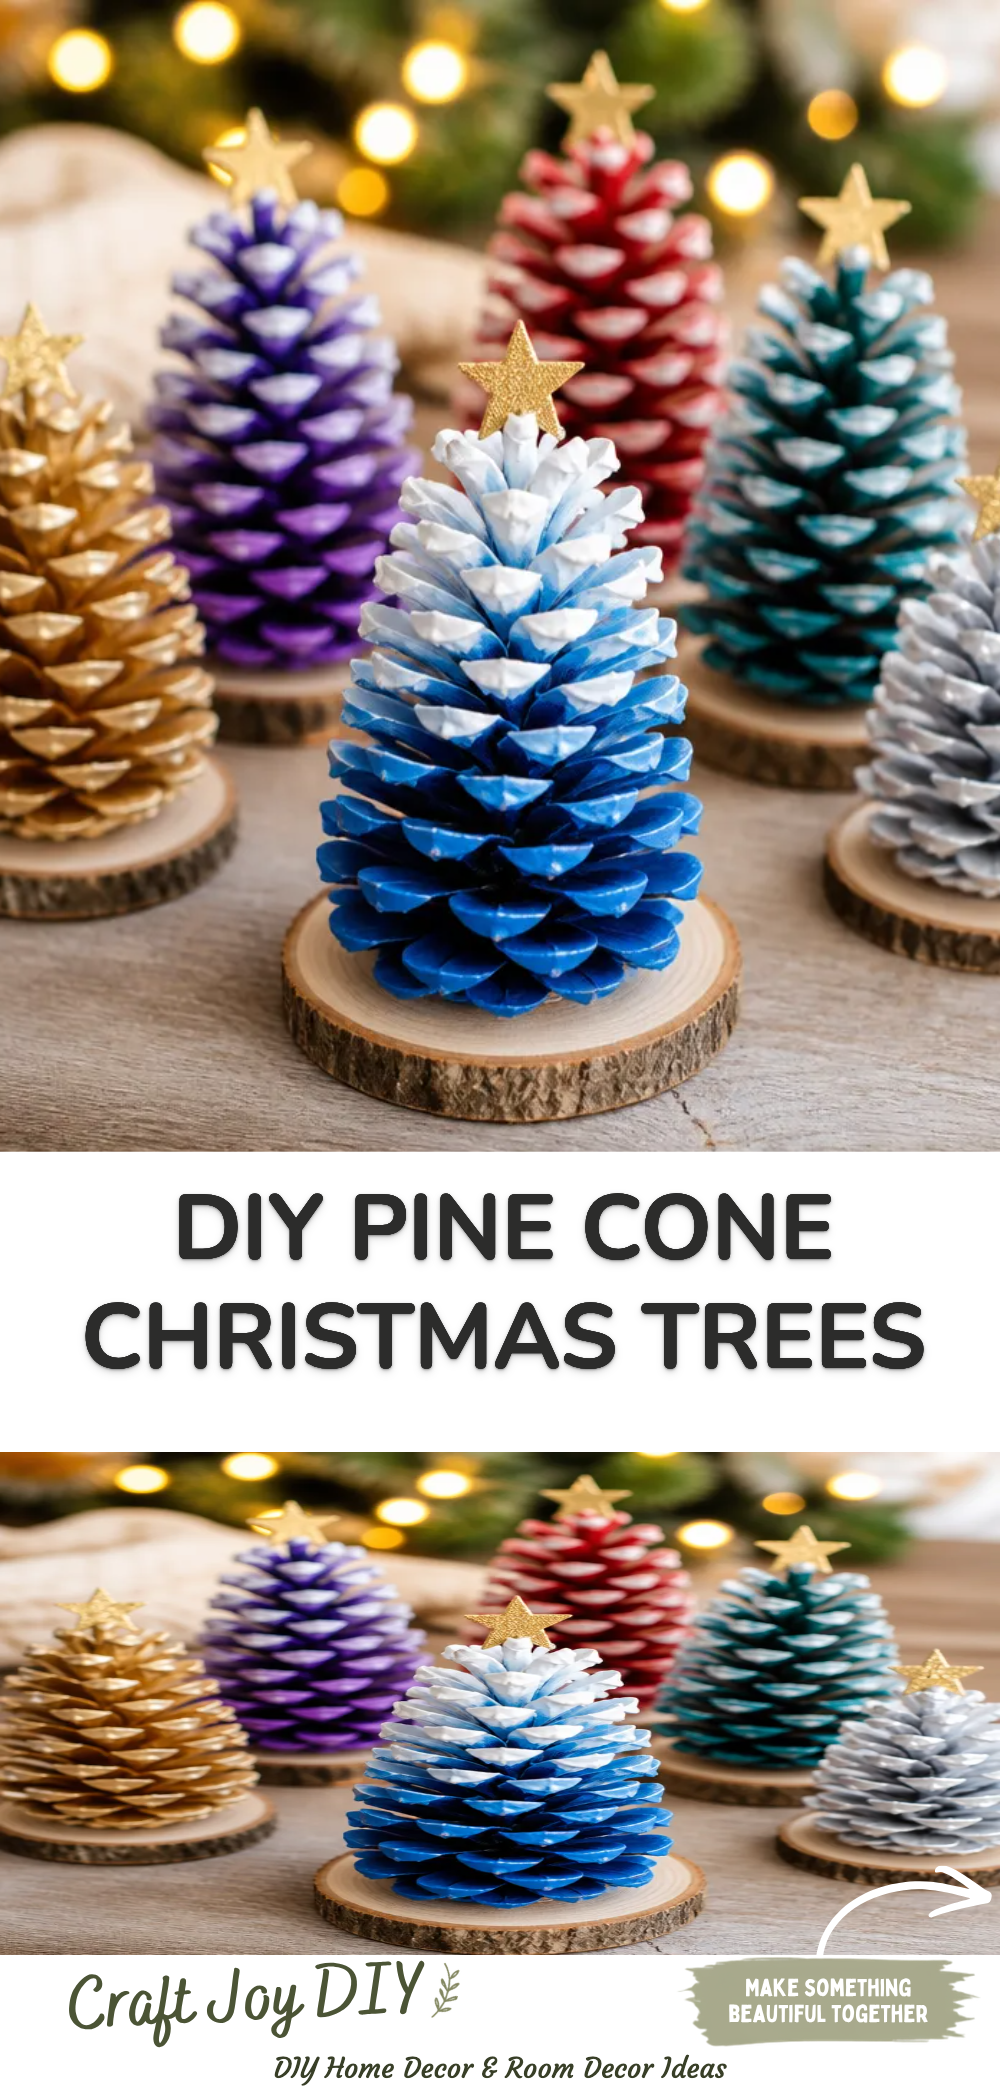
- Color Customization: Instead of using green, try different colors to match your other holiday decor or personal taste.
- Size Variations: Use larger pine cones for dramatic centerpieces and smaller ones for table decorations.
- Seasonal Themes: Add sparkles or themes related to other holidays, like gold or silver for a more festive look.
- Different Bases: Experiment with various materials for the base, like painted rocks or cardboard cutouts.
Making This Craft With Kids
This project is excellent for children, with the supervision of adults, especially when using scissors or glue guns. Younger children may enjoy painting and decorating, while older ones can take on more complicated tasks, like cutting out foam shapes. You may also find Diy Dried Flower Lantern Jar That Glows Beautifully useful.
How to Display or Use It
Once finished, your DIY pine cone Christmas trees can bring life to tabletops, mantels, or even as part of a festive centerpiece. They also make lovely seasonal gifts that show you care, perfect for friends, family, or teachers. You may also find Diy Egg Carton Tulip Bouquet Spring Decor useful.
Frequently Asked Questions
Can I use other types of cones?
Yes, you can use various types of cones. Just ensure they hold their shape well. You may also find Diy Floating Flower Bowl Centerpiece Every Season useful.
What type of paint is best for pine cones?
Acrylic paint works best as it adheres well and is available in many shades.
How long will the trees last?
With proper care, these trees can last for several seasons, especially if stored in a cool, dry place.
Can I use artificial decorations?
Absolutely! Feel free to use any decorative items that you like to enhance your pine cone trees.
How can I reuse my pine cone trees after the holiday season?
You can repaint them or adjust their decorations to suit different seasonal themes throughout the year.
Conclusion
Creating DIY pine cone Christmas trees is a fun and easy project that brings holiday cheer into your home. If you’re looking for more festive craft ideas, check out this DIY Pine Cone Christmas Tree tutorial for additional inspiration. For creative variations, you might also enjoy learning about Pine Cone Christmas Trees and how to craft them in unique ways. Embrace the joy of crafting this holiday season!
Print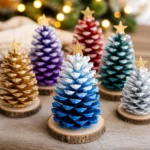
DIY Pine Cone Christmas Trees
- Total Time: 15 minutes
- Makes: Multiple decorations
Description
Create unique and charming DIY Pine Cone Christmas Trees using simple materials found at home or in nature. A perfect project for family bonding during the holiday season.
Materials
- Pine cones (various sizes)
- Green paint or craft foam for the tree’s foliage
- Paintbrush
- Hot glue gun and glue sticks
- Decorative items (e.g., beads, ribbons, glitter)
- Small pots or bases for support
Instructions
- Prepare your pine cones by gathering them and cleaning them if necessary.
- Paint the edges of the pine cone scales with green paint or attach green craft foam.
- Add a base using a small pot or sturdy base to stabilize the pine cone.
- Decorate the tree with ribbons, beads, or glitter using hot glue.
- Display your creation in your home or give it as a gift.
Notes
Supervise children during the use of hot glue guns and small parts. Allow trees to dry completely before handling.