


Vintage Herb Drying Rack for Kitchen Decor
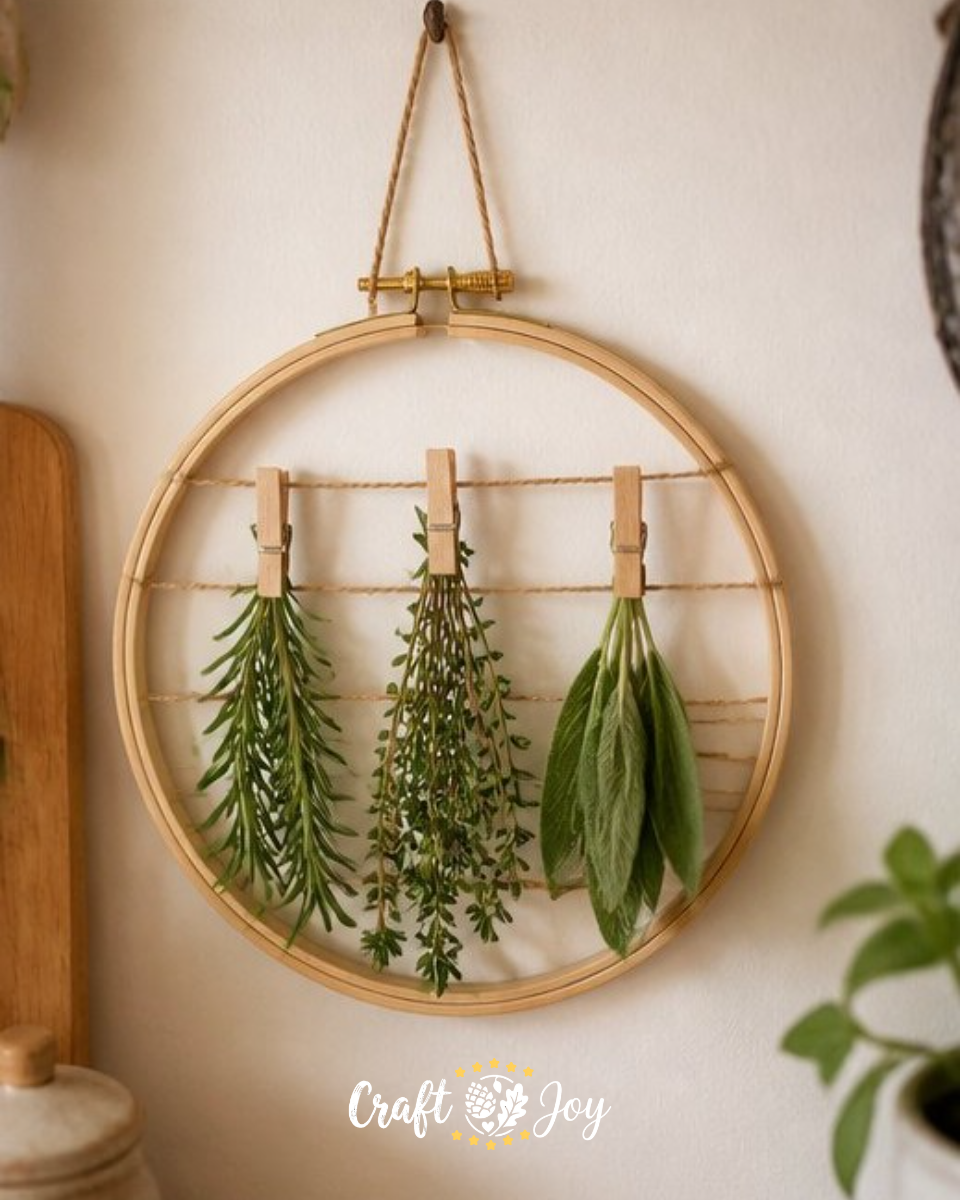
Creating a vintage herb drying rack is a charming way to add both functionality and style to your kitchen decor. This craft not only helps preserve the delicious flavors of your herbs but also serves as a beautiful display piece. Using accessible materials, you can make a lovely herb drying rack that reminds you of simpler times while infusing your home with natural scents. With this project, you’ll find that adding a touch of rustic elegance is surprisingly easy! You may also find Melted Crayon Rainbow Butterfly Suncatcher For Kids useful.
Crafting with your family can yield memorable bonding experiences; moreover, it’s a wonderful opportunity to teach children about the benefits of using fresh herbs in cooking. As you get started, consider other unique crafts like a cupcake liner sunflower wreath, which can enhance your home decorations in a fun way.
Why You’ll Enjoy This Project
- Simple Materials: This project uses everyday items, making it budget-friendly and easy to gather.
- Fun for All Ages: Involving kids in crafting can be a rewarding educational experience, allowing them to learn about herbs and their uses.
- Quick Assembly: You can complete this project in a short amount of time, so you won’t feel overwhelmed.
- Charming Decor: Once completed, this rack adds a rustic touch to your kitchen and provides easy access to dried herbs for cooking or tea.
You may also find Melted Crayon Rainbow Heart Suncatcher For Kids useful.
Materials You’ll Need
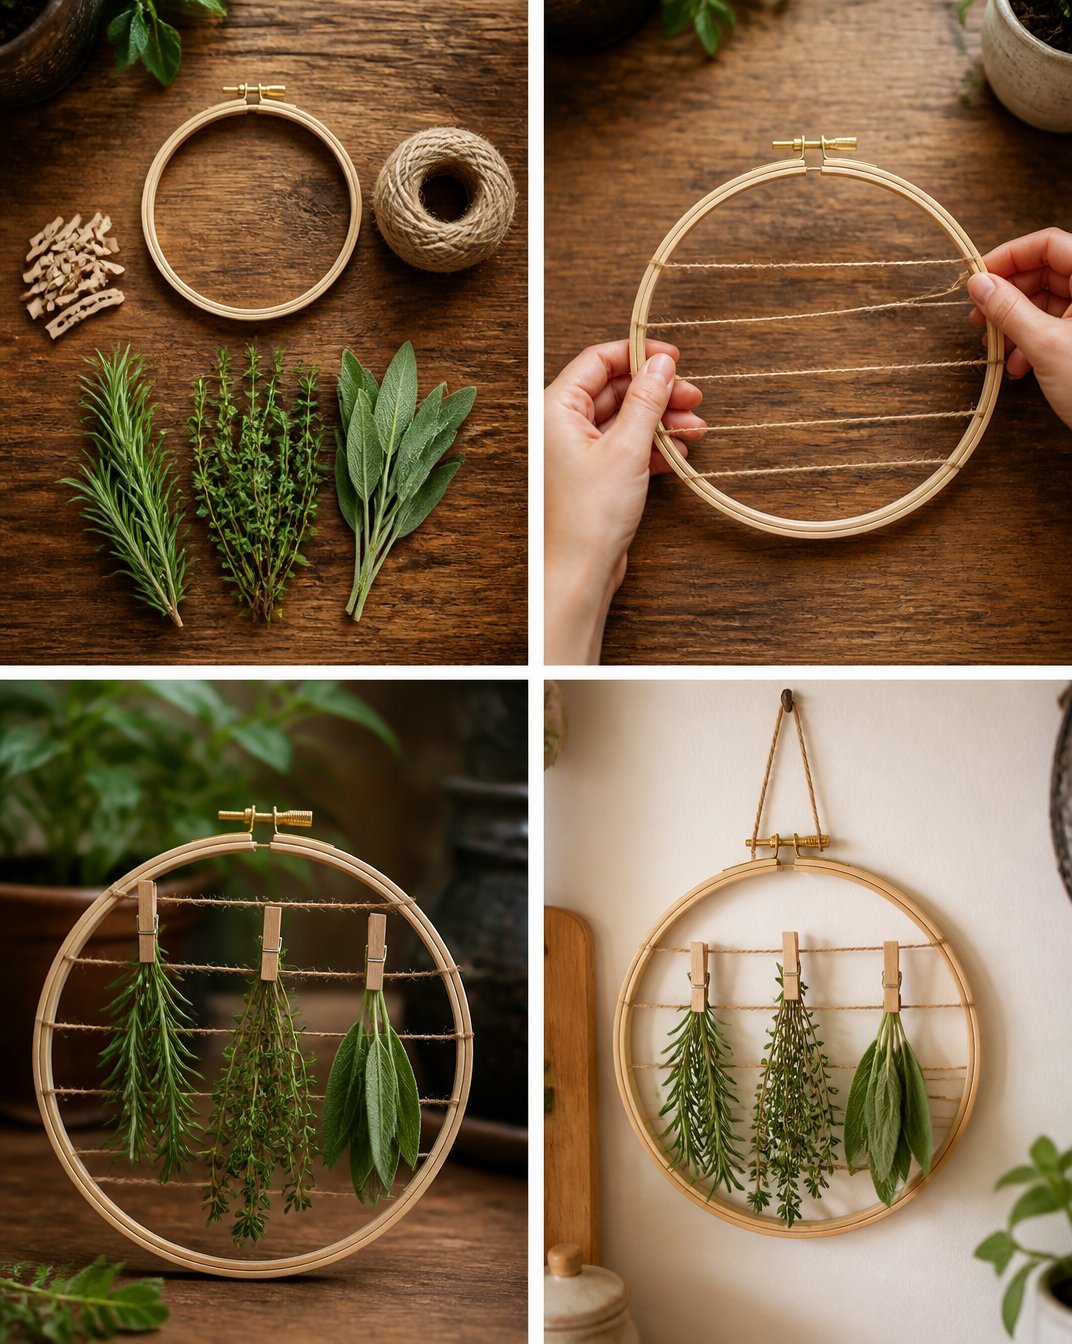
- Small wooden embroidery hoop (8 in)
- 20 in jute twine
- Fresh herbs (rosemary, thyme, sage)
- Mini clothespins
This project is quite flexible. For example, if you want to try different herbs, feel free to experiment with what you have on hand. You can also consider using a larger embroidery hoop if you have a bounty of herbs to dry. You may also find Rainbow Ghost Cupcake Liner Garland Halloween Decor useful.
How to Make Vintage Herb Drying Rack for Kitchen Decor
Prepare the Hoop: Start by tying the jute twine across the hoop in several rows, creating a lovely framework for your herbs. Ensure the twine is taut but not too tight, as the herbs will need a little space to hang.
Attach the Herbs: Next, gently clip fresh herbs onto the strings using the mini clothespins, arranging them as you please. Feel free to alternate between different types of herbs for a visually appealing arrangement.
Choose the Right Spot: Find a dry, airy space in your home to hang your herb drying rack. The more air circulation, the better the drying process will be.
Allow to Dry: Allow the herbs to dry naturally; this may take a week or so depending on the condition of the herbs. During this time, you can enjoy the aroma wafting through your kitchen!
Helpful Tips
- When tying the jute twine, consider varying the spacing between rows for a more textured look.
- Ensure that the herbs are fully dry before storing them to avoid mold.
- If you’d like to personalize your drying rack, consider painting or decorating the embroidery hoop with non-toxic paint.
Easy Variations
- Dye the Twine: Use natural dyes to color your twine for a more personalized touch.
- Different Sizes: Use various sized embroidery hoops to create multiple racks for different herbs.
- Seasonal Themes: Change up the herbs based on the season for a fresh outlook throughout the year.
Making This Craft With Kids
This craft is perfect for children, but adult supervision is advisable during the twine tying to ensure safety. Kids can enjoy clipping the herbs and arranging them, which lets them exercise their creativity.
How to Display or Use It
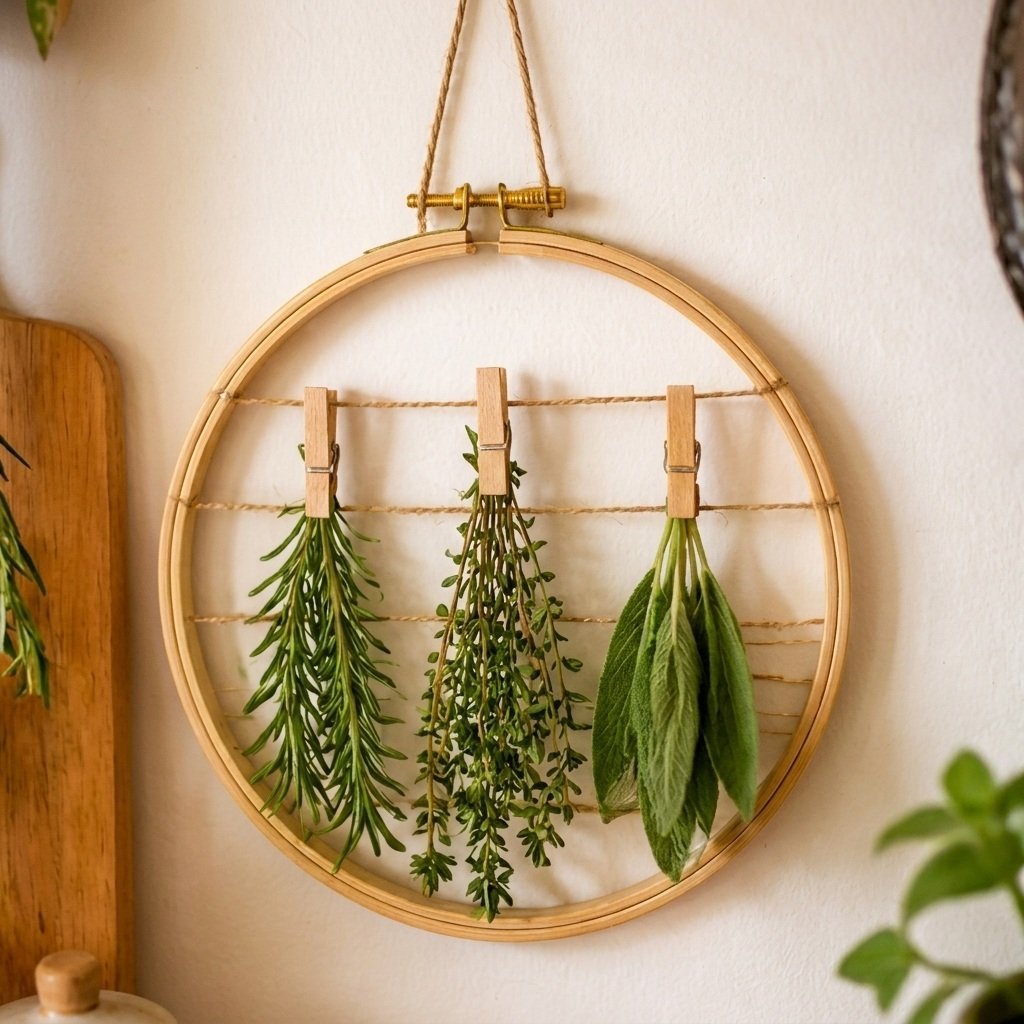
Once your herbs are dried, you can store them in airtight jars or use them directly in your cooking. A beautifully crafted herb drying rack not only serves a purpose but also becomes an eye-catching centerpiece in your kitchen. You could even gift this easy-to-make DIY project to family or friends who love cooking, or display it alongside a rainbow monster pencil holder for a playful touch.
Frequently Asked Questions
How long will it take for the herbs to dry?
The drying time can vary but generally takes about a week depending on humidity levels in your home.
Can I use any type of herbs?
Yes! You can use a variety of herbs, including basil, oregano, or mint.
Is it necessary to wash the herbs before drying?
It is a good practice to wash your herbs gently to remove any dirt, but ensure to dry them thoroughly before hanging.
What if I don’t have mini clothespins?
You could substitute small paper clips or string if necessary.
Conclusion
Creating a vintage herb drying rack not only adds charm to your kitchen but is also a sustainable way to utilize fresh herbs. By following these simple steps, you can enjoy the benefits of having herbs at your fingertips. For those looking to enhance their culinary space even more, check out this unique herb drying rack vintage. Additionally, you might find inspiration in the article about simple ways to use dried herbs in kitchen decor for further ideas!
Print
Vintage Herb Drying Rack for Kitchen Decor
- Total Time: 10080 minutes
- Makes: 1 herb drying rack
Description
Create a charming vintage herb drying rack that adds both functionality and rustic style to your kitchen decor, allowing you to easily preserve and display fresh herbs.
Materials
- Small wooden embroidery hoop (8 in)
- 20 in jute twine
- Fresh herbs (rosemary, thyme, sage)
- Mini clothespins
Instructions
- Prepare the hoop by tying the jute twine across the hoop in several rows to create a framework for your herbs.
- Attach the fresh herbs onto the strings using mini clothespins, arranging them as desired.
- Choose a dry, airy spot in your home to hang your herb drying rack for good air circulation.
- Allow the herbs to dry naturally for about a week, enjoying the aroma in the meantime.
Notes
Ensure herbs are fully dry before storing them to avoid mold. You can paint or decorate the embroidery hoop for personalization.