

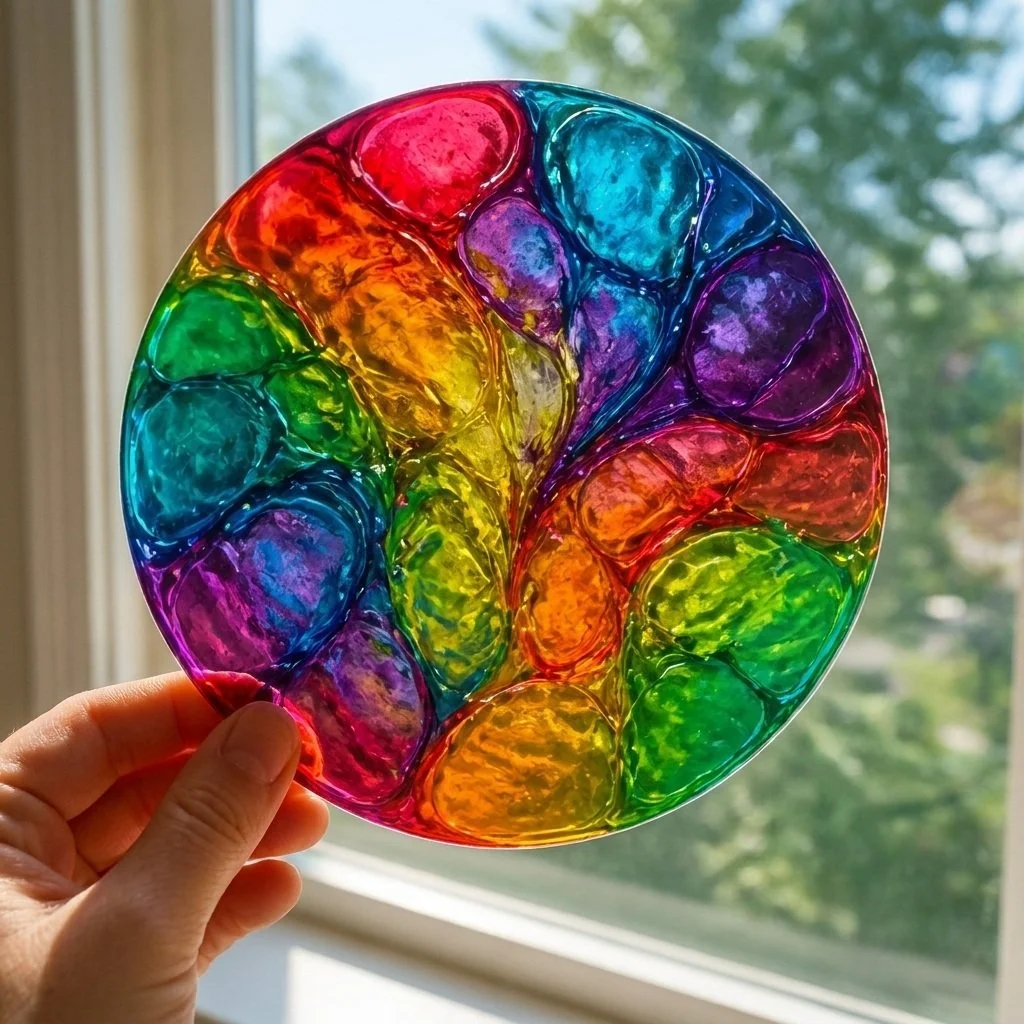
Stained Glass Glue Art
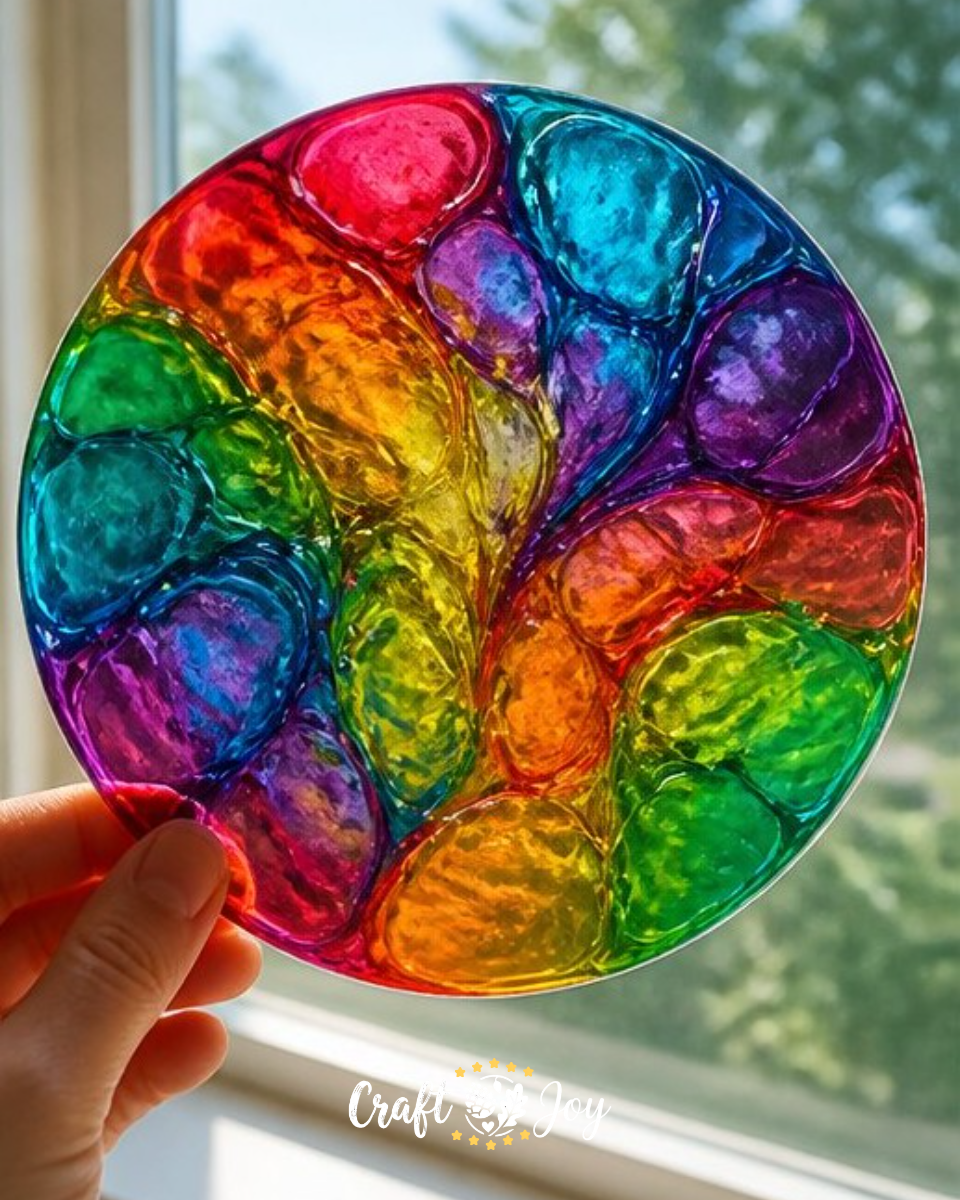
Creating beautiful stained glass glue art is a fun and creative way to brighten up your home or classroom. This project is not only enjoyable for kids and adults alike, but it also provides a perfect opportunity to explore color mixing and design. With just a few simple materials, you can make stunning window decorations that catch the light and add a touch of color to any space. Plus, if you’re looking for more fun craft ideas, you might enjoy exploring melted crayon creations as well!
Why You’ll Enjoy This Project
There are many reasons why this stained glass glue art project is enjoyable:
- Creative Expression: This craft allows for endless possibilities in design. You can create anything from simple shapes to intricate patterns using just glue and color.
- Easy Setup: You only need a few household materials, making it accessible for everyone.
- Educational: It’s a great way to teach kids about color mixing and design concepts while having fun.
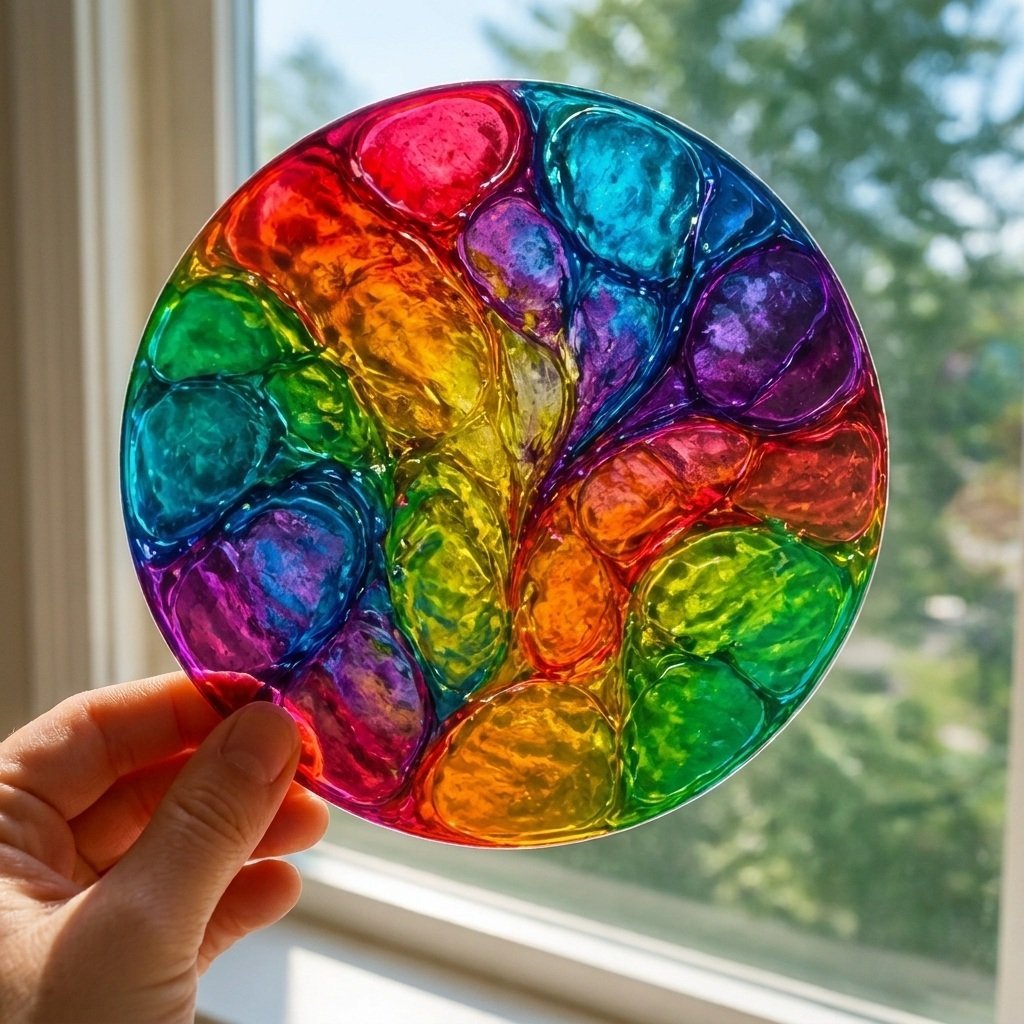
- Decorative: When hung in a window, your finished artwork will catch the light beautifully and become a unique decoration in your home.
Materials You’ll Need
To get started, gather the following materials:
- 1/2 cup clear school glue
- 5 drops liquid food coloring
- 1 sheet clear transparency film or acetate
- 1 small paintbrush
- 1 toothpick
When selecting your food coloring, you can choose any colors that inspire you or align with a theme just make sure they are vibrant!
How to Make Stained Glass Glue Art
Follow these simple steps to create your stained glass art:
Prepare Your Workspace: Start by placing the clear transparency film on a flat and level surface. This ensures that your melted glue artwork will be even and makes it easier to work on.
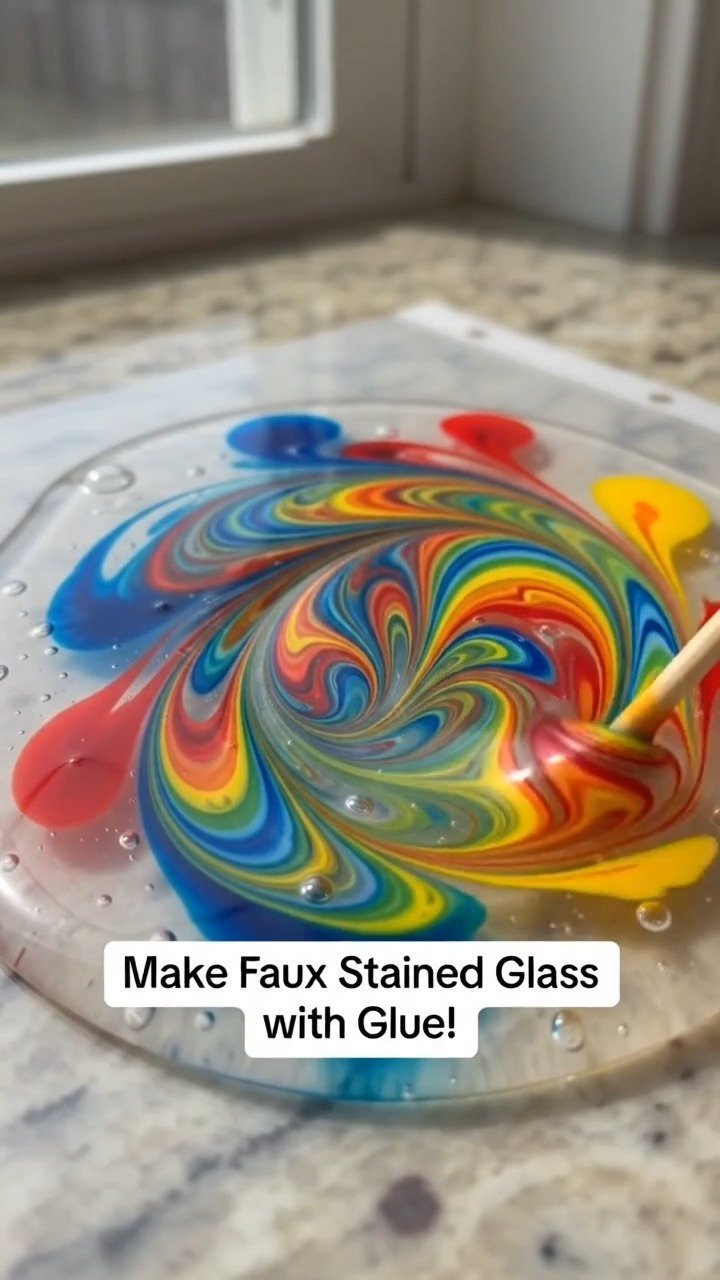
Mix Your Colors: In separate containers, mix small amounts of glue with different drops of food coloring. You can adjust the depth of color by adding more or less food coloring.
Design Your Artwork: Using the paintbrush, apply the colored glue mixtures onto the film, creating designs as you prefer. Think about how you want to fill the space and get creative!
Marble the Colors: With the toothpick, gently swirl the colors together to create beautiful marbled patterns. This is where you can experiment with different shapes and styles.
Drying Time: Allow your artwork to dry completely for 24 hours. Once dry, it will be ready to hang in a window and catch the light!
Helpful Tips
- Cleaning Up: Keep a damp cloth nearby to clean any glue spills quickly.
- Color Mixing: If you want to create new colors, mix different food coloring drops in the glue before application, leading to unique shades and tints in your art.
- Drying Location: Place your artwork in a well-ventilated area or outside if it’s not too windy to help it dry evenly.
- Displaying: Hang your finished art in a window or on a wall where it can be appreciated and enjoyed.
Easy Variations
- Seasonal Themes: Use specific colors to create art for different seasons, like orange and black for Halloween or pastels for spring.
- Shape Templates: Cut the transparency film into shapes like hearts or stars to create themed pieces.
- Layering Colors: Apply several layers of colored glue for a more textured effect once the previous layer dries.
- Miniature Versions: Scale down the size for smaller pieces that can be used as ornaments or gifts.
Making This Craft With Kids
This project is suitable for children but may require adult supervision, especially during color mixing and application. Children can have fun experimenting with colors and designs. However, adults should assist with ensuring that the workspace remains clean and organized.
How to Display or Use It
Once your stained glass art is dry, it can be hung in a window where sunlight can enhance its colors. You might also consider using clips or adhesive putty to display it on walls or use it as part of a seasonal decoration display.
Frequently Asked Questions
Can I use other types of glue?
While clear school glue is best for this project, you can experiment with other clear adhesives, but results may vary.
How can I clean my materials if glue dries on them?
Soak them in warm, soapy water to help loosen any dried glue before gently scrubbing.
What if I want to use glitter or other embellishments?
You can add glitter to the colored glue mixtures for extra sparkle, but keep in mind it may change the opacity.
Can I use food coloring substitutes?
While food coloring works best, you could look into using liquid watercolor paints as an alternative.
Conclusion
Stained glass glue art is a delightful and easy project for families and educators. Not only does it encourage creativity, but it also produces beautiful results that can brighten up your home. For those interested in exploring more techniques, check out how to make faux stained glass with acrylic paint and learn about black glue stained glass art for additional inspiration. Happy crafting!
Print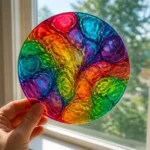
Stained Glass Glue Art
- Total Time: 1440 minutes
- Makes: 1 artwork
Description
Create stunning stained glass glue art that brightens your home or classroom. This fun craft is perfect for all ages.
Materials
- 1/2 cup clear school glue
- 5 drops liquid food coloring
- 1 sheet clear transparency film or acetate
- 1 small paintbrush
- 1 toothpick
Instructions
- Prepare your workspace by placing the clear transparency film on a flat and level surface.
- Mix your colors in separate containers by combining glue with different drops of food coloring.
- Design your artwork using the paintbrush to apply the colored glue mixtures onto the film.
- Marble the colors by gently swirling them together with the toothpick.
- Allow your artwork to dry completely for 24 hours before hanging.
Notes
Encourage creativity by experimenting with colors and designs. Use a damp cloth for quick cleanups.