

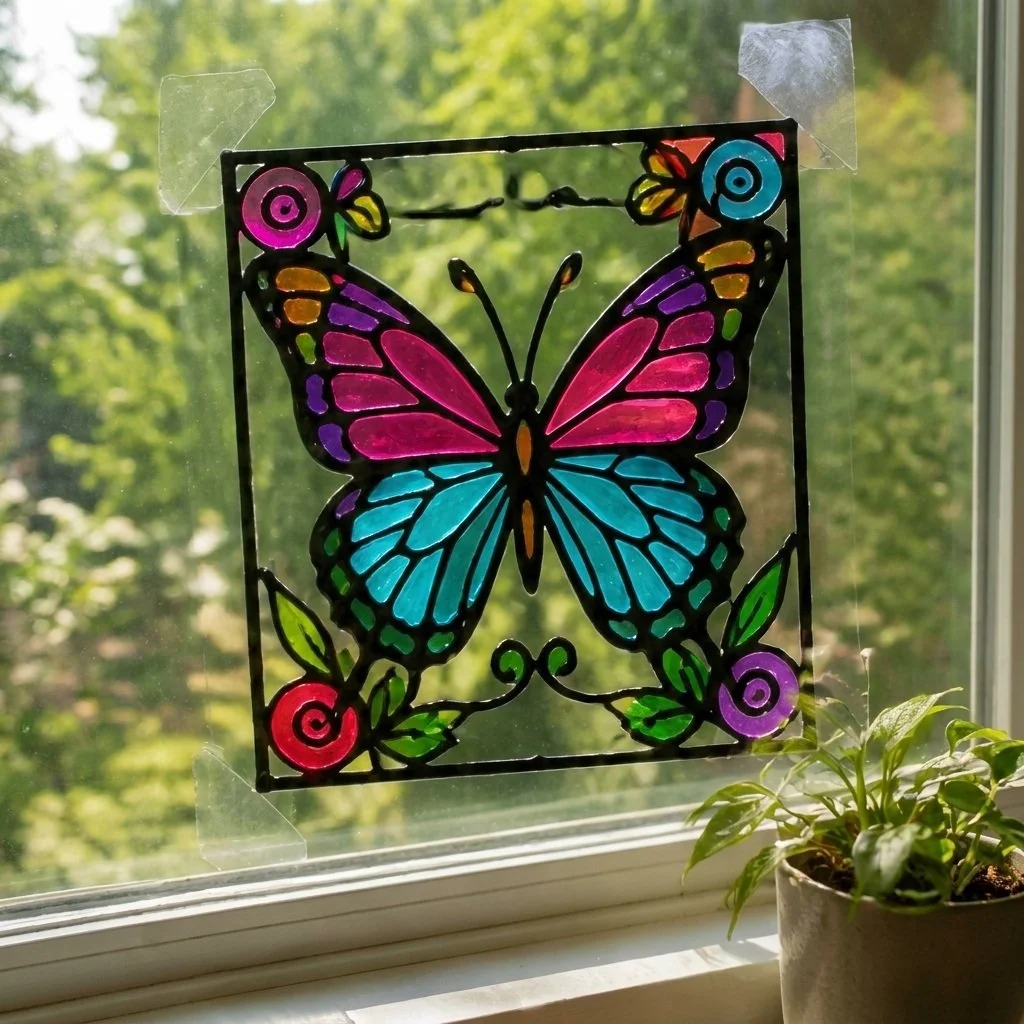
Stained Glass Glue Art
Creating stunning stained glass art with glue is a delightful project that can brighten any space in your home. This craft is especially enjoyable because it allows both kids and adults to express their creativity while learning about color mixing and design. With just a few basic materials, you’ll be able to make beautiful, translucent pieces that mimic the look of real stained glass. You may also find Melted Crayon Rainbow Heart Suncatcher For Kids useful.
Whether you’re making art for your own home or as a special gift, this stained glass glue art project will not only entertain but also give you a lovely decoration to display. Let’s dive into why you’ll enjoy this project!
Why You’ll Enjoy This Project
- Simple Instructions: The steps are straightforward and easy to follow, making it perfect for crafters of all skill levels.
- Creative Freedom: You can choose your favorite colors and designs, allowing for endless creativity.
- Great for All Ages: This project is fun for both children and adults, making it a quality family activity.
- Educational Elements: Kids can learn about colors and art techniques while having fun creating.
- Beautiful Results: The final product is a stunning piece of art that adds charm to your space.
Materials You’ll Need
To create your stained glass glue art, gather the following materials:
- 1 bottle of black school glue (4 oz)
- 1 bottle of clear school glue (5 oz)
- 1 set of liquid food coloring (0.25 oz bottles)
- 2 sheets of clear plastic transparency film (8.5×11 inches)
- 1 small watercolor paintbrush
Using materials you have on hand can be a creative twist, but make sure to stick with school glue for best results.
How to Make Stained Glass Glue Art
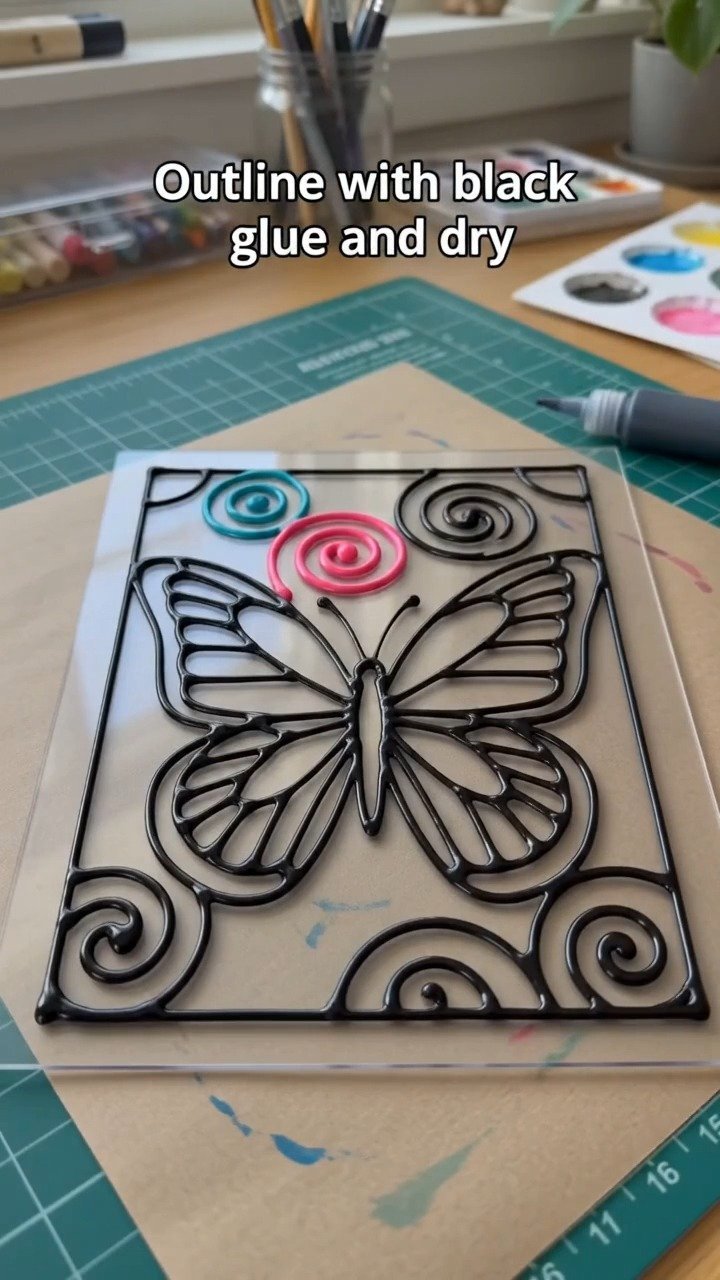
- Prepare Your Design: Start by placing a printed design template underneath one sheet of clear plastic transparency film.
- Trace the Outline: Using the black school glue, carefully trace the outline of your design. Allow it to dry completely for about 2 to 4 hours.
- Mix Your Colors: While you wait, mix a few drops of your chosen liquid food coloring into small cups of clear school glue to create beautiful, translucent paints.
- Fill in the Colors: Once the black outlines are fully dry, gently paint the colored glue mixtures inside the outlines using your paintbrush.
- Let It Dry: Allow the entire design to dry overnight until it becomes a lovely, translucent piece.
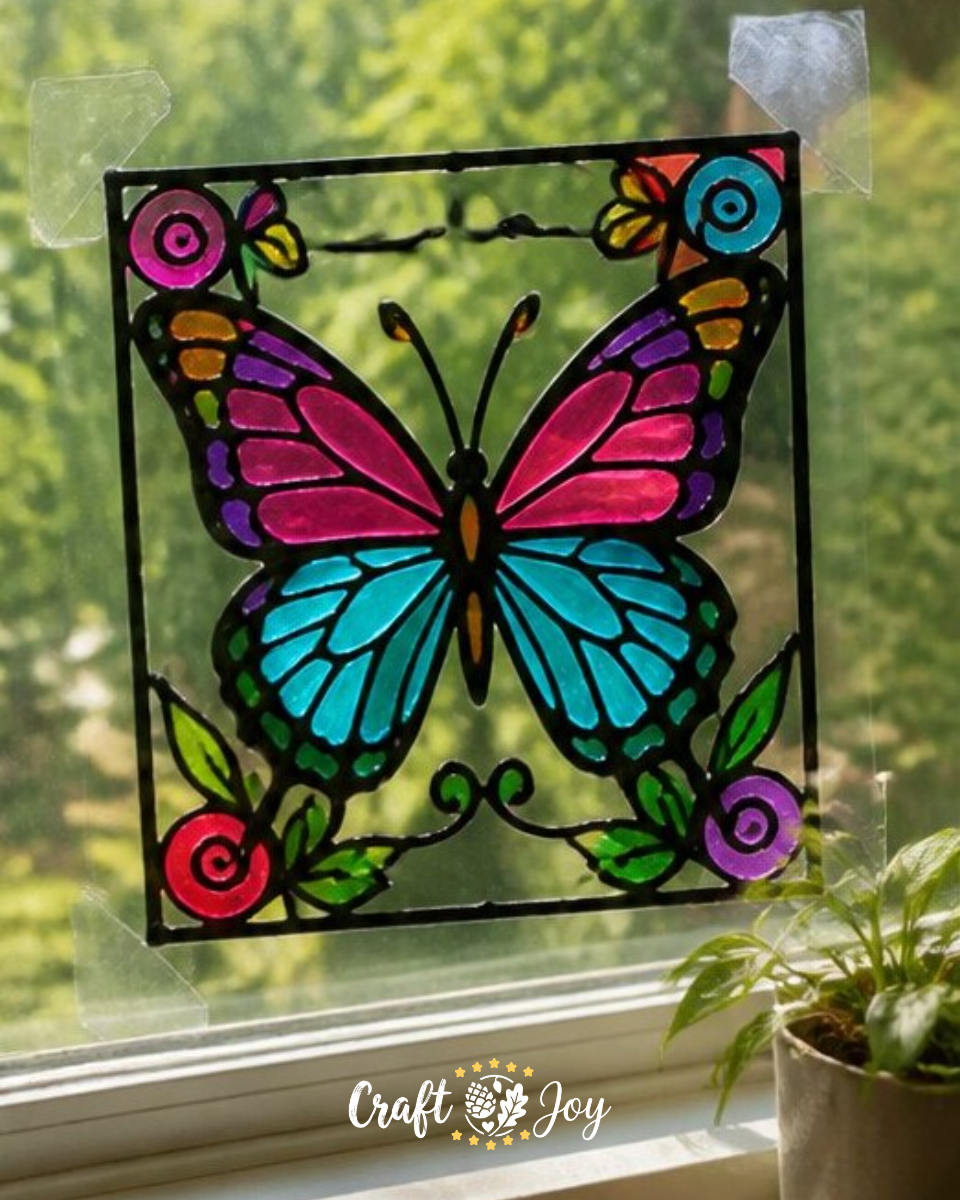
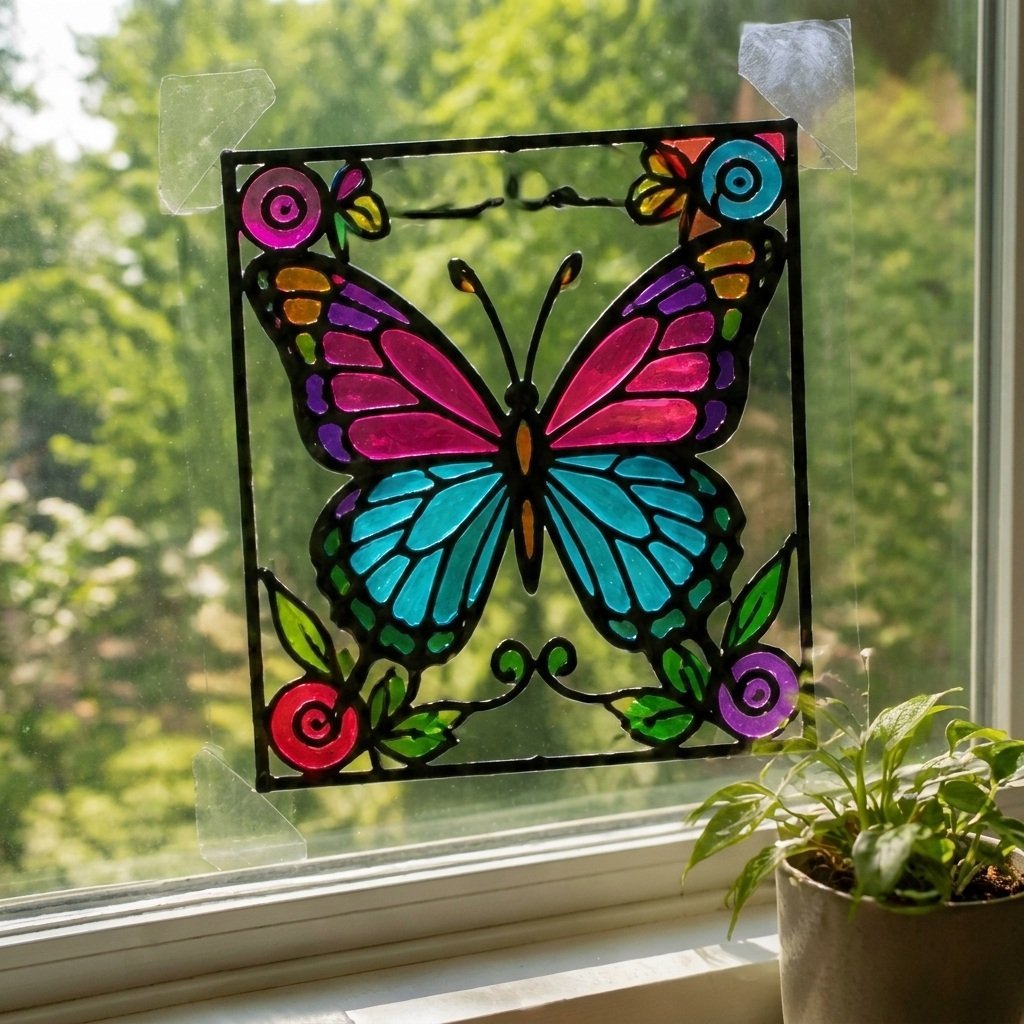
- Display Your Artwork: When you’re ready, simply tape your creation to a sunny window to enjoy its beauty.
Helpful Tips
- Cleanup: Keep a damp cloth handy to clean any accidental spills while working with glue.
- Drying Space: Choose a flat surface for drying your project to prevent any bending or warping.
- Color Mixing: Experiment with different color combinations to create unique shades.
- Age Appropriateness: Younger children may need adult supervision when using the glue and paint to avoid messes.
Easy Variations
- Different Themes: Try using seasonal themes, such as flowers for spring or leaves for autumn.
- Sizes: Create smaller pieces for a fun window collage or larger pieces for a statement artwork.
- Textures: Add textured layers with other materials like tissue paper for added interest.
- Gift Ideas: Use this craft to make holiday gifts or personalized decorations for family and friends.
- Different Designs: Instead of using templates, let kids draw their own designs for a personal touch.
Making This Craft With Kids
Stained glass glue art is a fantastic project for children. However, adults may want to supervise the use of glue and any mixing to ensure safety, especially with younger kids. Encouraging kids to choose their own designs will also help them express creativity and ownership over their art.
How to Display or Use It
Once your stained glass glue art is complete, you can tape it to windows, hang it in your living space, or even use it as a unique backdrop for family photos. The light will shine through the colored glue, creating vibrant colors in your home.
Frequently Asked Questions
How long does the glue take to dry?
The black school glue typically takes 2 to 4 hours to dry, while the colored glue may need overnight drying to set completely.
Can I switch the types of glue?
It is recommended to use school glue for best results as it allows for better texture and drying properties.
Is this project messy?
Like many crafts, there can be some mess, but using a clean space and keeping materials organized can minimize it.
Can I store leftover materials?
Yes, you can save any leftover clear glue or food coloring for future projects, just make sure to seal them tightly.
Is the final piece fragile?
The finished piece is somewhat durable but should be handled with care when moving or displaying, especially when taped to windows.
What decorations can I create with this project?
You can make various decorations, including window hangings, sun catchers, or even wall art.
Conclusion
Stained glass glue art is a fantastic craft that brings joy and color into your home. Exploring different methods helps you expand your creative arsenal, and there are many resources for additional inspiration. You might want to check out how to make faux stained glass with acrylic paint and glue for another fun twist on this technique or learn about black glue stained glass art to enjoy even more creative possibilities!
Print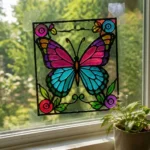
Stained Glass Glue Art
- Total Time: 24 hours
- Makes: 1 piece of art
Description
Create stunning stained glass art with glue that adds vibrant color and charm to your home, perfect for crafters of all ages.
Materials
- 1 bottle of black school glue (4 oz)
- 1 bottle of clear school glue (5 oz)
- 1 set of liquid food coloring (0.25 oz bottles)
- 2 sheets of clear plastic transparency film (8.5 x 11 inches)
- 1 small watercolor paintbrush
Instructions
- Prepare Your Design: Start by placing a printed design template underneath one sheet of clear plastic transparency film.
- Trace the Outline: Using the black school glue, carefully trace the outline of your design. Allow it to dry completely for about 2 to 4 hours.
- Mix Your Colors: While you wait, mix a few drops of your chosen liquid food coloring into small cups of clear school glue to create beautiful, translucent paints.
- Fill in the Colors: Once the black outlines are fully dry, gently paint the colored glue mixtures inside the outlines using your paintbrush.
- Let It Dry: Allow the entire design to dry overnight until it becomes a lovely, translucent piece.
- Display Your Artwork: When you’re ready, simply tape your creation to a sunny window to enjoy its beauty.
Notes
Keep a damp cloth handy for cleanup, and choose a flat surface for drying your project.