

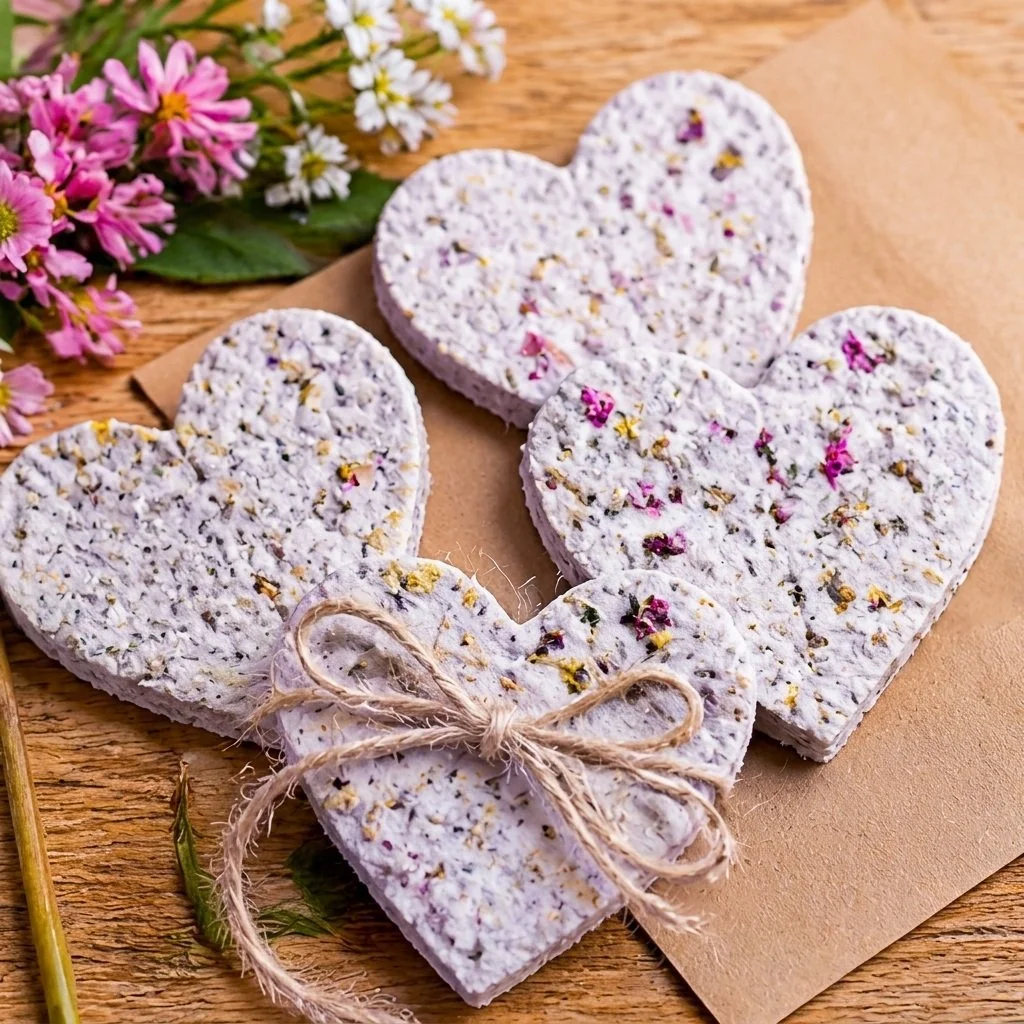
DIY Blooming Seed Paper Hearts for Garden Gifts
Creating beautiful and eco-friendly gifts doesn’t have to be complicated! In this tutorial, you’ll learn how to make delightful DIY blooming seed paper hearts that can be planted in the garden. These heartfelt creations are perfect for gifting on special occasions or simply to brighten someone’s day. Plus, they contribute to a beautiful garden once planted, making them a unique and thoughtful present. You may also find Rainbow Tissue Paper Flower Lantern Diy For Kids useful.
The process is enjoyable for both kids and adults, allowing for creativity while working with natural materials. If you fancy a project that combines crafting with nature, this is the one for you! You may also find Rainbow Monster Pencil Holders Diy Craft For Kids useful.
You may also find Cupcake Liner Dahlia Bouquet Diy Centerpiece Kids useful.
Why You’ll Enjoy This Project
- Eco-Friendly: Using shredded paper helps recycle materials, which is great for the environment.
- Educational: Kids can learn about plants and the importance of nature while making these seed hearts.
- Simple Supplies: Most of the materials are inexpensive and easy to find.
- Creative Freedom: You can personalize the hearts with different colors or by adding various types of seeds.
- Joyful Gifting: These hearts can be gifted on many occasions such as birthdays, Mother’s Day, or holidays.
Materials You’ll Need
- 2 cups shredded paper
- 2 cups warm water
- 1 tbsp wildflower seeds
- Heart cookie cutter
It’s best to use paper that can be recycled and safe for planting, such as old newspaper or scrap paper. You may also find Cupcake Liner Sunflower Wreath Craft For Kids useful.
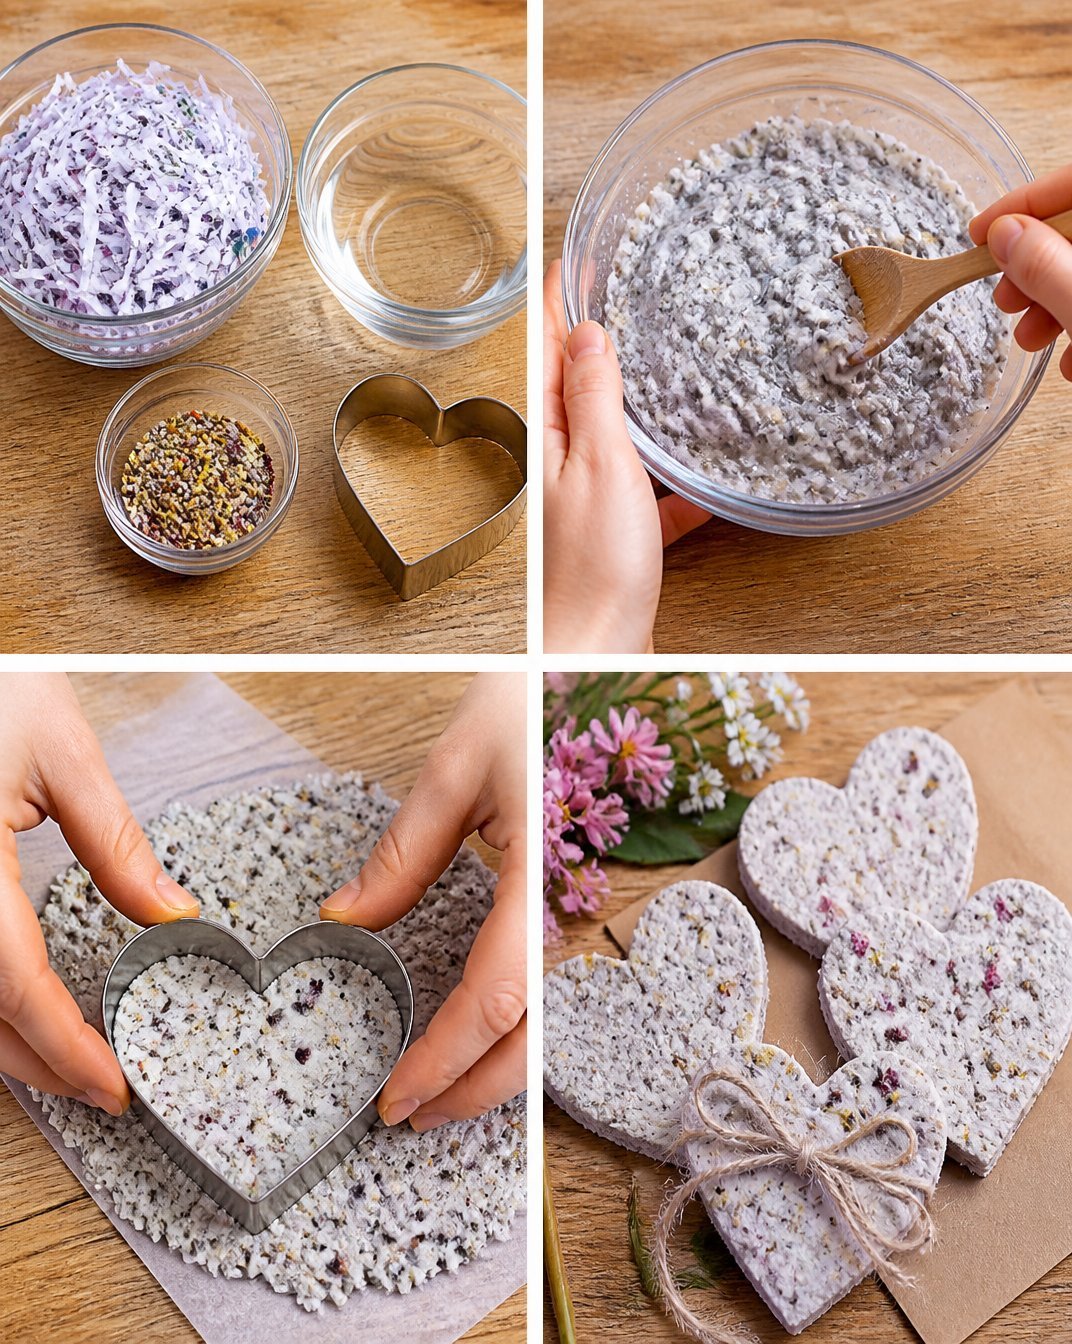
How to Make DIY Blooming Seed Paper Hearts for Garden Gifts
- Begin by blending the shredded paper and warm water together until you form a smooth pulp. This is the heart of your project!
- Gently stir in the wildflower seeds, allowing your creation to carry life.
- Using the heart cookie cutter, press your mixture into heart shapes. Feel free to shape them closely together for a beautiful cluster.
- Let your seed paper hearts dry for 24–48 hours in a sunny spot. Once dry, they’re ready to gift or plant!
Helpful Tips
- Blending: When blending the paper and water, make sure the pulp is smooth and without large chunks to ensure a consistent shape.
- Placement During Drying: Place the newly shaped hearts on a smooth surface that allows airflow beneath them to speed up drying time.
- Supervision for Kids: If crafting with children, adult supervision is recommended, especially with the blending process.
Easy Variations
- Colorful Paper: Use colored construction paper to create vibrant heart shapes.
- Various Seeds: Experiment with different types of flower seeds, such as herbs or vegetables for those with gardens.
- Larger Hearts: Try using a larger cookie cutter for more substantial gifts.
- Decorative Touches: Add glitter or small embellishments to enhance the appearance before drying.
- Gift Wrapping: You can package these hearts in small pots or bags for a unique presentation.
Making This Craft With Kids
This project is perfect for kids with adult assistance. Mixing the pulp and handling the cookie cutter can be fun and educational. Ensure that kids are involved in every step, from blending to planting, as they learn about the plant lifecycle. You may also find Diy Rainbow Popsicle Stick Flower Wheel Craft useful.
How to Display or Use It
These seed paper hearts can be presented in a whimsical way, such as in a flower pot with a small note explaining how to plant them. Consider arranging them in a bouquet for a beautiful display, perfect for any celebration.
Frequently Asked Questions
Can I use other types of paper?
Yes, you can use any recyclable paper, but avoid glossy or coated types, as they may not decompose well.
How do I plant the seed paper hearts?
Simply bury them under a thin layer of soil in a sunny spot, and water them gently.
How will the seeds grow?
After planting, keep the soil moist but not soggy. With time and care, the seeds will germinate and bloom into flowers.
Are these suitable for all kinds of seeds?
Most wildflower and native plant seeds work well, but be aware that some plants may require specific conditions to grow.
How can I gift these hearts?
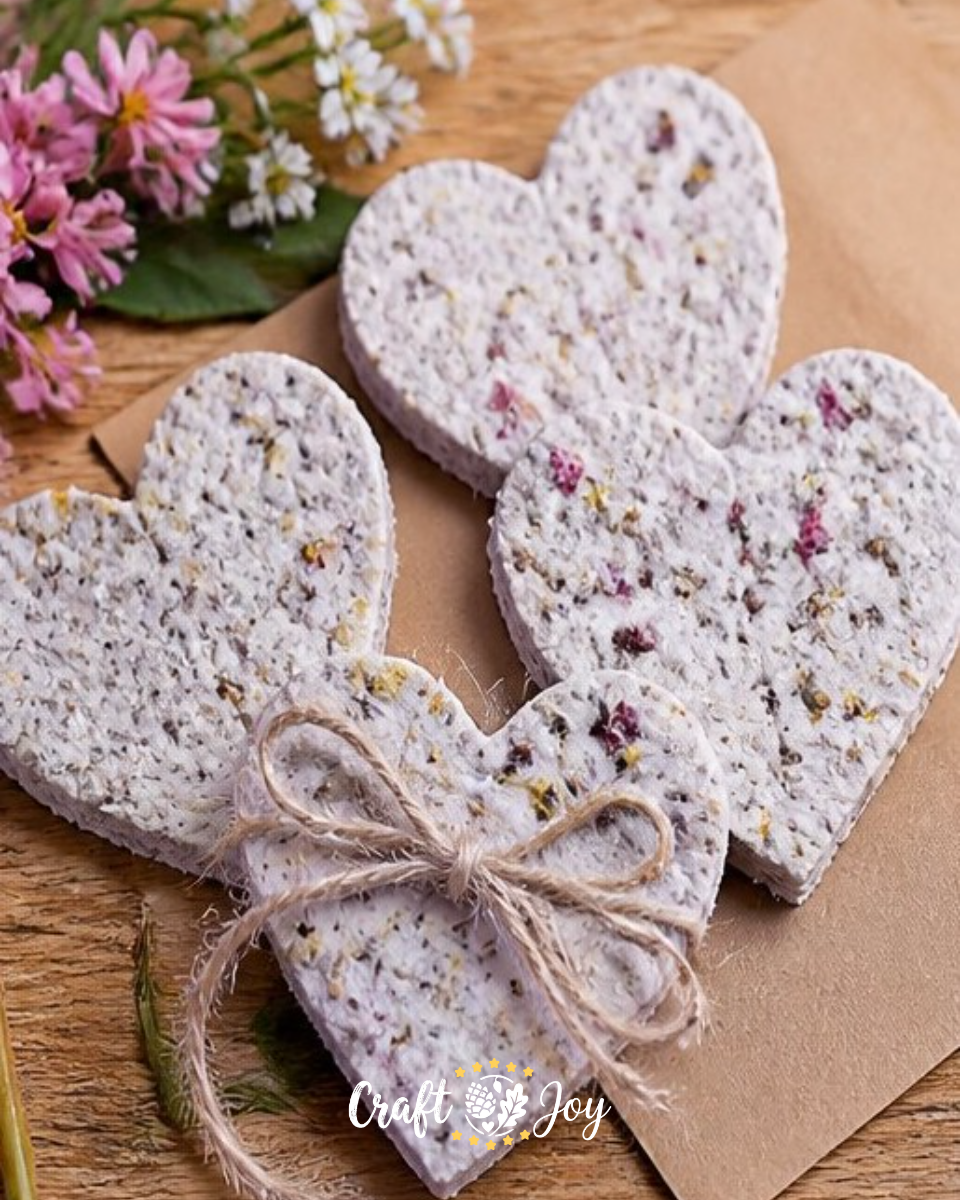
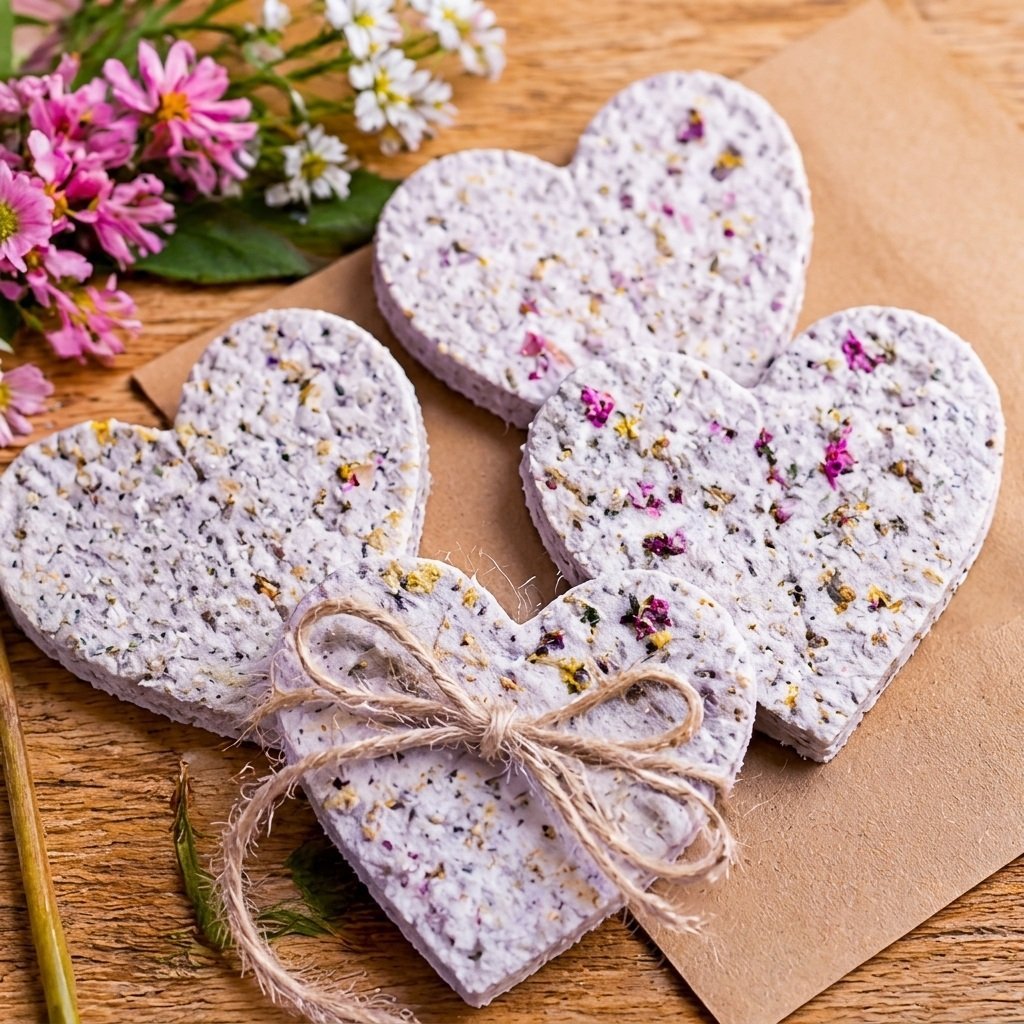
You can tie them with twine, place them in pots, or even attach to greeting cards as a thoughtful addition.
Conclusion
DIY blooming seed paper hearts make not only a wonderful gift but also a meaningful way to celebrate nature. You might also want to check out these unique Seed Bloom Combo Greeting Cards for additional gifting ideas. For more creative projects, consider exploring DIY seed balls that make delightful garden additions!
Print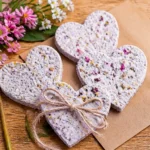
DIY Blooming Seed Paper Hearts for Garden Gifts
- Total Time: 1455 minutes
- Makes: 10 hearts
Description
Create eco-friendly blooming seed paper hearts that can be planted in the garden. Perfect for gifts on special occasions or to brighten someone’s day.
Materials
- 2 cups shredded paper
- 2 cups warm water
- 1 tbsp wildflower seeds
- Heart cookie cutter
Instructions
- Begin by blending the shredded paper and warm water together until you form a smooth pulp.
- Gently stir in the wildflower seeds.
- Using the heart cookie cutter, press your mixture into heart shapes.
- Let your seed paper hearts dry for 24–48 hours in a sunny spot.
Notes
Use recyclable paper and supervise kids during the crafting process. Personalize with colorful paper or various seeds.