

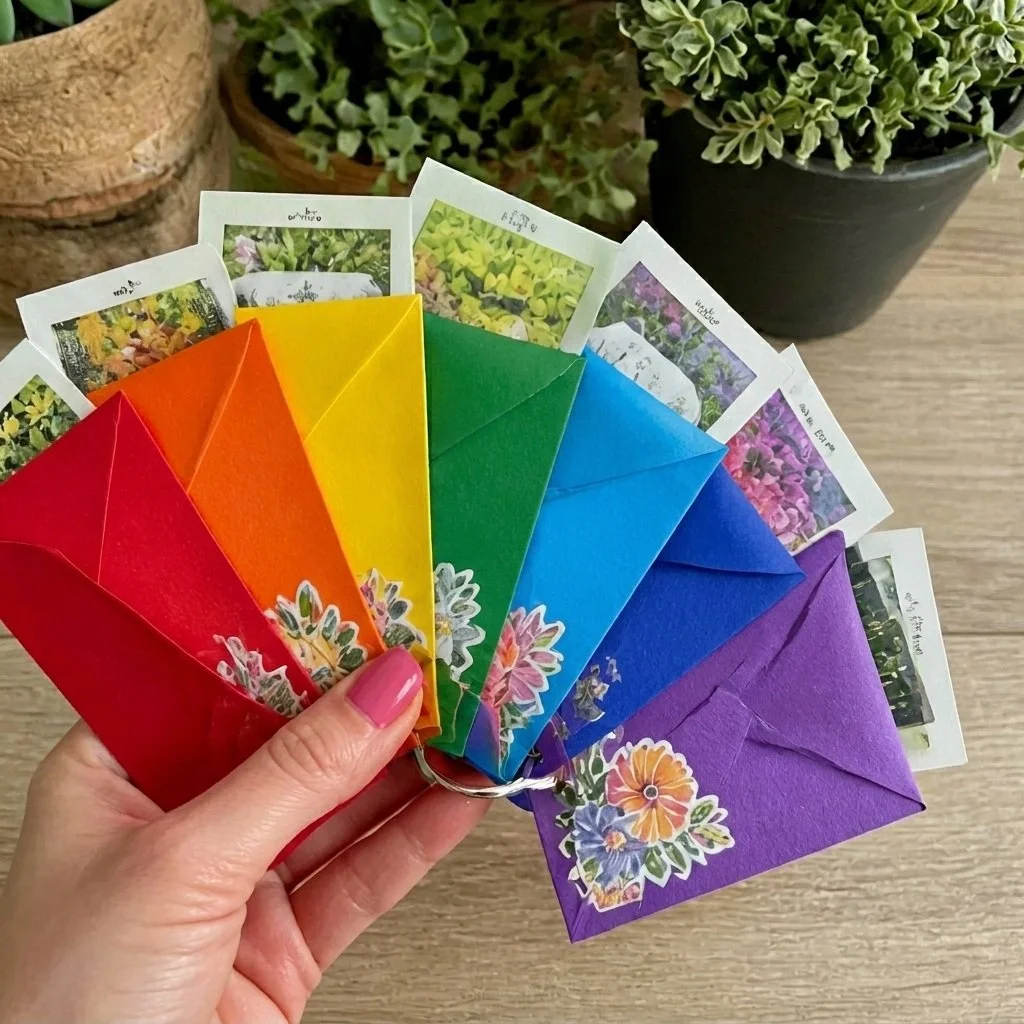
Colorful Rainbow Seed Packet Organizer for Gardeners
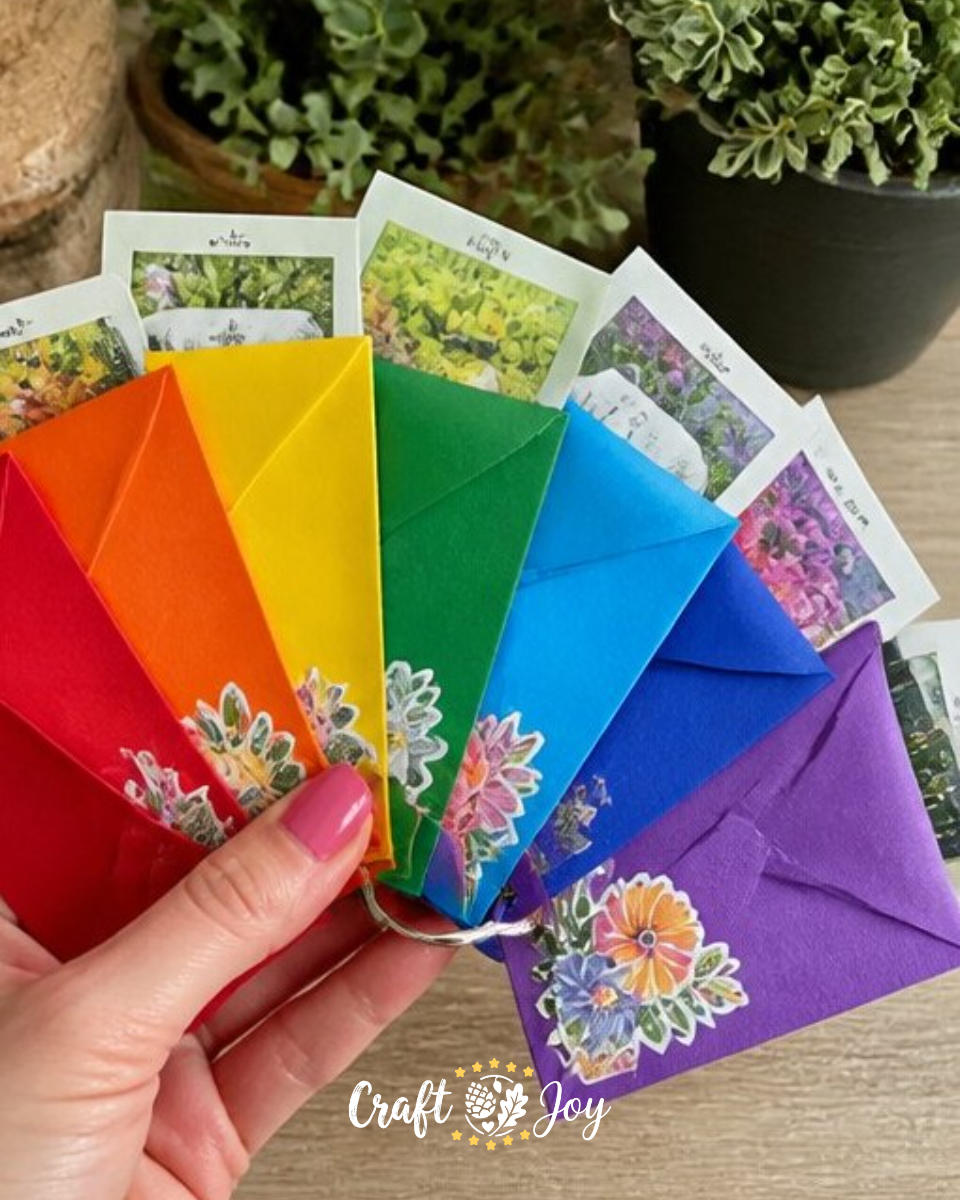
Creating a colorful rainbow seed packet organizer is a delightful way to tidy up your garden seeds while adding a splash of color to your gardening space. Not only does it help you keep track of your seeds, but it also makes the whole gardening experience more enjoyable. By using small envelopes decorated in rainbow hues, you can create a vibrant organizer that’s both functional and fun to make. You may also find Melted Crayon Rainbow Butterfly Suncatcher For Kids useful.
This project is ideal for families and beginner crafters, allowing you to engage in a hands-on activity that brings creativity and organization together seamlessly. Let’s dive into how to make this colorful rainbow seed packet organizer! You may also find Melted Crayon Rainbow Heart Suncatcher For Kids useful.
You may also find Rainbow Monster Pencil Holders Diy Craft For Kids useful.
Why You’ll Enjoy This Project
This project is enjoyable for several reasons: You may also find Rainbow Popsicle Stick Daisy Wheel Craft For Kids useful.
- Creative Expression: You can use various colors and decorations, allowing for personal creativity.
- Organization: It helps to consolidate and organize your seed packets, making it easier to find what you need.
- Easy to Make: The steps are simple and straightforward, ideal for crafting sessions with kids or friends.
- Functional Decor: The finished product not only serves a purpose but also brightens up any gardening area.
- Inexpensive Materials: You can use common materials, keeping the costs low while enjoying the crafting process. For additional ideas on colorful crafts, consider exploring rainbow-painted rocks that can also enhance your garden.
Materials You’ll Need
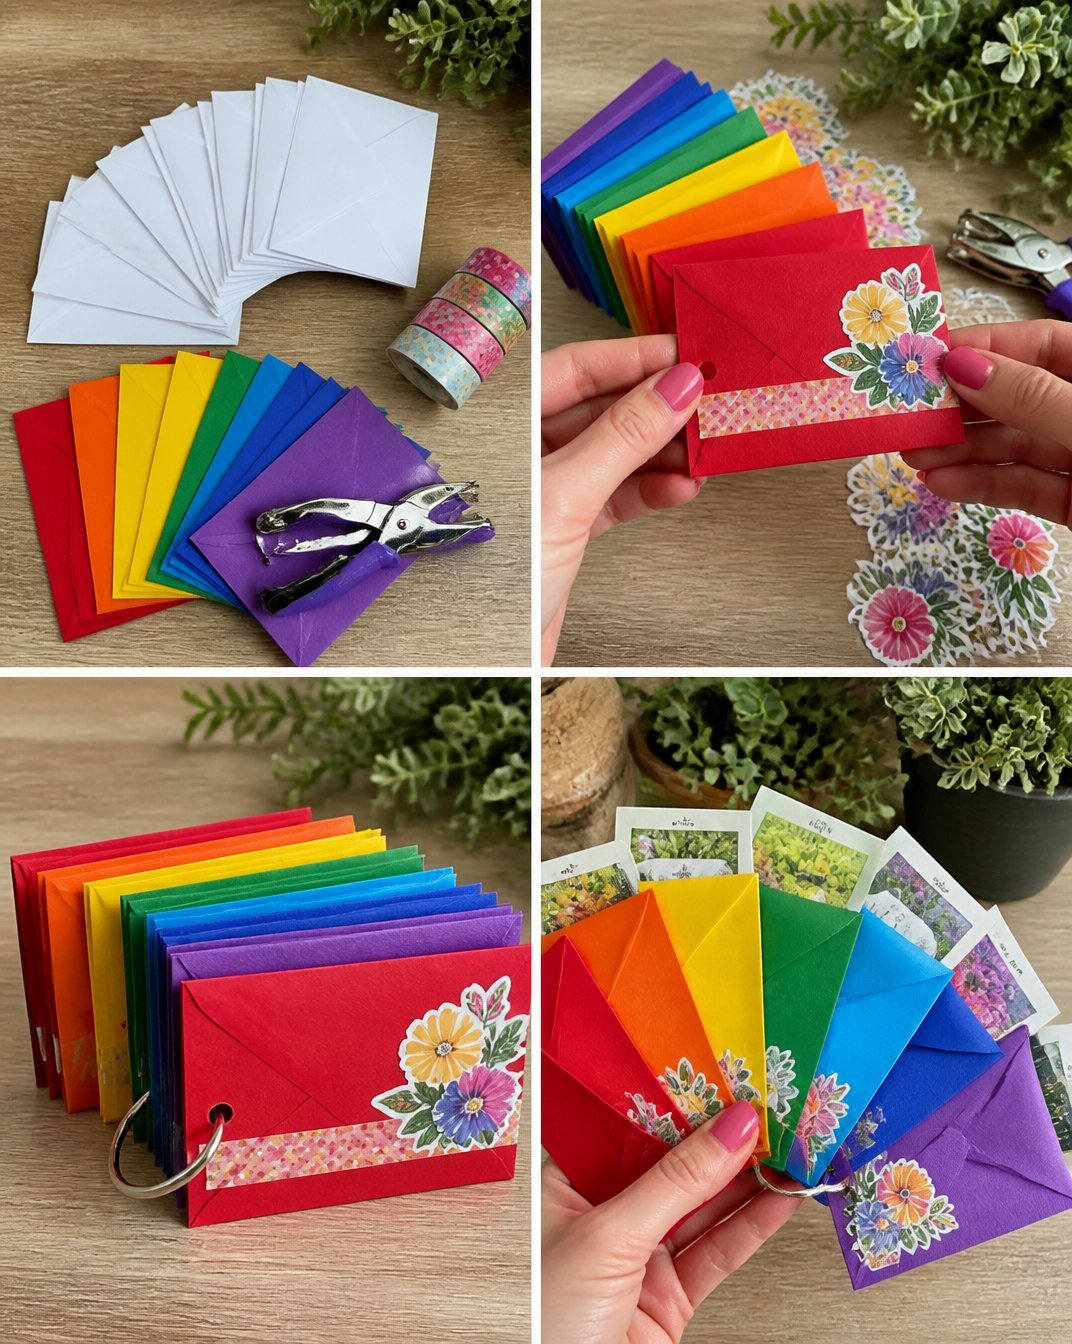
Gather the following materials to create your seed packet organizer:
- Small envelopes
- Rainbow cardstock
- Washi tape
- Stickers
- Hole punch
Using recycled or leftover materials can also add a personal touch to your project.
How to Make Colorful Rainbow Seed Packet Organizer for Gardeners
Follow these steps to make your leaf-shaped seed organizer:
Cover Each Envelope: Take your small envelopes and cover each with a different color of rainbow cardstock. You can secure the cardstock with glue or washi tape for a fun touch.
Decorate: Use floral stickers and washi tape to enhance the design of each envelope. Mixing and matching colors and patterns can help you create a unique appearance.
Punch Holes: Once your envelopes are decorated, punch holes along one edge. Be sure to line up the holes so they will all bind together neatly.
Bind Them Together: Use a string or ribbon to bind the envelopes together. This creates a flipbook-style organizer that is easy to use.
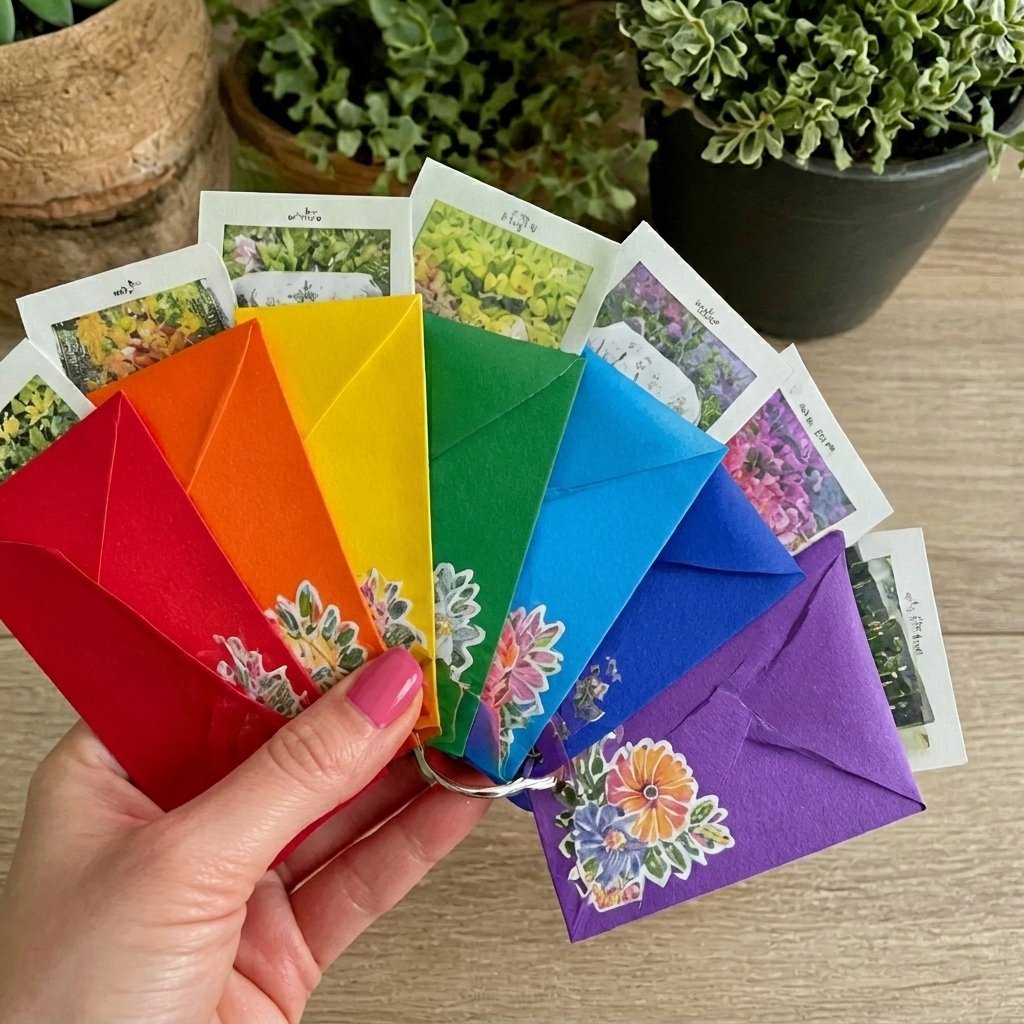
Enjoy Your Work: Flip through your colorful organizer and admire your creativity. It’s a satisfying finish that adds a wonderful touch to your gardening tools.
Helpful Tips
- When decorating the envelopes, consider letting kids choose their favorite colors to make it more engaging for them.
- Use double-sided tape for a cleaner look.
- For a more sturdy organizer, use thicker cardboard for the backing of each envelope.
- If you have trouble binding the envelopes, a simple binder clip can hold them together temporarily while you figure out the best binding technique.
Easy Variations
Feel free to make this craft your own with these variations:
- Seasonal Themes: Change the colors based on seasons pastel colors for spring, vibrant colors for summer, and warm tones for fall.
- Size Adjustments: Make larger envelopes for storing bigger packets or seed types.
- Gift Packaging: Use this organizer as a gift for fellow gardeners by filling it with seeds.
- Mixed Materials: Combine scrap fabric and paper for the envelopes for a different texture.
- Labeling: Add labels to each envelope for easy identification of seeds, such as “Vegetables” or “Flowers”.
Making This Craft With Kids
This project is great for kids under adult supervision, especially in decorating and using the hole punch. Always assist with cutting or handling any tools needed for this craft to ensure safety.
How to Display or Use It
Your colorful organizer can be placed on a shelf, in a potting shed, or even hung on a wall as cheerful garden decor. It’s a practical way to keep your seeds organized and can also serve as a lovely gift for gardening friends.
Frequently Asked Questions
What kind of envelopes should I use?
Small paper envelopes work best, but you can also use recycled envelopes if they are in good condition.
How can I prevent the envelopes from falling apart?
Ensure to use strong adhesive or tape to secure the cardstock to the envelopes, especially if they will hold heavier seed packets.
Can I use this for things other than seeds?
Absolutely! This organizer can be used for small craft supplies, notes, or any other small items that need organizing.
What is the best way to store this organizer?
Keep it in a cool, dry place, away from direct sunlight to prevent fading, especially if you used paper and stickers.
Conclusion
Creating a colorful rainbow seed packet organizer is a fun and rewarding way to bring organization and creativity into your gardening activities. For those who want to explore gardening further, you might find inspiration in articles about growing coleus or check out tips for starting your own cut flower garden. Enjoy your crafting!
Print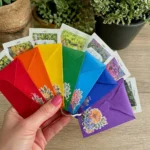
Colorful Rainbow Seed Packet Organizer
- Total Time: 15 minutes
- Makes: 1 organizer
Description
Create a vibrant and functional rainbow seed packet organizer that’s perfect for keeping your garden seeds tidy.
Materials
- Small envelopes
- Rainbow cardstock
- Washi tape
- Stickers
- Hole punch
Instructions
- Cover Each Envelope: Cover each small envelope with a different color of rainbow cardstock.
- Decorate: Use floral stickers and washi tape to enhance each envelope’s design.
- Punch Holes: Punch holes along one edge of the decorated envelopes.
- Bind Them Together: Use string or ribbon to bind envelopes into a flipbook-style organizer.
- Enjoy Your Work: Flip through your colorful organizer and admire your creativity.
Notes
Consider using recycled materials for a personal touch. Always supervise kids while crafting.