

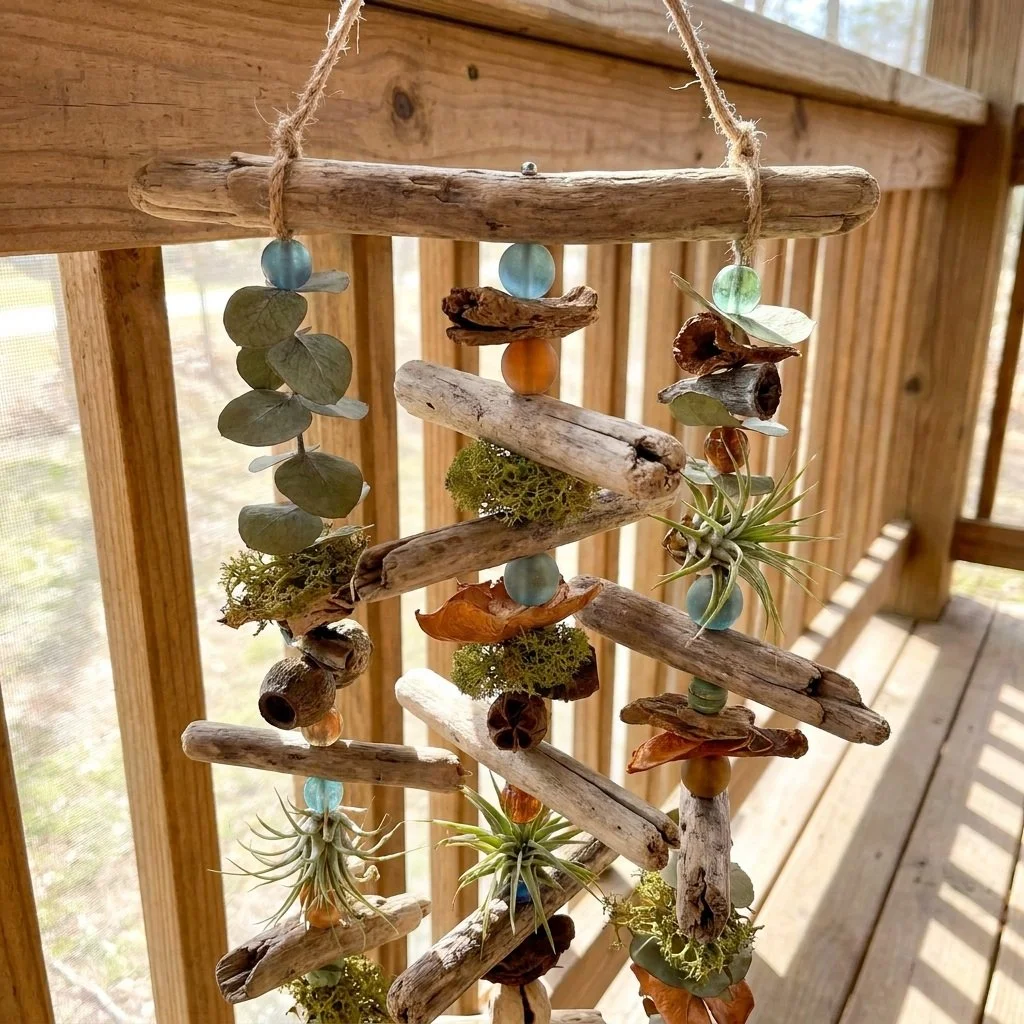
Rustic Driftwood Botanical Wind Chime
Creating a Rustic Driftwood Botanical Wind Chime is a fulfilling craft project that brings a touch of nature into your home. Using simple materials like driftwood, dried flowers, and twine, you’ll make something beautiful that provides a soothing sound when the wind flows through it. This craft not only enhances your decor but also engages your creativity, making it a joyful activity for the whole family.
You’ll love how easy and rewarding it is to craft your wind chime, perfect for hanging in your porch or an indoor space where you can admire it daily. For a colorful twist, consider trying a project like pressed flower window medallions alongside your wind chime.
Why You’ll Enjoy This Project
- Simple Materials: You only need a few items to create this charming piece.
- Customization: You can personalize your wind chime with different dried flowers and bead arrangements.
- Fun for All Ages: This project is a fantastic way to spend time with family or friends, offering something for everyone to do.
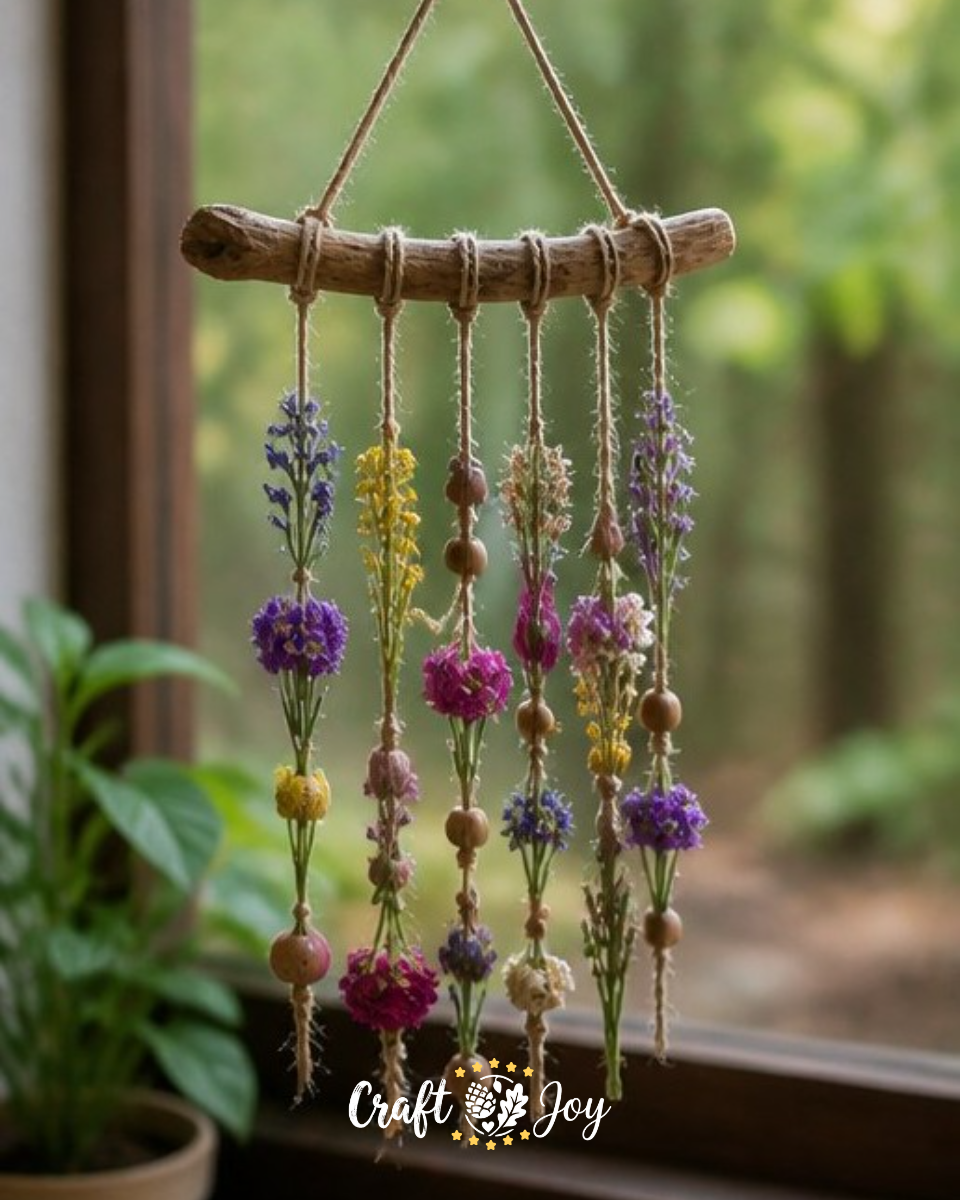
Materials You’ll Need
- 1 driftwood branch (12 inches)
- 8 dried flowers
- 5 small wooden beads
- 36 inches of twine
You can substitute dried flowers with small feathers or colorful ribbons for a different look. The twine can be swapped with fishing line for a more delicate appearance if desired.
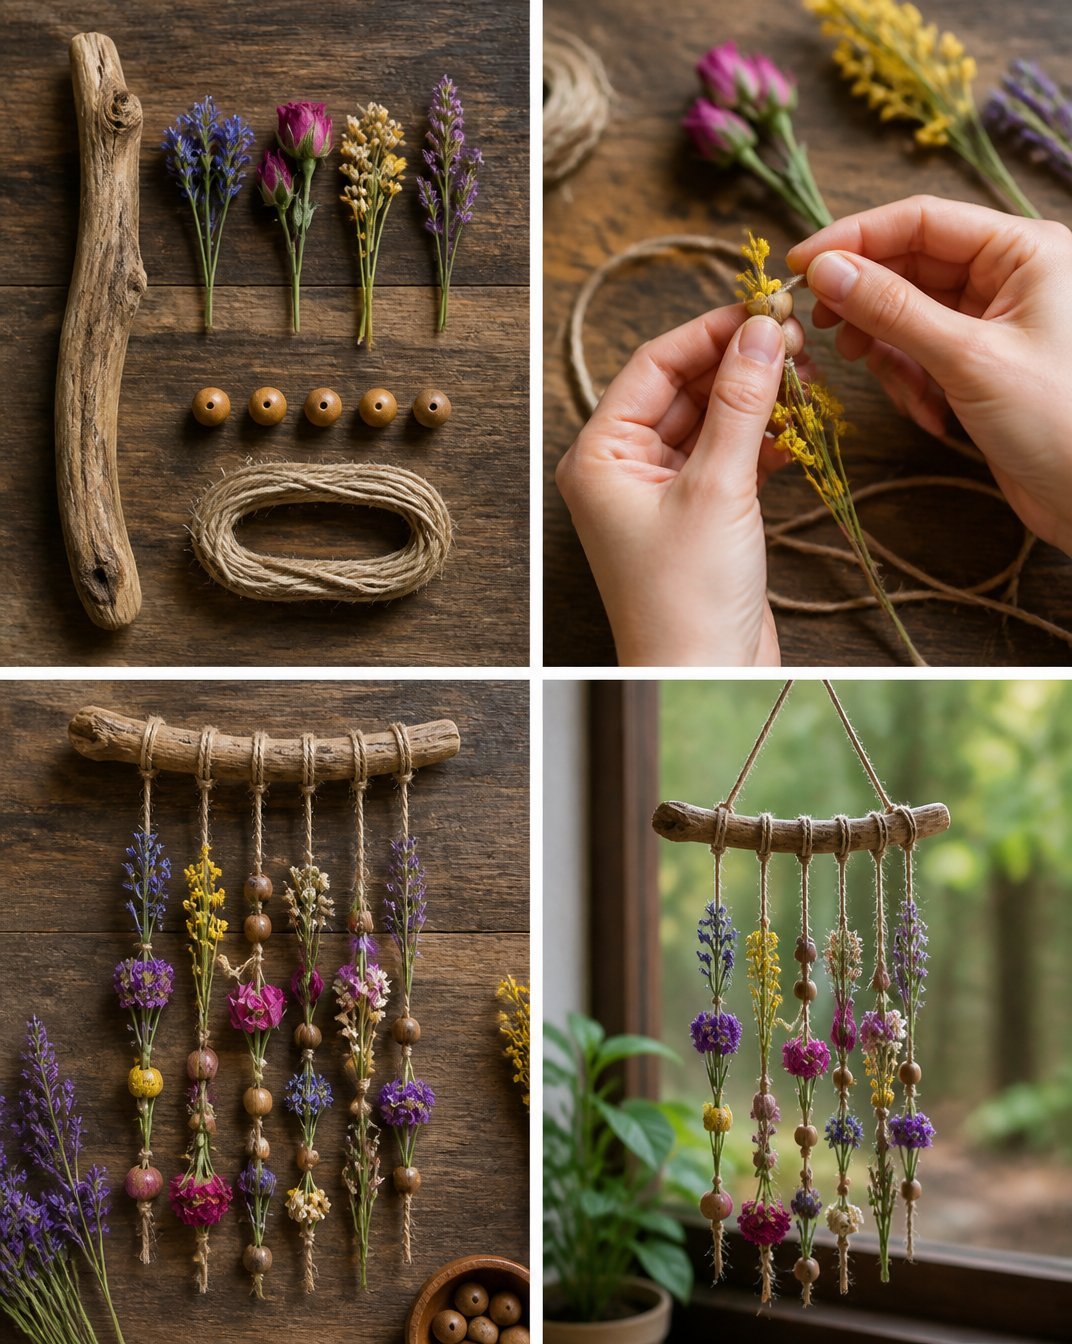
How to Make Rustic Driftwood Botanical Wind Chime
- Start by cutting different lengths of twine. Tie your dried flowers and beads onto the twine, arranging them as you like.
- Once you have all your strands ready, attach each one to the driftwood branch using knots or small loops, spacing them evenly.
- Create a hanging loop at the top of the driftwood. Simply tie a longer piece of twine around it, ensuring it’s secure for hanging.
- Now, find the perfect spot to display your beautiful wind chime! It looks lovely on a covered porch or indoors where you can enjoy it every day.
Helpful Tips
- Easier Assembly: Prepare all your twine lengths beforehand and lay everything out before you start attaching items to the driftwood.
- Clean Results: Use small loops for securing your twine instead of tight knots to ensure everything hangs nicely.
- Displaying Your Craft: Hang your wind chime in a place where it can catch the breeze without interference from other objects.
Easy Variations
- Seasonal Themes: Use flowers that represent the current season like pinecones in winter or fresh blooms in spring.
- Different Sizes: Experiment with longer or shorter driftwood for varying heights.
- Colorful Beads: Instead of wooden beads, use colorful glass beads for extra brightness.
Making This Craft With Kids
This project is perfect for older children who can tie knots and arrange the flowers. Adults may need to supervise the cutting of twine and the assembly phase to ensure safety and best results.
How to Display or Use It
Your finished wind chime can brighten up a porch, patio, or even a cozy nook indoors. For gifting, consider wrapping it carefully and adding a personalized note about the care of the plants used.
Frequently Asked Questions
Can I use different types of flowers?
Yes, feel free to mix in different dried flowers for a unique look!
How do I ensure the wind chime is secure?
Make sure all knots and loops are tight, and check the hanging loop’s strength before displaying.
What if my driftwood isn’t very sturdy?
Choose a thicker piece of driftwood or use multiple smaller pieces secured together for stability.
Is this project suitable for all ages?
While younger children can help with supervision, older kids will enjoy the freedom of creating their own designs.
Conclusion
Crafting a wind chime is not only a delightful artistic endeavor but also a way to connect with nature. If you wish to explore other decorative wind chimes, you can browse this unique seed pod wind chime for inspiration. Looking for more home decor options? Check out these copper wind chimes. Enjoy your crafting!
Print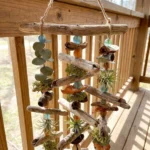
Rustic Driftwood Botanical Wind Chime
- Total Time: 15 minutes
- Makes: 1 wind chime
Description
Create a beautiful Rustic Driftwood Botanical Wind Chime with simple materials, bringing nature into your home while enjoying a rewarding craft project.
Materials
- 1 driftwood branch (12 inches)
- 8 dried flowers
- 5 small wooden beads
- 36 inches of twine
Instructions
- Start by cutting different lengths of twine. Tie your dried flowers and beads onto the twine, arranging them as you like.
- Once you have all your strands ready, attach each one to the driftwood branch using knots or small loops, spacing them evenly.
- Create a hanging loop at the top of the driftwood. Simply tie a longer piece of twine around it, ensuring it’s secure for hanging.
- Now, find the perfect spot to display your beautiful wind chime! It looks lovely on a covered porch or indoors where you can enjoy it every day.
Notes
Prepare all twine lengths beforehand and use small loops for securing to ensure clean results.