

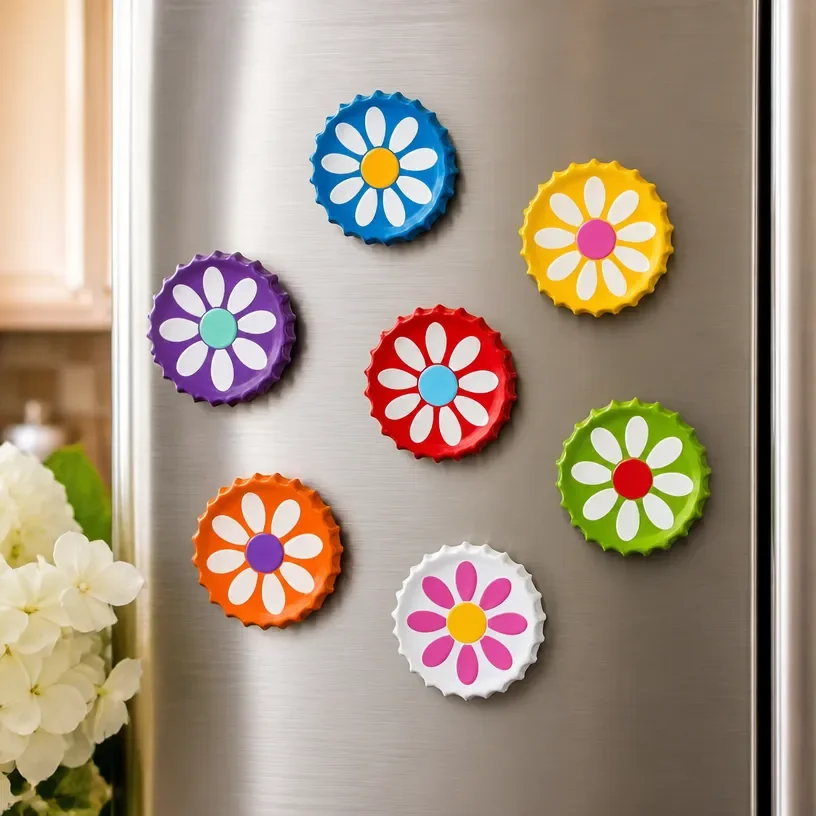
Recycled Bottle Cap Flower Magnets
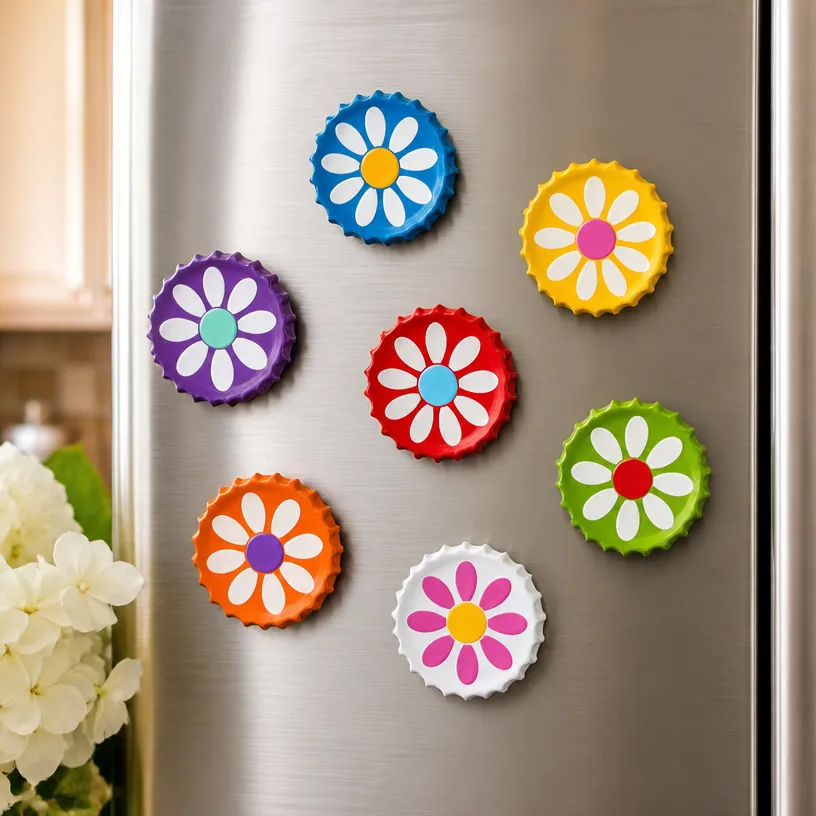
Crafting is a delightful way to celebrate creativity while creating something useful. In this project, we’ll transform simple recycled bottle caps into charming flower magnets. These recycled bottle cap flower magnets are not only a fun and eco-friendly craft, but they also look beautiful on your refrigerator or any magnetic surface at home. Let’s dive into this enjoyable activity that brings a bit of nature indoors! You may also find Recycled Bottle Cap Flower Magnets Fridge Decor useful.
Why You’ll Enjoy This Project
- Eco-friendly Fun: This project uses items you would typically throw away, making it an excellent way to engage in sustainable crafting.
- Easy and Approachable: You don’t need any specialized skills to create these unique flower magnets – perfect for crafters of all ages.
- Customizable: You can choose various colors and designs based on your preferences, ensuring each flower is unique.
- Great for All Ages: This craft invites family collaboration, making it a fantastic activity for parents and kids alike.
- Decorative and Useful: Not only will you create art for your fridge, but these flowers also provide a cheerful way to keep your important notes visible.
You may also find Rainbow Butterfly Stakes Recycled Bottles useful.
Materials You’ll Need
- Bottle Caps: Various sizes and colors (you can also use colored paper for a varied look).
- Hot Glue Gun and Glue Sticks
- Magnet Strips or Small Round Magnets
- Paint (optional): For decorating the caps.
- Plastic Flowers or Craft Materials (optional): To add extra decorations for your flowers.
- Scissors: For cutting any additional materials.
If you find yourself short on bottle caps, consider checking your local recycling center or asking friends and family for theirs! You may also find Colorful Cupcake Liner Flower Bouquet useful.
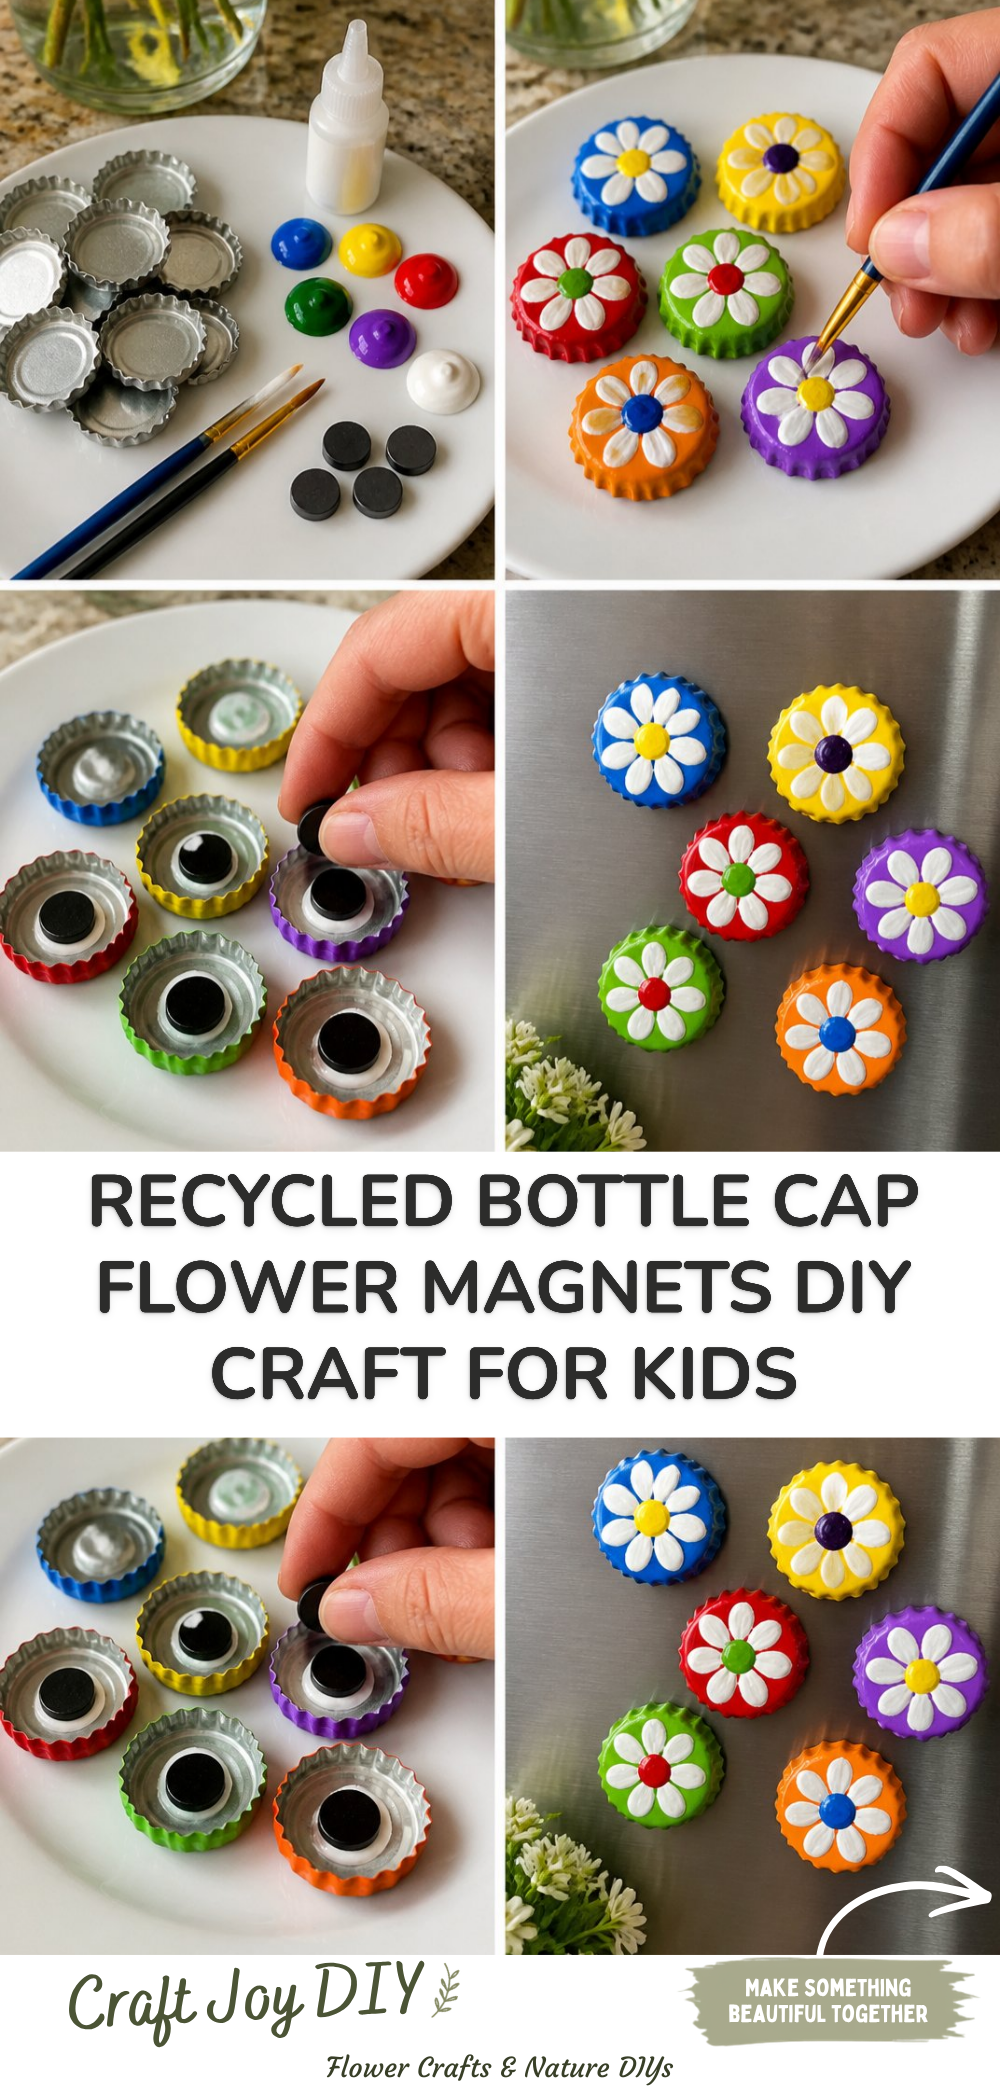
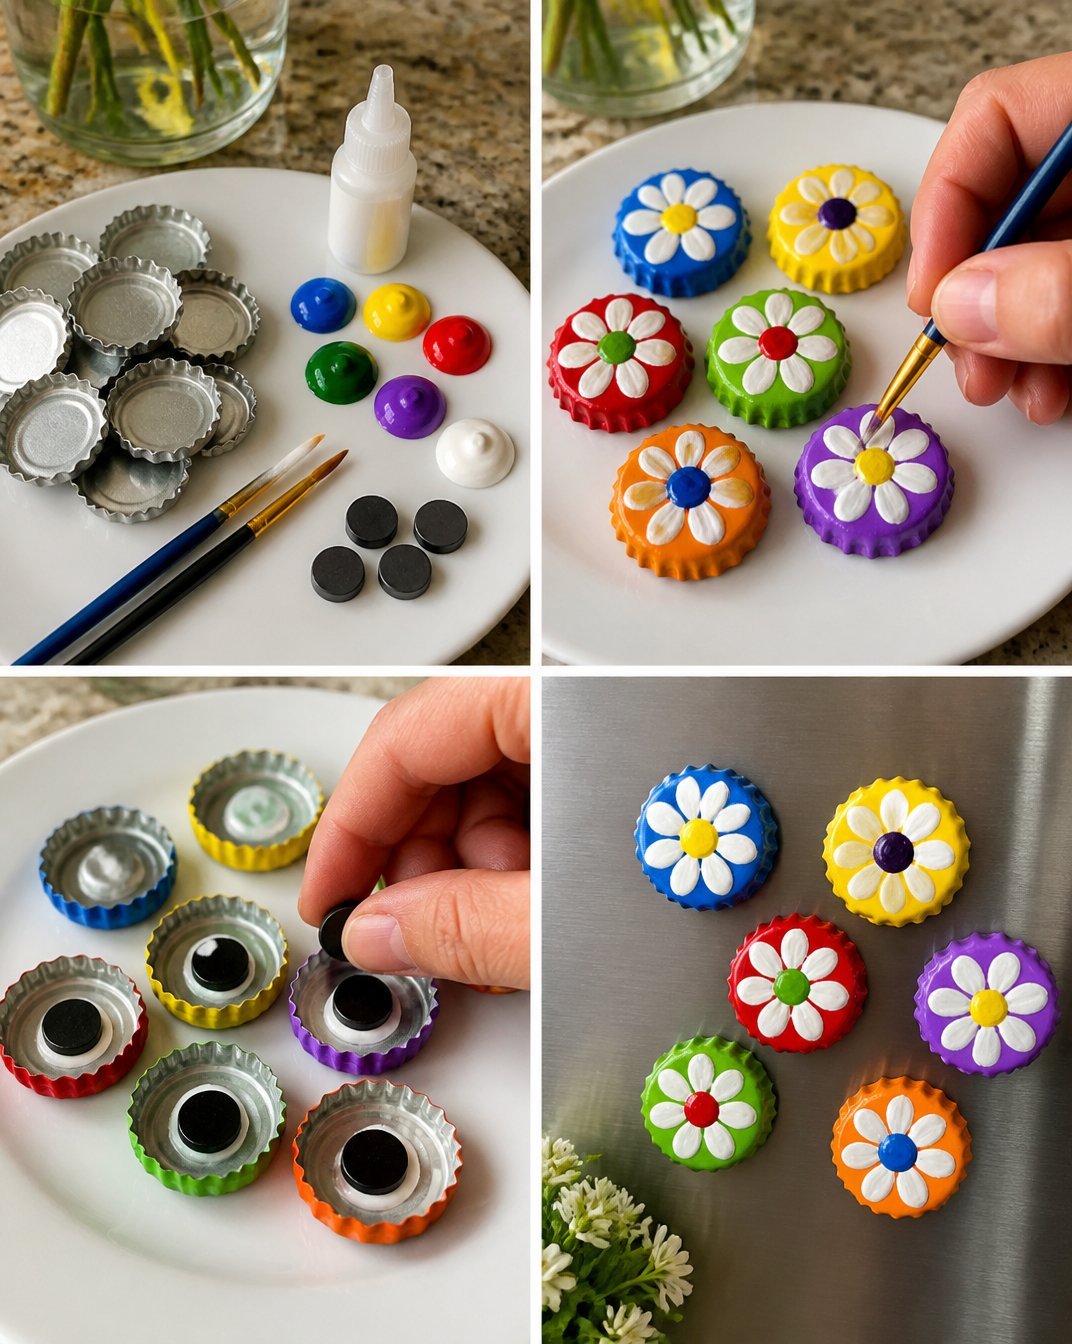
How to Make Recycled Bottle Cap Flower Magnets
- Prepare Your Caps: Start by gathering and cleaning your bottle caps. Remove any labels and wash them thoroughly to ensure a clean surface for decorating.
- Decorate the Caps: If you want a colorful look, paint the bottle caps with your chosen colors and let them dry. Alternatively, you can leave them as is for a rustic touch.
- Create Flower Designs: Arrange smaller plastic flowers in the center of each bottle cap. You can also layer petals made from colored paper or even use smaller caps to create a layered flower effect.
- Glue Everything Together: Use a hot glue gun to secure the decorative elements inside the caps. Be careful as the glue can be hot!
- Attach the Magnets: Finally, glue a small magnet to the back of each bottle cap flower. This will allow your creations to stick to any metal surface.
To explore more delightful projects, check out these rainbow flower garden stakes made from recycled materials.
Helpful Tips
- Safety First: If crafting with young children, supervise them during steps involving hot glue or sharp scissors.
- Display Ideas: These magnets look lovely on the fridge but can also be used to decorate magnetic boards or office spaces.
- Storage: Keep your finished magnets in a decorative box to help preserve their quality.
Easy Variations
- Seasonal Themes: Change the colors or add holiday-themed decorations like leaves for autumn or snowflakes for winter.
- Size Variations: Use larger bottle caps for bigger flowers, which can create a more bold and eye-catching display.
- Additional Decoration: Try incorporating beads or small stones to give the center of the flowers added texture.
Making This Craft With Kids
This project is perfect for kids because it encourages creativity with minimal adult intervention required. However, be sure to supervise when using hot glue or scissors, assisting where needed. Kids can choose their colors and design, making this activity as unique as they are. You may also find Colorful Cupcake Liner Witch Flower Bouquet Craft useful.
How to Display or Use It
Once your recycled bottle cap flower magnets are ready, you can proudly display them on your refrigerator or give them as gifts to friends and family. They also make lovely decor items for classrooms or home offices, adding a touch of completed craftsmanship to any magnetic surface.
Frequently Asked Questions
1. Can I use different types of caps?
Yes! Any bottle caps will work, but ensure they are clean and well-prepared for the best appearance.
2. Will the paint stay on the bottle caps?
Using acrylic paint should allow for a durable finish, but it’s best to let everything dry completely after painting.
3. Are there alternatives to hot glue?
If hot glue isn’t available, craft glue is an option, but it may take longer to dry.
4. How can I make these safe for younger children?
Use child-safe adhesives or have adults do the gluing while the children engage in the design process.
5. Can these also be used as gifts?
Absolutely! These make for a thoughtful, handmade gift for family and friends.
Conclusion
Creating recycled bottle cap flower magnets is not just an enjoyable craft; it’s a wonderful way to turn potential waste into something beautiful. For more inspiration on similar projects, check out this paper flower magnets tutorial or learn about the versatility of beer bottle caps for crafts. Grab your supplies and let your creativity blossom!
Print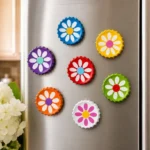
Recycled Bottle Cap Flower Magnets
- Total Time: 15 minutes
- Makes: 5 magnets
Description
Transform recycled bottle caps into charming flower magnets, perfect for decorating your fridge or any magnetic surface.
Materials
- Bottle Caps: Various sizes and colors
- Hot Glue Gun and Glue Sticks
- Magnet Strips or Small Round Magnets
- Paint (optional)
- Plastic Flowers or Craft Materials (optional)
- Scissors
Instructions
- Prepare Your Caps: Start by gathering and cleaning your bottle caps.
- Decorate the Caps: Paint the bottle caps with your chosen colors and let them dry.
- Create Flower Designs: Arrange smaller plastic flowers in the center of each bottle cap.
- Glue Everything Together: Use a hot glue gun to secure the decorative elements inside the caps.
- Attach the Magnets: Glue a small magnet to the back of each bottle cap flower.
Notes
Safety first! Supervise children during steps involving hot glue or sharp scissors.