

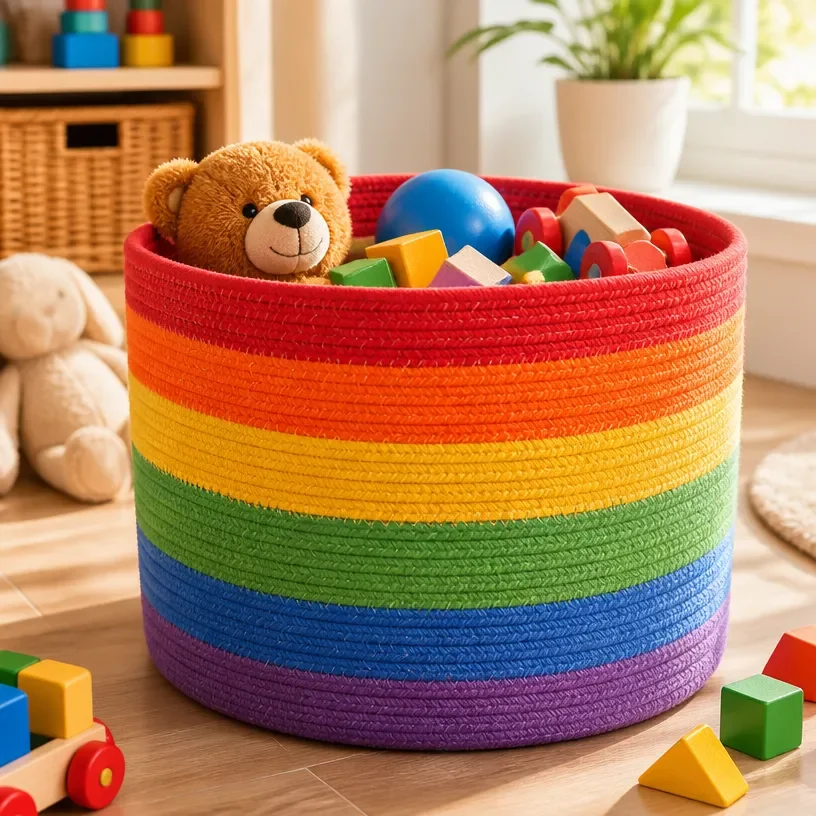
Rainbow-Themed Kids Toy Bin for Easy Storage
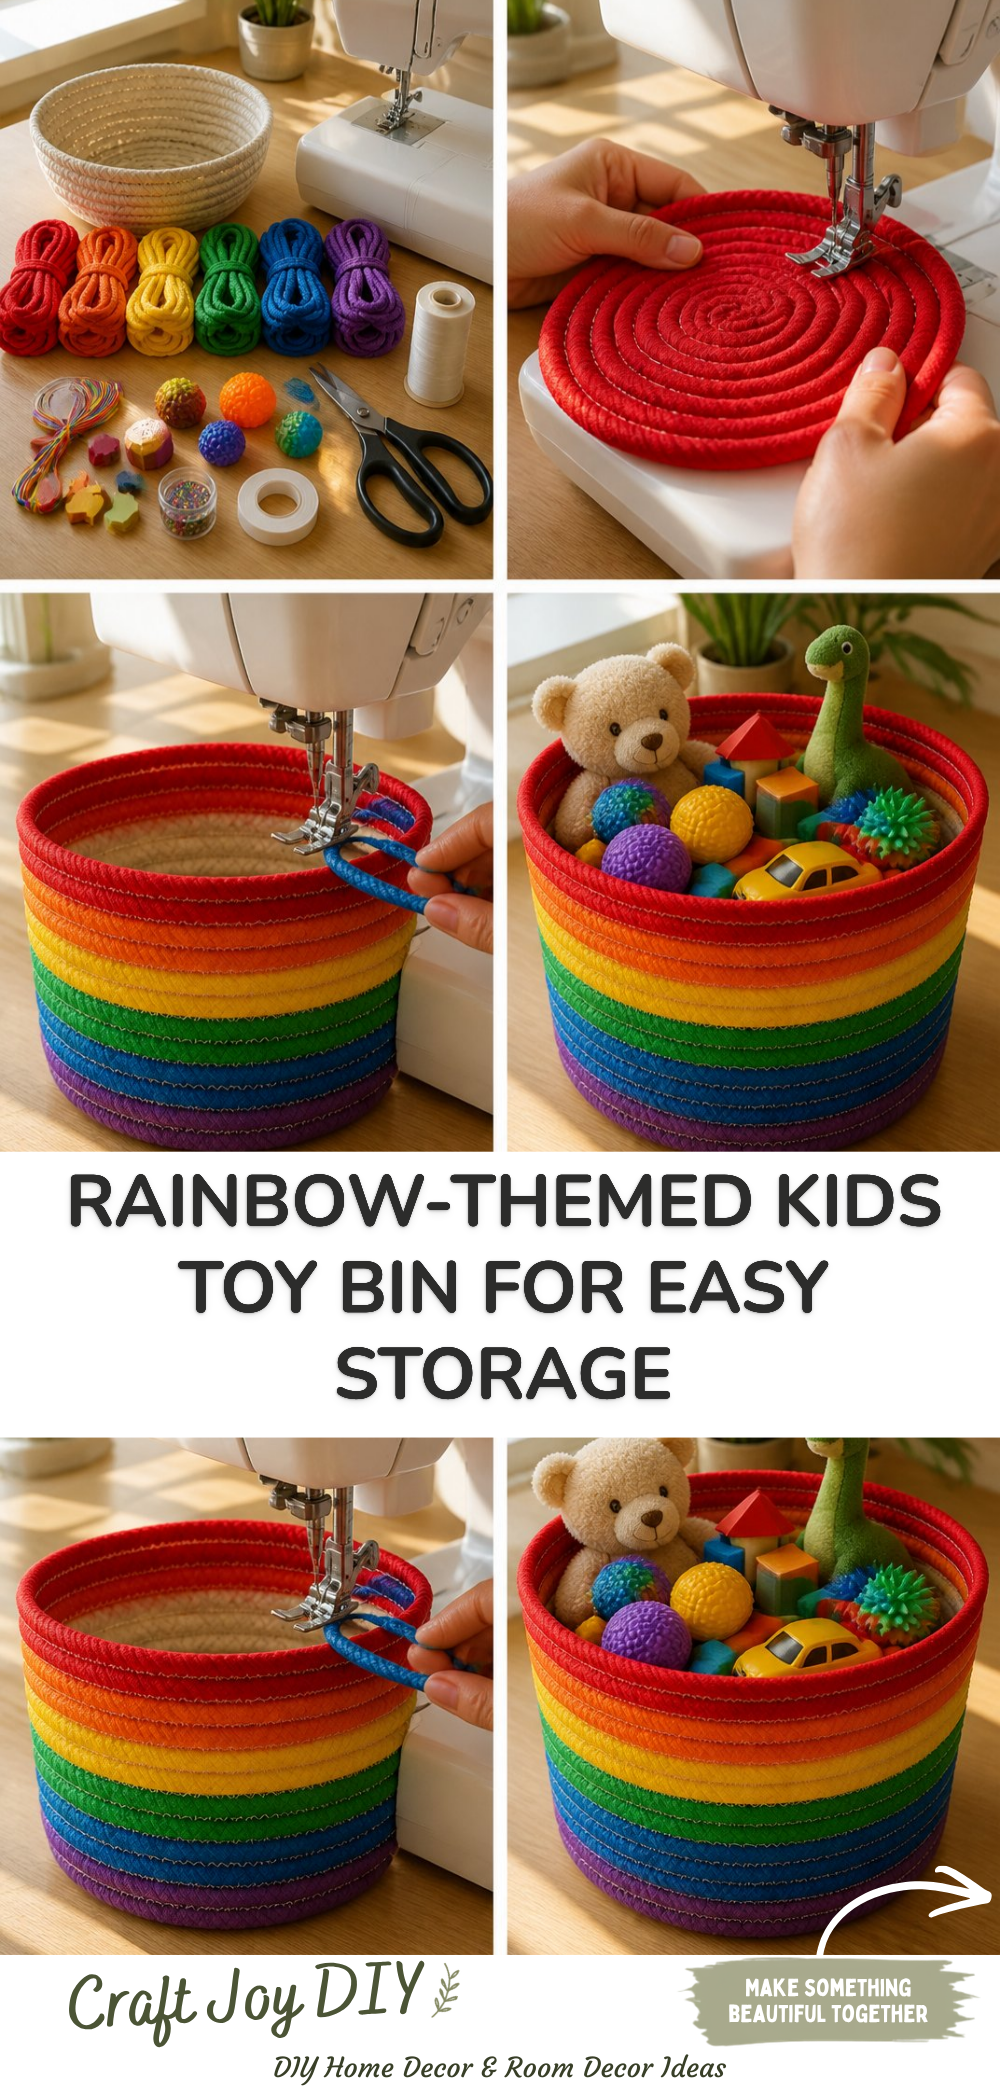
Creating a rainbow-themed kids toy bin is a fun and practical way to try your hand at a craft while also organizing playtime clutter. Not only will this vibrant storage solution brighten up a room, but it will also encourage your children to put their toys away neatly. This craft project is simple enough for beginners and provides a joyful way to blend creativity with functionality. You may also find Easy Paper Plate Apple Craft For Kids useful.
By the end of this tutorial, you’ll know precisely how to make your own colorful storage bin to help maintain a tidy play area. In this project, you’ll find that crafting doesn’t have to be complicated; it can be both enjoyable and useful in your home. You may also find Easy Pipe Cleaner Butterfly Craft For Kids useful.
Why You’ll Enjoy This Project
- Brightens Up Spaces: The cheerful colors of the rainbow design will add a splash of color to any room.
- Functional Storage: The toy bin will help organize your kids’ toys, making clean-up easier after playtime.
- Easy to Make: It uses simple materials, so it’s an accessible project for crafters of all levels.
- Kids Can Join In: This project is a great opportunity for family involvement, allowing kids to express their creativity too.
- Customizable: You can adapt the size and colors to suit your preferences and decor.
You may also find Easy Salt Dough Christmas Ornaments For Kids useful.
Materials You’ll Need
To create your rainbow-themed toy bin, gather the following materials: You may also find Beaded Pipe Cleaner Snail Craft For Kids 2 useful.
- Woven storage basket (any size)
- Colorful fabric or craft paints in rainbow colors
- Paintbrushes or sponge brushes (if painting)
- Scissors (if cutting fabric)
- Mod Podge or fabric glue (if using fabric)
- Optional: Decorative items like stickers or ribbons
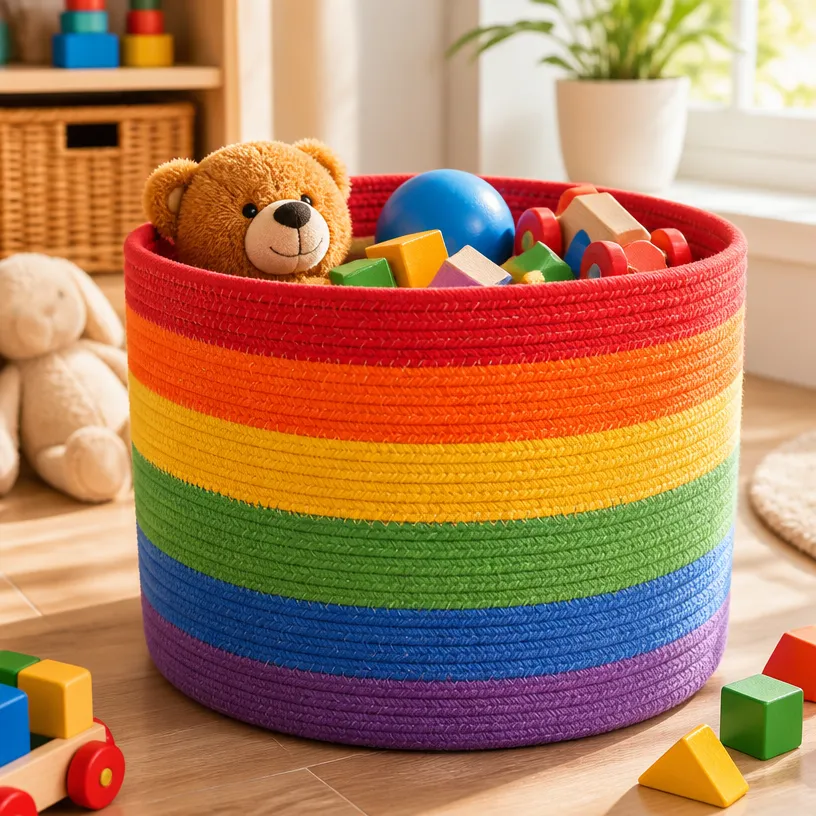
How to Make Rainbow-Themed Kids Toy Bin for Easy Storage
Prepare Your Basket: Start by selecting a clean woven storage basket. Ensure it’s free of dust and debris so that the paint or glue adheres well. You may also find Beaded Pipe Cleaner Snail Craft For Kids useful.
Choose Your Colors: Select the vibrant fabric or paints you want to use. If painting, prepare your palette with the rainbow colors laid out for easy access.
Apply the Base: If painting, use a paintbrush or sponge to cover the basket’s exterior with a solid base color or leave it as is for a natural look.
Create Rainbow Stripes: If using fabric, cut the fabric into strips in rainbow colors. Apply each strip around the basket, using Mod Podge or fabric glue to secure them in place. For painting, use your brushes to carefully paint rainbow stripes.
Let It Dry: Once you’ve added the color to your basket, let it dry completely. This step is crucial to avoid smudging the colors.
Add Finishing Touches: Once dry, embellish your basket with stickers, or ribbons for a more personalized touch.
Showcase Your Craft: Place your new toy bin in your child’s play area and let them fill it with their favorite toys.
Helpful Tips
- Ensure that you apply even coats of paint for a smoother finish.
- When using fabric strips, cut them in uniform widths to achieve a neat appearance.
- If you’re using glitter or other decorative items, apply a sealant over them for durability.
- Allow the paint to cure for at least 24 hours for the best results.
Easy Variations
- Seasonal Themes: Adjust your colors and patterns based on seasons or holidays, such as pastels for spring or autumn hues.
- Size Adjustments: Have smaller baskets for small toys and larger ones for bigger items, all following the rainbow theme.
- Mixed Materials: Combine paint with embellishments like pom-poms or felt for added texture.
- Theme-Based Colors: Coordinate with your child’s favorite colors rather than the traditional rainbow.
Making This Craft With Kids
This craft is suitable for children, especially when it comes to painting or applying decorative items. Adults should supervise when using scissors or applying adhesives to ensure safety.
How to Display or Use It
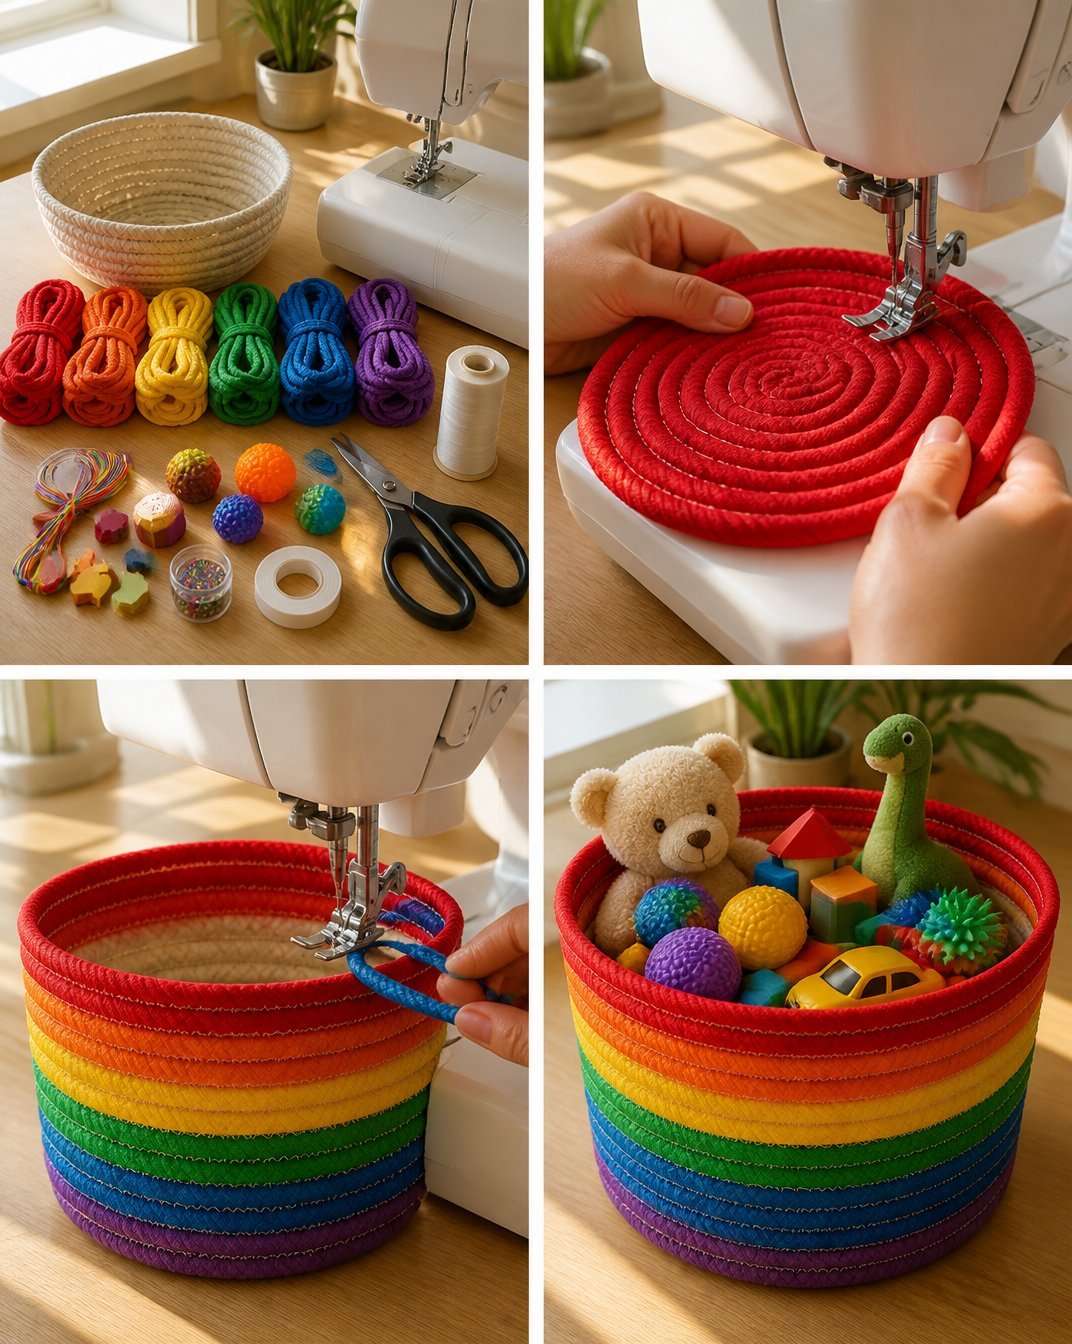
Once finished, place the rainbow-themed bin in your child’s play area, bedroom, or living room. It’s not only a storage solution but also a decorative piece that adds personality to the space. Encourage your kids to help tidy up after play by using the bin as a fun way to store their toys.
Frequently Asked Questions
Can I use other types of baskets?
Yes, you can use different woven baskets or even cardboard boxes if you prefer a lightweight option.
What type of paint is best?
Acrylic paint works well for this project, while fabric paint is suitable if you’re using fabric.
How can I make it waterproof?
Consider applying a waterproof sealant over the paint or fabric once fully dry.
Is this safe for toddlers?
Yes, as long as you supervise them while they craft, and ensure that all materials are non-toxic and safe.
Conclusion
Creating a rainbow-themed kids toy bin can be a delightful and colorful way to encourage organization in your home. This project is an excellent introduction to crafting with children, promoting creativity and hands-on skills. For those looking for inspiration on toy storage solutions, consider checking out storage baskets on Amazon that can complement your new DIY bin. Additionally, if you’re interested in exploring other home organization ideas, take a look at these woven storage options available in Australia!
Print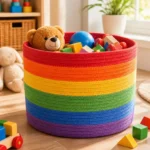
Rainbow-Themed Kids Toy Bin
- Total Time: 30 minutes
- Makes: 1 toy bin
Description
Create a vibrant and functional rainbow-themed toy bin that encourages kids to organize their toys neatly while having fun crafting.
Materials
- Woven storage basket (any size)
- Colorful fabric or craft paints in rainbow colors
- Paintbrushes or sponge brushes (if painting)
- Scissors (if cutting fabric)
- Mod Podge or fabric glue (if using fabric)
- Optional: Decorative items like stickers or ribbons
Instructions
- Prepare your basket by cleaning it thoroughly.
- Choose your fabric or paint colors for the project.
- Apply a solid base coat if painting or leave the basket natural.
- Create rainbow stripes by applying cut fabric strips or painting them directly.
- Let it dry completely to avoid smudging.
- Add finishing touches with stickers or ribbons.
- Showcase your new toy bin in the play area.
Notes
Consider using non-toxic materials safe for children. Supervise kids while crafting, especially with scissors or glue.