

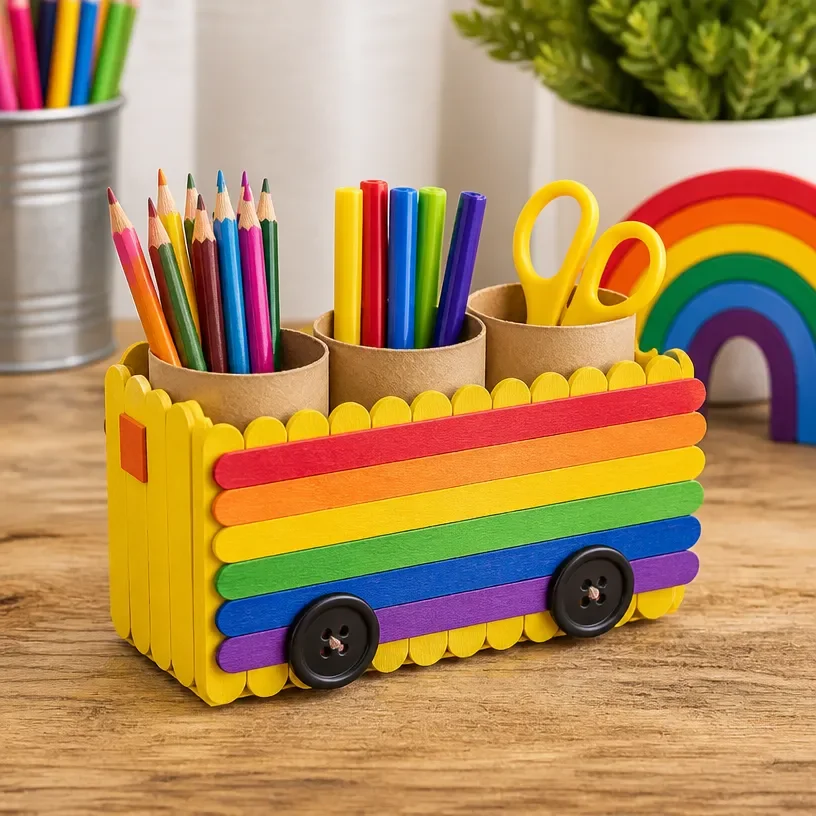
Rainbow School Bus Popsicle Stick Organizer for Kids
Creating a Rainbow School Bus Popsicle Stick Organizer is not just a fun craft; it’s a practical project that will help kids organize their school supplies in a colorful and engaging way. This easy-to-make organizer allows children to express their creativity while also learning about organization. It can be a special addition to their study space or desk, making it enjoyable to keep things tidy. You may also find Melted Crayon Rainbow Heart Suncatcher For Kids useful.
With a few simple materials, you can create this delightful popsicle stick organizer that resembles a cheerful bus. Kids will love painting the sticks in vibrant colors and assembling them to form school-themed designs. This project not only sparks creativity but also provides a functional storage solution. You may also find Rainbow Milk Art Colorful Swirl Prints For Kids useful.
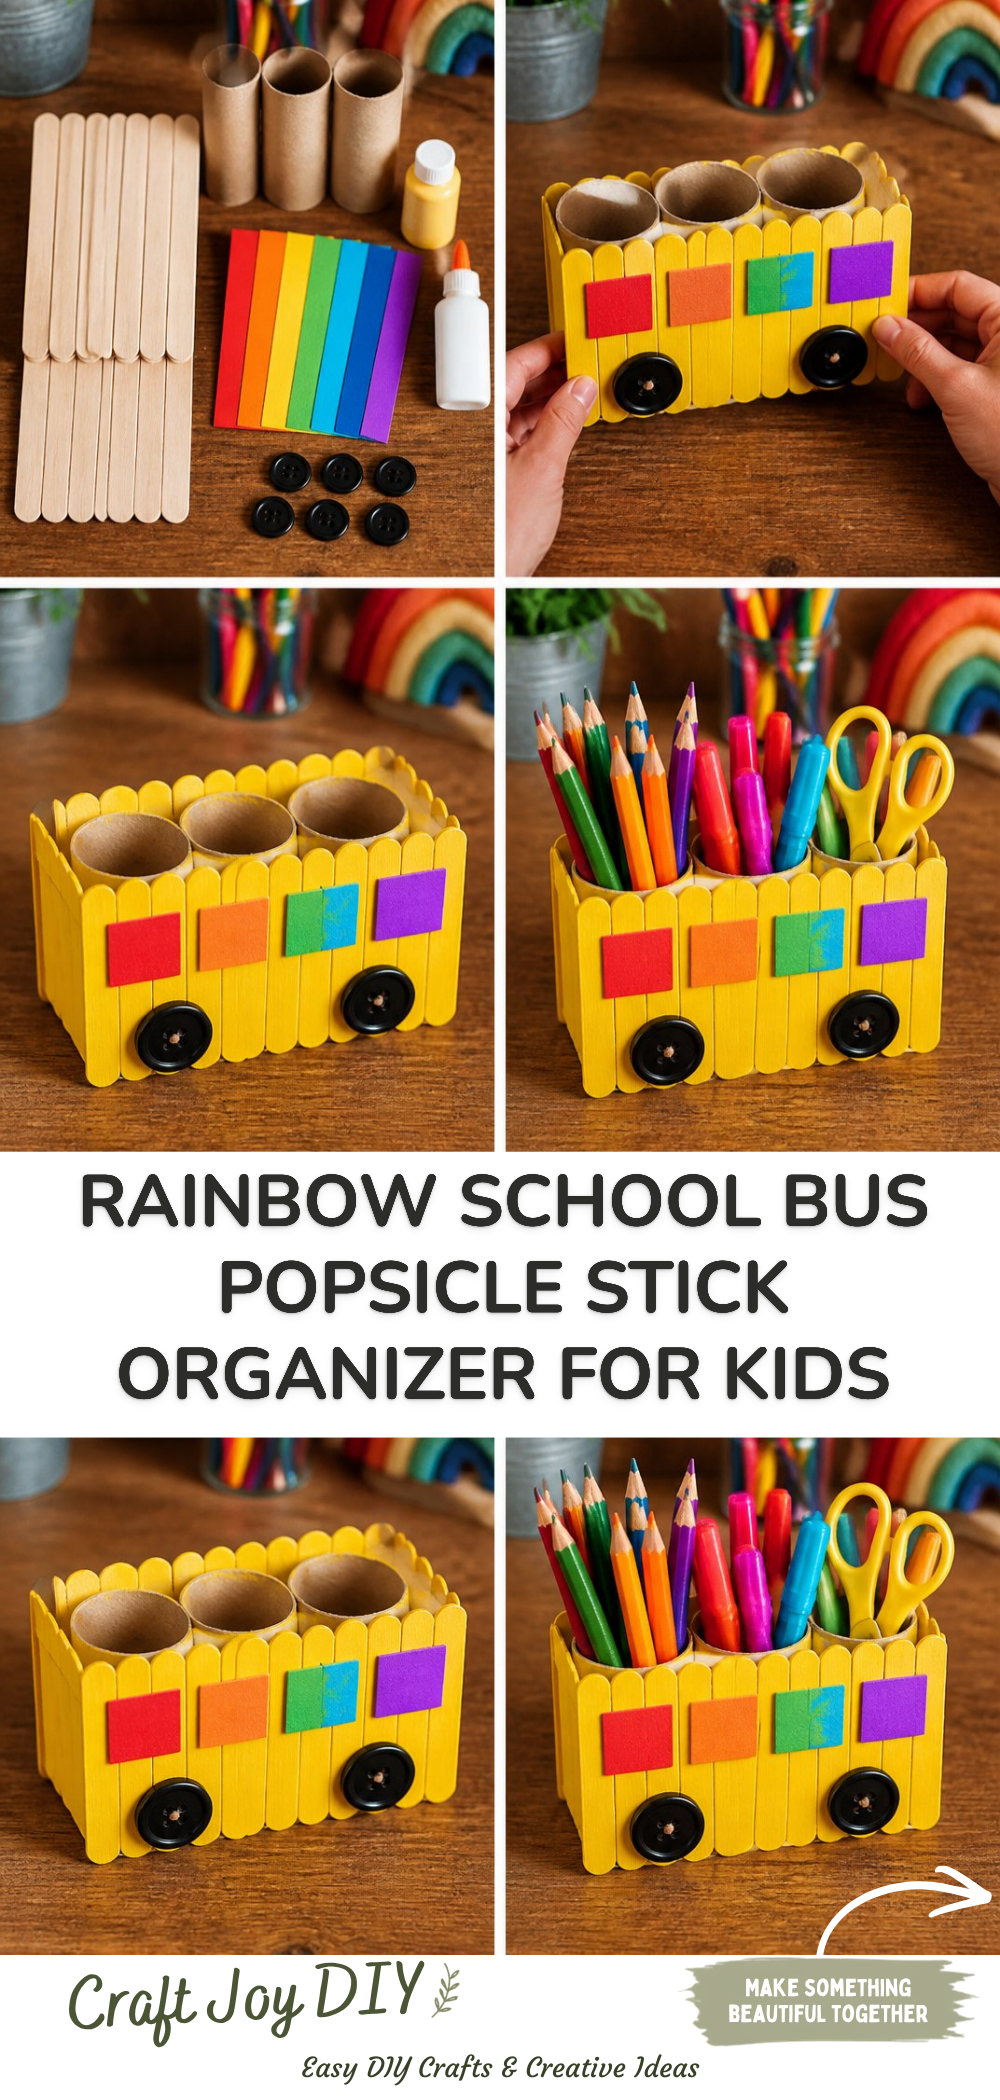
Why You’ll Enjoy This Project
- Engaging and Educational: This craft engages children in both art and organization, helping to foster teamwork if done in groups.
- Customizable: Kids can use their favorite colors and decorations, making each organizer personal and unique.
- Functional Use: Beyond being a craft, it serves a functional purpose, providing storage for pencils, crayons, or small toys.
- Easy Steps: The instructions are straightforward, making it suitable for children of various ages.
- Inspires Creativity: Children can combine this project with other crafts, like making a rainbow popsicle stick daisy wheel to create a colorful theme.
Materials You’ll Need
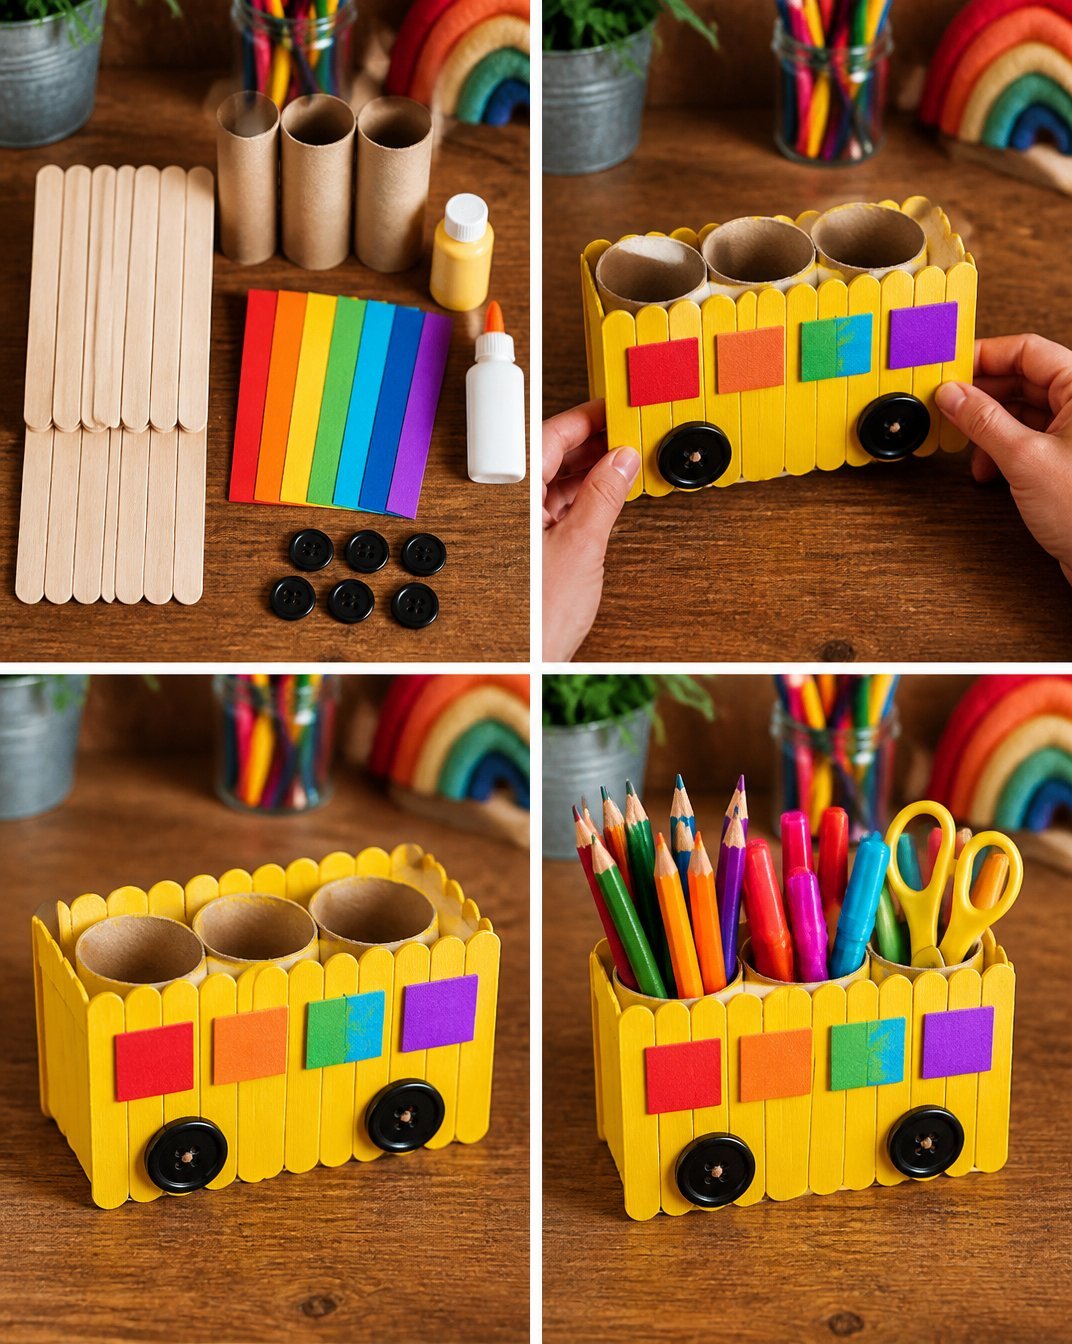
- 10-15 popsicle sticks
- Yellow paint (acrylic or tempera)
- Black paint (acrylic or tempera)
- Paintbrush
- Glue (craft or school glue)
- Scissors
- Decorative items (stickers, markers, or googly eyes)
For best results, ensure you have good-quality paint that adheres well to wood. You can also swap out the yellow paint for blue or green if you want to create a bus of a different color!
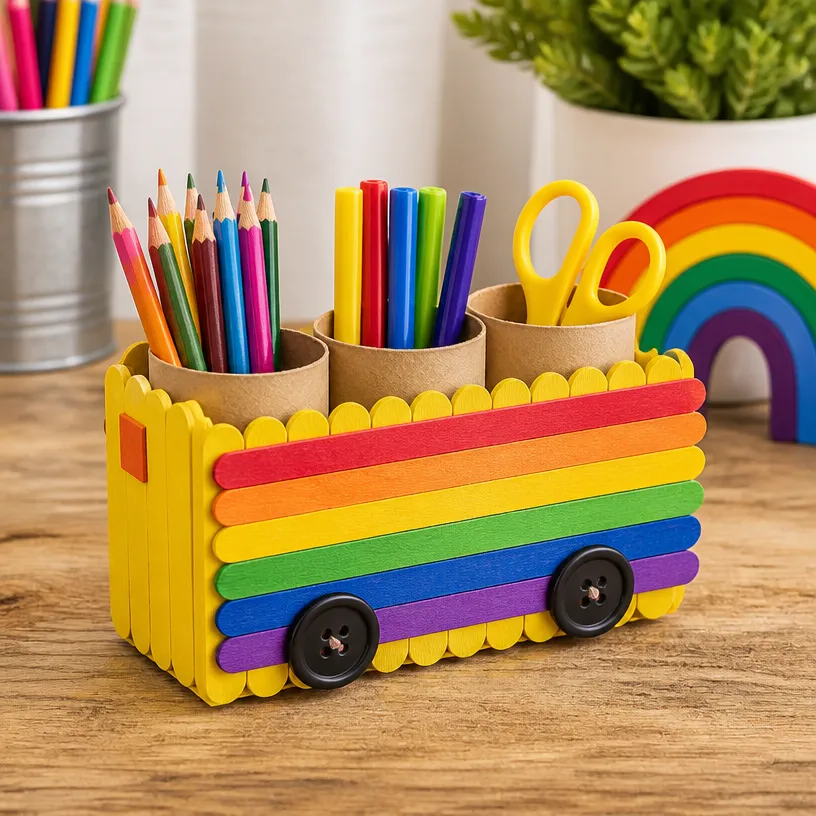
How to Make Rainbow School Bus Popsicle Stick Organizer for Kids
Prepare Your Workspace: Lay out your crafting materials on a flat surface. Make sure to cover it with newspaper or a plastic sheet to catch any paint spills.
Paint the Popsicle Sticks: Using the yellow paint, coat all the popsicle sticks. Allow them to dry completely before moving to the next step. This might take about 30 minutes.
Assemble the Bus Shape: Take six popsicle sticks and lay them parallel to each other, about an inch apart. These will serve as the base and sides of your bus. Glue a popsicle stick across the top and two sticks vertically along the sides to form a rectangular structure.
Create the Front and Back of the Bus: For the front, glue two more popsicle sticks in an upward shape to form the windshield. Use black paint to create windows and wheels on the front.
Add Personal Touches: Decorate the sides of your bus with stickers or markers to make it unique. You can even use additional popsicle sticks to create a rainbow effect by painting them in various colors, reminiscent of a rainbow flower wheel.
Helpful Tips
- Drying Tips: Ensure that you let the glue dry thoroughly between steps to prevent the structure from collapsing.
- Supervision: Younger children may need adult supervision, especially when using scissors.
- Placement: Designate a specific place for the organizer so that it can be easily accessed and used daily.
- Sturdiness: If the structure feels weak, consider reinforcing the connections with additional glue.
Easy Variations
- Color Choice: Use any paint colors to represent your child’s favorite theme, like a superhero bus or a princess bus.
- Size Adjustments: Adjust the number of popsicle sticks based on the size you need; larger organizers can hold more items.
- Seasonal Themes: Decorate the organizer based on seasons, like fall leaves or winter snowflakes.
- Personalized Labels: Use tags or stickers to label what each section holds, like “pencils,” “markers,” or “erasers.”
- Combine Crafts: Create other projects such as a rainbow butterfly suncatcher to complement your bus organizer.
Making This Craft With Kids
This craft is ideal for children ages 6 and up, particularly for those who enjoy hands-on activities. Younger children may need guidance and assistance, especially with cutting and assembling pieces. It can serve as a great opportunity for parents to teach organizational skills.
How to Display or Use It
Once completed, place the rainbow school bus popsicle stick organizer on a desk or a shelf where kids can easily access their supplies. It can also be gifted to friends or family, serving not only as a functional item but also as a personal creation that showcases their artistry.
Frequently Asked Questions
Can I use other materials besides popsicle sticks?
Yes, you can substitute with paper towel rolls or cardboard for a different texture.
How long does it take to dry?
Allow at least 30 minutes for the paint to dry, and 1-2 hours for the glue to set completely.
Can this project be done outdoors?
Yes, crafting outdoors can be fun, but be mindful of wind or elements that might disturb your workspace.
Is this safe for small children?
While the materials are generally safe, supervision is key, especially with scissors and paint.
Can it hold heavy items?
The organizer is best for lightweight items like pencils or markers rather than heavy supplies.
Conclusion
Creating crafts is a wonderful way for kids to learn and have fun, and the Rainbow School Bus Popsicle Stick Organizer is a perfect example. For additional craft ideas, you can find plenty of inspiration at this resource. If you’d like to explore more creative uses for rainbows, check out this festive project on a Valentine’s Day Rainbow Wall!
Print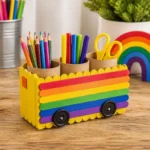
Rainbow School Bus Popsicle Stick Organizer
- Total Time: 45 minutes
- Makes: 1 popsicle stick organizer
Description
A colorful and engaging craft project that helps kids organize their supplies while sparking creativity.
Materials
- 10–15 popsicle sticks
- Yellow paint (acrylic or tempera)
- Black paint (acrylic or tempera)
- Paintbrush
- Glue (craft or school glue)
- Scissors
- Decorative items (stickers, markers, or googly eyes)
Instructions
- Prepare your workspace: Lay out your crafting materials on a flat surface, covering it to catch paint spills.
- Paint the popsicle sticks with yellow paint and let them dry completely, about 30 minutes.
- Assemble the bus shape by laying six sticks parallel and gluing one across the top for structure.
- Create the front and back of the bus with two additional sticks for the windshield, painting the windows and wheels black.
- Add personal touches by decorating the bus with stickers or additional colored popsicle sticks for a rainbow effect.
Notes
Encourage kids to be creative and personalize their bus organizer with their favorite colors and decorations.