

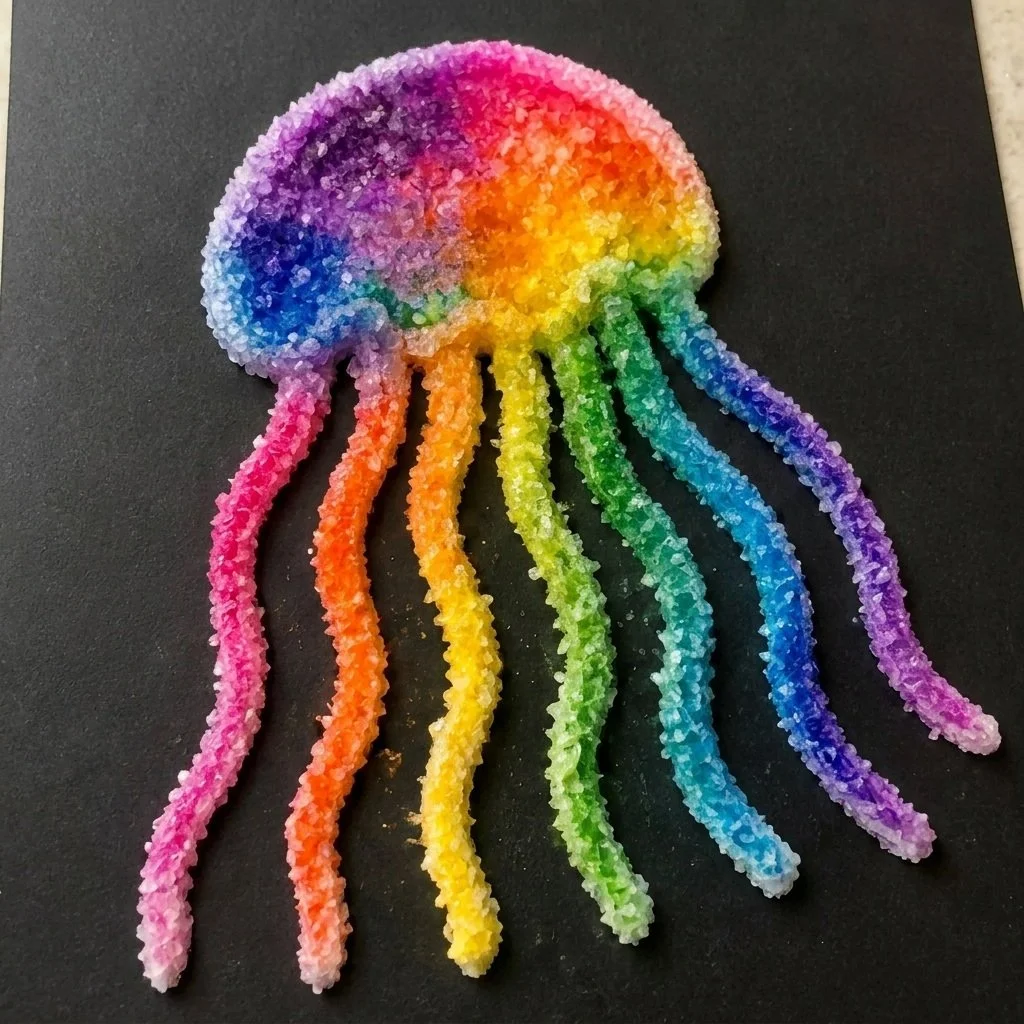
Rainbow Salt Painting Jellyfish
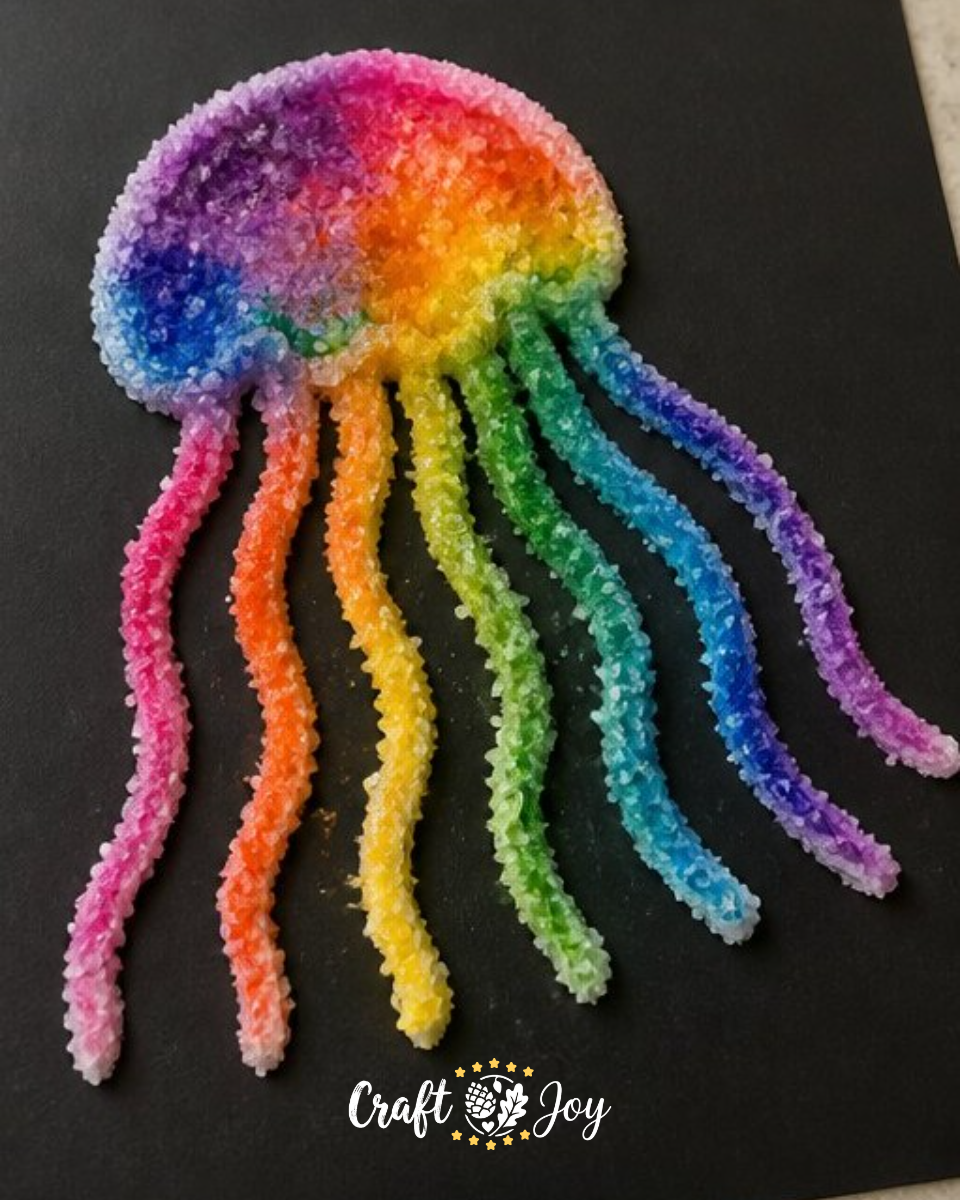
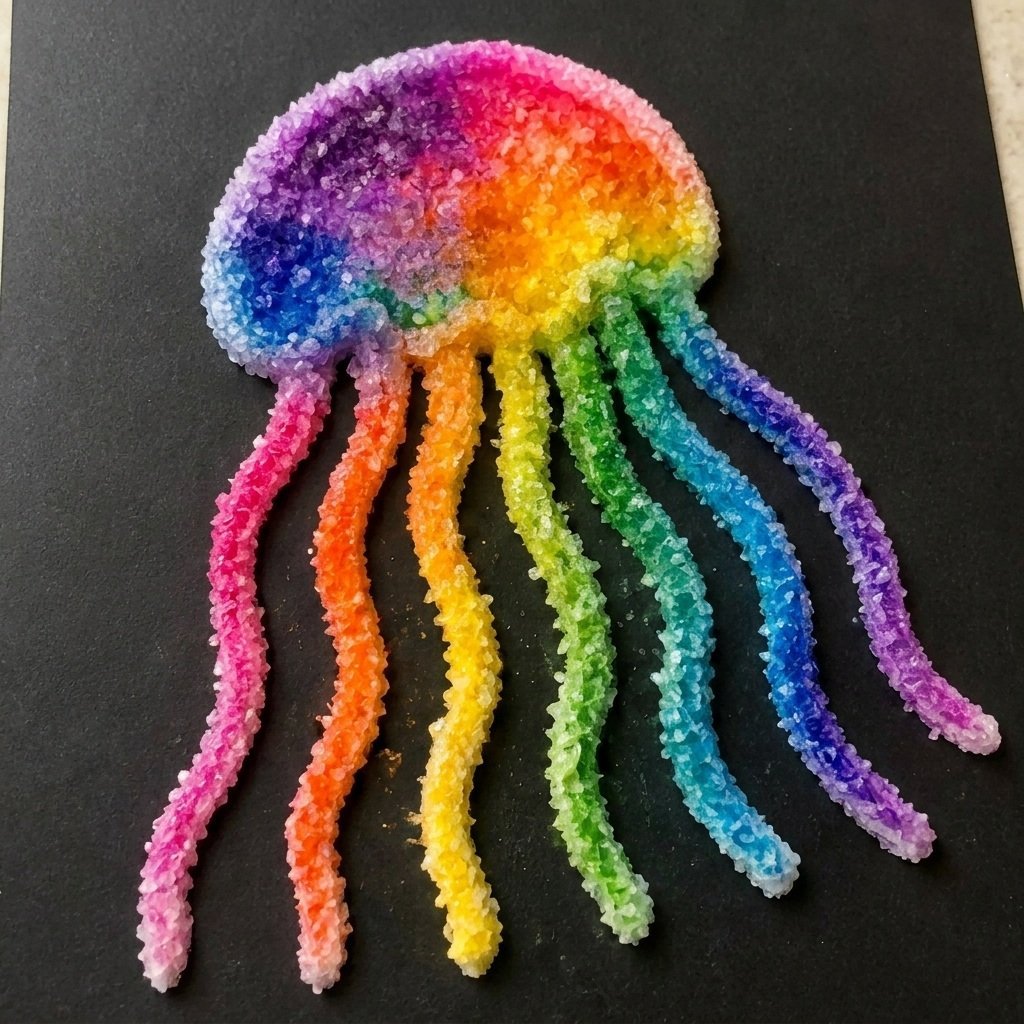
Creating a beautiful jellyfish art piece using rainbow salt painting is a fun and engaging craft project for families. Not only does it introduce kids to basic artistic techniques, but it also encourages exploration with colors and textures. This project is perfect for rainy days or as a delightful addition to a craft curriculum. As you work through this craft, you’ll find that the mesmerizing way colors blend together is truly captivating. You may also find Diy Rainbow Popsicle Stick Flower Wheel Craft useful.
Let’s get started on your own stunning Rainbow Salt Painting Jellyfish! You may also find Melted Crayon Rainbow Butterfly Suncatcher For Kids useful.
Why You’ll Enjoy This Project
- Easy and Fun: The materials are simple and the steps are straightforward, making it easy for kids and adults alike to engage in crafting.
- Beautiful Results: The final product is vibrant and eye-catching, offering a sense of accomplishment.
- Color Exploration: This project allows for creative expression by choosing different colors and patterns.
- Learning Activity: While crafting, children can learn about colors and the properties of salt and glue, making it an educational experience.
- Gifting Option: The completed jellyfish can serve as a thoughtful gift for friends or family.
You may also find Melted Crayon Rainbow Haunted House Suncatcher Craft useful.
Materials You’ll Need
- 1/2 cup table salt
- 1/4 cup white school glue
- 2 tablespoons liquid food coloring
- 1 piece of black cardstock paper
- 1 plastic dropper
When choosing your materials, any type of liquid food coloring will work, so feel free to use your favorite colors or seasonal shades. You may also find Melted Crayon Rainbow Heart Suncatcher For Kids useful.
How to Make Rainbow Salt Painting Jellyfish
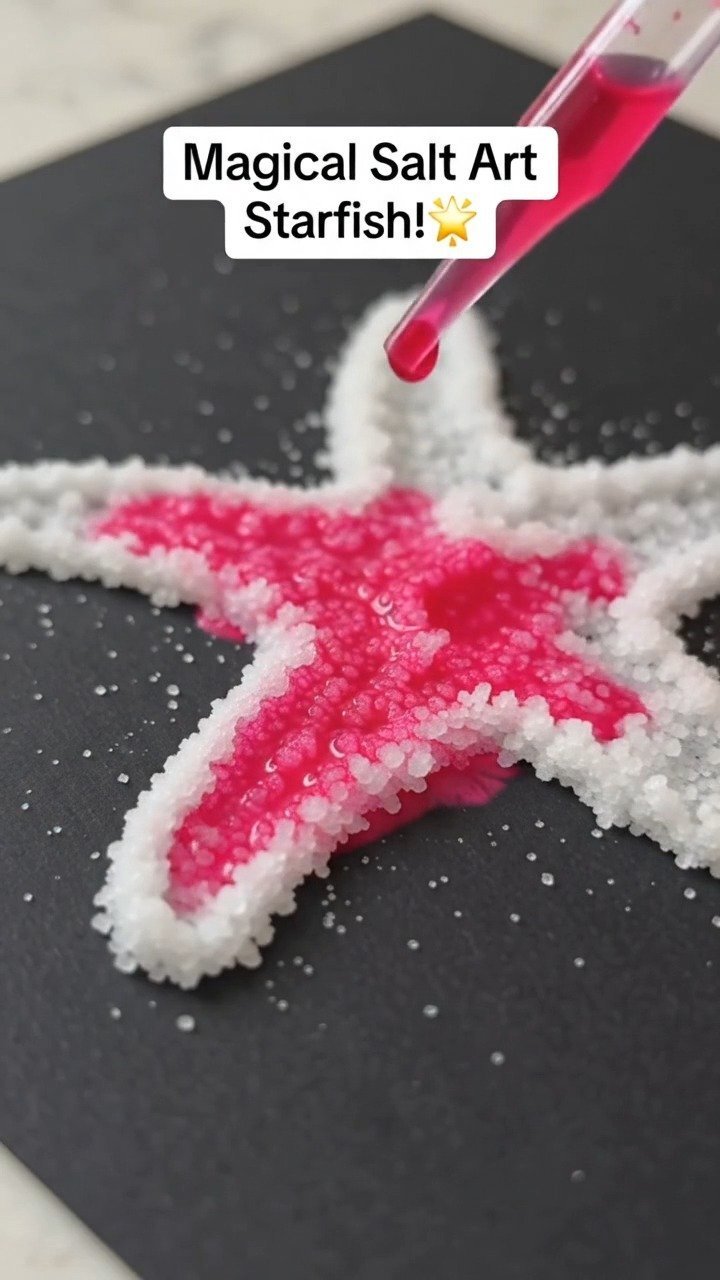
- Start by drawing an outline of a jellyfish on the black cardstock using the school glue. This outline will be the base for your salt painting.
- While the glue is still wet, sprinkle a generous layer of salt over the glue drawing, then gently shake off any excess salt. The salt will adhere to the glue and form a nice texture.
- Using the dropper, apply small drops of food coloring onto the salt lines. Watch the colors spread beautifully through the salt, creating a rainbow effect.
- Allow your artwork to dry completely before displaying it or gifting it. This may take a few hours, so be patient!
Helpful Tips
- Easier Assembly: For younger children, consider doing the glue outline while they are on a separate table to prevent mess.
- Cleaner Results: When applying food coloring, try to use the dropper to control the amount you use. This helps avoid over-saturation.
- Material Handling: Be careful when shaking off excess salt to preserve the design you’ve made.
- Displaying the Art: Once dry, you can frame the jellyfish or hang it in a window where sunlight can enhance the colors.
Easy Variations
- Color Combinations: Experiment with colors according to the season, like using pastel shades for spring or rich tones for autumn.
- Different Shapes: Instead of a jellyfish, try making other sea creatures, such as fish or starfish, using the same technique.
- Larger Pieces: Use a bigger piece of cardstock to create a grander panorama of underwater life.
- Salt Alternatives: If you want to experiment, you could use colored sand instead of salt for a different texture.
Making This Craft With Kids
This craft is a wonderful activity to do with children. Adults can supervise the gluing and coloring process to help them stay focused and avoid spills. The tactile nature of this project is especially engaging for young crafters, providing a fun and educational way to explore art. You may also find Pressed Flower Rainbow Window Medallions useful.
How to Display or Use It
Once your jellyfish artwork is dry, you can proudly display it on your walls or in a prominent space at home. It can also make for a delightful gift, especially when shared with someone who loves unique handmade items. You could also use it as part of a themed decoration for a birthday party or a family gathering.
Frequently Asked Questions
1. Can we use other types of paper?
Yes, other types of sturdy paper could work, but black cardstock provides the best contrast for vibrant salt colors.
2. What should I do if the glue isn’t holding the salt?
Make sure the glue is wet enough when adding salt. If you’re having issues, you might need to add more glue.
3. How long will it take to dry?
It usually takes a few hours for the project to dry completely, so ensure it’s in a safe spot during this time.
4. Can I use colored glue instead of white?
Yes, using colored glue can add another dimension to your design, but it may affect the final color outcome.
5. Is this project suitable for all ages?
While the project is suitable for most ages, younger children may require more supervision, especially during the use of the dropper and food coloring.
6. What if I want to make a more complex design?
You can create more complex shapes or incorporate multiple jellyfish into one piece, just be mindful of drying time between layers.
Conclusion
Rainbow salt painting jellyfish is not only a fun and creative craft but also a great way for families to spend quality time together. For more playful craft ideas, consider checking out the Salt Painting Jellyfish craft activity guide or explore how to entertain kids with this School Holiday Fun: Create A Jellyfish Salt Painting. Happy crafting!
Print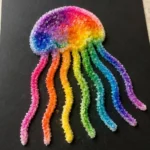
Rainbow Salt Painting Jellyfish
- Total Time: 3 hours
- Makes: 1 jellyfish art piece
Description
Create a beautiful jellyfish art piece using rainbow salt painting, perfect for family fun and artistic exploration.
Materials
- 1/2 cup table salt
- 1/4 cup white school glue
- 2 tablespoons liquid food coloring
- 1 piece of black cardstock paper
- 1 plastic dropper
Instructions
- Start by drawing an outline of a jellyfish on the black cardstock using the school glue.
- While the glue is still wet, sprinkle a generous layer of salt over the glue drawing.
- Using the dropper, apply small drops of food coloring onto the salt lines.
- Allow your artwork to dry completely before displaying it.
Notes
Consider using a different type of paper for unique effects. Experiment with color combinations and shapes for varied results.