

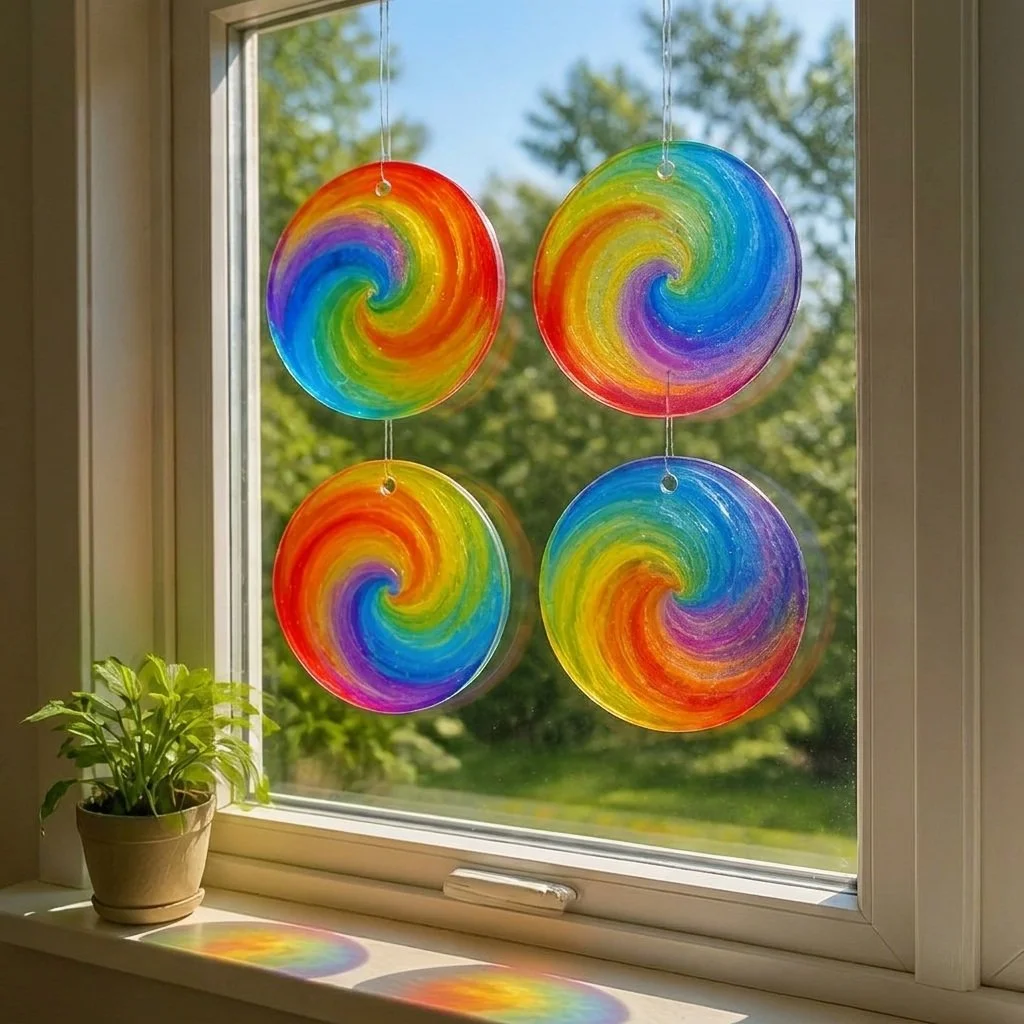
Rainbow Glue Suncatchers
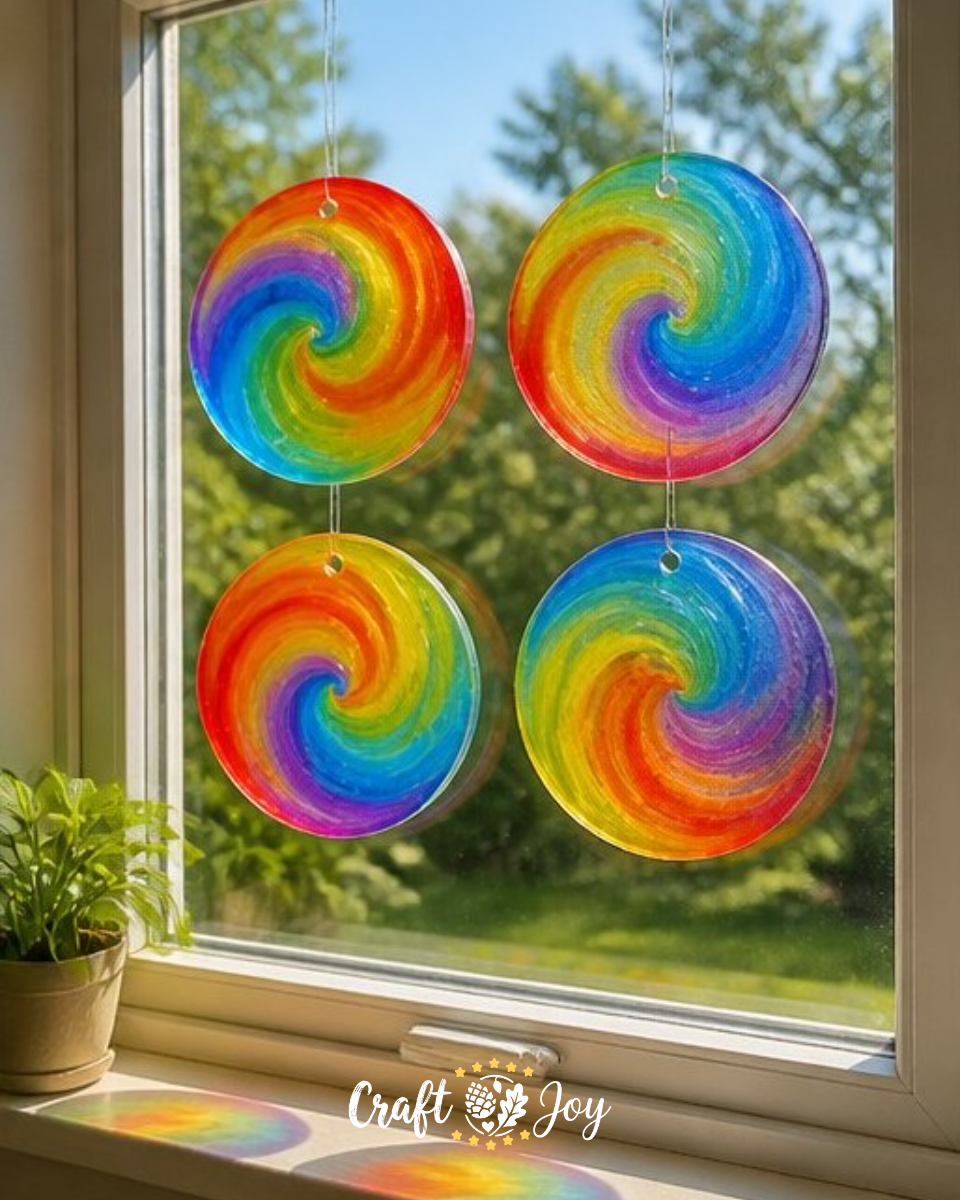
Creating rainbow glue suncatchers is a fun and engaging project that can be enjoyed by crafters of all ages. These colorful decorations not only brighten your windows but also let the sunlight cast beautiful patterns throughout your home. Using simple materials, you can create these lovely suncatchers that catch the light and enhance any space. This project is perfect for a fun afternoon activity with kids, allowing them to explore color mixing and enjoy some creative time. You may also find Diy Rainbow Popsicle Stick Flower Wheel Craft useful.
If you’re interested in more colorful crafts, you might also enjoy making melted crayon rainbow butterflies.
Why You’ll Enjoy This Project
- Simple and Accessible: The materials needed are easy to find, making this project accessible for families.
- Creative Freedom: Kids can get creative by choosing their favorite colors and experimenting with designs.
- Great for Learning: This activity is an excellent opportunity for children to learn about colors and mixing techniques.
- Beautiful Results: Once finished, these suncatchers add vibrant beauty to any window.
- Perfect for All Ages: It’s an enjoyable activity for kids, but adults love it too, making for a great family crafting time.
You may also find Melted Crayon Rainbow Haunted House Suncatcher Craft useful.
Materials You’ll Need
- 4 oz bottle of white school glue
- 1 pack of assorted liquid food coloring
- 4 shallow plastic container lids
- 1 pack of wooden toothpicks
- 1 roll of clear string or monofilament line
These materials are not only inexpensive but can often be found around your home. For a more eco-friendly approach, consider using recycled containers for this project. You may also find Melted Crayon Rainbow Heart Suncatcher For Kids useful.
How to Make Rainbow Glue Suncatchers
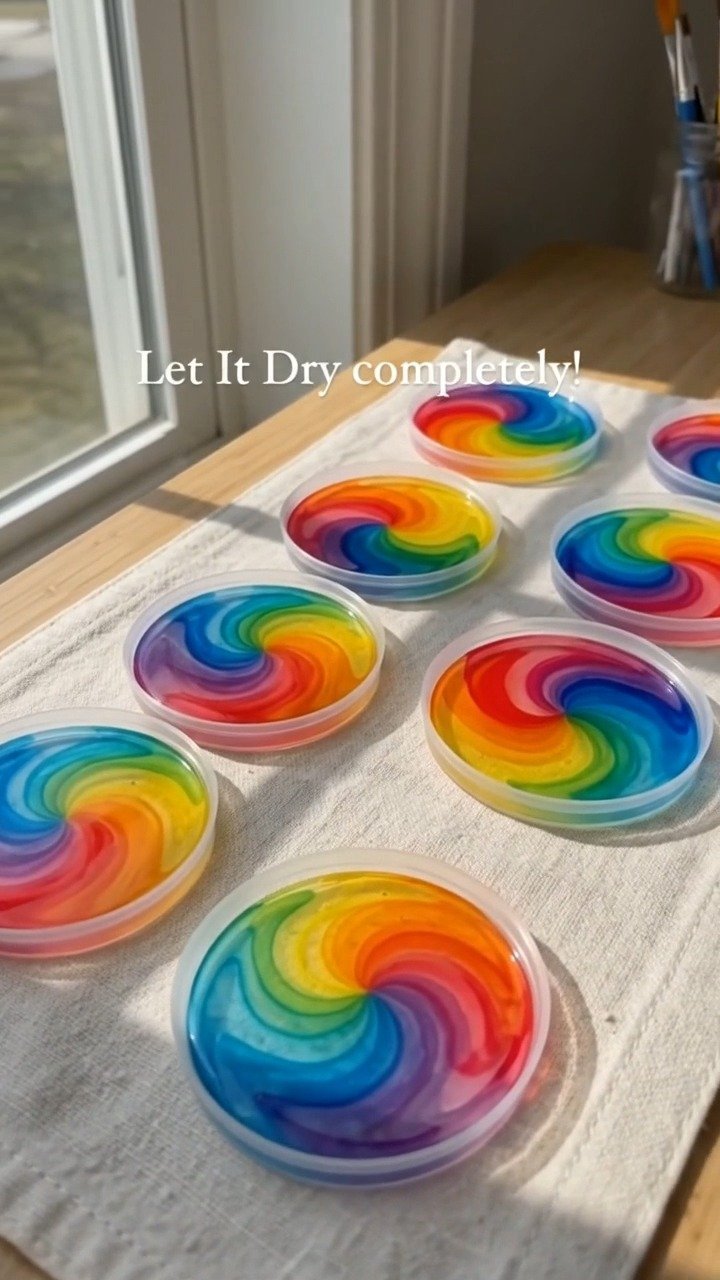
- Pour a generous layer of white school glue into each plastic lid until the bottom is completely covered.
- Squeeze a few drops of different colored food coloring onto the wet glue.
- Use a toothpick to gently swirl the colors together, creating a rainbow pattern. Be careful not to overmix.
- Let the glue dry completely for 2 to 3 days. It should become translucent and firm.
- Once dry, carefully peel the suncatcher off the plastic lid.
- Poke a small hole near the top and attach it to the clear string.
- Hang it in a sunny window to catch the light beautifully.
Helpful Tips
- Mixing Colors: When swirling colors, start from the outside and move toward the center for a neat blend.
- Patience in Drying: Allow ample drying time to ensure the suncatchers are sturdy and not easily damaged when removed from the lids.
- Clear String Knot: When attaching the string, make sure the knot is secure to prevent the suncatcher from falling.
- Display Considerations: Hang your suncatchers where they’ll catch direct sunlight for the most vibrant effect.
Easy Variations
- Seasonal Themes: Switch up the colors to match the seasons pastels for spring or darker tones for autumn.
- Different Shapes: Use larger or smaller lids to create varied sizes of suncatchers.
- Mixed Mediums: Combine this craft with other materials like dried flowers for a unique look, similar to pressed flower medallions.
- Layered Colors: Experiment by layering different colors for a deeper, more intricate suncatcher.
Making This Craft With Kids
This project is particularly suitable for children as they can enjoy watching the transformation of colors and learn about mixing. Make sure to supervise the use of food coloring, as it can stain fabrics and hands. Also, handle the drying time together to keep their excitement intact!
How to Display or Use It
Once you’ve created your rainbow glue suncatchers, consider hanging them in various locations around your home. Windows in kitchens, living rooms, and even bedrooms can become colorful focal points. You could also gift these suncatchers to friends or family as heartfelt handmade decorations.
Frequently Asked Questions
Can I use different types of glue?
Yes, but make sure whatever glue you choose dries clear to maintain the beauty of the colors.
How do I clean up if I spill food coloring?
Wipe it up immediately with soap and water; it’s best done while it’s still wet.
How long will these suncatchers last?
They can last for many months if kept in a dry, well-lit area.
Can I bring this project outdoors?
While the suncatchers can be made outdoors, it’s best to display them indoors to avoid fading due to sunlight and weather conditions.
What if I don’t have shallow lids?
Any shallow surface will work as long as it’s not too deep. Just ensure that the glue can come out easily once dry.
Can I make multiple colors on one suncatcher?
Absolutely! Just be mindful of how you mix them to avoid muddy colors.
Conclusion
Rainbow glue suncatchers offer a delightful way to create colorful art that brightens up your home. If you’re looking for even more crafting ideas, check out the guide on cosmic suncatchers or consider another fun project with these colorful DIY glue suncatchers. Happy crafting!
Print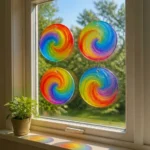
Rainbow Glue Suncatchers
- Total Time: 4335 minutes
- Makes: 4 suncatchers
Description
Create vibrant rainbow glue suncatchers that brighten your home with beautiful patterns. A fun craft for all ages!
Materials
- 4 oz bottle of white school glue
- 1 pack of assorted liquid food coloring
- 4 shallow plastic container lids
- 1 pack of wooden toothpicks
- 1 roll of clear string or monofilament line
Instructions
- Pour a generous layer of white school glue into each plastic lid until the bottom is completely covered.
- Squeeze a few drops of different colored food coloring onto the wet glue.
- Use a toothpick to gently swirl the colors together, creating a rainbow pattern. Be careful not to overmix.
- Let the glue dry completely for 2 to 3 days. It should become translucent and firm.
- Once dry, carefully peel the suncatcher off the plastic lid.
- Poke a small hole near the top and attach it to the clear string.
- Hang it in a sunny window to catch the light beautifully.
Notes
Ensure to supervise children when using food coloring to avoid staining. Allow ample drying time for better results.