

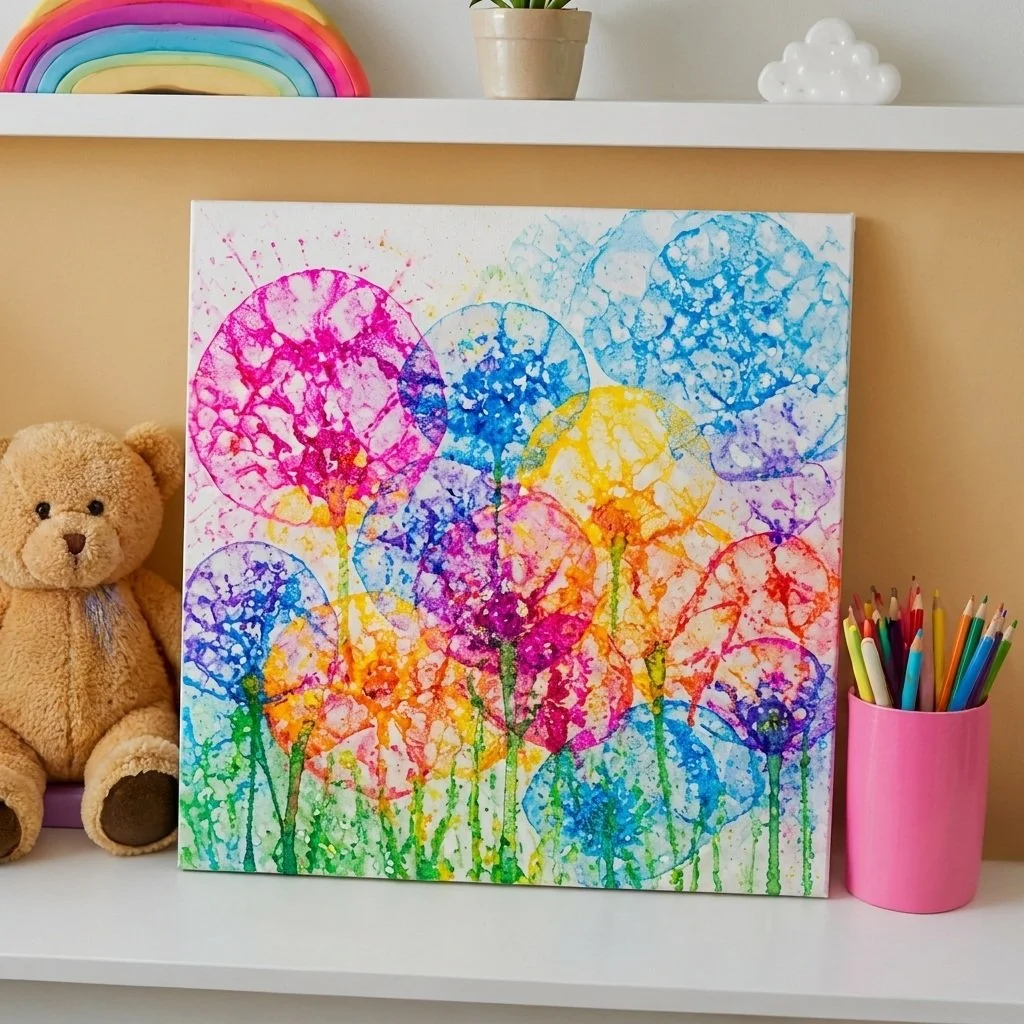
Rainbow Bubble Garden Prints
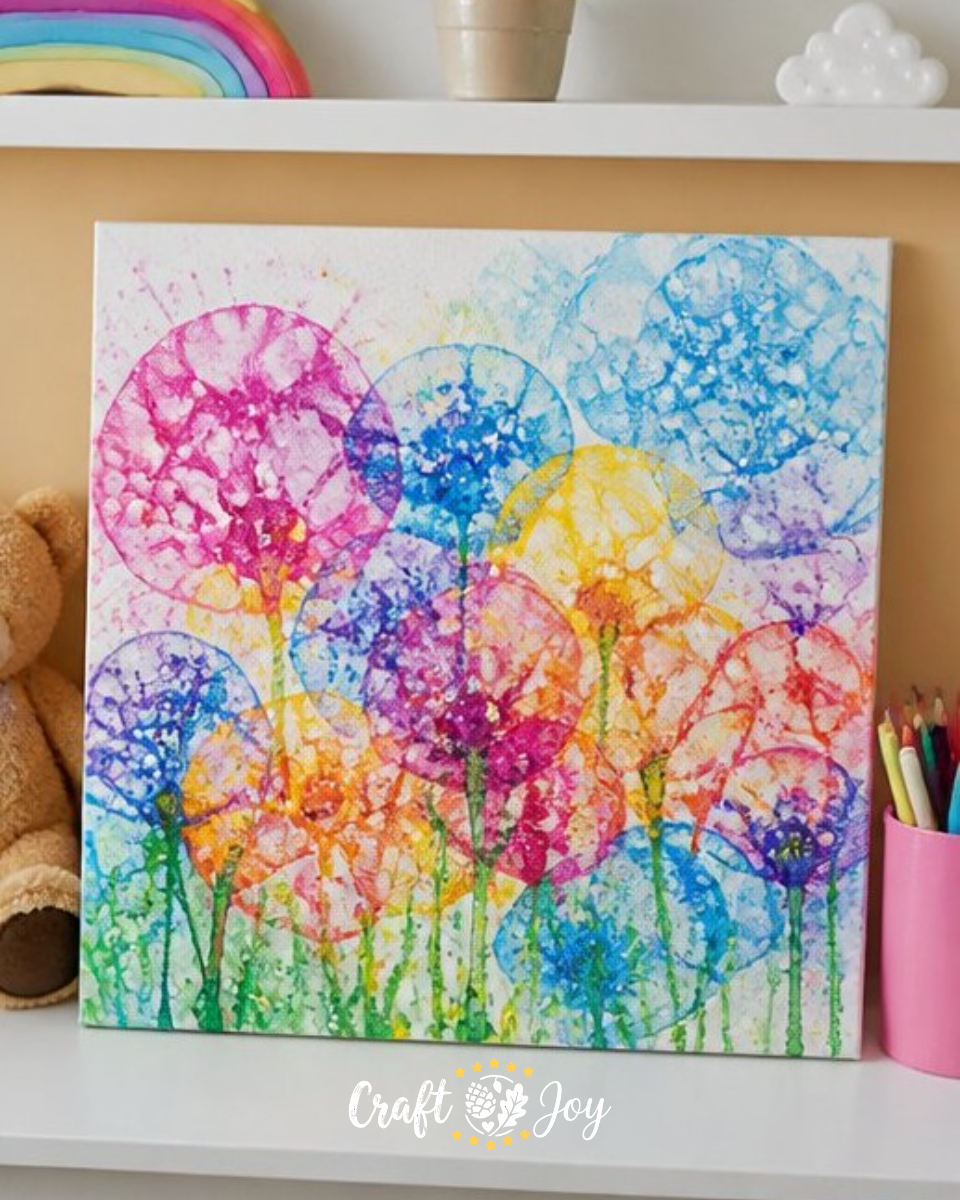
Creating beautiful, colorful artwork can be a joyous activity for both kids and adults. With this Rainbow Bubble Garden Prints project, you can easily combine bubbles and color to make stunning abstract art. The process is simple, and the results are delightful, making it a fantastic way to spend some creative time together. You may also find Rainbow Flower Garden Stakes Recycled Bottles useful.
Not only does this activity spark imagination, but it also engages children in a unique way. Using a hands-on approach, your creations can brighten up any space. If you enjoy similar crafts, you might also love making rainbow butterfly decorations!
You may also find Rainbow Painted Rocks Colorful Flower Garden useful.
Why You’ll Enjoy This Project
- Messy Fun: Kids love bubbles, and this project allows them to play with bubbles in a creative way, blending art and play.
- Easy Setup: The materials needed are simple and often found at home, making it easy for spontaneous crafting.
- Foster Imagination: Each print can be unique, encouraging kids to experiment with different color combinations and patterns.
- Display-Worthy Art: The finished products are not just fun to make; they also result in beautiful pieces of art that can be displayed proudly.
Materials You’ll Need
- Bubble solution
- Food coloring
- Cups
- White cardstock
- Straw
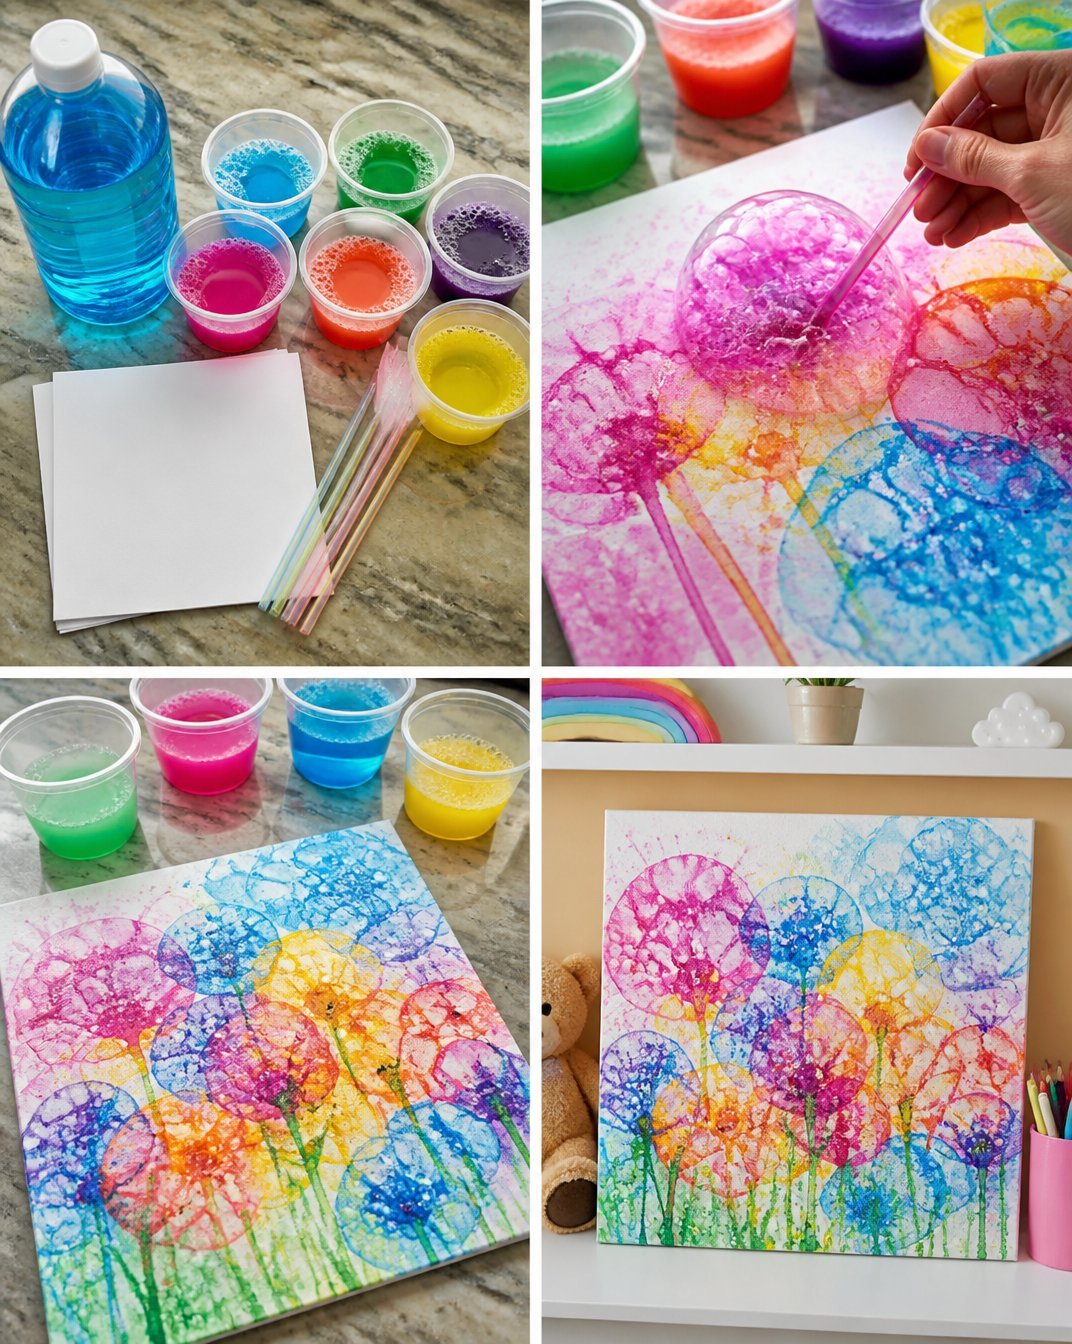
How to Make Rainbow Bubble Garden Prints
- Begin by mixing bubble solution in different cups. Add a few drops of food coloring to each cup, creating vibrant colors.
- Dip the straw into your first colored bubble solution and gently blow through it to create bubbles.
- As the bubbles rise, carefully position your white cardstock over them, allowing the bubbles to pop onto the paper.
- Repeat this process with different colors, layering bubbles for texture and depth.
- Allow the cardstock to dry completely and admire your beautiful abstract garden artwork.
Helpful Tips
- Bubbles and Colors: When creating bubbles, try not to over-blow, as it can cause the bubbles to burst too quickly. A gentle exhale will work best.
- Experiment with Colors: Don’t hesitate to mix different colors in the same cup for more interesting shades.
- Cardstock Placement: To avoid mess, you might want to lay down some newspaper under the cardstock to catch any drips or spills.
- Make it a Group Project: This is a fun project to share. Invite family or friends to join in the fun for a craft day.
- Display Ideas: Once dry, frame your artwork or hang it with clothespins on a string for a colorful display!
Easy Variations
- Seasonal Themes: Adjust the colors based on the season soft pastels for spring or warm tones for fall.
- Larger Prints: Use larger sheets of cardstock for bigger artwork that can be displayed in wider spaces.
- Add Texture: Consider sprinkling glitter while the bubbles are still wet for a sparkling effect.
- Color Mixing: Encourage kids to learn about color mixing by using primary colors and seeing what new tones they can create.
- Incorporate Nature: Once the prints are dry, you can add pressed flowers or leaves to amplify the garden theme.
Making This Craft With Kids
This project is perfect for a range of ages, but adult supervision is recommended, especially to help with blowing the bubbles and managing the materials. Ensure kids work in an area that’s easy to clean, and remind them to handle the colored solutions carefully to avoid stains on fabrics or surfaces. You may also find Diy Rainbow Popsicle Stick Flower Wheel Craft useful.
How to Display or Use It
Once your rainbow bubble prints are dry, you can frame them as gifts for family or friends or even use them as wrapping paper for special occasions. These colorful arts can also brighten up a child’s room or be a fun addition to a playroom. You may also find Melted Crayon Rainbow Butterfly Suncatcher For Kids useful.
Frequently Asked Questions
1. Can I use homemade bubble solution for this project?
Yes, you can! Just ensure it has enough soap to create stable bubbles.
2. What if I don’t have food coloring?
You can use liquid watercolor paint as a substitute to achieve different colors.
3. How long does it take for the prints to dry?
This depends on the thickness of the bubbles and the environment, but they generally take a few hours.
4. Can this craft be done outdoors?
Absolutely! It’s great for enjoying sunny weather in the backyard.
5. What age is this project best suited for?
It’s suitable for children aged five and up, with some supervision.
Conclusion
Engaging in creative projects like Rainbow Bubble Garden Prints not only showcases artistic skills but also creates lasting memories. For more unique craft ideas, check out this tutorial on bubble painting hydrangeas or learn how the Chicago Botanic Garden features such enchanting art forms. Happy crafting!
Print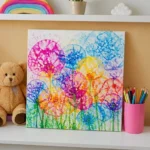
Rainbow Bubble Garden Prints
- Total Time: 1 hour
- Makes: Variable artworks
Description
Create stunning abstract art using bubbles and colors for a delightful hands-on activity.
Materials
- Bubble solution
- Food coloring
- Cups
- White cardstock
- Straw
Instructions
- Begin by mixing bubble solution in different cups
- Add a few drops of food coloring to each cup
- Dip the straw into your first colored bubble solution and gently blow through it
- Position your white cardstock over the bubbles
- Repeat with different colors, layering bubbles for texture
- Allow the cardstock to dry completely
Notes
Use gentle exhale for bubbles and consider laying down newspaper to catch drips.