

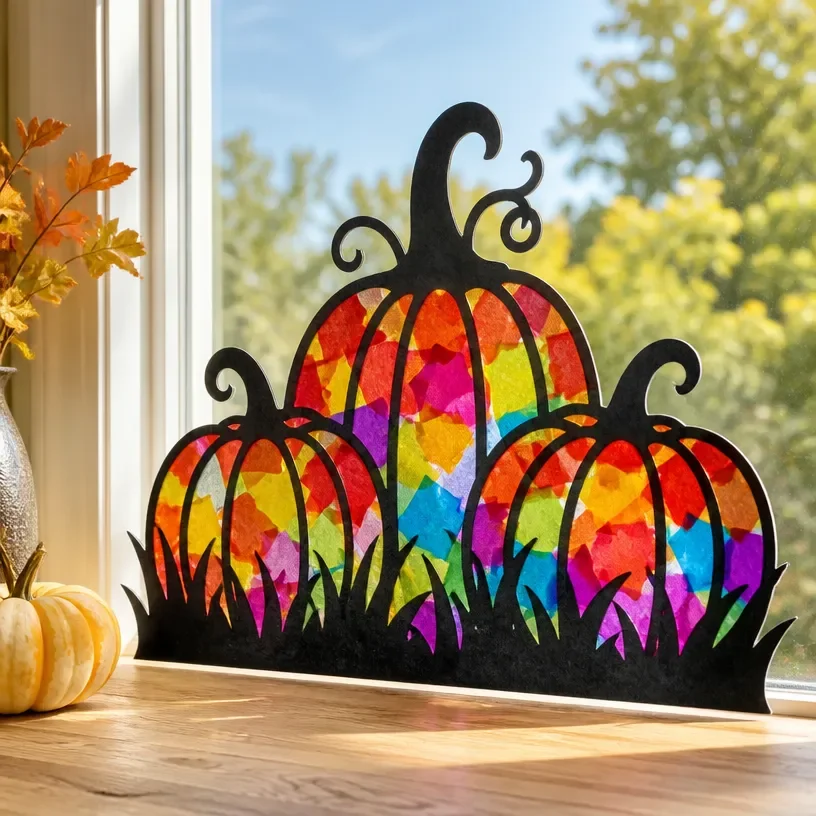
Pumpkin Patch Window Suncatcher
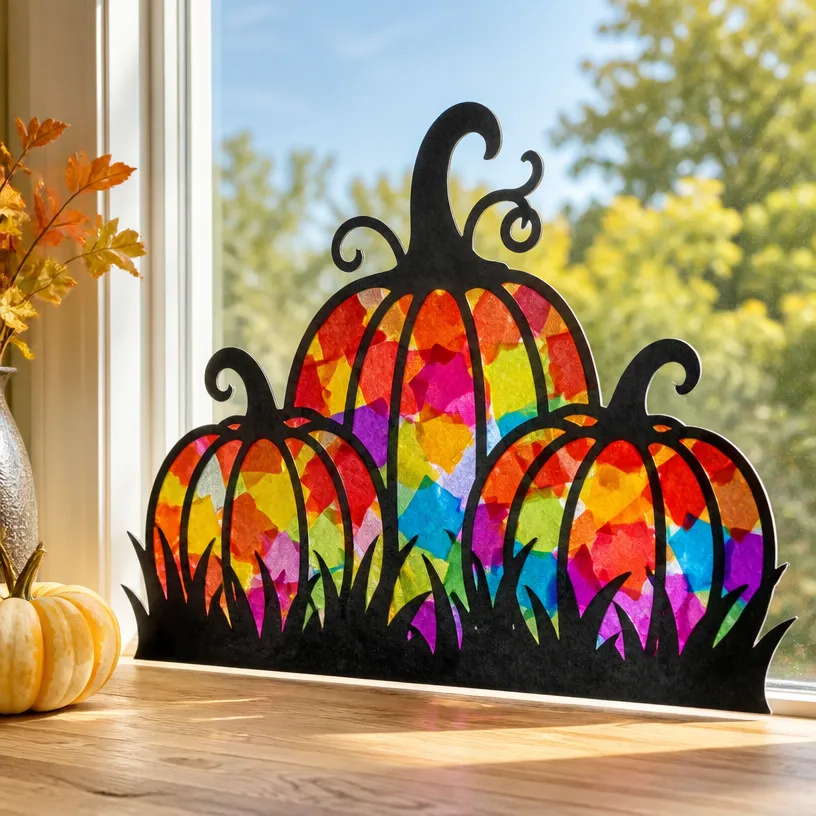
Creating a Pumpkin Patch Window Suncatcher is a delightful way to celebrate the fall season, bringing colorful cheer into your home. This charming craft will not only brighten your windows but also serve as a fun and engaging activity for the whole family. With just a few simple materials, you’ll be on your way to making a beautiful decoration that everyone will admire. You may also find Melted Crayon Rainbow Butterfly Suncatcher For Kids useful.
In this tutorial, I’ll guide you through the process of making your own Pumpkin Patch Window Suncatcher. It’s a great way to bond with loved ones while crafting something unique and eye-catching. Let’s get started on this festive project that adds a touch of autumn to any window. You may also find Melted Crayon Rainbow Haunted House Suncatcher Craft useful.
You may also find Melted Crayon Rainbow Heart Suncatcher For Kids useful.
Why You’ll Enjoy This Project
- Colorful Display: The vibrant colors from the suncatcher will cheer up any room and create a warm atmosphere.
- Simple Steps: The straightforward instructions make this craft approachable for beginners and kids alike.
- Customizable: Feel free to adapt colors and designs to match your home décor or personal style.
- Seasonal Fun: Celebrate the beauty of fall with this thematic craft that can be displayed throughout the season.
Materials You’ll Need
Gather the following materials to create your Pumpkin Patch Window Suncatcher: You may also find Pressed Flower Rainbow Window Medallions useful.
- Clear contact paper
- Colored tissue paper in various autumn shades (orange, yellow, red, green)
- Scissors
- Orange construction paper for pumpkins
- A black marker for details
- A pencil
- A craft knife (for adult use or supervision required)
- Optional: Glitter for added sparkle
How to Make Pumpkin Patch Window Suncatcher
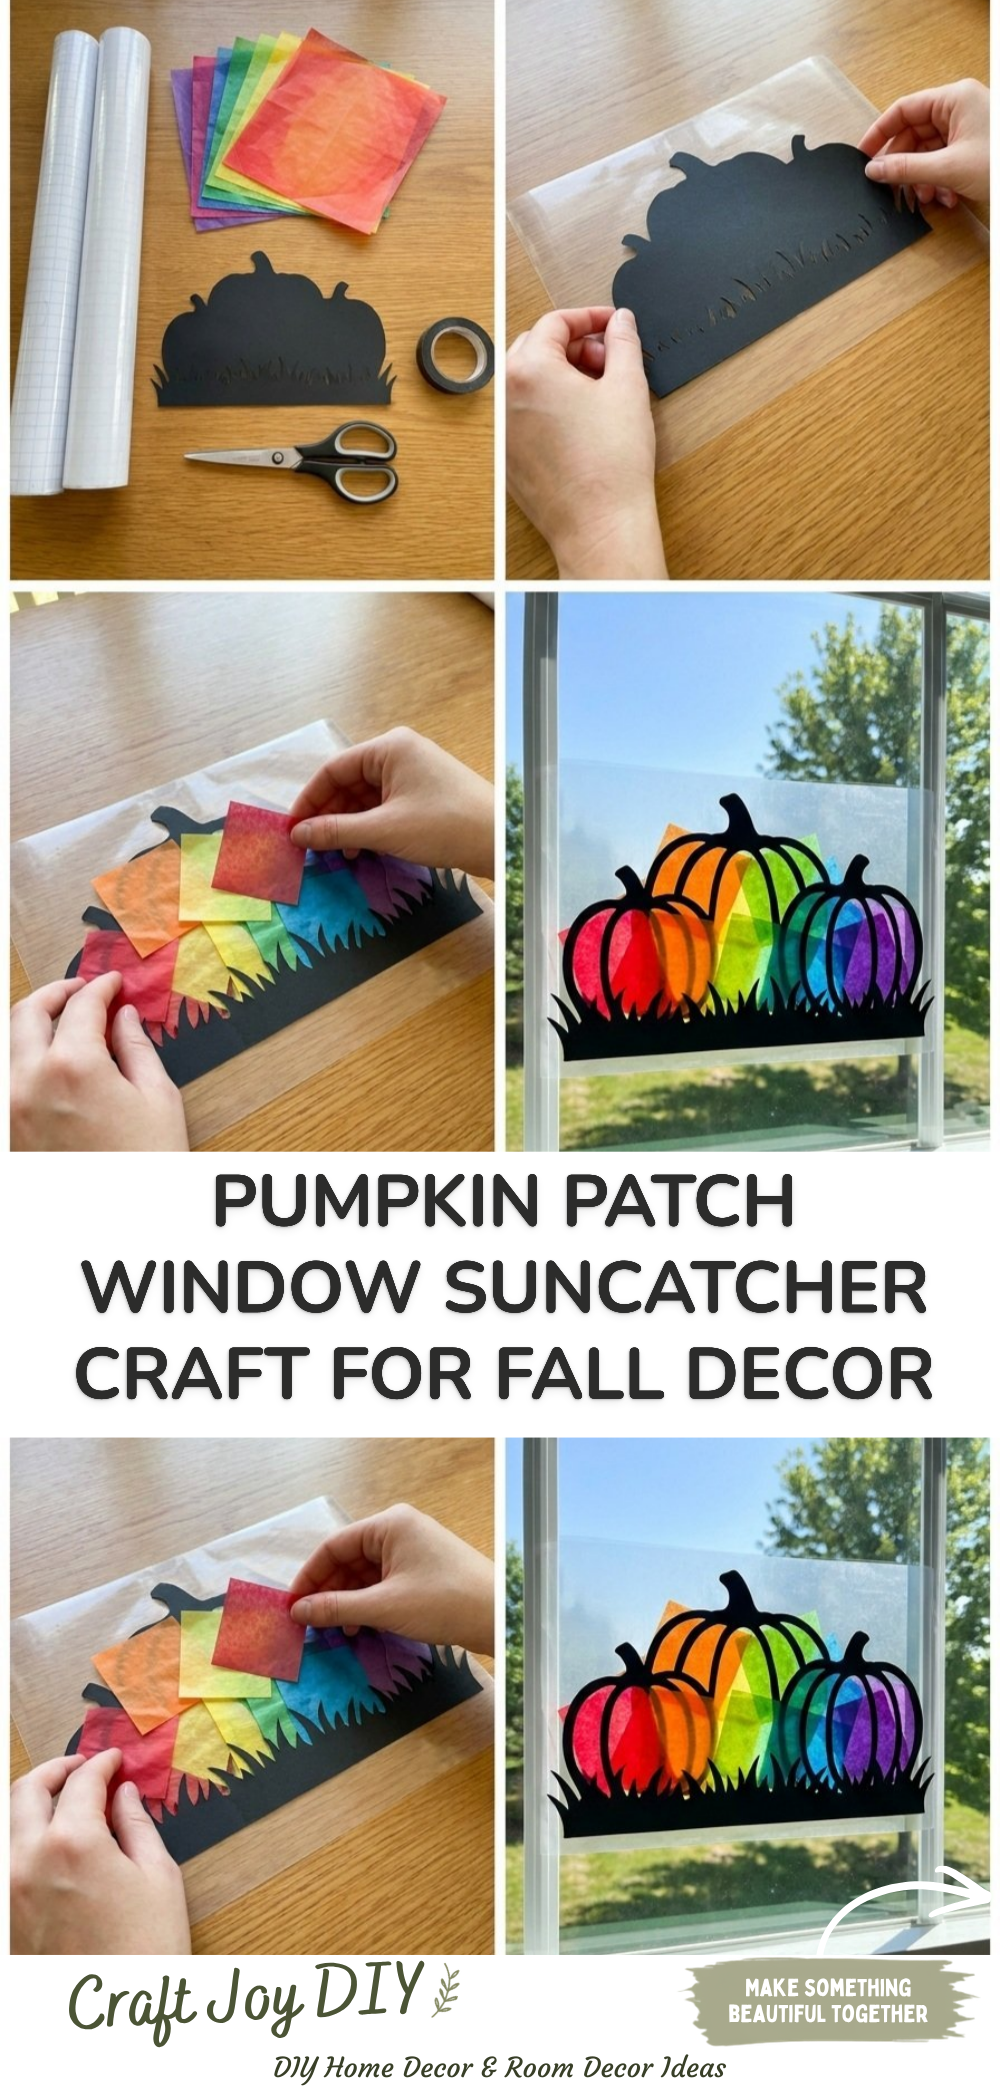
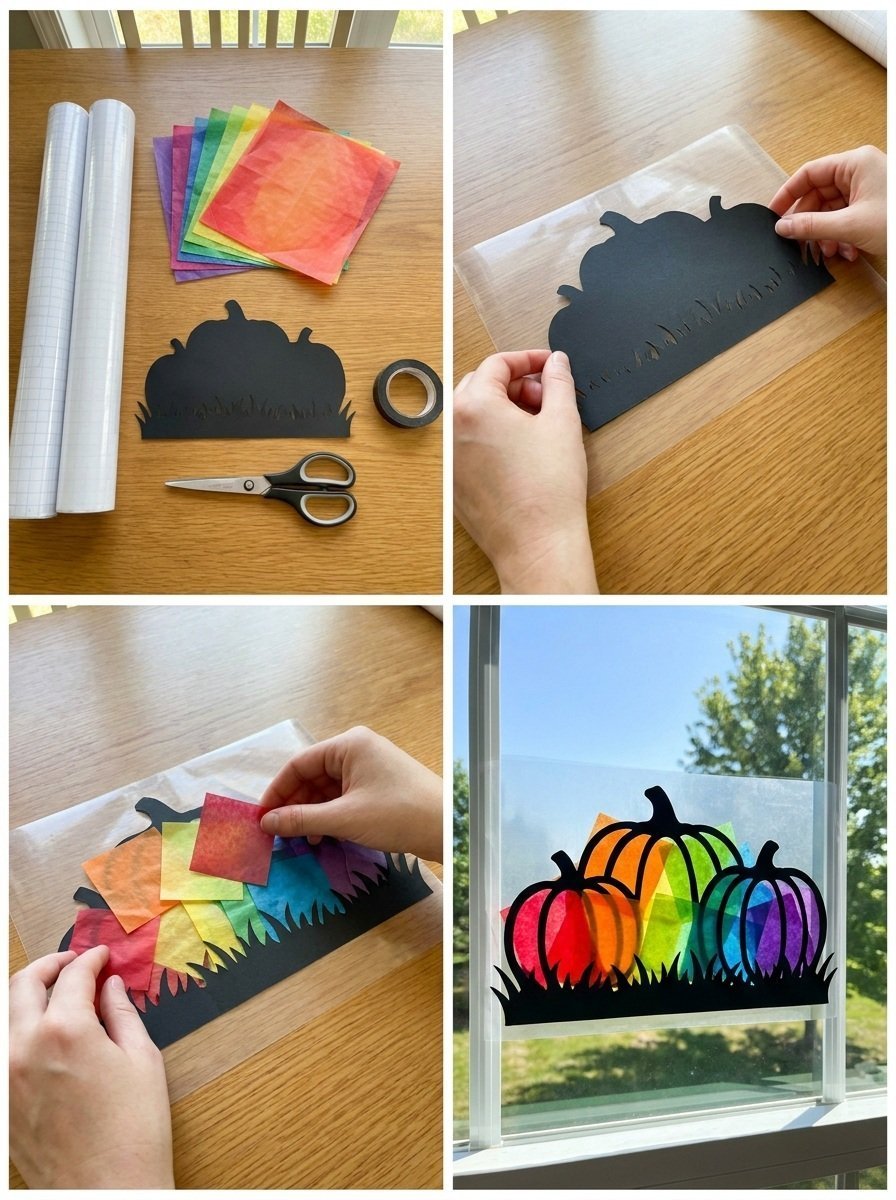
Prepare the Contact Paper: Cut a large piece of clear contact paper and peel off the backing. This will serve as the base for your suncatcher. You may also find Rainbow Crystal Butterfly Suncatcher Craft useful.
Cut Tissue Paper: Tear or cut the colored tissue paper into small pieces or shapes to represent leaves and pumpkins. You can combine colors to add dimension.
Create the Pumpkin Shapes: Using orange construction paper, draw and cut out pumpkin shapes. You can make them different sizes for variety.
Arrange the Design: Stick the tissue paper pieces onto the sticky side of the contact paper, layering the colors as you wish. Place the pumpkin cutouts strategically within the arrangement.
Seal with Another Layer: Once you’re satisfied with your design, cut another piece of contact paper to cover the top layer. This will keep everything in place and give it a polished finish.
Trim the Edges: Cut around the design, leaving a small border of contact paper. This edge helps the suncatcher stick better to the window.
Final Touches: If you’d like, use a black marker to add details like faces on the pumpkins or vines within your design.
Helpful Tips
- Making It Neater: When cutting tissue paper, consider using scissors to create clean edges. It helps to keep the final product looking tidy.
- Choosing a Location: Place your suncatcher in a spot where natural light shines through. This enhances the colors and makes the suncatcher pop.
- Involve the Kids: Allow children to choose their own colors and patterns. This personal touch will make the craft even more special.
- Hanging Methods: You can easily hang your finished suncatcher using tape or suction cups.
Easy Variations
- Different Shapes: Instead of pumpkins, create ghosts or leaves using similar techniques for a variety of fall decor.
- Size Alterations: Make small suncatchers that can be strung together for a garland effect.
- Seasonal Themes: Adapt the suncatcher for other holidays, like snowflakes for winter or flowers for spring.
Making This Craft With Kids
This project is fantastic for children, but adult supervision is recommended, especially when using sharp scissors or craft knives. Adults can help with any cutting and ensure that younger children are using safe materials. Let kids express their creativity through their unique designs.
How to Display or Use It
Once your Pumpkin Patch Window Suncatcher is complete, proudly display it on your windows for all to see. You can pair it with other fall decor, such as wreaths or table centerpieces, to enhance your seasonal aesthetic.
Frequently Asked Questions
Can I use other materials instead of tissue paper?
Yes, you can experiment with different types of paper or even dried leaves for a unique effect.
How long will the suncatcher last?
If kept clean and out of direct sunlight, your suncatcher can last for a few weeks. However, sunlight may fade the colors over time.
Is this craft suitable for toddlers?
While younger kids can help with tearing tissue paper or arranging pieces, supervision is required for cutting.
What should I do if my suncatcher won’t stick?
Ensure the edges are pressed down firmly against the window. If it’s still not sticking, you can use tape along the edges for extra security.
Conclusion
Crafting a Pumpkin Patch Window Suncatcher is a fun and creative way to celebrate the autumn season. Not only does it brighten your space, but it also offers a fantastic bonding experience for families. If you’re looking for more seasonal craft inspiration, check out this easy pumpkin suncatcher craft or explore this glitter pumpkin suncatcher craft for additional ideas. Happy crafting!
Print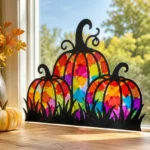
Pumpkin Patch Window Suncatcher
- Total Time: 10 minutes
- Makes: 1 suncatcher
Description
Create a delightful Pumpkin Patch Window Suncatcher to celebrate the fall season and add colorful cheer to your home.
Materials
- Clear contact paper
- Colored tissue paper (orange, yellow, red, green)
- Scissors
- Orange construction paper
- Black marker
- Pencil
- Craft knife (for adult use)
- Optional: Glitter
Instructions
- Prepare the contact paper: Cut a large piece and peel off the backing.
- Cut tissue paper into small pieces or shapes.
- Create pumpkin shapes using orange construction paper.
- Arrange the tissue paper pieces on the sticky side of the contact paper.
- Seal the design with another layer of contact paper.
- Trim the edges, leaving a small border for sticking.
- Add details with a black marker if desired.
Notes
Involve kids by letting them choose colors. Ensure supervision while using sharp tools.