

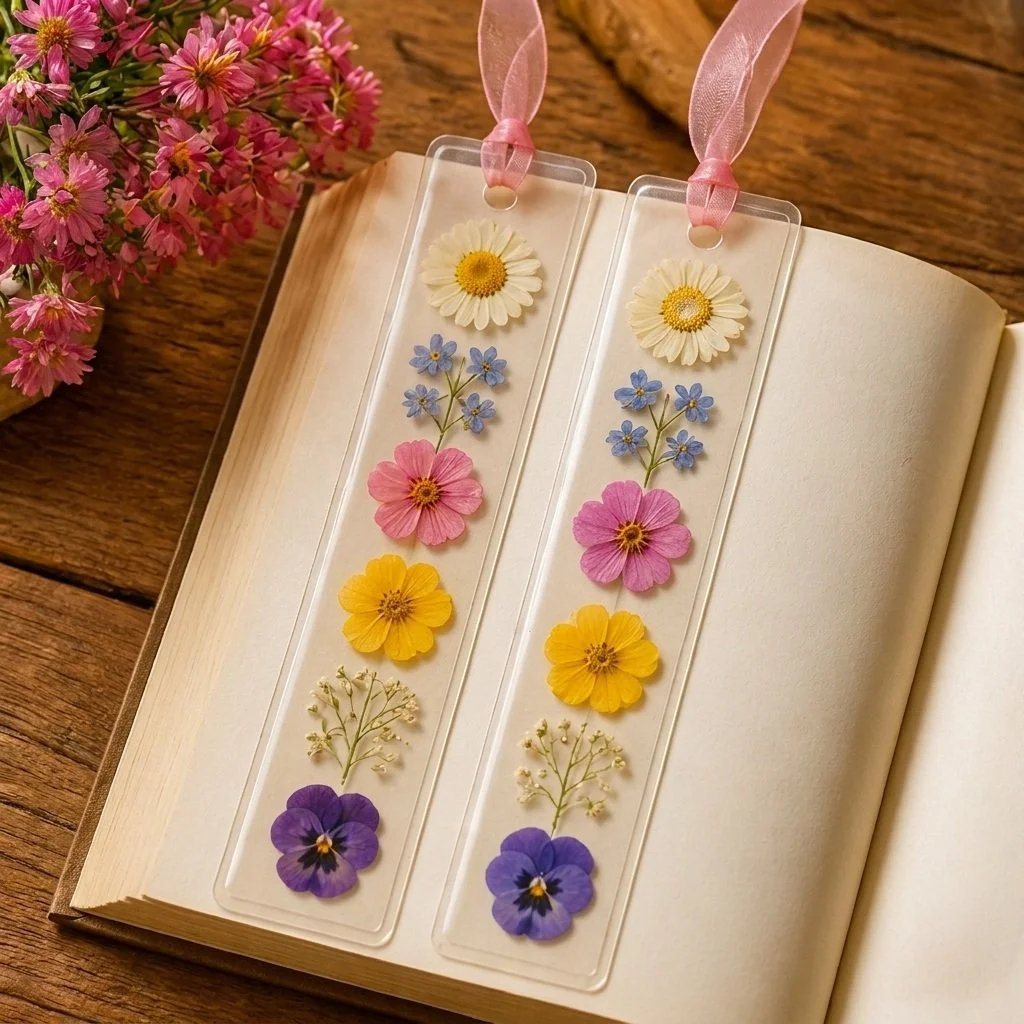
Pressed Wildflower Bookmarks
Creating pressed wildflower bookmarks is a delightful project that combines creativity and nature. These bookmarks not only serve a practical purpose but also bring a touch of beauty to your reading experience. By using simple materials, including pressed flowers, you can craft unique and personalized bookmarks that make wonderful gifts or keepsakes.
Whether you want to brighten your own library or share a love for nature with someone special, making pressed wildflower bookmarks is an excellent way to engage with the simple joys of crafting. If you enjoy nature-inspired crafts, you might also like to explore pressed flower window medallions.
Why You’ll Enjoy This Project
- Connection to Nature: Pressed wildflowers can remind you of cherished outdoor moments, like summer hikes or garden days.
- Meaningful Gifts: These bookmarks make heartfelt gifts for book lovers, especially when made with flowers that hold personal significance.
- Simple and Fun: The process is straightforward and engaging for both adults and children, making it a great family activity.
- Creative Expression: You can design each bookmark uniquely, allowing for endless creativity with color and arrangement.
Materials You’ll Need
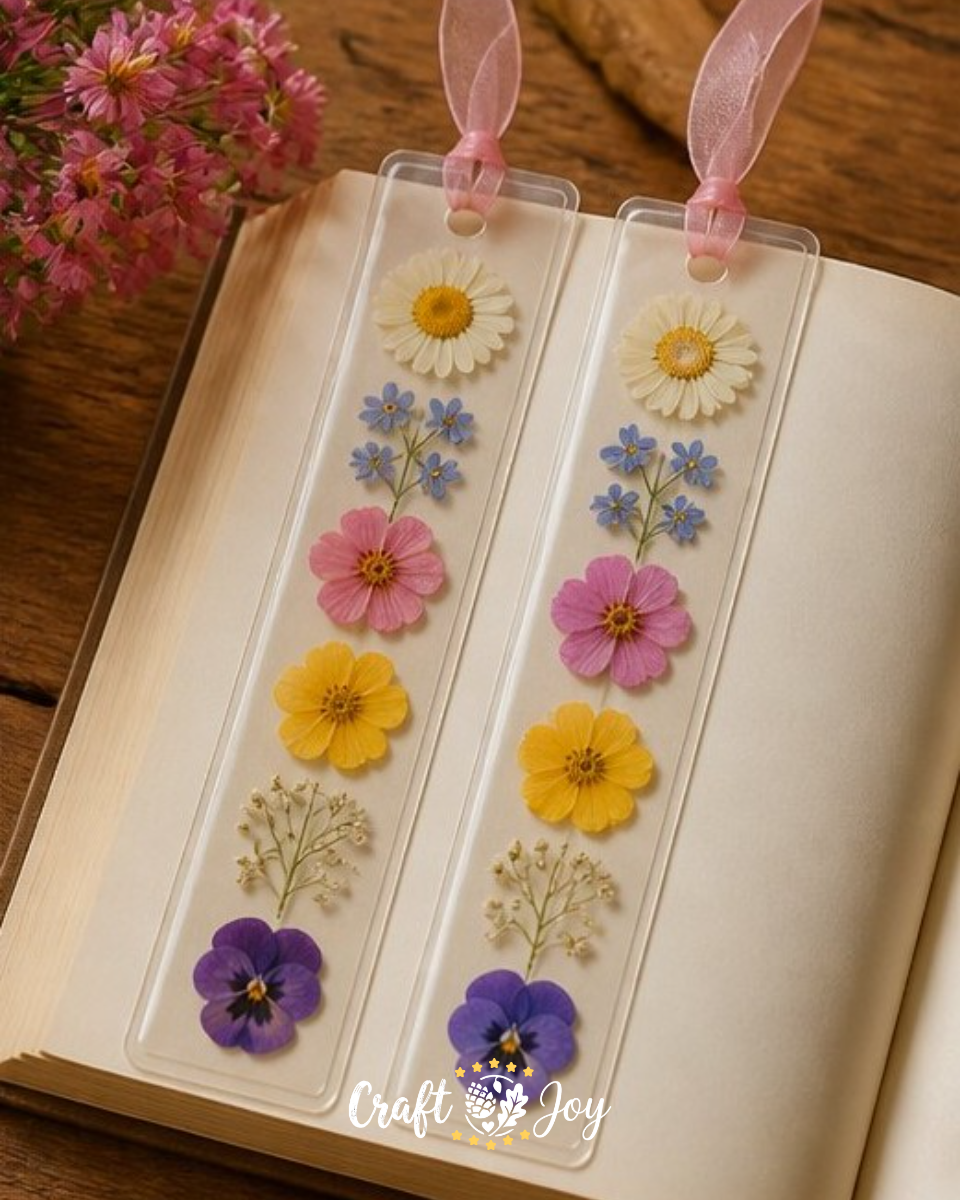
- 6 pressed wildflowers
- 2 sheets clear laminating film (2 x 7 in)
- 12 in ribbon
- Hole punch
Using fresh flowers that you press yourself can create a more personalized bookmark, but store-bought pressed flowers will work just as well if you’re short on time.
How to Make Pressed Wildflower Bookmarks
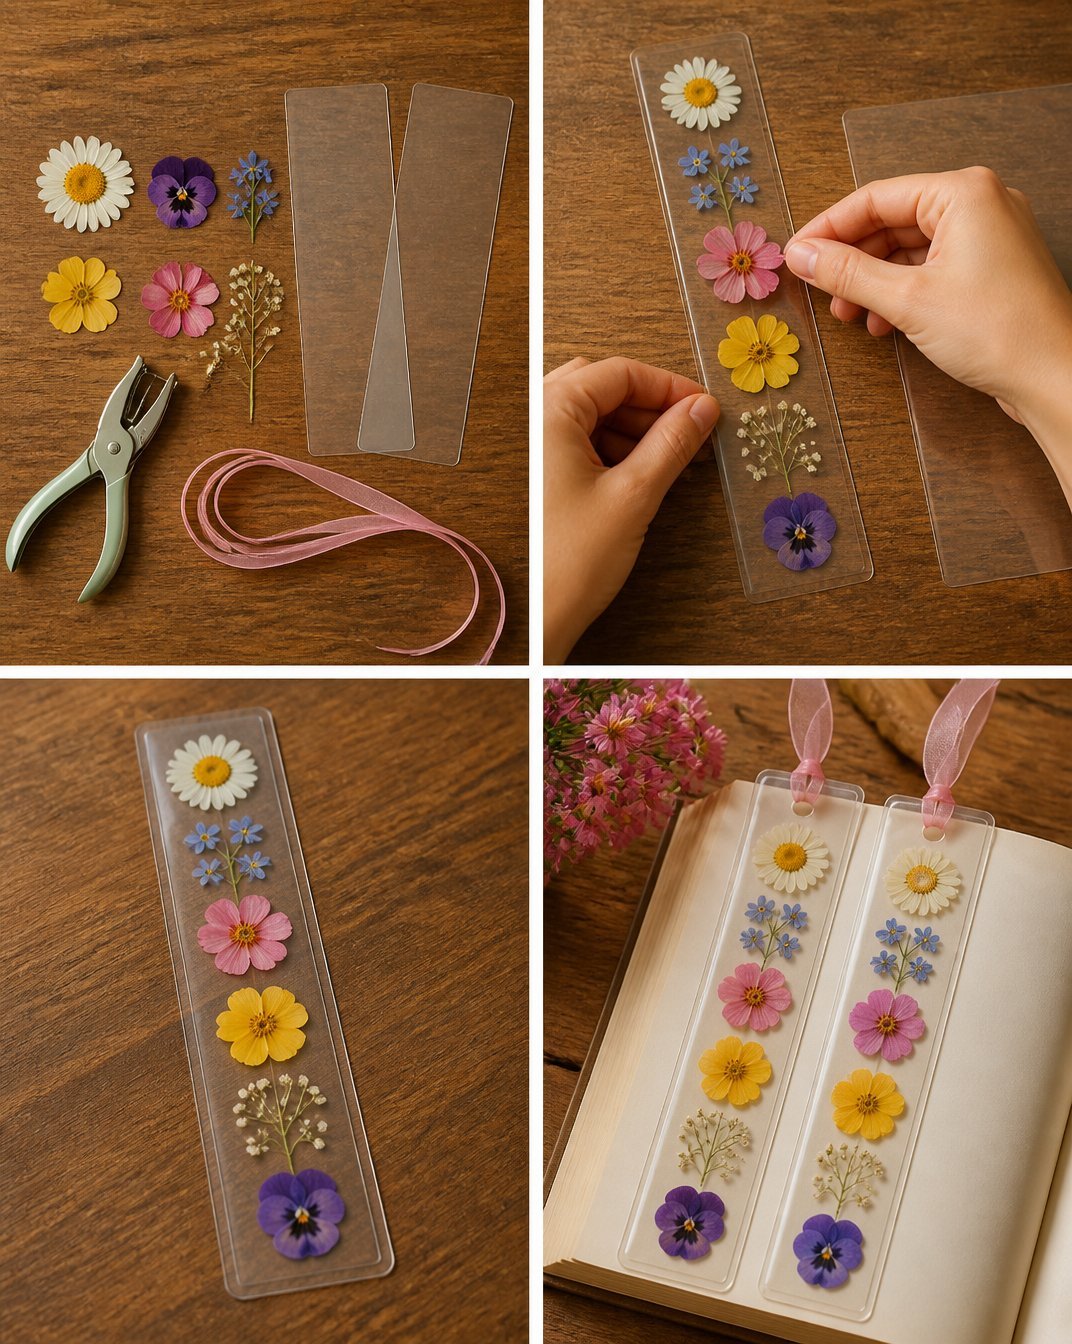
Arrange Flowers: Begin by gently arranging your pressed flowers between the two sheets of laminating film. Take a moment to create a pleasing design.
Seal the Laminating Film: Seal the laminating film according to the package instructions, ensuring everything is secure.
Trim the Edges: Once sealed, carefully trim the edges, leaving a small margin around the flowers to protect them.
Punch a Hole: Punch a hole at the top center of your bookmark and insert the ribbon.
Finish with a Bow: Tie it in a lovely bow to finish and enjoy your beautiful bookmark in your favorite book or share it as a heartfelt gift with someone special.
Helpful Tips
- Use a Flat Surface: Make sure your working surface is flat to accommodate the arrangement of your flowers easily.
- Consider Flower Size: Smaller flowers or petals often work best for bookmarks to avoid overwhelming the design.
- Test Sealing Technique: If you’re unsure about sealing the edges, you can practice with scrap laminating film first.
- Create Seasonal Themes: Think about seasonal flowers or holiday colors to capture the essence of different times of year.
Easy Variations
- Different Shapes: Instead of a rectangle, experiment by cutting the bookmark into fun shapes such as hearts or stars.
- Layering Colors: Try using flowers of different colors for a more dimensional and vibrant bookmark.
- Seasonal Flowers: Use flowers that bloom in different seasons to reflect the current time of year.
- Personalization: Write a small quote on the laminating film before sealing, adding a personal touch to the bookmark.
- Multi-Bookmark Gifts: Create a set of bookmarks featuring different flowers, perfect for gifting.
Making This Craft With Kids
This project is a fantastic way to involve children in crafting, but supervision is essential during the sealing and cutting steps. They can take the lead on arranging the flowers and tying the ribbons. Ensure that younger children handle the hole punch under adult supervision.
How to Display or Use It
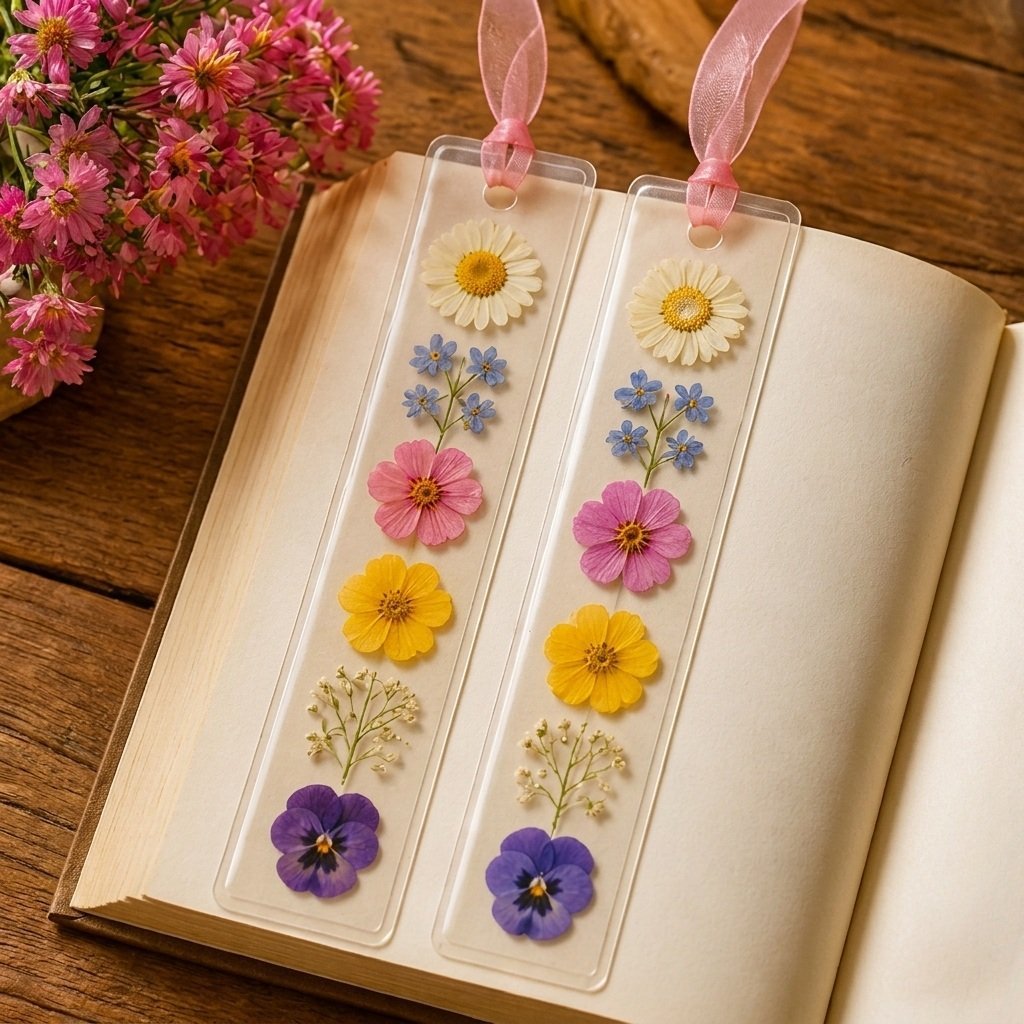
Once completed, these bookmarks are perfect for your reading materials. You can place them between pages or showcase them in a small decor display to highlight the beauty of the pressed flowers. They also make thoughtful gifts when wrapped up with a favorite book.
Frequently Asked Questions
Can I use fresh flowers instead?
Yes, you can press fresh flowers before using them in bookmarks, as long as they are dried properly.
What’s the best way to press flowers?
Place flowers flat between sheets of parchment paper and press them with a heavy book for several days.
How long do these bookmarks last?
When properly laminated, they can last for many years without fading.
Can I add decorative elements?
Absolutely! You can add stickers or draw on the laminate for added decoration.
Do I need special tools for this craft?
No special tools are necessary beyond typical crafting supplies like the laminating film and hole punch.
Can I use this method for other items?
Yes, you can use laminating film to preserve other nature finds, such as leaves and small photographs.
Conclusion
Pressed wildflower bookmarks are a lovely way to bring the beauty of nature into your everyday life while enjoying a creative project. For more inspiration on making nature-themed crafts, check out this guide on DIY pressed flower bookmarks, and to learn about kid-friendly methods, visit How to Make Bookmarks with Pressed Flowers. Happy crafting!
Print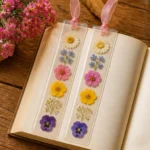
Pressed Wildflower Bookmarks
- Total Time: 15 minutes
- Makes: 4 bookmarks
Description
Create beautiful pressed wildflower bookmarks using simple materials, perfect for gifts or personal keepsakes.
Materials
- 6 pressed wildflowers
- 2 sheets clear laminating film (2 x 7 in)
- 12 in ribbon
- Hole punch
Instructions
- Arrange flowers gently between the two sheets of laminating film.
- Seal the laminating film according to the package instructions.
- Trim the edges, leaving a small margin around the flowers.
- Punch a hole at the top center of your bookmark.
- Finish with a lovely bow and enjoy your beautiful bookmark.
Notes
Ensure a flat working surface and consider the size of flowers for better designs. Supervision is essential when crafting with kids.