

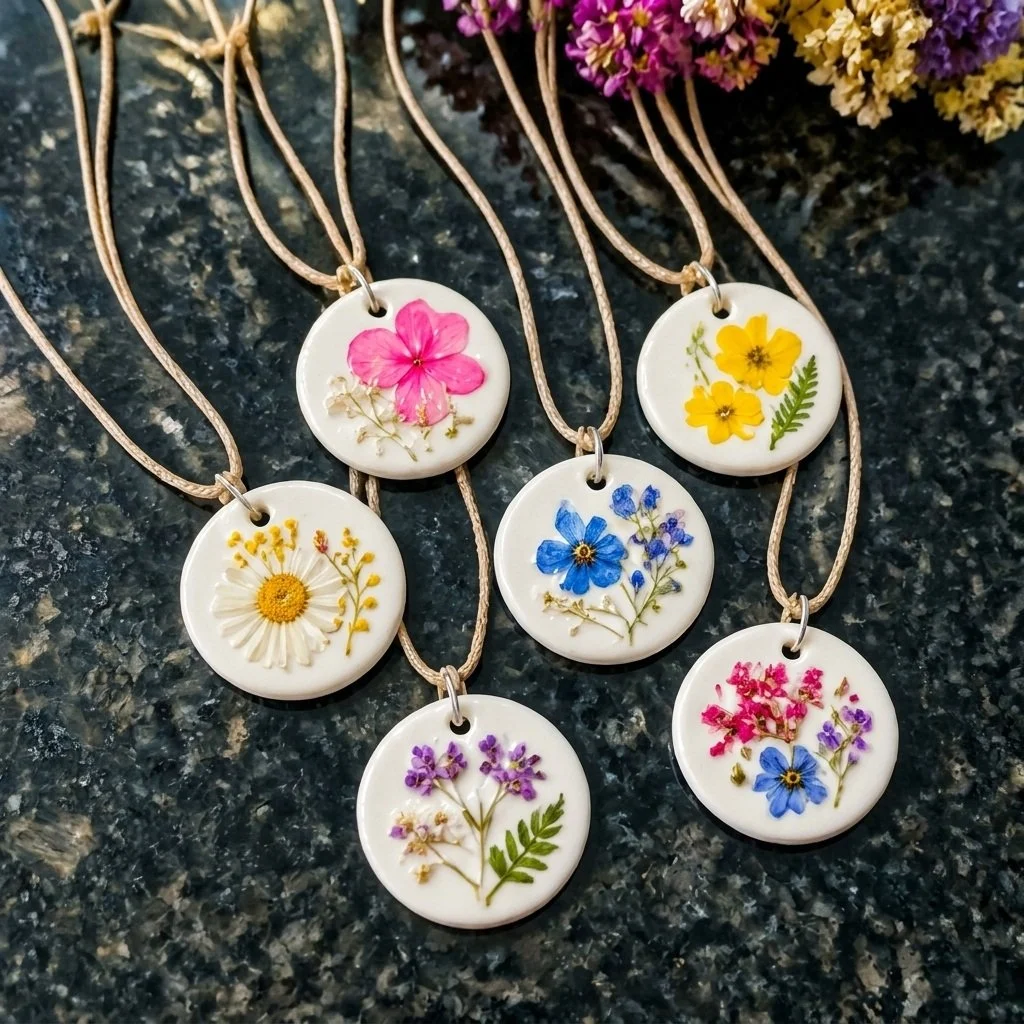
Pressed Flower Jewelry in Air-Dry Clay
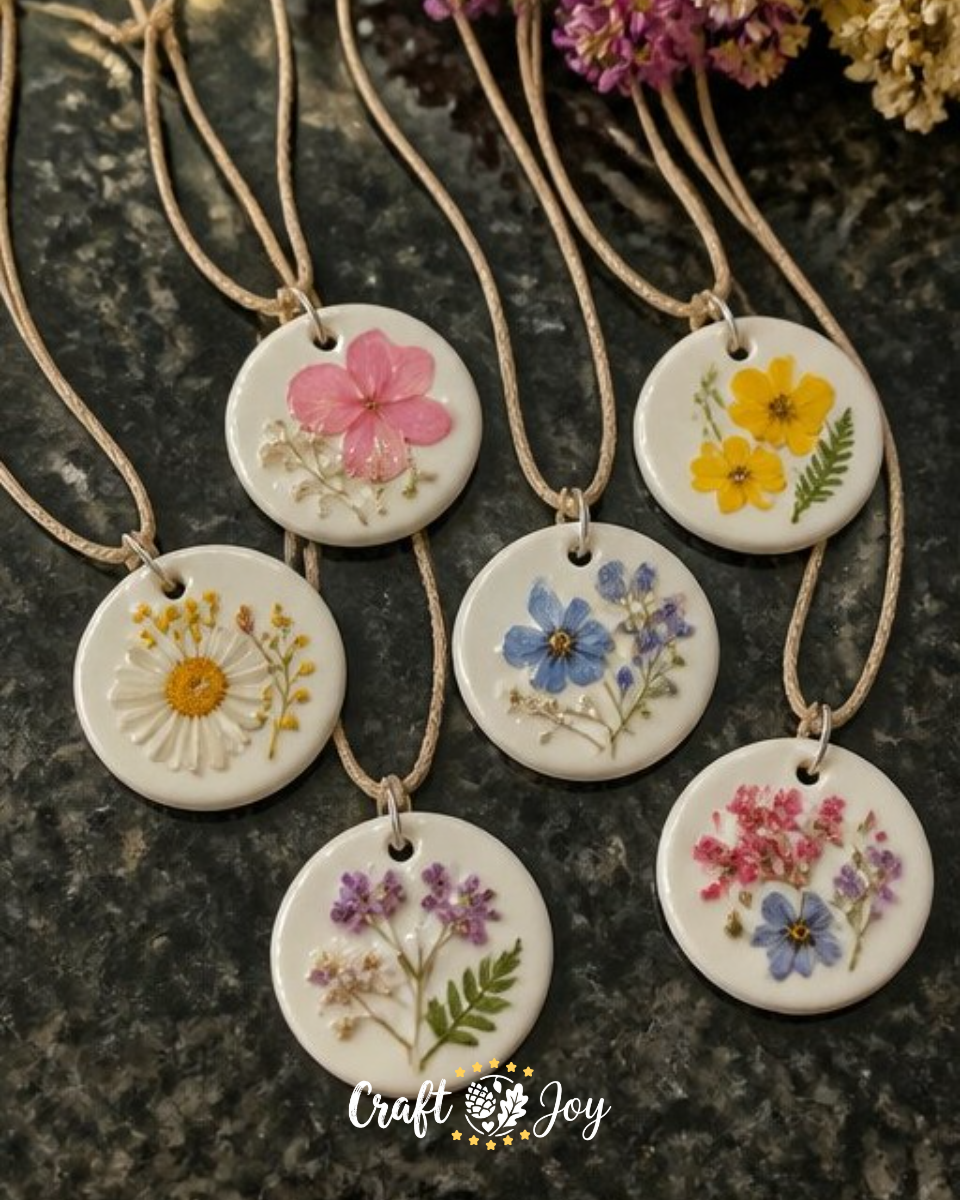
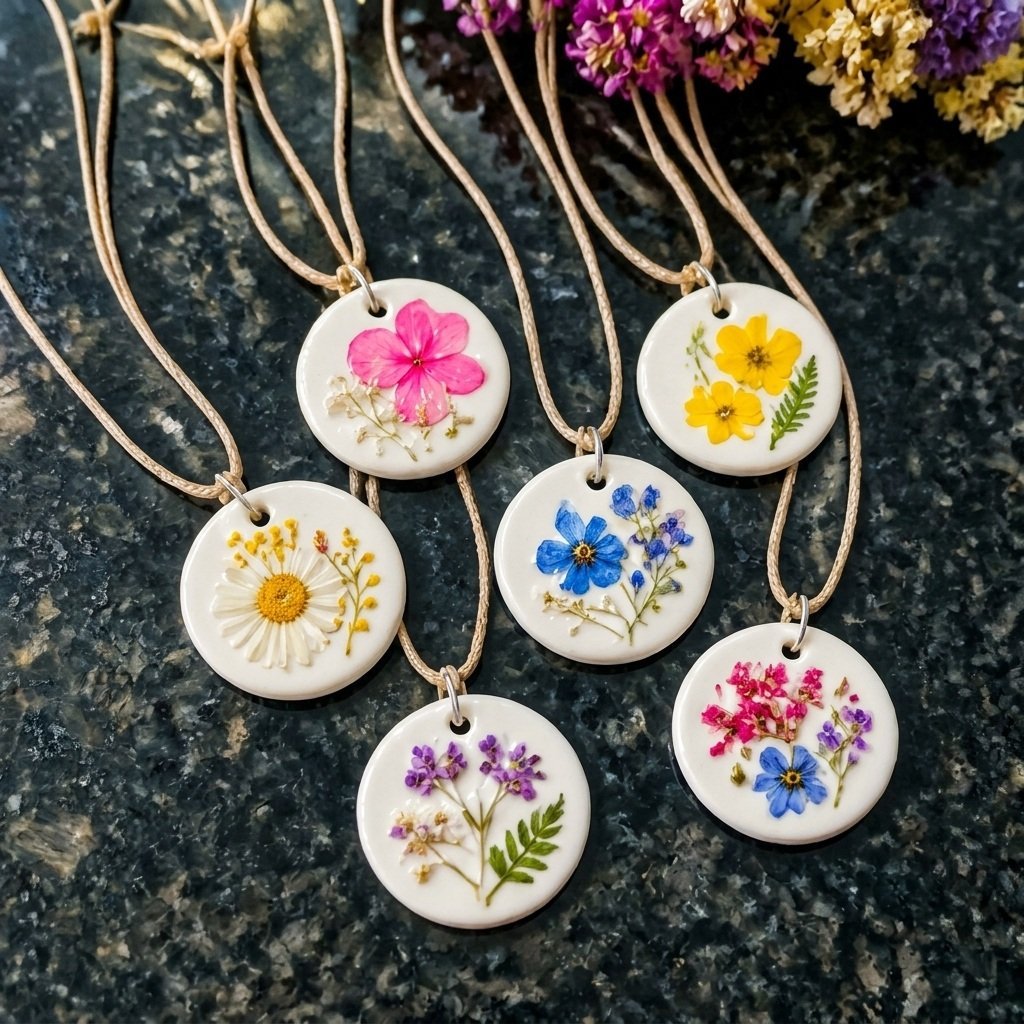
Crafting pressed flower jewelry in air-dry clay is a delightful way to incorporate the beauty of nature into your accessories. This project not only allows you to express your creativity, but it also results in unique pieces that can be cherished or gifted. With just a few simple materials, you can transform dried flowers into beautiful pendants that showcase your personal style. You may also find Pressed Flower Rainbow Window Medallions useful.
What makes this project particularly enjoyable is the versatility it offers. You can tailor your pendant shapes and flower arrangements to reflect different seasons or occasions. Plus, it’s an excellent way to engage kids in a creative activity, making it suitable for family crafting sessions. If you want to explore more flower-themed crafts, check out our colorful cupcake liner flower bouquet for additional inspiration.
Why You’ll Enjoy This Project
- Creative Expression: You have complete control over the design, allowing for endless creativity.
- Nature Connection: Using dried flowers connects you with nature and adds a personal touch to your jewelry.
- Simplicity: This project is easy to follow, making it perfect for beginners and kids alike.
- Gift Potential: Handmade jewelry makes thoughtful gifts for friends and family.
- Fun for All: It’s enjoyable for all ages, ensuring quality time spent together.
You may also find Colorful Cupcake Liner Witch Flower Bouquet Craft useful.
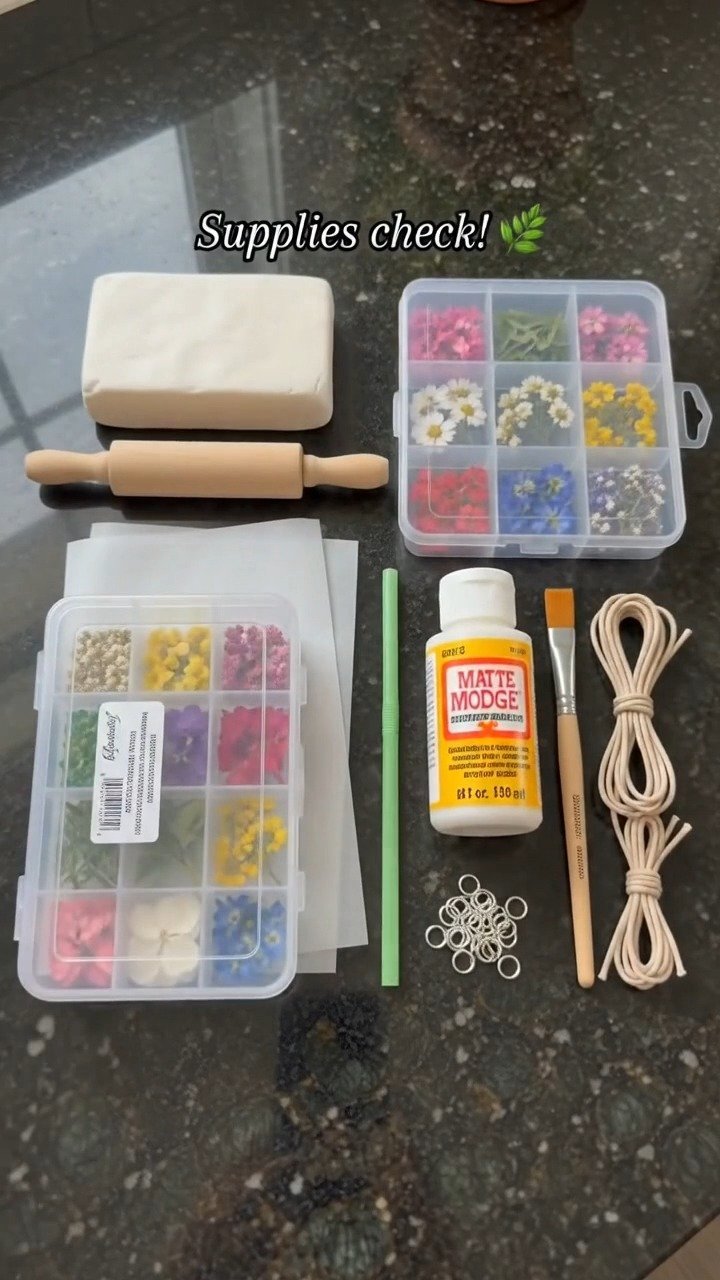
Materials You’ll Need
- 4 oz white air-dry clay
- 1/4 cup dried flower assortment
- 2 tbsp matte Mod Podge
- 6 silver jump rings
- 12 inches beige jewelry cord
Using air-dry clay means there’s no need for special tools or ovens, making it accessible for everyone. When choosing dried flowers, opt for ones that are flat and sturdy to ensure they hold up well in the clay. You may also find Cupcake Liner Sunflower Wreath Craft For Kids useful.
How to Make Pressed Flower Jewelry in Air-Dry Clay
- Start by rolling out the air-dry clay on a piece of parchment paper until it’s about 1/8 inch thick. This will be the base for your pendants.
- Use a small round cutter or knife to shape the clay into your desired pendant forms. Feel free to get creative!
- Take your dried flowers and gently press them into the surface of the damp clay. Arrange them in a way that speaks to you.
- Allow the clay to air-dry completely for about 24 hours. It’s crucial to let it dry thoroughly for the best results.
- Once dry, apply a thin coat of matte Mod Podge to seal your floral designs.
- Finish by attaching a jump ring through the top of each pendant and threading them onto the beige cord.
Helpful Tips
- To achieve cleaner results, ensure your hands and working area are clean while handling the clay.
- If you’re crafting with younger children, consider pre-cutting the clay shapes to make the process smoother.
- Display your finished jewelry on a simple hook or in a decorative box, which can add charm and protect your pieces.
Easy Variations
- Shape it Up: Experiment with various shapes. Hearts, stars, or even abstract forms can add flair to your jewelry.
- Colorful Choices: Use colored or painted air-dry clay for a fun twist.
- Seasonal Themes: Choose flowers based on the season to create pieces that reflect the current time of year.
- Layering: Create multiple layers of clay and flowers for a 3D effect.
Making This Craft With Kids
This project is great for children, as they can express their artistic side while learning about floral arrangements. However, supervise them during the cutting process to ensure safety. Older kids may also enjoy experimenting with different flower arrangements in their pendants. You may also find Diy Rainbow Popsicle Stick Flower Wheel Craft useful.
How to Display or Use It
Once your jewelry is complete, consider gifting it to a loved one or wearing it yourself. For a unique display, hang pendants on a wall-mounted board or place them in a shadow box to showcase your creativity. You could also use them as keychains or bag charms!
Frequently Asked Questions
Can I use fresh flowers?
No, fresh flowers will not dry properly and may spoil. Use dried flowers for the best results.
How can I store my jewelry?
Store finished pieces in a cool, dry place, preferably in a soft pouch or jewelry box.
Is the clay waterproof?
Air-dry clay isn’t waterproof, so keep your jewelry away from water or moisture to maintain its integrity.
Can I paint the clay?
Yes, you can paint the clay before or after adding the flowers, but ensure it is fully dry.
What if my flowers don’t stick?
If your flowers aren’t sticking properly, you can press them in more firmly while the clay is still wet.
How do I clean my jewelry?
Wipe with a soft, dry cloth. Avoid using water as it may damage the clay and flowers.
Conclusion
Creating pressed flower jewelry in air-dry clay is a fun and fulfilling project that brings the beauty of nature into your everyday life. If you’re looking to enhance your crafting skills, consider checking out this tutorial on making a clay jewelry dish with pressed flowers or this guide for a handmade pressed flower jewelry dish. Enjoy the process and cherish the beautiful pieces you create!
Print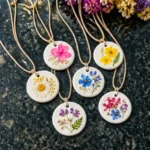
Pressed Flower Jewelry in Air-Dry Clay
- Total Time: 1455 minutes
- Makes: 4 pendants
Description
A delightful project to create unique pressed flower jewelry using air-dry clay, perfect for personal expression and gifting.
Materials
- 4 oz white air-dry clay
- 1/4 cup dried flower assortment
- 2 tbsp matte Mod Podge
- 6 silver jump rings
- 12 inches beige jewelry cord
Instructions
- Start by rolling out the air-dry clay on parchment paper until it’s about 1/8 inch thick.
- Use a small round cutter or knife to shape the clay into desired pendant forms.
- Take your dried flowers and gently press them into the surface of the damp clay.
- Allow the clay to air-dry completely for about 24 hours.
- Once dry, apply a thin coat of matte Mod Podge to seal your floral designs.
- Finish by attaching a jump ring through the top of each pendant and threading them onto the beige cord.
Notes
Ensure hands and working area are clean while handling clay. Consider pre-cutting clay shapes for younger children.