

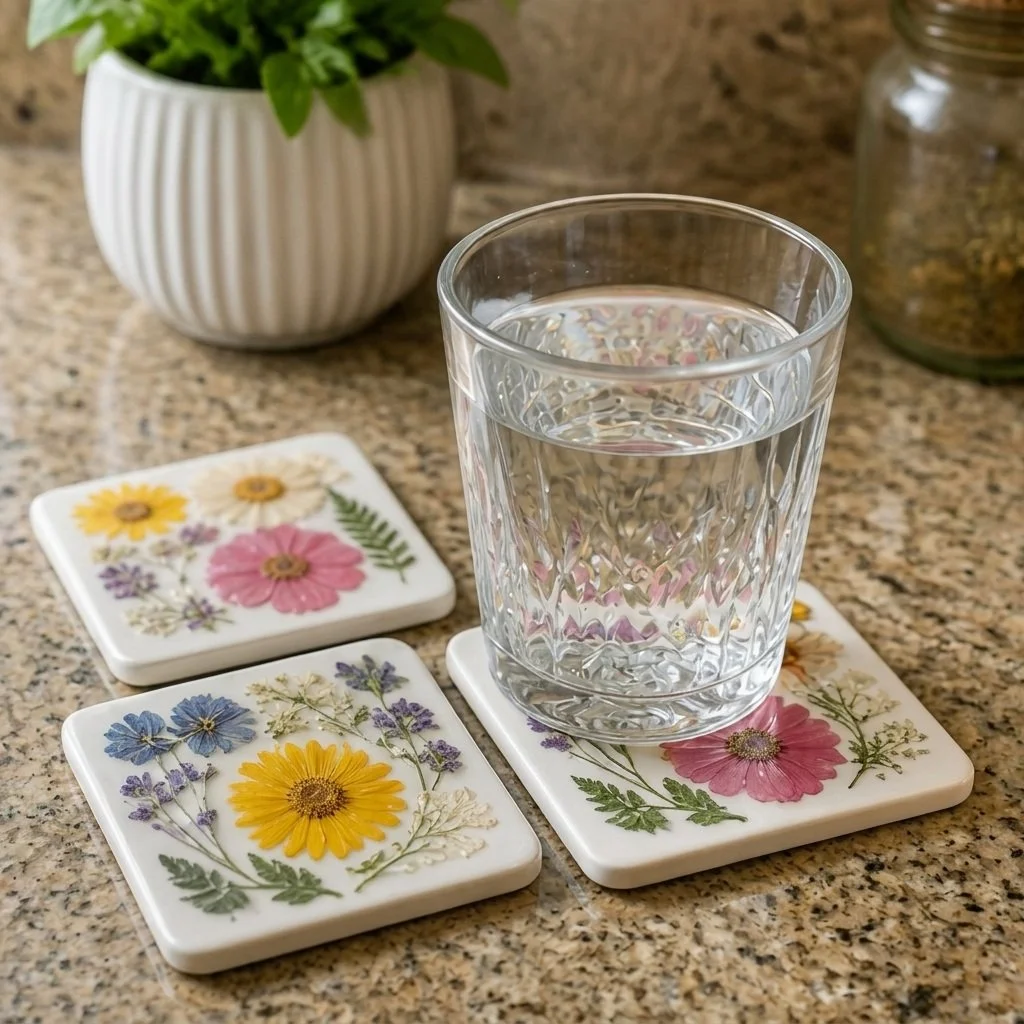
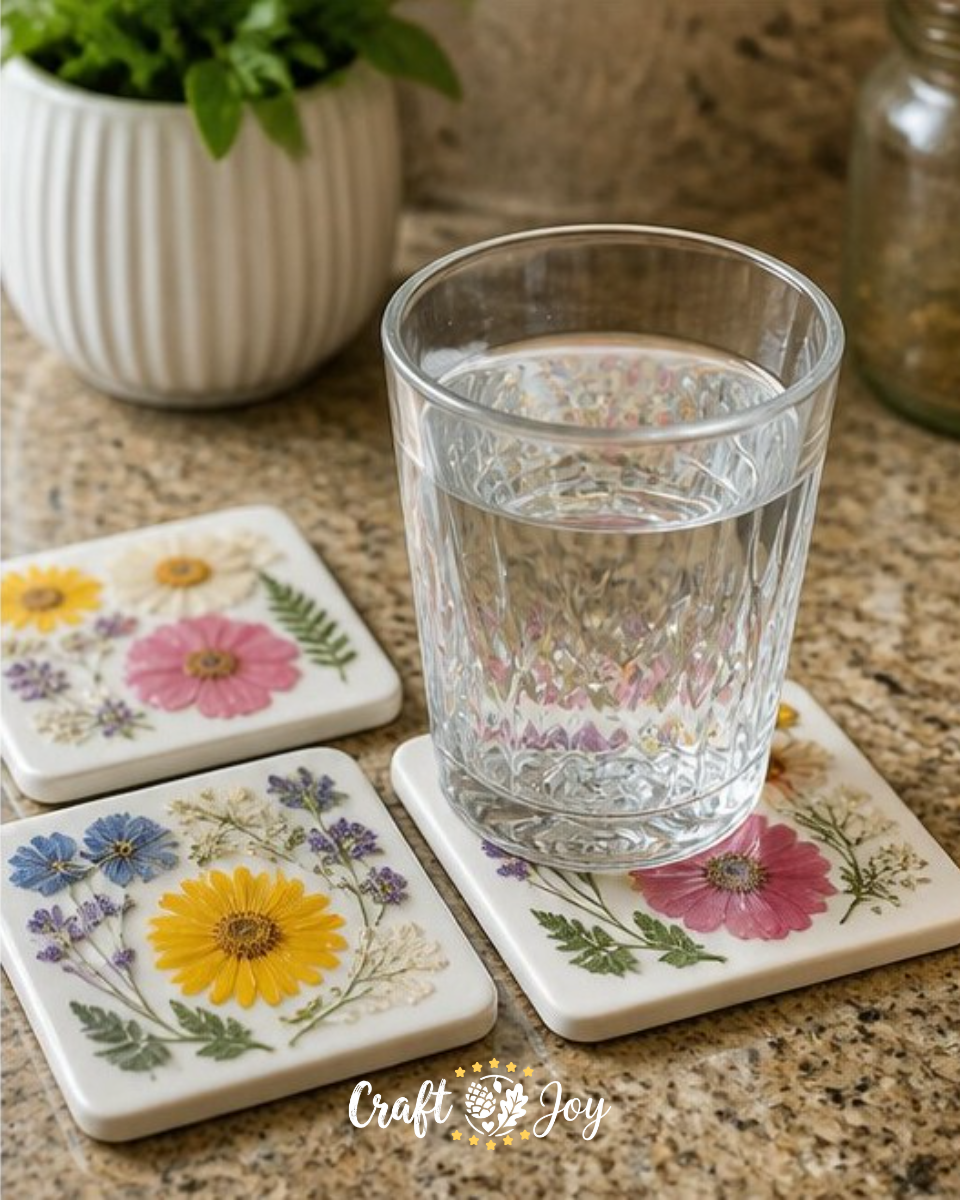
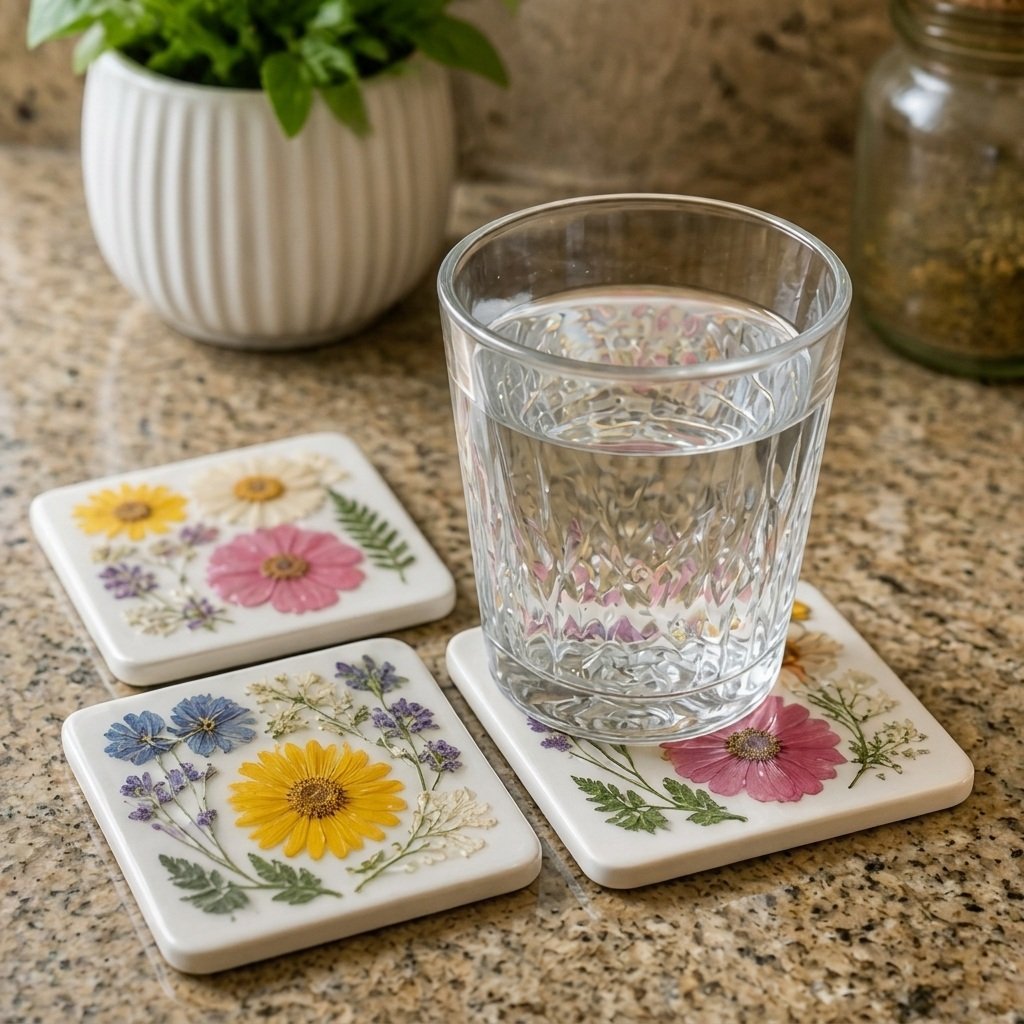
Floral Coaster Set with Real Pressed Flowers
Creating a Floral Coaster Set with Real Pressed Flowers is not just a delightful project; it also brings a touch of nature into your home. These coasters are perfect for protecting your surfaces while showcasing beautiful floral designs that reflect the season or your favorite colors. It’s a wonderful way to use dried flowers, and the process can be both relaxing and rewarding.
What makes this craft so enjoyable is how easily it caters to various skill levels. Even if you’re a beginner, you’ll find the materials and steps straightforward. Not to mention, these coasters also make thoughtful gifts for family and friends. Plus, if you’re inspired by nature, you may enjoy creating other crafts, such as pressed flower rainbow window medallions.
Why You’ll Enjoy This Project
- Creative Expression: You can design each coaster to represent your unique style.
- Simple Materials: The supplies are easy to find and often inexpensive.
- Nature-Inspired: It’s a great way to bring the beauty of nature indoors.
- Interactive Fun: This project is suitable for all ages, making it a great family activity.
Materials You’ll Need
- Coasters (ceramic or cork)
- Dried flowers
- Mod Podge or clear resin
- Paintbrush
- Sealer (optional)
Each material has its benefits. Ceramic coasters provide a nice smooth surface, while cork is eco-friendly and lightweight. For the flowers, you can use any dried botanical elements that you find appealing; just ensure they are flat for the best results.
How to Make Floral Coaster Set with Real Pressed Flowers
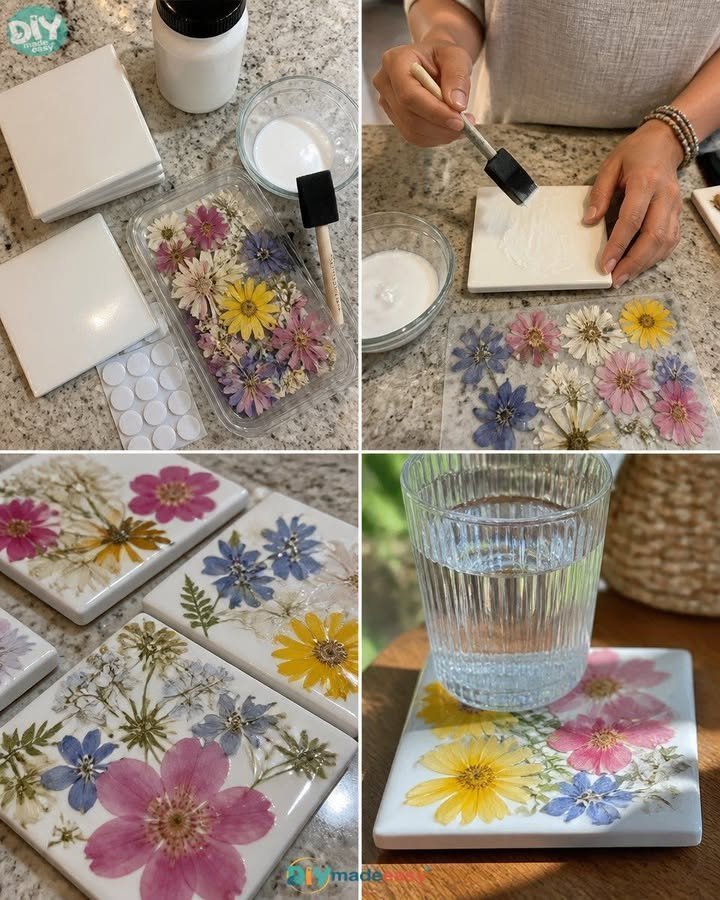
- Begin by arranging your dried flowers on the surface of the coaster. Take your time to create a design that speaks to you. Consider mixing colors and types of flowers for visual interest.
- Using the paintbrush, apply a thin, even layer of Mod Podge or resin over the flowers. This will help secure them in place. Be gentle with your brush to avoid disturbing the arrangement.
- Allow the coaster to dry completely in a dust-free area for at least 24 hours. This is crucial for a durable finish, so choose a clean, quiet location.
- If desired, apply a final thin coat of sealer to protect against moisture. This step is particularly useful if you plan to use your coasters frequently.
Helpful Tips
- Choose Your Flowers Wisely: Smaller flowers and leaves work best for coasters as they fit well and create an intricate look.
- Dry the Flowers: If you’re using fresh flowers, make sure to press and dry them beforehand to prevent moisture damage.
- Use a Dust-Free Environment: While drying, it’s important to avoid any dust or debris that could spoil the finish of your coasters.
- Experiment with Colors: You can layer different colors of flowers to create stunning effects.
Easy Variations
- Seasonal Themes: Change the flowers based on the season, such as autumn leaves or spring blossoms.
- Color Schemes: Match the colors to your home decor for a cohesive look.
- Size Adjustments: Use smaller or larger coasters, depending on your needs.
- Different Base Materials: Try using different materials like bamboo for a rustic touch.
- Add Personal Touches: Write initials or a small quote under the clear coat for a personalized gift.
Making This Craft With Kids
This project is ideal for children, especially when it comes to arranging the flowers. Adults may need to supervise the use of Mod Podge or resin, as it can be sticky and messy. It’s a perfect opportunity to teach kids about nature while engaging in a fun hands-on activity.
How to Display or Use It
You can display your floral coasters on a coffee table or give them as gifts to family and friends. They not only protect surfaces but also serve as an engaging conversation piece. You can organize them as a set or leave them out individually to showcase their unique designs.
Frequently Asked Questions
1. Can I use fresh flowers instead of dried ones?
Fresh flowers will need to be dried first to avoid moisture damage.
2. What’s the best way to press flowers?
You can press flowers using heavy books or a flower press to ensure they stay flat.
3. How long will these coasters last?
With proper care, they should last a long time, especially if sealed.
4. Can I use more than one layer of flowers?
Yes, layering can create a more dynamic and colorful look, but apply them carefully to avoid clumpy appearances.
Conclusion
Creating your own Floral Coaster Set with Real Pressed Flowers is a beautiful way to infuse your home with natural beauty. If you’re interested in expanding your crafting repertoire, consider looking into a pressed floral coaster kit on Amazon or check out detailed guides on DIY resin coasters with dried pressed flowers for more inspiration and techniques. Happy crafting!
Print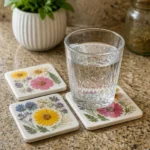
Floral Coaster Set with Real Pressed Flowers
- Total Time: 1455 minutes
- Makes: 4 coasters
Description
Create beautiful floral coasters using dried flowers to bring nature into your home.
Materials
- Coasters (ceramic or cork)
- Dried flowers
- Mod Podge or clear resin
- Paintbrush
- Sealer (optional)
Instructions
- Begin by arranging your dried flowers on the surface of the coaster.
- Using the paintbrush, apply a thin, even layer of Mod Podge or resin over the flowers.
- Allow the coaster to dry completely in a dust-free area for at least 24 hours.
- If desired, apply a final thin coat of sealer to protect against moisture.
Notes
Choose smaller flowers for better fit and intricate designs. Ensure flowers are pressed and dried to prevent moisture damage.