

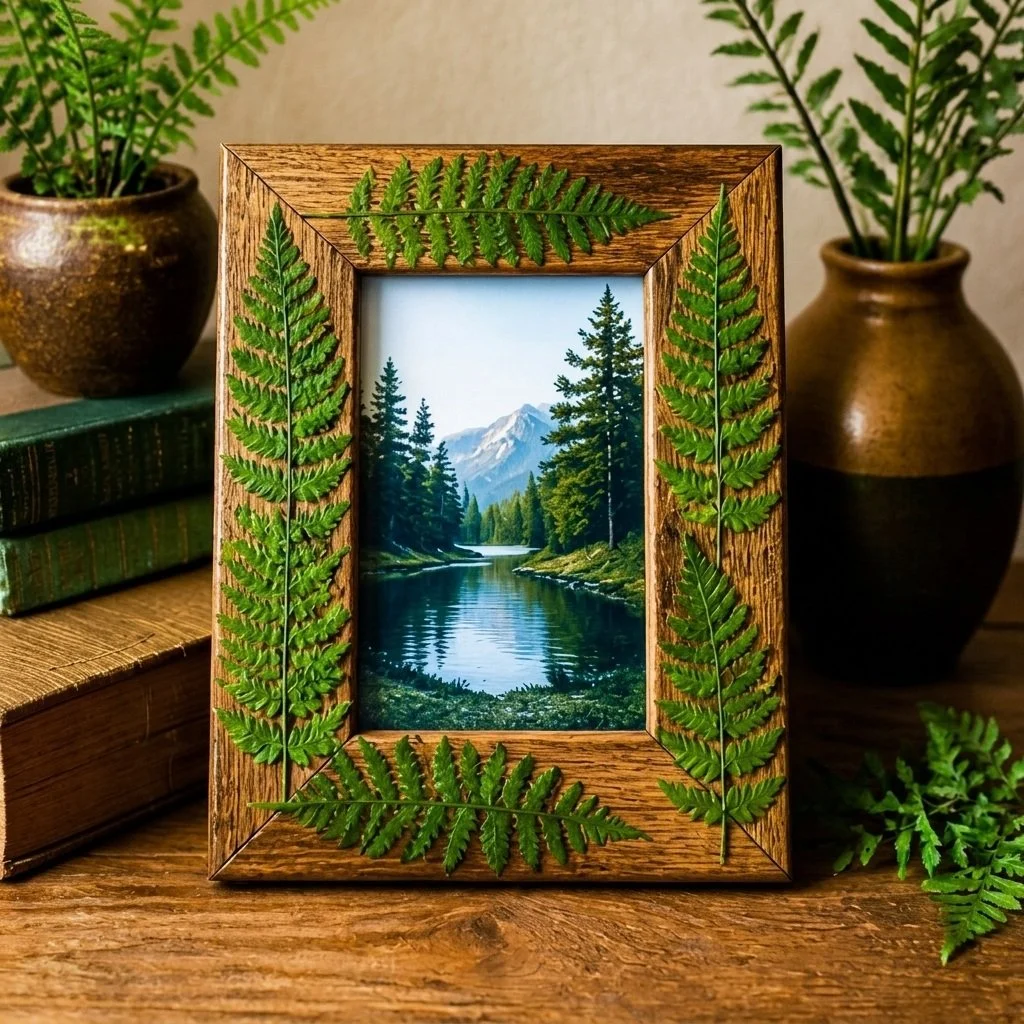
Pressed Fern Picture Frame
Creating a pressed fern picture frame is a wonderful way to combine nature and art in your home decor. This craft allows you to celebrate the beauty of natural elements while adding a personal touch to your space. The lovely texture and vibrant greens of fern leaves will transform a standard wooden frame into a charming piece of art that can hold your favorite memories.
Working on this project is not only enjoyable but also serves as a great way to engage with nature. It can be a fun activity for both kids and adults. You’ll be creating something that not only enhances your home but can also be a thoughtful, handmade gift. If you’re excited about using pressed flowers as well, consider exploring pressed flower projects for more inspiration.
Why You’ll Enjoy This Project
- Creative Expression: You’ll have the freedom to arrange the ferns in any layout that suits your style.
- Natural Materials: Using real pressed ferns brings a touch of nature indoors.
- Personalized Decor: This project gives a unique, personal touch to your home or makes for a heartfelt gift.
- Easy to Follow: The steps are straightforward, making it suitable for crafters of all skill levels.
- Quality Time: It’s an excellent opportunity to spend quality time with family or friends while creating something beautiful together.
Materials You’ll Need
- 1 wooden picture frame
- 6 pressed fern leaves
- 2 tbsp Matte Mod Podge
- Foam brush
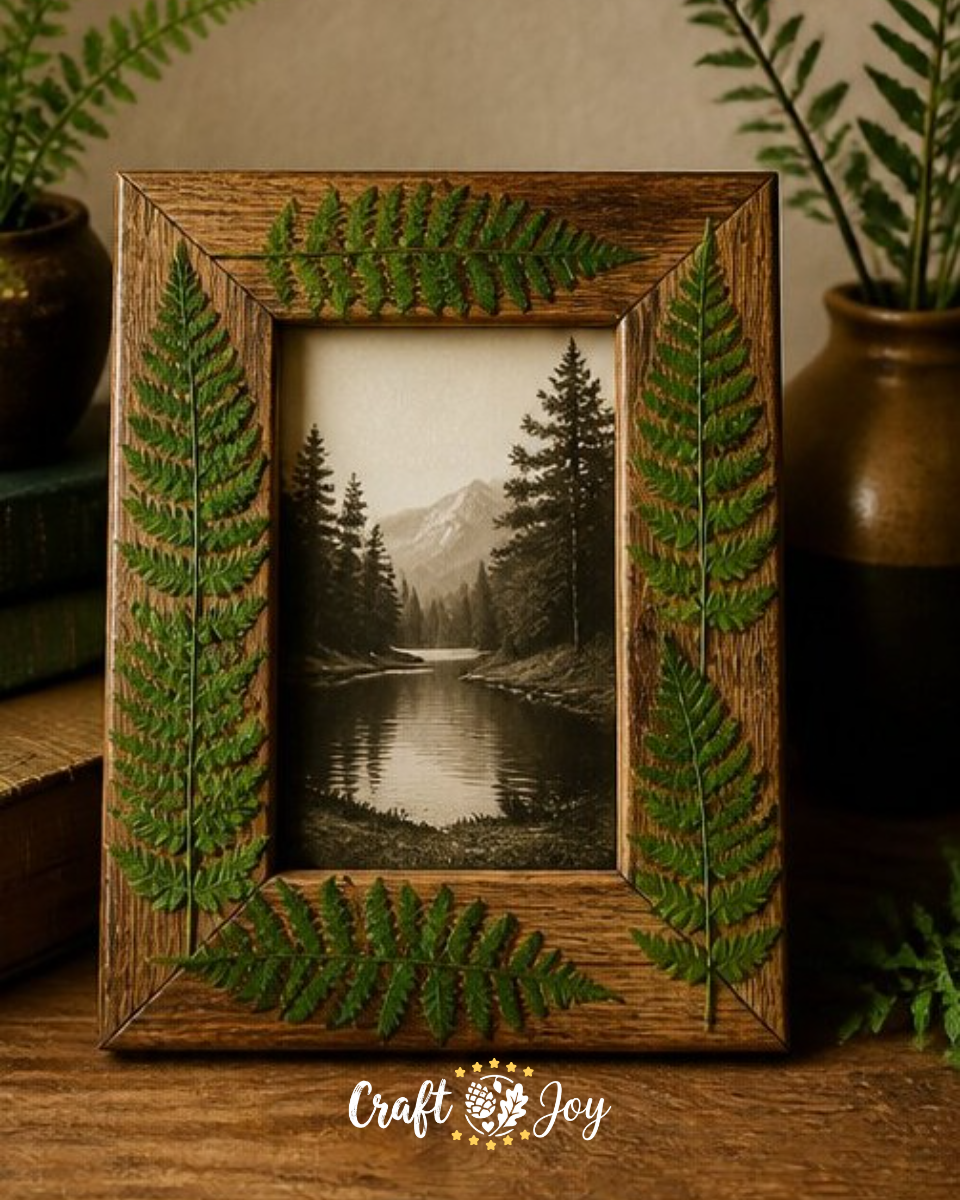
Choose a wooden picture frame that matches your style. A rustic frame will complement the natural look of the ferns beautifully. If you don’t have pressed fern leaves, you can also use other pressed flowers for a different effect.
How to Make Pressed Fern Picture Frame
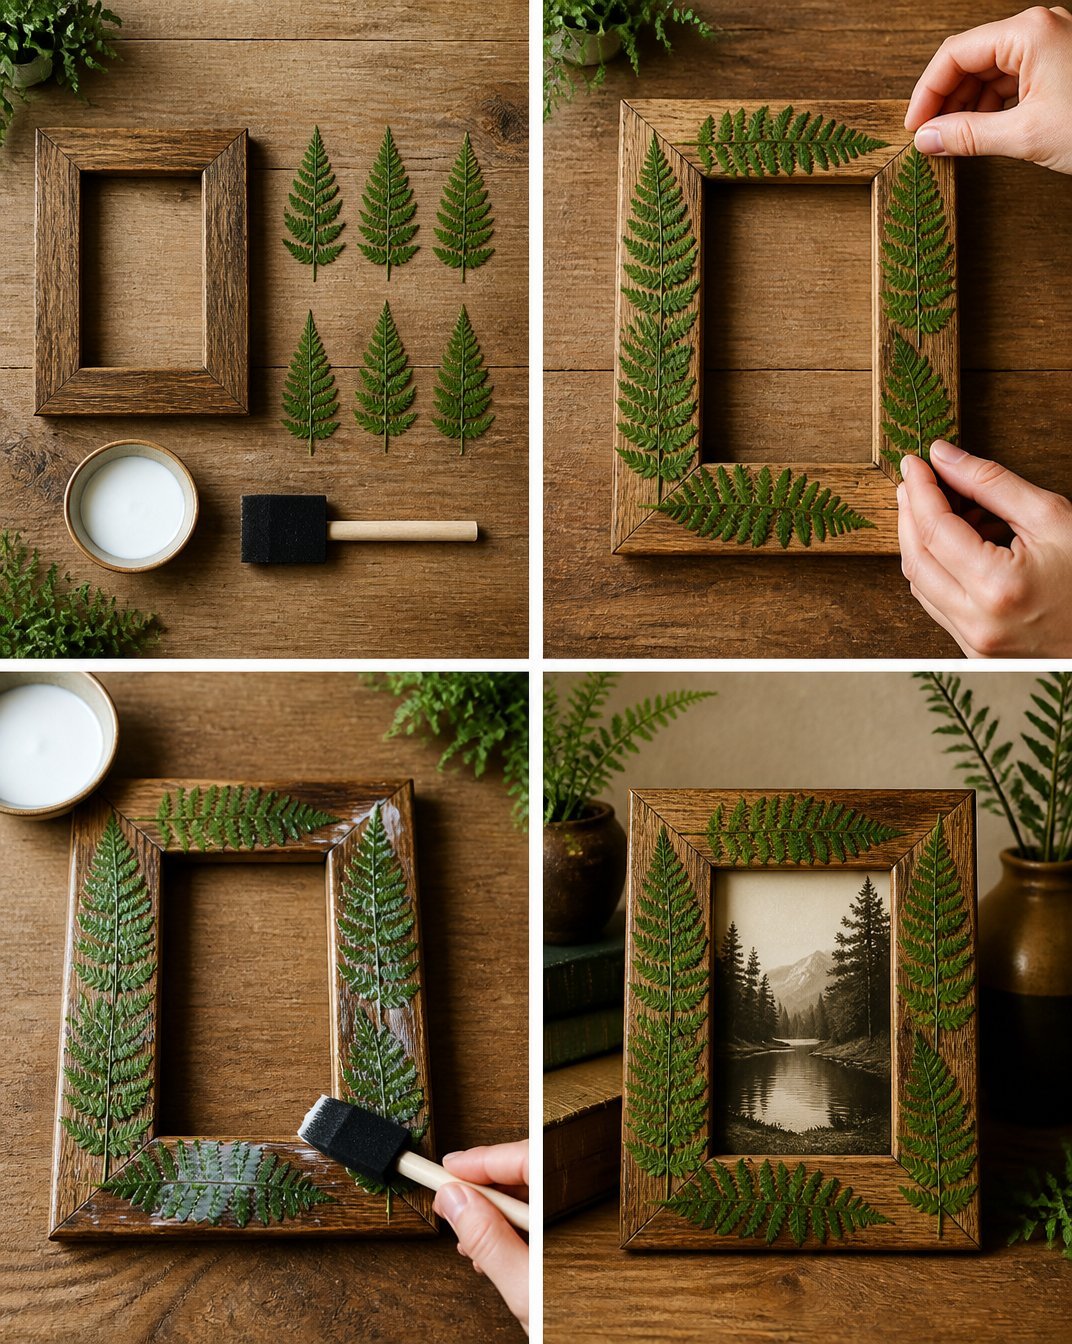
Remove the Glass: Start by carefully removing the glass from your wooden picture frame. Set it aside for now so it doesn’t interfere with the crafting process.
Arrange the Fern Leaves: Take your pressed fern leaves and arrange them around the edges of the frame. Feel free to experiment with different layouts until you’re satisfied with how it looks.
Apply Mod Podge: Using the foam brush, gently apply a layer of Matte Mod Podge over the fern leaves. This will seal them in place and give a lovely finish to your frame.
Let It Dry: Allow your creation to dry completely before reassembling the frame with your favorite photo. This step is critical for ensuring that everything stays in place.
Helpful Tips
Experiment with Layouts: Before applying Mod Podge, take your time to find the perfect arrangement. Consider varying the angles of the leaves for added interest.
Clean Brush Technique: When applying the Mod Podge, use a light touch to avoid smudging the leaves. A gentle hand will ensure a neat finish.
Use Weight: To help the ferns adhere properly while drying, you might place the frame flat on a surface or use a light weight on the ferns for the first few minutes post-application.
Display Ideas: Once your frame is complete, consider displaying it on a shelf or giving it as a gift. It can also be lovely as wall decor, perhaps grouping it with other frames for a gallery-style look.
Easy Variations
Color Options: Try using colored Mod Podge or a different base frame color to suit your decor.
Different Leaves: Use other pressed leaves or flowers to create a seasonal look think autumn colors or spring florals.
Frame Size: Change the frame size to create a larger piece, or make mini frames for a unique display.
Layering: Introduce more layers by adding tiny decorative elements like pebbles or dried flowers alongside the ferns.
Making This Craft With Kids
This project is a fantastic way to get kids involved in crafting. They can help with arranging the ferns and applying the Mod Podge under supervision. Adults may want to assist with the cutting and handling of materials to ensure safety.
How to Display or Use It
Once your pressed fern picture frame is complete, you can place it in a prominent spot where it can be admired. Consider showcasing it on a mantel or a wall shelf. You could also gift it to a loved one, adding a personalized photo to create a meaningful present.
Frequently Asked Questions
What should I do if my fern leaves get damaged during the process?
If any leaves are damaged, you can carefully remove and replace them with others as needed.
Can Mod Podge be cleaned up afterward?
Yes, while Mod Podge is wet, it can be cleaned up easily with soap and water.
How long should I let the frame dry?
A few hours should suffice, but letting it dry overnight is a good rule of thumb to ensure everything is set.
Can I use fresh leaves instead of pressed ones?
Fresh leaves will not work well since they will wilt and lose their shape; it’s best to use dried or pressed leaves.
What if I want to change the photo inside later?
You can easily remove the glass and swap out the photo as often as you like without damaging the frame.
How do I preserve my pressed ferns?
Keep the completed frame out of direct sunlight to help preserve the color and integrity of the pressed ferns.
Conclusion
Creating a pressed fern picture frame brings a touch of nature into your home and adds a unique personal touch to your decor. For further inspiration on crafting with ferns, explore pressed ferns framed on Etsy to see beautiful examples, or you can learn how to make more pressed fern wall art projects that might catch your eye. Happy crafting!
Print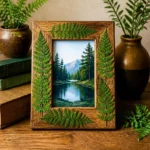
Pressed Fern Picture Frame
- Total Time: 10 minutes
- Makes: 1 picture frame
Description
Create a beautiful pressed fern picture frame to celebrate nature and add a personalized touch to your home decor.
Materials
- 1 wooden picture frame
- 6 pressed fern leaves
- 2 tbsp Matte Mod Podge
- Foam brush
Instructions
- Remove the glass: Carefully remove the glass from your wooden picture frame and set it aside.
- Arrange the fern leaves: Take your pressed fern leaves and arrange them around the edges of the frame.
- Apply Mod Podge: Using the foam brush, gently apply a layer of Matte Mod Podge over the fern leaves.
- Let it dry: Allow your creation to dry completely before reassembling the frame with your favorite photo.
Notes
Experiment with layouts before applying Mod Podge. Use a light touch to avoid smudging the leaves.