

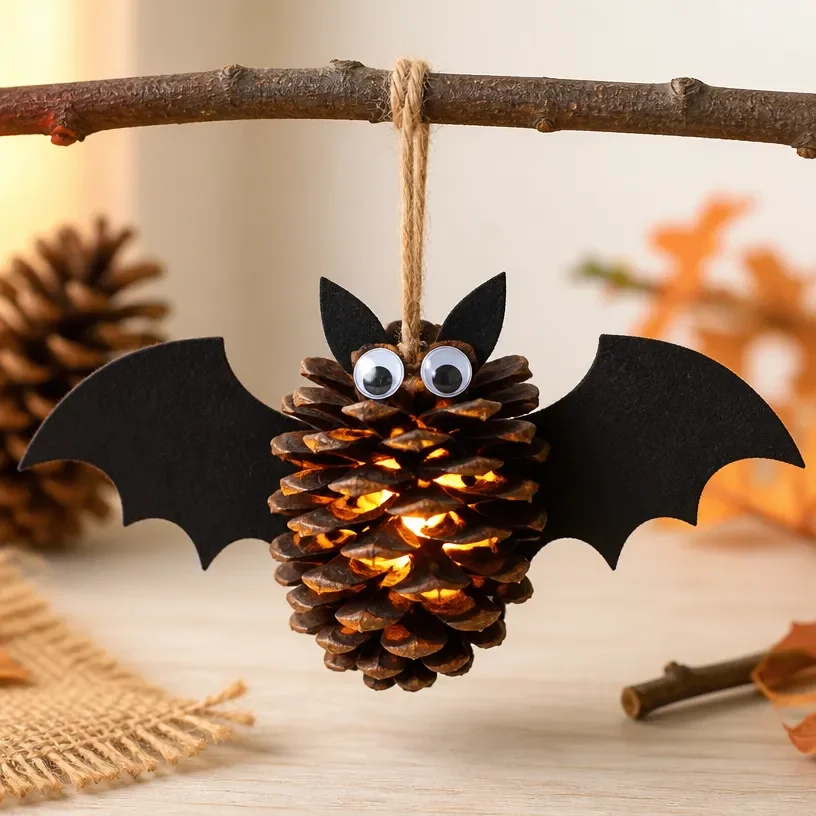
Pine Cone Bat Craft for Halloween
Creating a pine cone bat for Halloween is a fun and simple project that offers a delightful way to decorate your home or classroom. This craft not only encourages creativity but also allows you to utilize natural materials you may already have. The pine cone bat serves as an enjoyable decoration that children and adults alike can make together. You may also find Rainbow Monster Pencil Holders Diy Craft For Kids useful.
Using a few easy-to-find materials, you can create cute little bats that will add a spooky touch to your Halloween festivities. Whether you’re hanging them from the ceiling or using them as part of a Halloween display, these bats are sure to charm everyone who sees them. You may also find Rainbow Popsicle Stick Daisy Wheel Craft For Kids useful.
You may also find Colorful Cupcake Liner Witch Flower Bouquet Craft useful.
Why You’ll Enjoy This Project
- Simple Materials: You can easily find everything you need for this project around your home or at a local craft store.
- Family Bonding: This craft is perfect for family crafting time, helping you and your kids bond over a shared activity.
- Unique Decor: These bats make charming decorations that stand out in any Halloween setup.
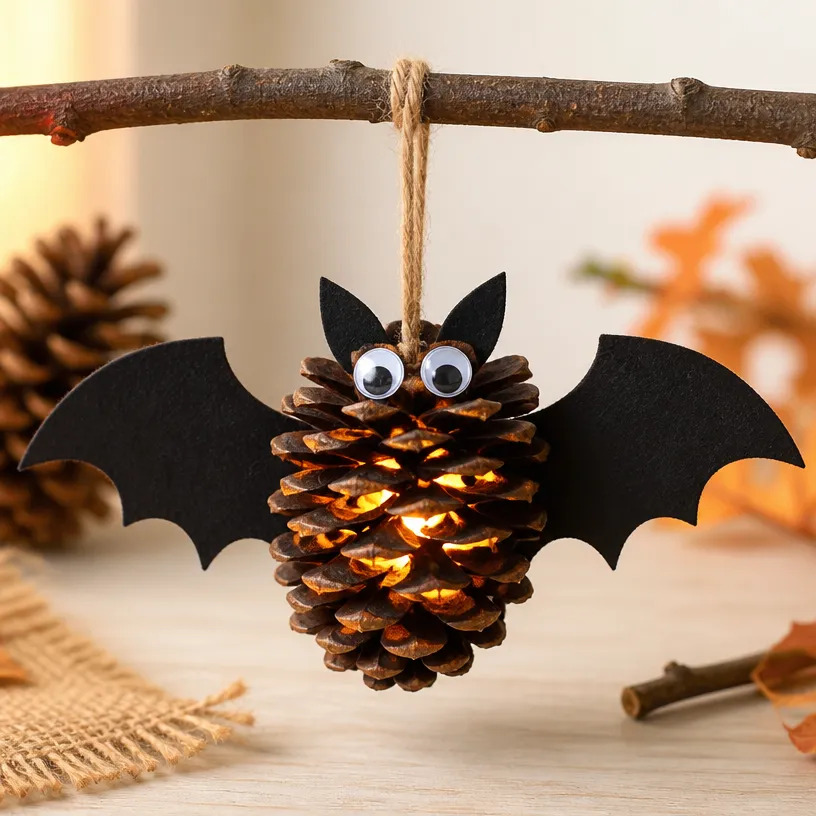
Materials You’ll Need
- Pine cones
- Black paint
- Googly eyes
- Craft foam or black paper (for wings)
- Scissors
- Glue
- String or ribbon (for hanging)
If you don’t have black paint, dark markers can also be a good alternative. Make sure the glue you use is strong enough to hold the parts together. You may also find Diy Rainbow Popsicle Stick Flower Wheel Craft useful.
How to Make Pine Cone Bat Craft for Halloween
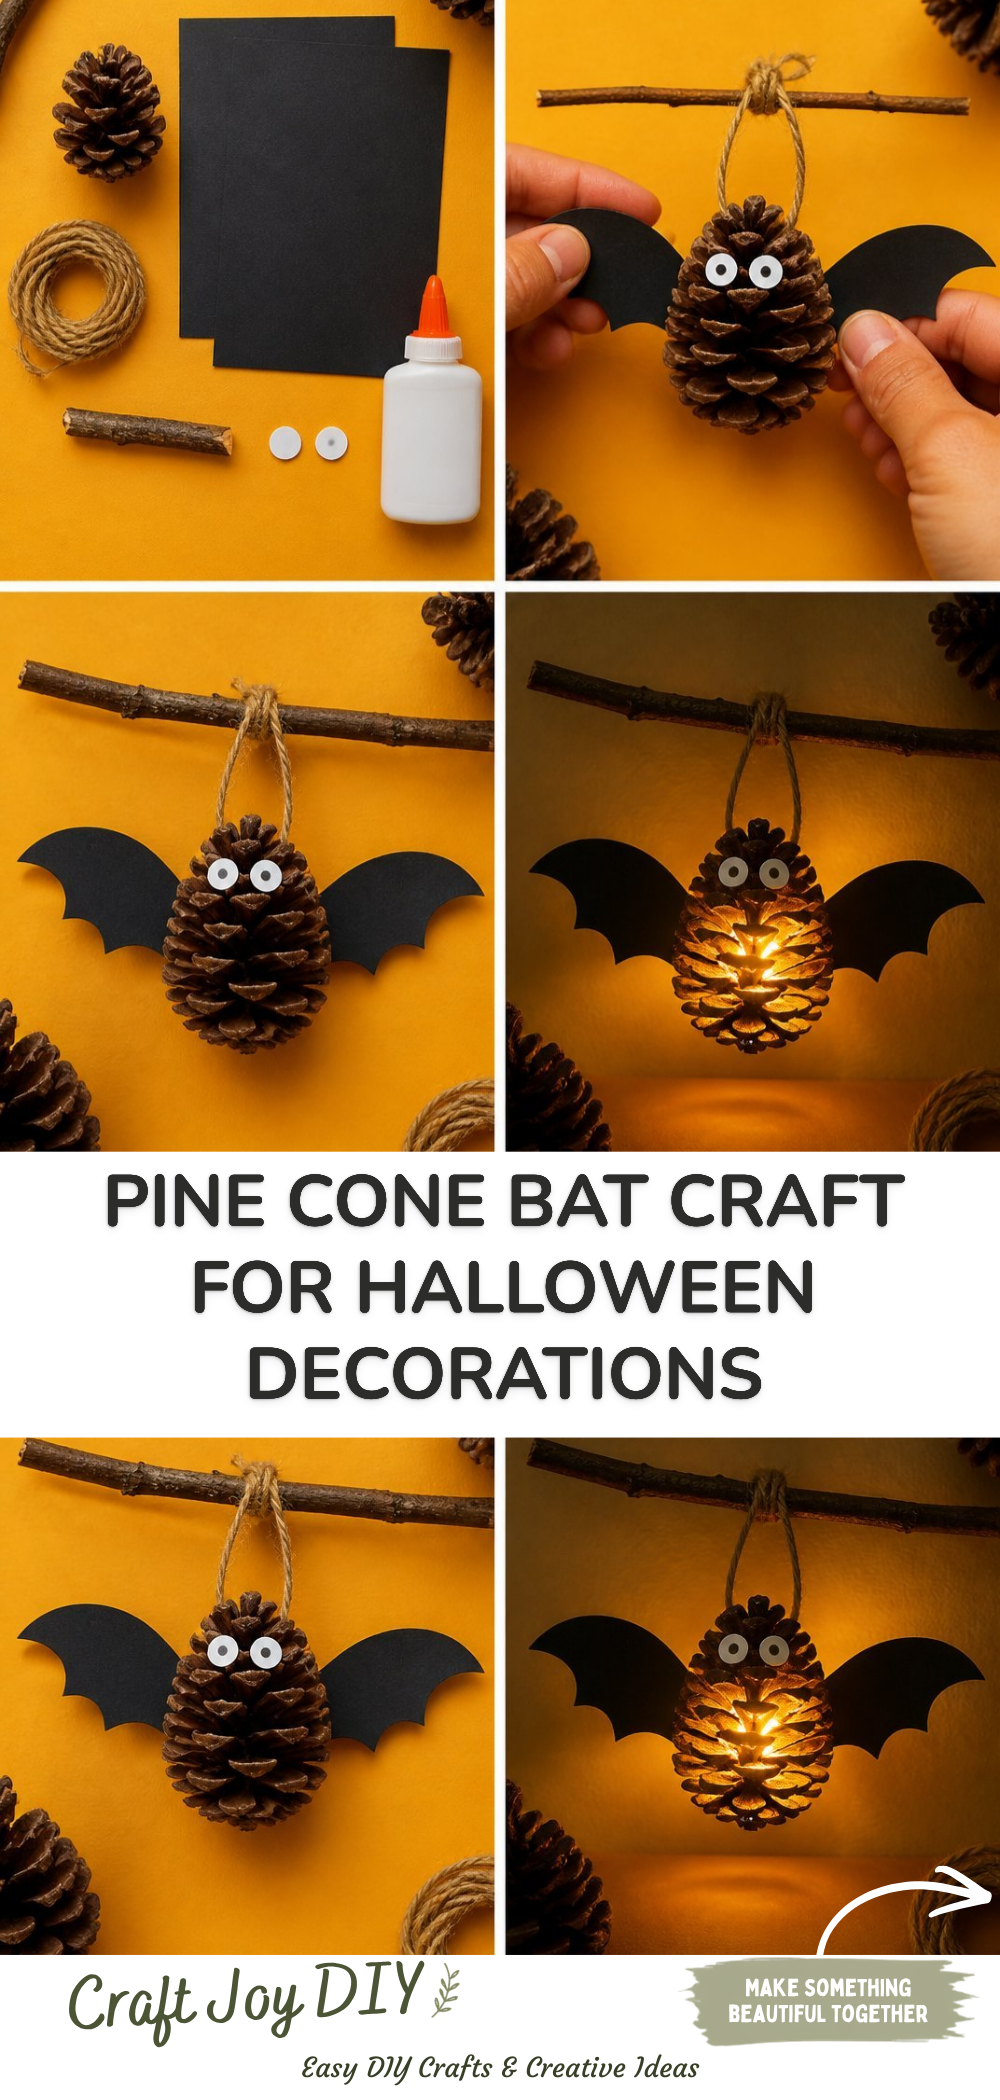
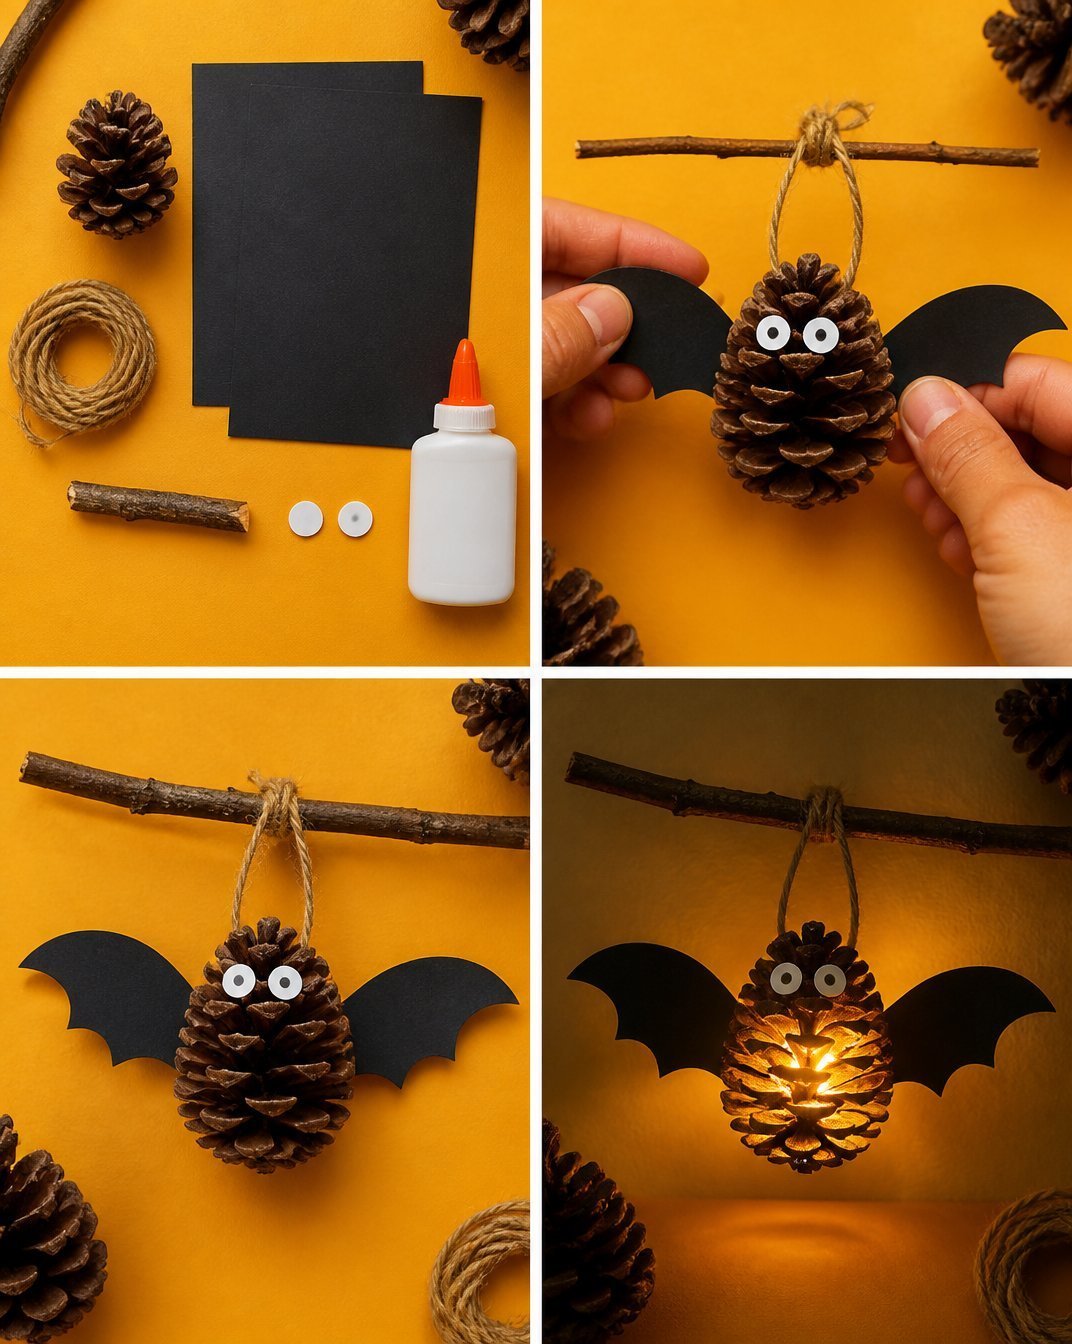
- Prepare the Pine Cone: Start by painting your pine cone black. Cover it well, and allow it to dry completely before moving on to the next step.
- Create the Wings: While the pine cone is drying, take your craft foam or black paper and cut out two wing shapes for your bat. Make sure they’re roughly the same size so your bat will look even.
- Attach the Wings: Once the paint is dry, glue the wings to the sides of the pine cone. You can glue the wings at the top for a more bat-like appearance.
- Add the Eyes: Glue the googly eyes onto the pine cone to give your bat a cute and whimsical look.
- Add Hanging String: If you want to hang your bat, cut a piece of string or ribbon and attach it securely to the top of the pine cone using glue.
You may want to explore other crafts as well, such as a cupcake liner sunflower wreath, which offers delightful decoration options.
Helpful Tips
- If you have younger children helping, make sure to supervise closely when using scissors and glue.
- Allow for plenty of drying time for the paint to prevent smudging.
- Experiment with different wing shapes or sizes to create a variety of bat designs.
Easy Variations
- Colorful Bats: Use other colors, like purple or orange, instead of black for a fun twist.
- Different Sizes: Try using smaller or larger pine cones to create mini and giant bats.
- Seasonal Decoration: Add glitter or other embellishments to make them festive for other occasions, like a Halloween party.
Making This Craft With Kids
This project is perfect for kids aged 5 and up, but younger children will still enjoy it with help. Adults might need to handle the hot glue or scissors for younger crafters. Encourage kids to add their personal touches, such as unique patterns or extra decorations on their bats.
How to Display or Use It
You can display your adorable pine cone bats by hanging them around your home, across windows, or from door frames. They can also be used as part of a Halloween-themed centerpiece for parties or gatherings, adding a handmade charm to your festive decor.
Frequently Asked Questions
1. Can I use different materials for this craft?
Yes, you can substitute materials like construction paper for foam and other types of paint.
2. How can I store these bats once Halloween is over?
Carefully place them in a box with some tissue paper to prevent damage.
3. What if I don’t have pine cones?
You can use other natural materials, like acorns or twigs, to create a similar craft.
4. How can I make this project easier for younger children?
Pre-cut wings and provide pre-poured paint to cut down on the preparation and mess.
5. Can I use string to attach the wings?
While glue is the best choice for a solid bond, using string or twine can allow for a fun, movable wing effect.
Conclusion
Creating a pine cone bat craft is not only an enjoyable activity but also a fantastic way to enhance your Halloween decor. If you’re looking for more ideas, check out some creative projects like these Pinecone Bats – Handmade Charlotte or Pinecone Bats – Fireflies and Mud Pies for additional inspirations. Happy crafting!
Print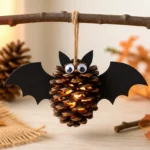
Pine Cone Bat Craft for Halloween
- Total Time: 45 minutes
- Makes: 4-6 bats
Description
A fun and simple project to create charming pine cone bats for Halloween decorations using natural materials.
Materials
- Pine cones
- Black paint
- Googly eyes
- Craft foam or black paper (for wings)
- Scissors
- Glue
- String or ribbon (for hanging)
Instructions
- Prepare the pine cone by painting it black and allowing it to dry completely.
- Create the wings by cutting out two wing shapes from craft foam or black paper.
- Attach the wings to the sides of the pine cone using glue.
- Add the googly eyes onto the pine cone.
- Add a piece of string or ribbon to the top of the pine cone for hanging.
Notes
Supervise younger children closely while using scissors and glue. Allow plenty of drying time to prevent smudging.