

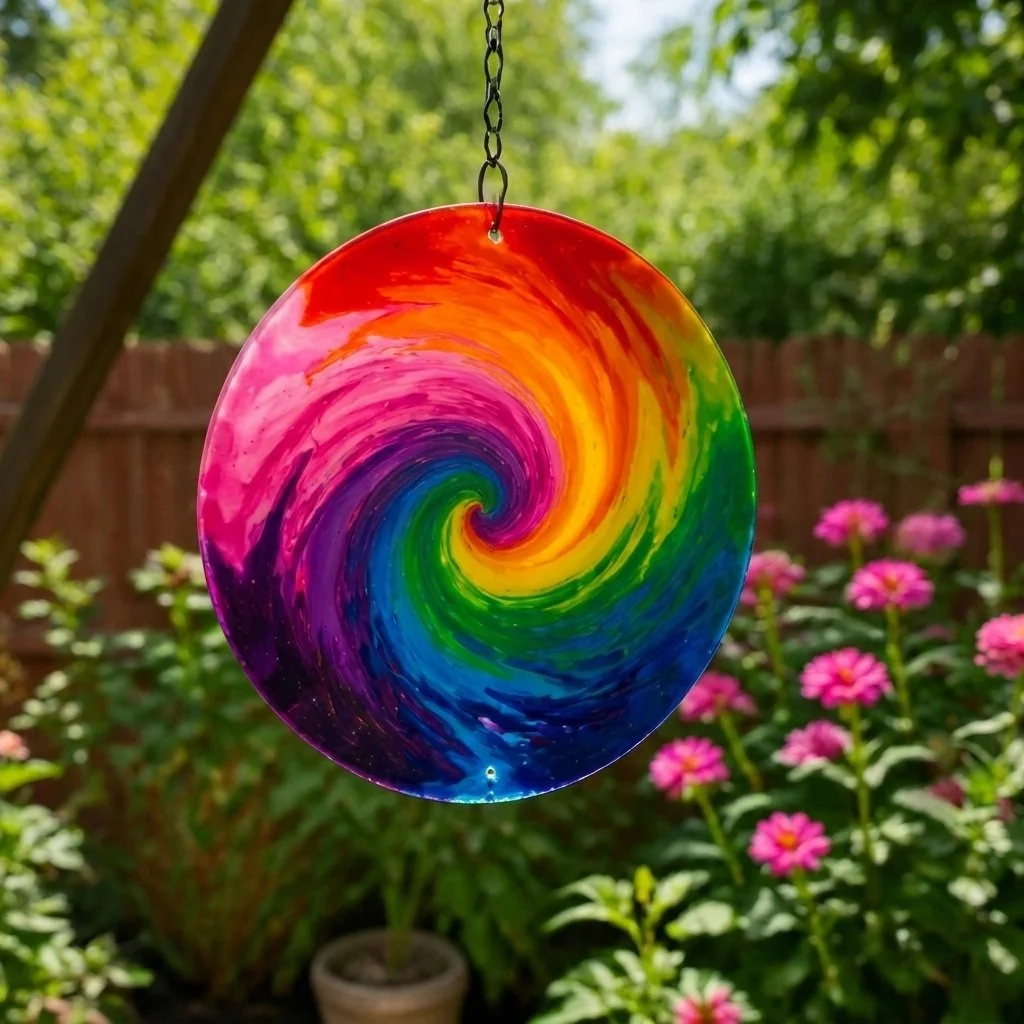
Melted Crayon Wind Spinner
Creating a melted crayon wind spinner is a delightful project that combines vibrant colors with imaginative design. You get to watch crayons melt and swirl together, resulting in a stunning decorative piece perfect for hanging in a sunny spot. Plus, this project is a fantastic way to repurpose old crayons, making it not just eco-friendly but also a fun and engaging craft for all ages! You may also find Melted Crayon Rainbow Butterfly Suncatcher For Kids useful.
In this tutorial, we’ll guide you through the steps to make your very own melted crayon wind spinner. Not only is it easy to do, but it also allows you to explore your creativity with colors and patterns. Let’s jump into the details! You may also find Melted Crayon Rainbow Haunted House Suncatcher Craft useful.
Why You’ll Enjoy This Project
- Easy to Create: This craft requires minimal supplies and is straightforward enough for beginners.
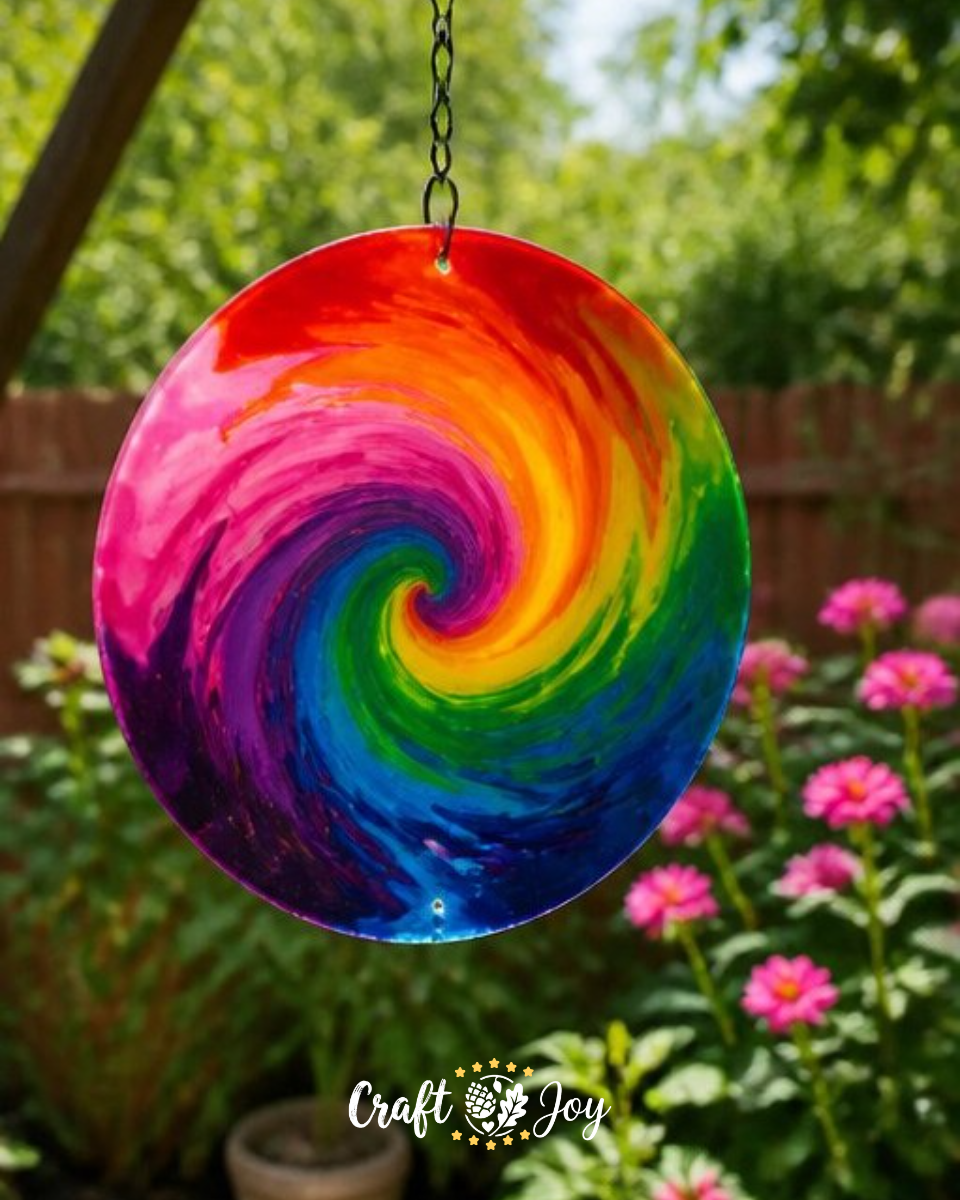
- Visually Stunning: The final product is a colorful piece that catches light beautifully, creating an eye-catching display.
- Educational: You’ll learn about melting points and mixing colors, making it a fun educational experience, especially for kids.
- No Messy Cleanup: Using parchment paper prevents any sticking, making it easy to peel off afterward.
- Versatile Display: Your finished spinner can be displayed indoors or outdoors, adding charm to any space.
You may also find Melted Crayon Rainbow Heart Suncatcher For Kids useful.
Materials You’ll Need
- 24 crayons, assorted colors with paper removed
- 1 round metal or heat-safe plastic tray
- 1 sheet of parchment paper
- 1 hair dryer or heat gun
Make sure your crayons are broken into small pieces for a better melting effect. Feel free to get creative with your color combinations! You may also find Pressed Flower Rainbow Window Medallions useful.
How to Make Melted Crayon Wind Spinner
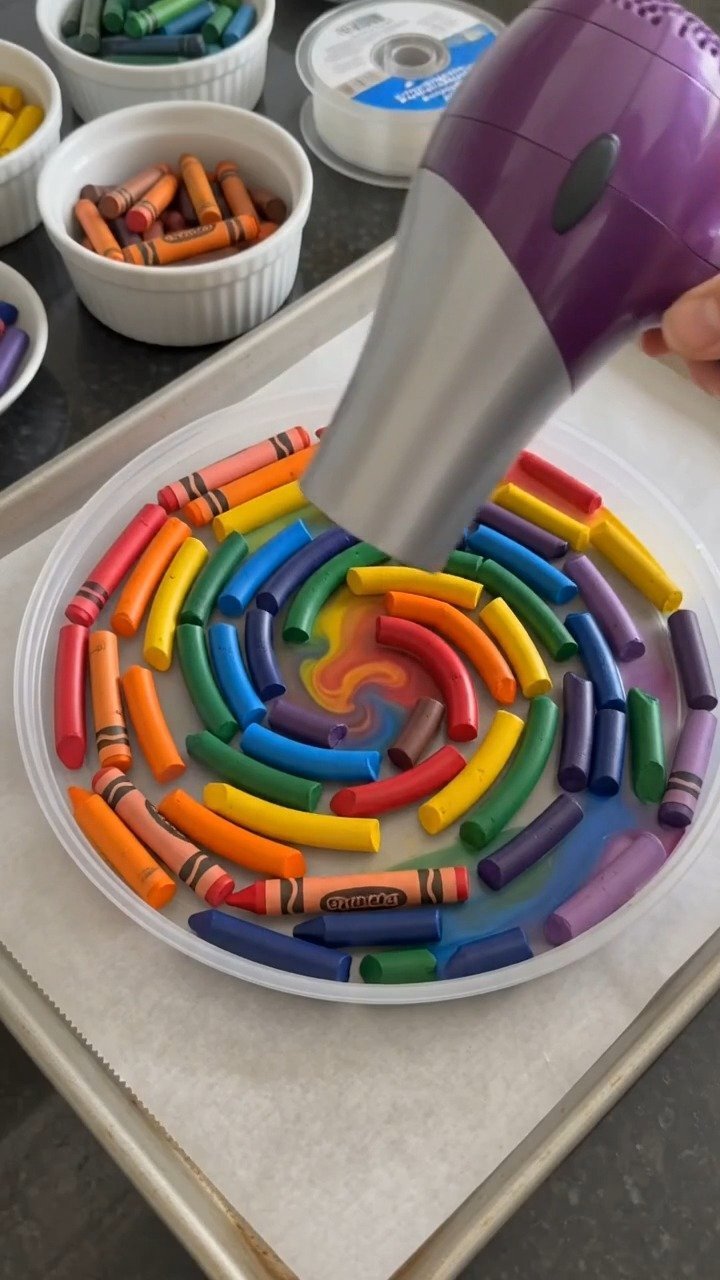
- Prepare Your Tray: Start by lining your tray with a piece of parchment paper. This will help prevent the crayons from sticking.
- Arrange the Crayons: Next, arrange the broken crayon pieces in a spiral or circular pattern on the tray. Feel free to be creative with your colors!
- Melt the Crayons: Take your hair dryer and set it to a low heat setting. Gently blow warm air over the crayons until they begin to melt and swirl together.
- Cool and Remove: Once you’re happy with the melted design, allow the wax to cool and harden completely before carefully removing it from the tray.
Helpful Tips
- Color Choices: For a beautiful effect, select colors that complement each other. A mix of warm and cool colors can make your spinner even more vibrant.
- Heat Caution: Make sure to keep your hair dryer at a safe distance to avoid burning the crayons. It’s also a good idea to use it in a well-ventilated area.
- Display Ideas: Consider hanging your wind spinner in a window where it can catch the light. You can use fishing line or a simple string for a floating effect.
Easy Variations
- Seasonal Themes: Change the colors based on seasons pastels for spring, bright colors for summer, warm hues for fall, and cool tones for winter.
- Size Adjustments: Use different sizes of trays to create larger or smaller spinners.
- Layered Effects: Melt crayons in layers by letting each layer cool before adding the next for a more textured effect.
Making This Craft With Kids
Creating a melted crayon wind spinner is a wonderful craft to do with kids. They can help in choosing crayon colors and arranging them on the tray. However, adults should supervise the melting process to ensure safety, as the hair dryer can get hot.
How to Display or Use It
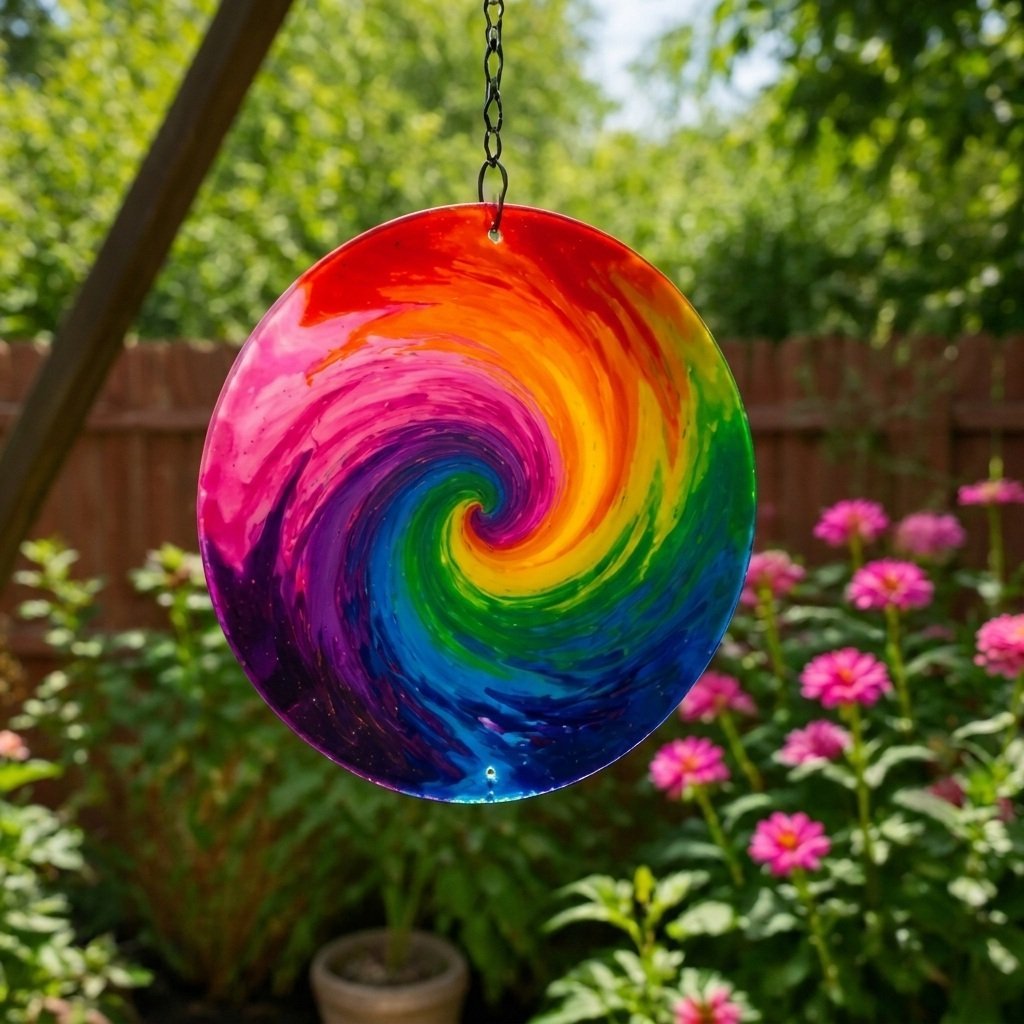
Once your spinner is complete, hang it in a place where it can catch the breeze or sunlight, like a window or outside on a porch. The melting colors will dance in the light, creating a beautiful display for all to enjoy.
Frequently Asked Questions
Can I use other types of crayons?
Yes, you can use larger crayons or even colored wax that is safe for melting.
What can I do if the crayon doesn’t melt evenly?
Try adjusting the distance of the hair dryer and continue to rotate the tray for an even distribution of heat.
Is it safe to use a hair dryer for this project?
Yes, as long as you supervise younger children and maintain a safe distance.
How do I clean the tray after use?
Let any residual wax cool and harden, then simply peel it off the parchment paper.
What’s the best way to store the wind spinner?
Store it flat if possible, or hang it, taking care to avoid any areas where it might get bumped.
Can I make more than one spinner at a time?
Absolutely! Just make sure to have enough trays and crayons ready for each spinner.
Conclusion
Creating a melted crayon wind spinner is a vibrant and fun-filled activity that can be enjoyed by all ages. If you’re interested in further craft ideas, consider exploring this Melted Bead Craft for unique festive decorations or try making a perler bead spinner for another engaging experience.
Print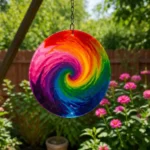
Melted Crayon Wind Spinner
- Total Time: 25 minutes
- Makes: 1 wind spinner
Description
A vibrant project that combines melting crayons to create a stunning wind spinner, perfect for repurposing old crayons.
Materials
- 24 crayons, assorted colors with paper removed
- 1 round metal or heat-safe plastic tray
- 1 sheet of parchment paper
- 1 hair dryer or heat gun
Instructions
- Prepare Your Tray: Line your tray with parchment paper to prevent sticking.
- Arrange the Crayons: Place broken crayon pieces in a spiral pattern on the tray.
- Melt the Crayons: Use a hair dryer on low heat to gently melt the crayons.
- Cool and Remove: Allow the melted design to cool before carefully removing it from the tray.
Notes
Supervise children during the melting process to ensure safety, as the hair dryer gets hot.