

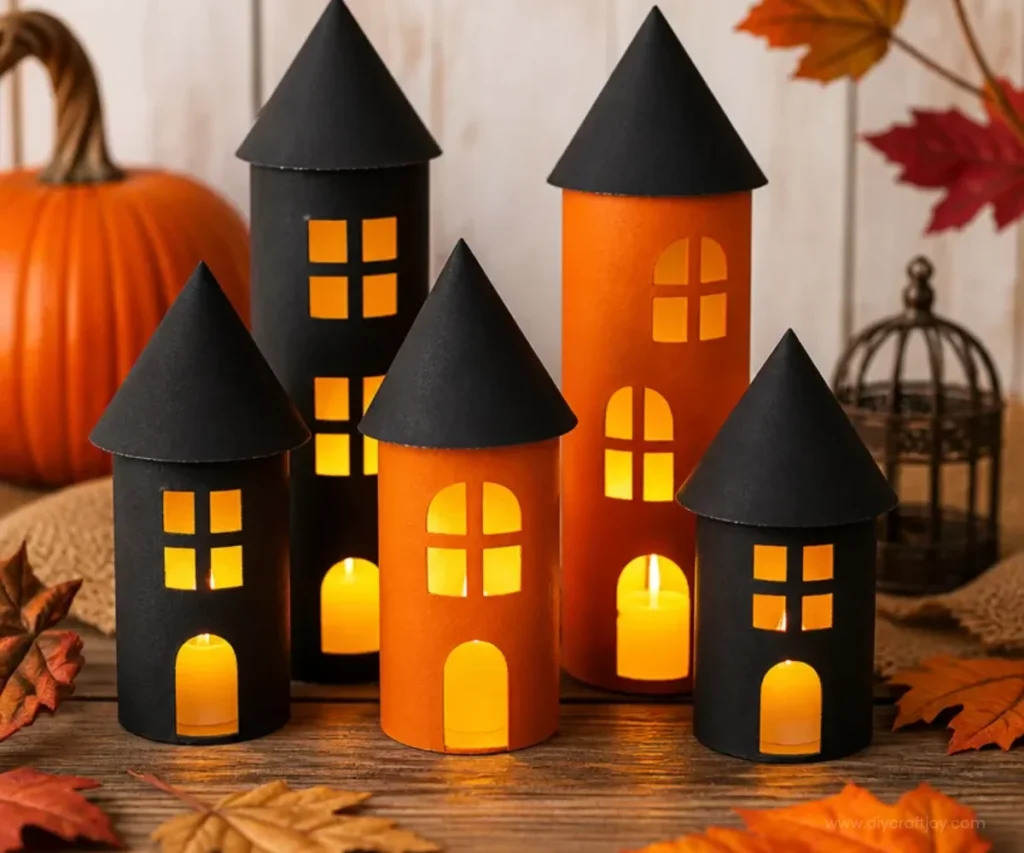
Halloween House Paper Towel Roll | Haunted House Toilet Paper Tube, Haunted House Out of Toilet Tube, Easy DIY Halloween
Creating a haunted house from a paper towel roll is a delightful and simple craft project that you can enjoy with your family. This Halloween-themed craft not only recycles materials you already have, but it also sparks creativity among kids and adults alike. In this tutorial, we’ll show you how to make your very own haunted house using just a few inexpensive supplies; it’s a wonderful way to set the mood for the spooky season.
Why You’ll Enjoy This Project
This craft project is enjoyable for several reasons:
- Easy to Follow: The directions are simple, making it suitable even for beginners.
- Creative Freedom: Personalize your haunted house with different colors, designs, and decorations.
- Recycled Materials: You can turn everyday items, like toilet paper tubes, into something magical.
- Perfect for Kids: It’s a great activity to do with children, allowing them to express their artistic flair.
- Versatile Display Options: Once completed, this cute haunted house can be used as decoration throughout the Halloween season.
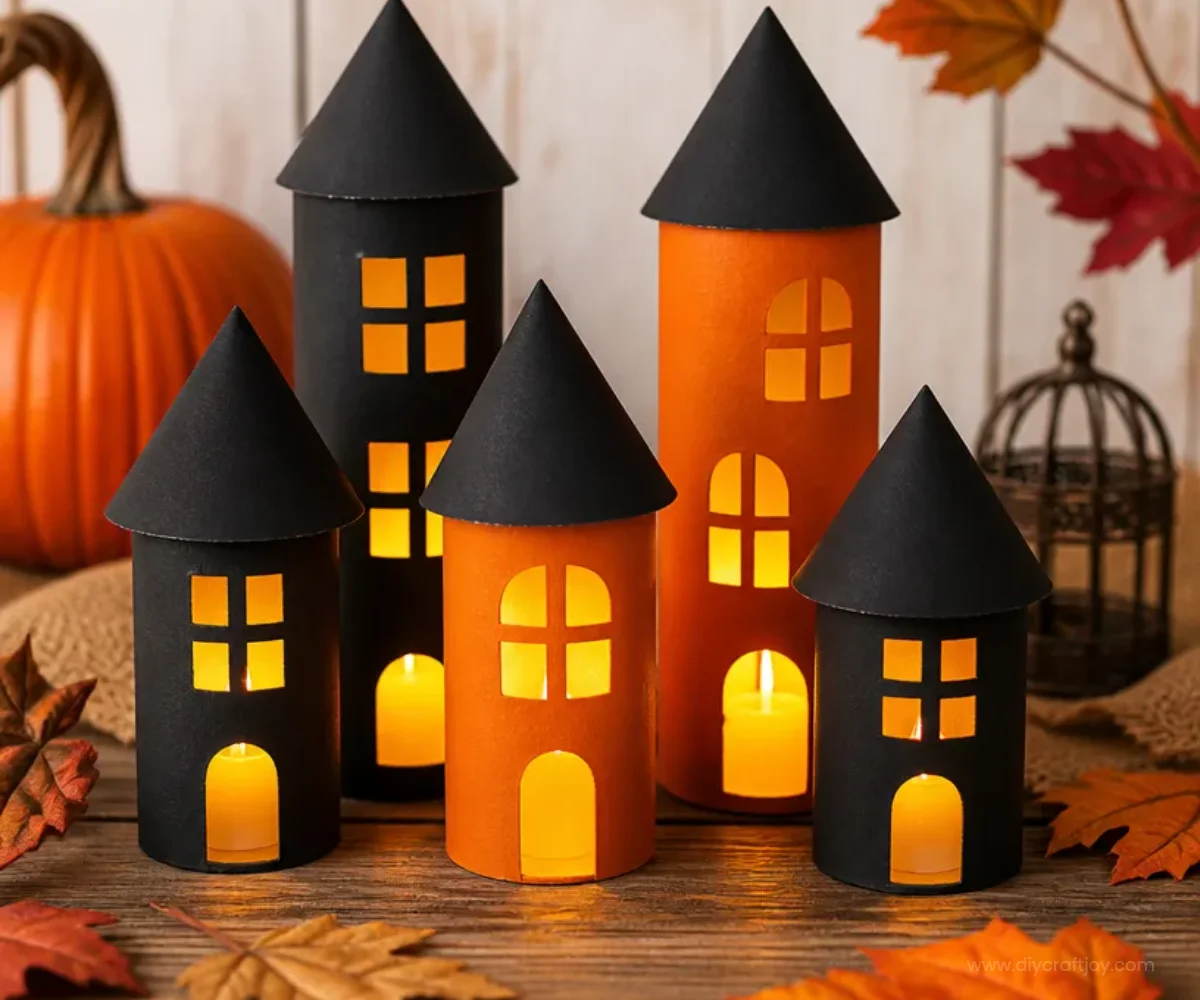
Materials You’ll Need
To get started on your haunted house, you will need:
- Empty paper towel rolls or toilet paper tubes
- Black paint or dark construction paper
- Scissors
- Glue (white glue or hot glue)
- Markers or crayons for decoration
- Optional: glitter, stickers, or other decorative items
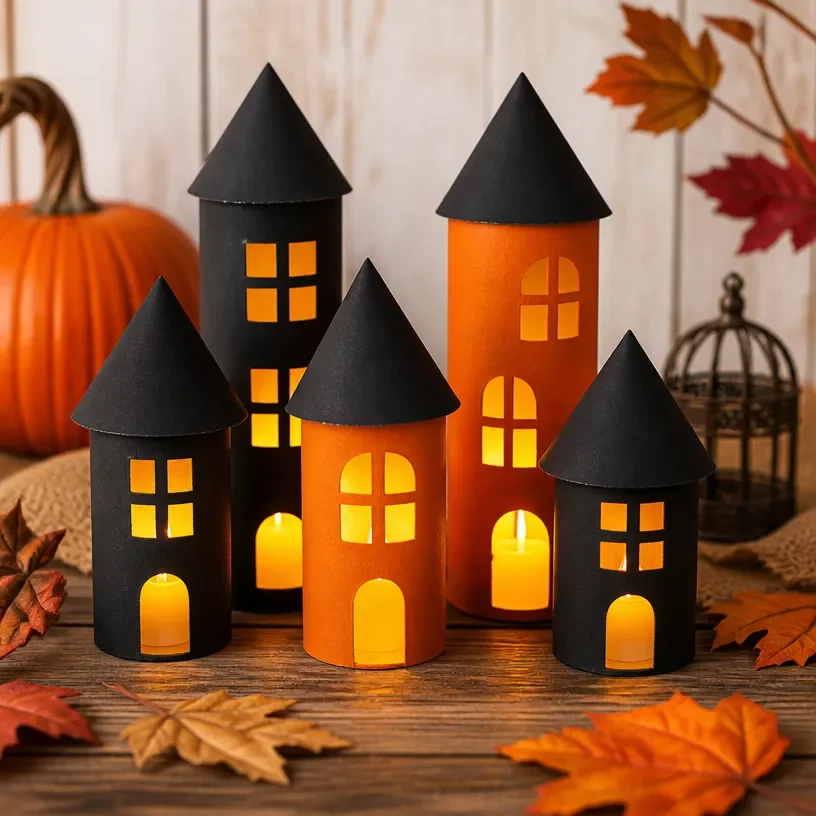
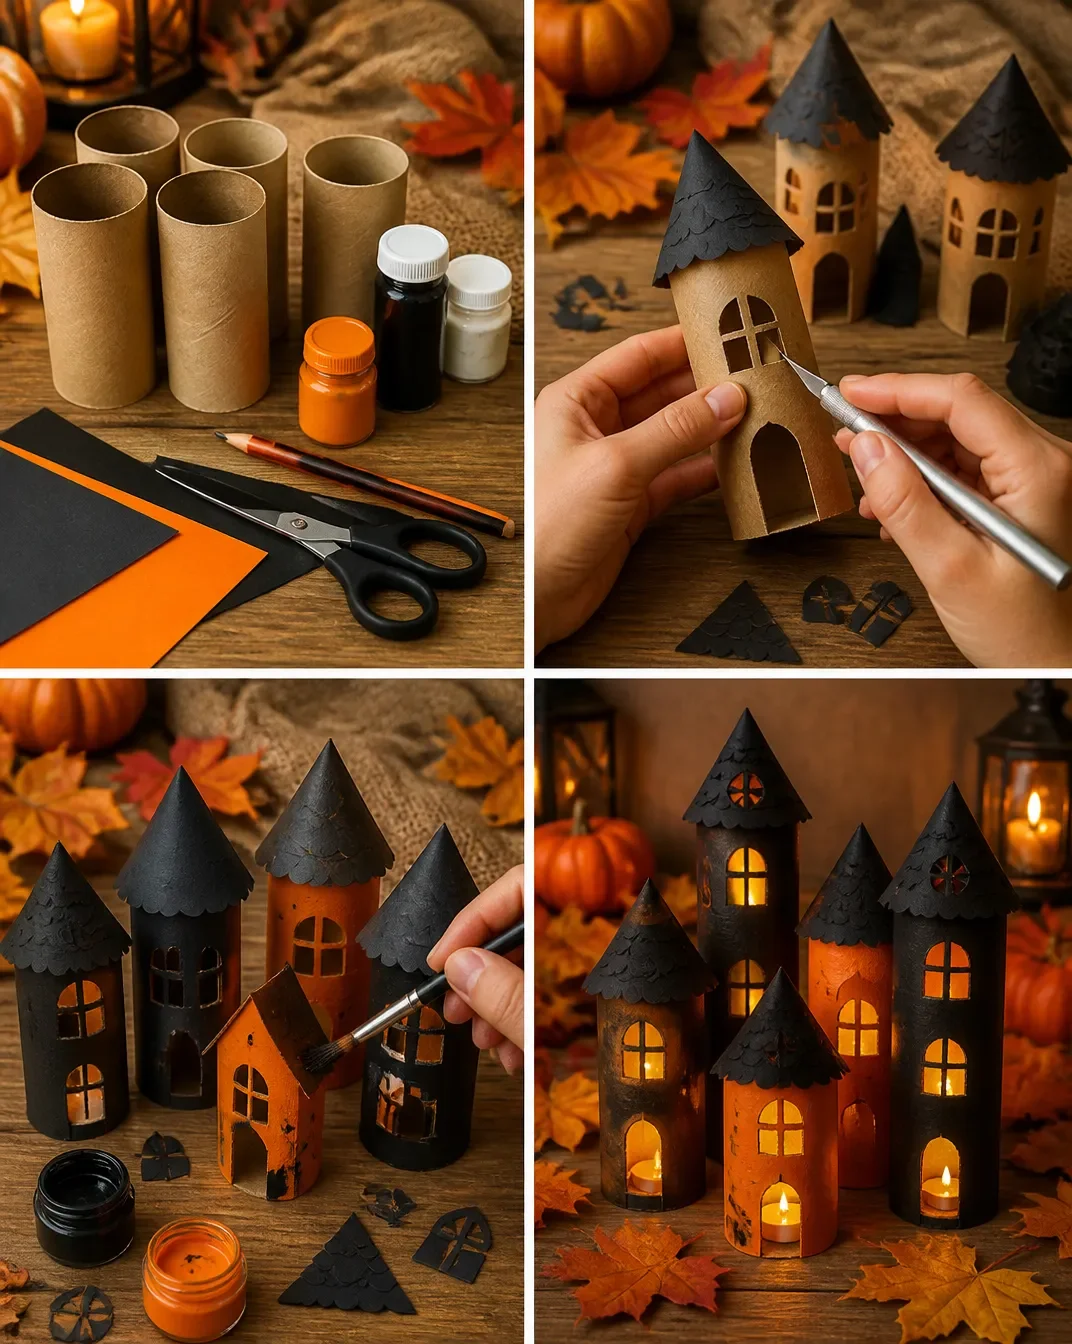
How to Make Halloween House Paper Towel Roll | Haunted House Toilet Paper Tube, Haunted House Out of Toilet Tube, Easy DIY Halloween
Step 1: Prepare the Tubes
First, take the empty paper towel roll and cut it into sections, as needed, to create different parts of your haunted house. You might want to have a tall tower or a shorter section for the main structure.
Step 2: Paint or Cover
Next, paint the tubes black if you are using paint, or cover them with black construction paper. This will give your haunted house a spooky look. Be sure to let the paint dry completely before moving on to the next step.
Step 3: Cut Out Windows and Doors
Once the paint is dry, use scissors to cut out shapes for windows and doors in the tubes. You can get creative here make them round, square, or even jagged to give that eerie vibe.
Step 4: Decorate
Using markers or crayons, add details to your haunted house. Draw spooky faces, cobwebs, or ghosts. You can also use coffee filters to create fun ghost decorations to hang around your haunted house.
Step 5: Assemble and Display
Finally, assemble your haunted house by gluing different sections together if you have multiple parts. You can now proudly display your creation as part of your Halloween decorations!
Helpful Tips
- For cleaner results, ensure you have a surface protector when painting.
- If working with younger children, supervise them during the cutting phase.
- Consider using suncatcher materials to make your decorations shine when placed near light.
- When finished, use a clear spray to set the decorations, or leave them as is for a more rustic look.
Easy Variations
Here are a few variations to explore:
- Color Schemes: Instead of black, use colors like purple or green for a unique twist.
- Size Variations: Use smaller tubes for mini haunted houses or larger boxes for towering creations.
- Seasonal Themes: Adapt the decorations for Thanksgiving or Christmas by changing colors and adding festive details.
Making This Craft With Kids
This project is excellent for kids! However, adults should supervise during cutting and gluing steps to ensure safety. Encourage kids to use their imagination when decorating, making each haunted house unique.
How to Display or Use It
Your finished haunted house can be displayed on a table, used as part of your Halloween centerpiece, or even decorated further for a spooky outdoor setup. Consider creating a full village with multiple houses by using more recycled materials for a fun display.
Frequently Asked Questions
Can I use different materials besides paper tubes?
Yes! Cardboard boxes and other recyclable materials can work as well.
Is this project safe for young kids?
With adult supervision, this craft can be safe and fun for younger children!
How long does it take to make this project?
Depending on decoration, it usually takes about 1-2 hours.
What type of paint works best?
Acrylic or washable paint is recommended for this project since it adheres well and dries quickly.
Can I add lights to my haunted house?
Yes! You can use small LED lights to illuminate your haunted house for an extra spooky effect.
Where can I find more Halloween DIY ideas?
For additional inspiration, check out creative projects such as a butterfly wall decoration or a rainbow-themed haunted house.
Conclusion
Crafting a haunted house using paper towel rolls sets the stage for a festive Halloween atmosphere. It’s a joyful way to inspire creativity and engage with loved ones. If you’re looking for more fun ideas, consider checking out these Toilet Paper Roll Haunted House and ways to find family crafts in our easy Halloween crafts. Enjoy your crafting time!
Print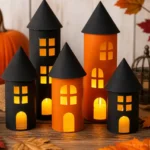
Halloween House Paper Towel Roll
- Total Time: 105 minutes
- Makes: 1 haunted house
Description
Create a spooky haunted house using simple materials like paper towel rolls in this fun and easy Halloween craft project.
Materials
- Empty paper towel rolls or toilet paper tubes
- Black paint or dark construction paper
- Scissors
- Glue (white glue or hot glue)
- Markers or crayons for decoration
- Optional: glitter, stickers, or other decorative items
Instructions
- Prepare the tubes by cutting them into sections to create different parts of your haunted house.
- Paint the tubes black or cover them with black construction paper to give a spooky look.
- Cut out shapes for windows and doors once the paint is dry.
- Decorate using markers or crayons, adding spooky designs and details.
- Assemble your haunted house by gluing sections together and display it as part of your Halloween decorations!
Notes
Make sure to supervise younger children during cutting and gluing tasks for their safety.