

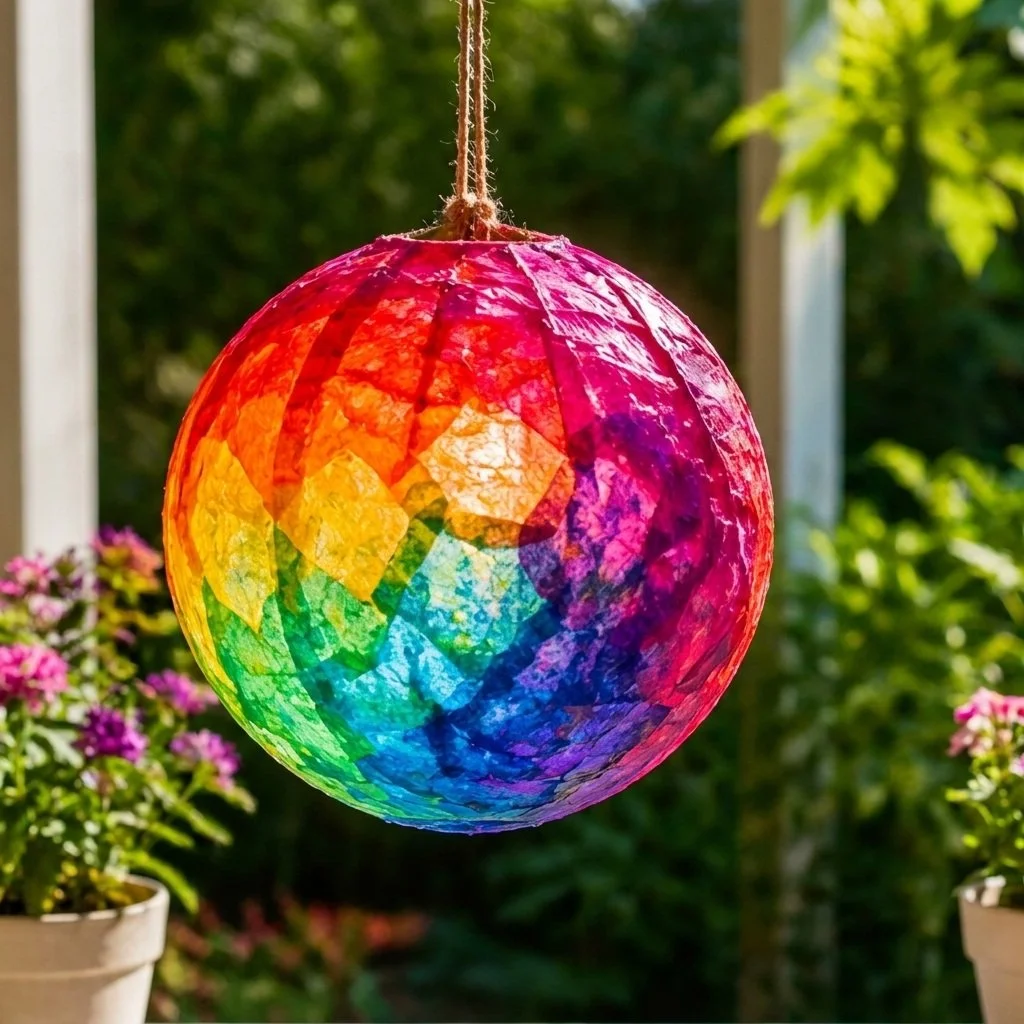
Project Overview
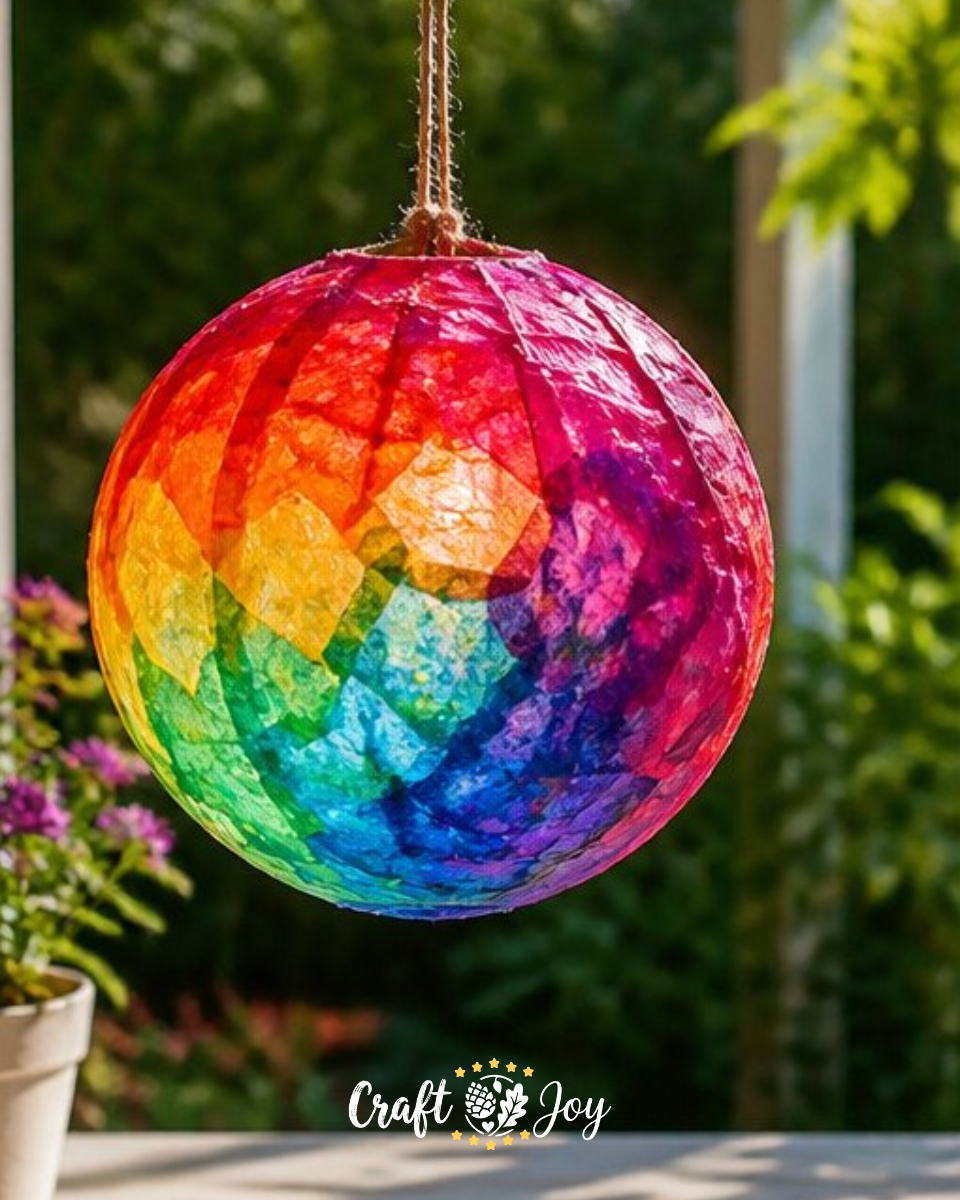
In this tutorial, we’ll create a stunning Prism Tissue Paper Garden Globe that can bring beauty to any garden or home. This craft project is not only an enjoyable activity for families but also serves as a delightful decoration that dances in the sunlight. Making your own garden globe with colorful tissue paper is a wonderful way to explore creativity and engage with the vibrant hues of nature. Plus, it’s a great chance to practice using recycled materials! You may also find Rainbow Tissue Paper Flower Lantern Diy For Kids useful.
This project is simple and perfect for crafters of all ages, making it a fantastic addition to family craft days. You may also find Rainbow Cupcake Liner Butterfly Garden Craft useful.
You may also find Rainbow Flower Garden Stakes Recycled Bottles useful.
Why You’ll Enjoy This Project
- Creative Freedom: You can choose any colors and patterns for your globe, making each one unique.
- Easy to Make: Using just a few materials, anyone can create a beautiful decoration without complex techniques.
- Fun for All Ages: This project is great for kids, but adults can enjoy the process just as much.
- Recycled Materials: The project mainly uses easily accessible items, promoting sustainability.
- Beautiful Display: Once finished, the globe will add a splash of color to your garden or home space.
Materials You’ll Need
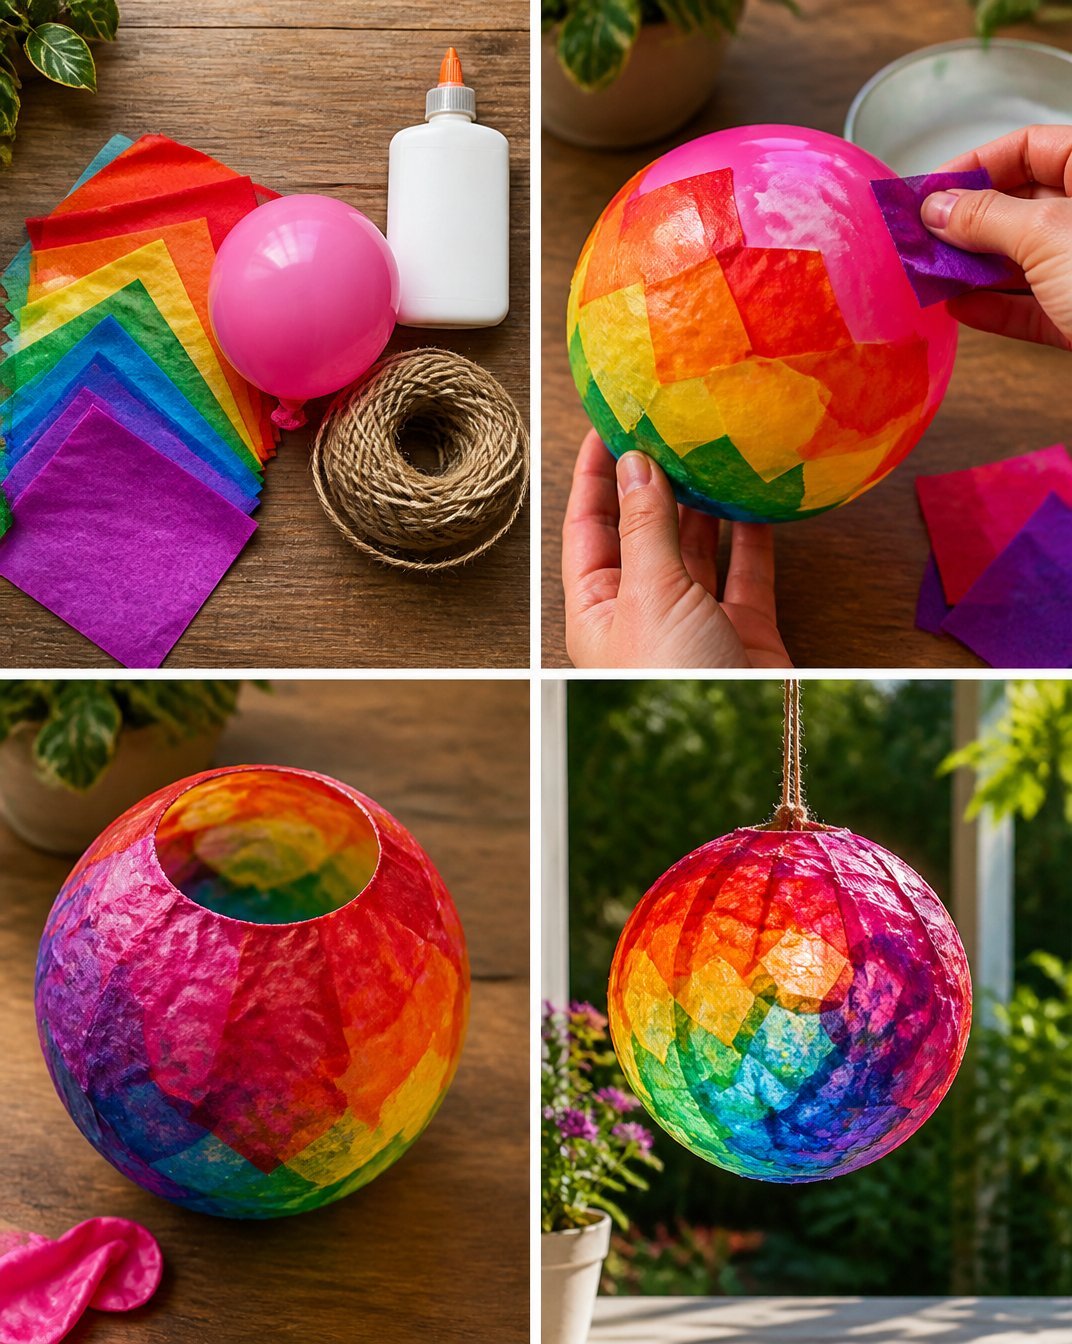
- Small balloon
- Colorful tissue paper
- White glue
- Twine
For a smooth application, try to use tissue paper that is not too thick; this will help achieve a better finish when applying it to the balloon. Don’t hesitate to involve kids by letting them pick their favorite colors! You may also find Rainbow Painted Rocks Colorful Flower Garden useful.
How to Make Prism Tissue Paper Garden Globe
- Inflate the small balloon to your desired size and tie it securely.
- Tear the colorful tissue paper into small squares or shapes, which can be as big or small as you like.
- Using the white glue, start applying the tissue paper onto the balloon, overlapping the pieces to create a vibrant pattern.
- Continue adding layers of tissue paper until the balloon is well covered. Make sure to leave a small opening at the top.
- Allow the glue to dry completely. This may take several hours, so be patient.
- Once dry, carefully pop the balloon and remove it from inside the globe.
- Finally, tie a piece of twine around the opening and hang your globe in a sunny spot.
Creating this globe can be a fantastic opportunity to teach kids about color mixing and pattern design. You can also discuss the importance of using materials responsibly as you craft.
Helpful Tips
- Consider taking your globes outdoors to dry if there’s nice weather; the sun will help the glue dry faster.
- If you’re after a bit more shine, you can seal the outside with a clear acrylic spray after the glue has dried, giving your globe a more polished look.
- Supervise kids when popping the balloon to avoid any surprise bursts.
Easy Variations
- Themed Globes: Use specific colors to match seasons or themes, such as Halloween colors or spring pastels.
- Size Adjustments: Try using larger balloons or creating smaller versions for a variety of sizes in your display.
- Tissue Paper Alternatives: Use colorful napkins or scrap paper if you don’t have tissue paper.
- Different Shapes: Instead of a round globe, experiment with different balloon shapes or sizes, like hearts or stars.
- Day/Night Variations: Add glow-in-the-dark paint to the glue for a fun nighttime effect.
Making This Craft With Kids
This project is a great way to get kids engaged with craft-making. Adults may want to assist with the popping of the balloon and applying the glue, especially for younger children. Encouraging kids to place the tissue paper according to their personal design will make each project a beautiful representation of their creativity.
How to Display or Use It
Once completed, these colorful globes can brighten up any area both indoors and outdoors. Hang them in windows where sunlight can shine through, or display them in gardens where they can catch gentle breezes. You might also consider gifting them to friends or family members who can appreciate a handmade touch in their space.
Frequently Asked Questions
Can I use a larger balloon?
Yes, larger balloons work great for bigger art pieces, just ensure you adjust the amount of tissue paper accordingly.
What if I don’t have white glue?
You can use Mod Podge, craft glue, or even a flour and water mixture as alternatives.
How long does it take for the glue to dry?
Drying time can vary based on humidity and temperature; generally, it may take several hours to complete the drying process.
Can I keep the globe outdoors?
Yes, but it’s best to bring it indoors during extreme weather conditions to ensure it lasts longer.
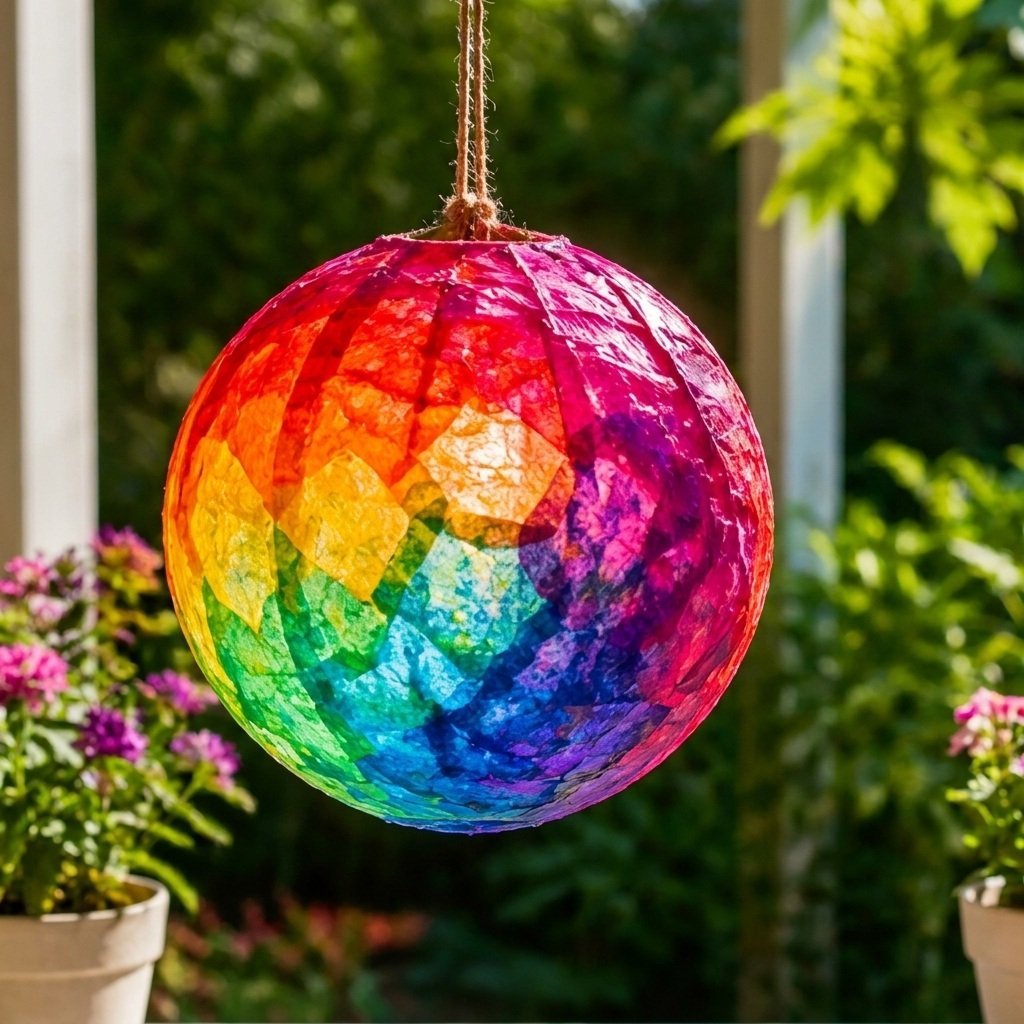
What happens when the sun shines through?
The sun will create a beautiful stained-glass effect through the tissue paper, adding color and light to your space.
Can we adapt this craft for different age groups?
Absolutely! Involve younger children in tearing paper and gluing, while older kids can help with planning designs and hanging the globes creatively.
Conclusion
Creating a Prism Tissue Paper Garden Globe is not only an enjoyable craft project, but it also provides an opportunity to bond as a family while getting creative. It can be a wonderful addition to your garden or home, and you can find similar decorative ideas to enhance your outdoor space or gift options. For more inspiration, check out these amazing sun catchers available on Amazon or this unique handmade option on Etsy. Happy crafting!
Print
Prism Tissue Paper Garden Globe
- Total Time: 135 minutes
- Makes: 1 garden globe
Description
Create a vibrant and beautiful tissue paper garden globe that’s perfect for home or garden decor, using simple materials and recycling.
Materials
- Small balloon
- Colorful tissue paper
- White glue
- Twine
Instructions
- Inflate the small balloon to your desired size and tie it securely.
- Tear the colorful tissue paper into small squares or shapes, which can be as big or small as you like.
- Using the white glue, start applying the tissue paper onto the balloon, overlapping the pieces to create a vibrant pattern.
- Continue adding layers of tissue paper until the balloon is well covered. Make sure to leave a small opening at the top.
- Allow the glue to dry completely. This may take several hours, so be patient.
- Once dry, carefully pop the balloon and remove it from inside the globe.
- Finally, tie a piece of twine around the opening and hang your globe in a sunny spot.
Notes
Consider sealing the globe with clear acrylic spray for a polished look. Supervise kids during the balloon popping.