

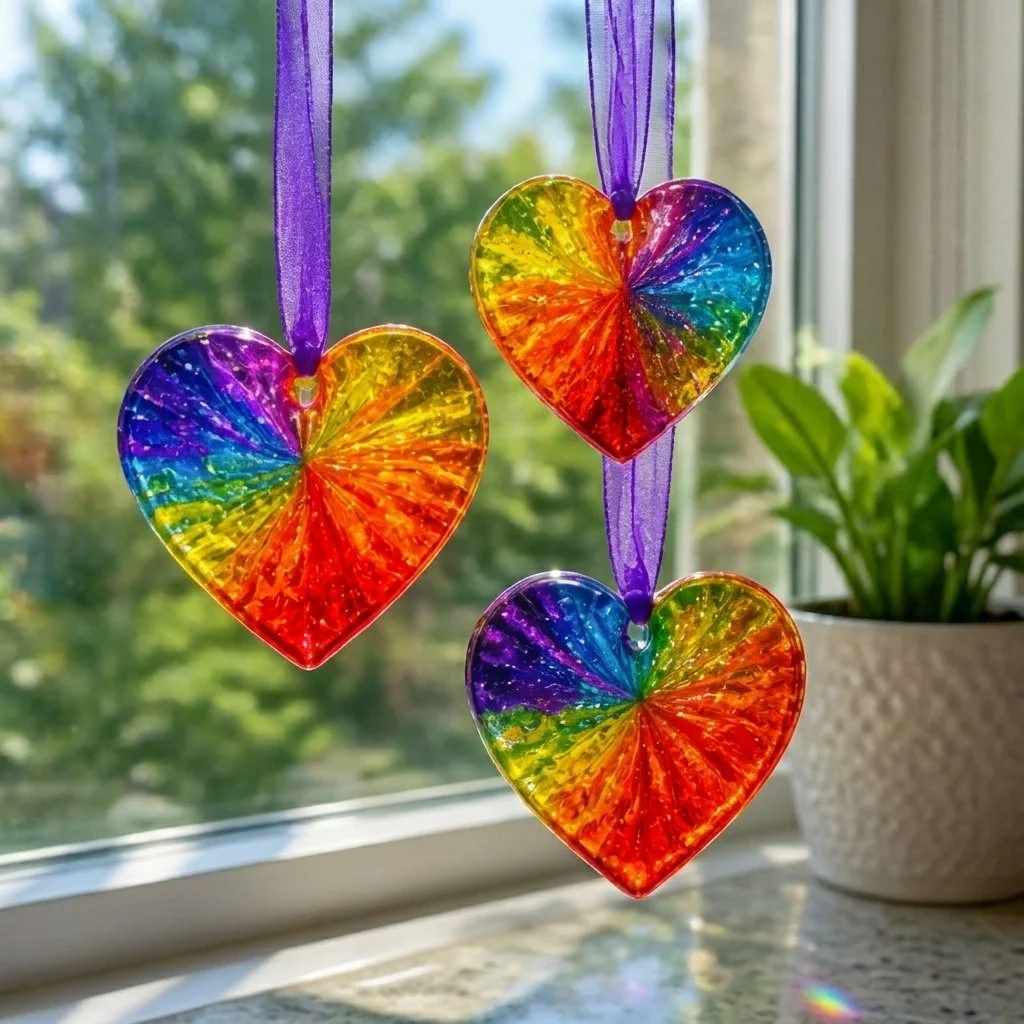
DIY Swirled Glue Sun Catchers
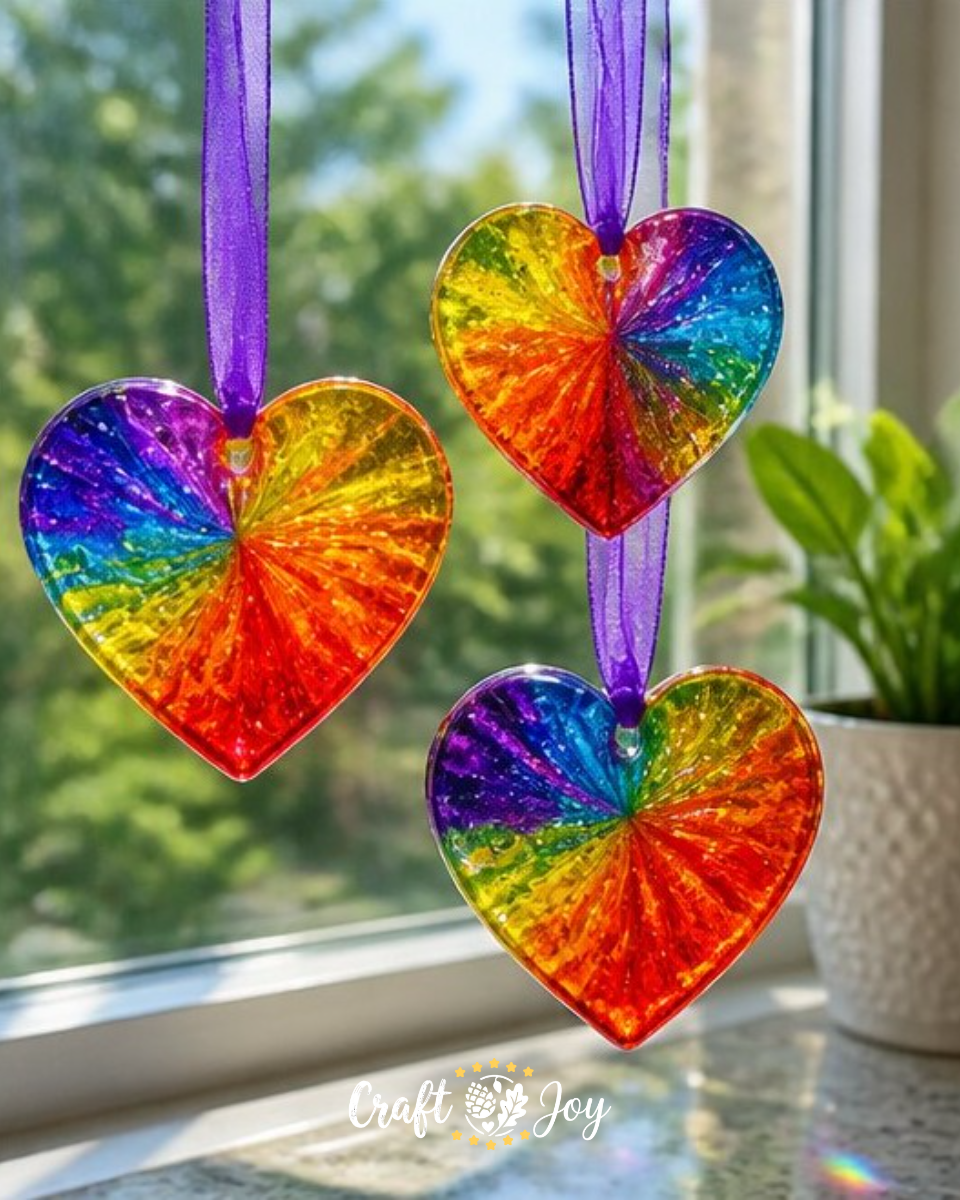
Creating DIY Swirled Glue Sun Catchers is a delightful way to brighten up your home while engaging in a fun craft project. These colorful hearts not only add a cheerful touch to any window but also allow children to explore their creativity through color mixing and design. This project is perfect for families looking to spend quality time together while making something beautiful. You may also find Cupcake Liner Dahlia Bouquet Diy Centerpiece Kids useful.
Why You’ll Enjoy This Project
This craft is not only enjoyable but also offers several benefits: You may also find Cupcake Liner Sunflower Wreath Craft For Kids useful.
- Creative Expression: Children can experiment with different colors and patterns, making each sun catcher unique.
- Simple Materials: The materials required are common household items that you likely already have.
- Educational Value: Mixing colors teaches basic color theory, and the entire process helps develop fine motor skills.
- Versatile Decoration: Once complete, these sun catchers can enhance your home décor during any season.
- Family Bonding: This project can foster collaboration and communication between parents and children.
You may also find Diy Rainbow Popsicle Stick Flower Wheel Craft useful.
Materials You’ll Need
To make your swirled glue sun catchers, gather the following supplies: You may also find Melted Crayon Rainbow Butterfly Suncatcher For Kids useful.
- 1/2 cup clear school glue
- 1/4 cup liquid watercolor paint
- 3 plastic heart-shaped molds
- 1 tablespoon cornstarch
- 6 inches of thin ribbon
When selecting your watercolor paint, any variety will work, but liquid watercolors give the best results. Make sure the heart molds are flexible to facilitate easy removal later on. You may also find Melted Crayon Rainbow Haunted House Suncatcher Craft useful.
How to Make DIY Swirled Glue Sun Catchers
- In separate small cups, mix the clear school glue and cornstarch together until smooth.
- Add drops of your chosen liquid watercolor paint to each glue mixture, creating beautiful colors.
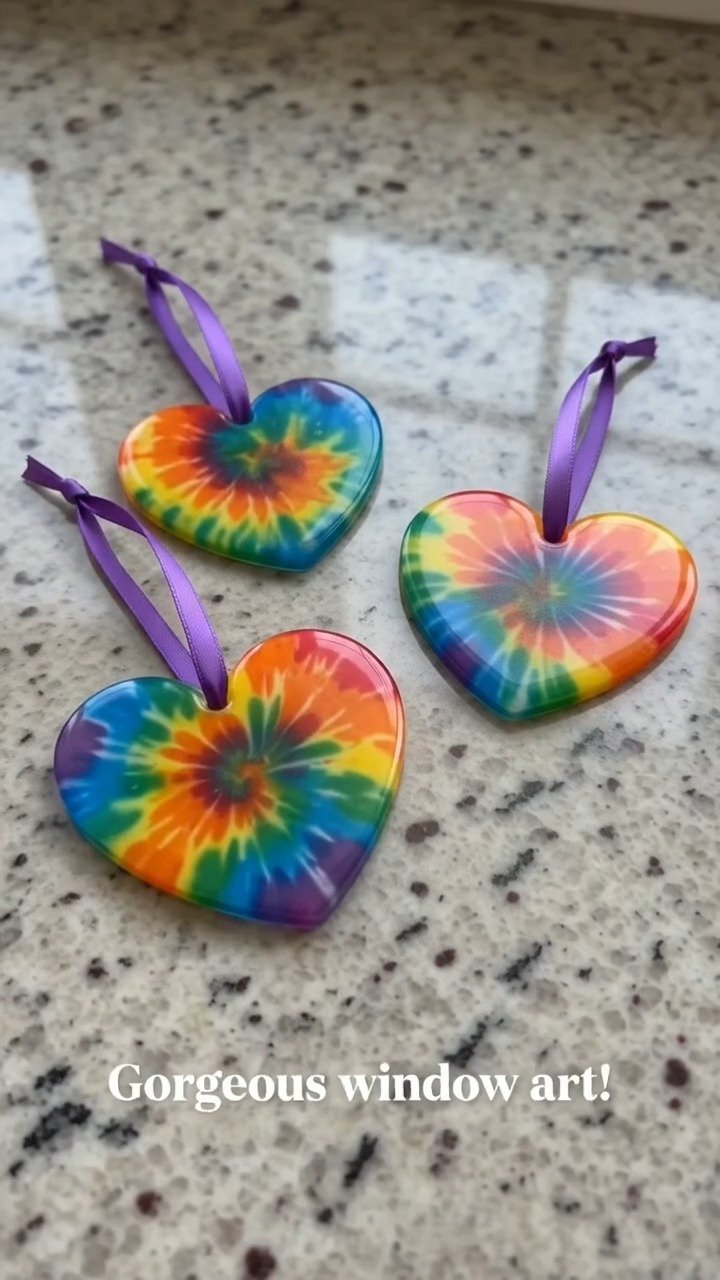
- Carefully pour the colored glue mixtures into the heart molds, swirling the colors gently with a toothpick for a marbled effect.
- Allow the molds to sit undisturbed on a flat surface for 48 hours until completely dry and clear.
- Once dry, gently peel the hardened hearts from the molds.
- Thread the thin ribbon through the top of each heart to create a way to hang them.
Helpful Tips
- Mixing Colors: Start with a few drops of paint and add more to achieve the desired shade. Remember that lighter colors may require more paint.
- Swirling Techniques: Be gentle when swirling with the toothpick to avoid muddying the colors too much.
- Drying Location: Place the molds in a spot with good air circulation, which helps them dry more evenly.
- Handling: Be careful when peeling the sun catchers from the molds as they can be fragile.
- Displaying: Hang them in a sunny window to catch the light, making the colors shine beautifully.
Easy Variations
- Seasonal Themes: Use colors that correspond with holidays or seasons (e.g., red and green for Christmas, pastels for spring).
- Different Shapes: Experiment with various mold shapes, like stars or circles, for more variety.
- Layering Colors: Pour multiple layers of different colors for a more complex look.
- Larger Creations: Use larger molds to create a bigger sun catcher or multiple smaller ones for a grouped display.
Making This Craft With Kids
This project is ideal for children, but parents may want to assist with the pouring and swirling steps. Supervision is particularly important to ensure they don’t spill the glue mixtures. Allowing kids to experiment with colors independently can lead to surprising and lovely results.
How to Display or Use It
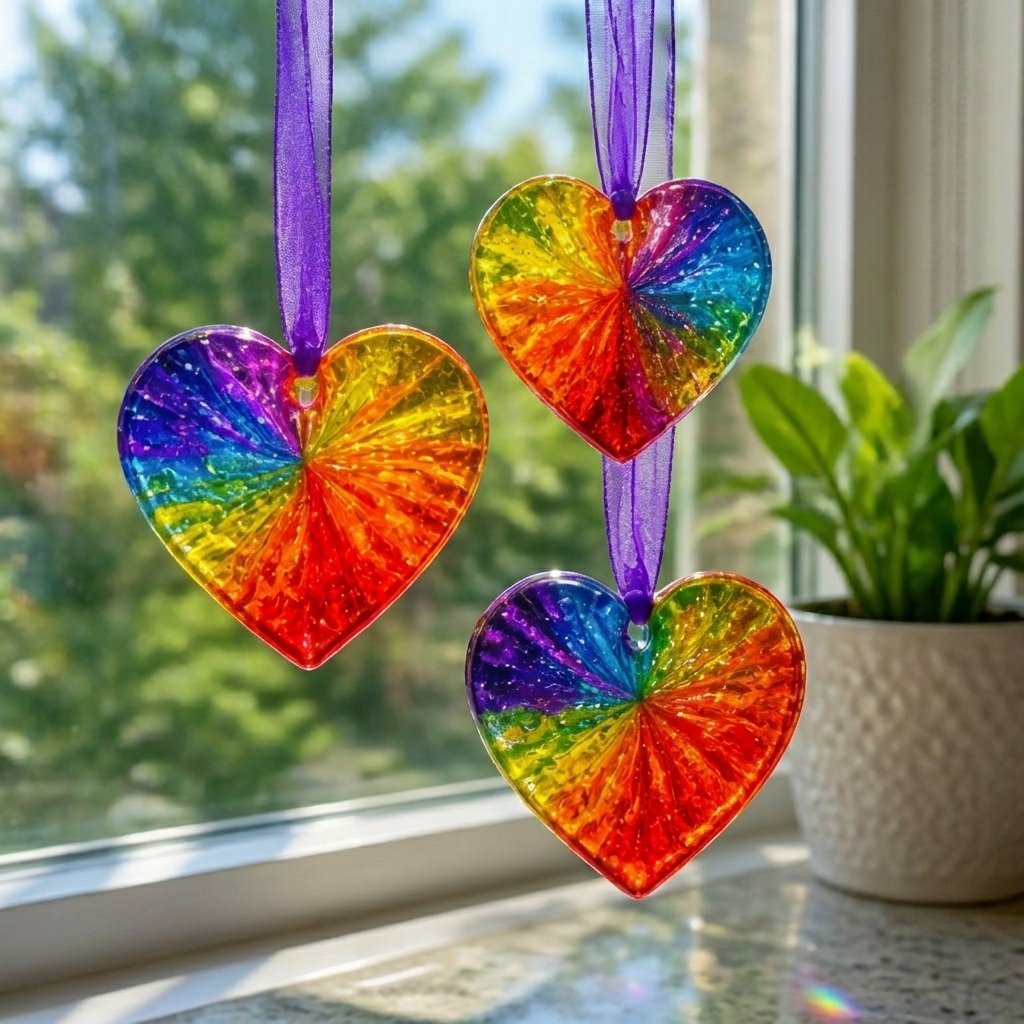
Once your sun catchers are complete, hang them in a sunny window, where they can catch and refract the light, creating colorful patterns around your room. These can also be used as gifts or as part of seasonal decorations. To change up your decor, swap them out for new designs throughout the year.
Frequently Asked Questions
How long does it take for the sun catchers to dry completely?
It takes about 48 hours for the sun catchers to dry fully, so plan accordingly.
Can I use other types of glue?
While clear school glue is recommended for its transparency, you can try other types like clear craft glue, but results may vary.
Can I use food coloring instead of watercolor paint?
Food coloring can be used in a pinch, but it may not produce as vibrant colors.
How do I clean up after the project?
Clean any spills with soap and water immediately, and wash your tools and containers soon after use.
Are these sun catchers weather-resistant?
These sun catchers are best for indoor use, as moisture and outdoor conditions may warp or affect them.
Can I hang them with something other than ribbon?
Yes, you can use string, wire, or even fishing line for hanging, which may provide a more streamlined look.
Conclusion
Making these swirled glue sun catchers can be a magical craft experience for families. If you’re looking for more creative ideas, explore how to make cosmic suncatchers or try the colorful DIY glue suncatcher craft for even more fun!
Print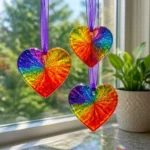
DIY Swirled Glue Sun Catchers
- Total Time: 2895 minutes
- Makes: 3 sun catchers
Description
Brighten your home with these colorful DIY swirled glue sun catchers, perfect for family crafting and creative expression.
Materials
- 1/2 cup clear school glue
- 1/4 cup liquid watercolor paint
- 3 plastic heart-shaped molds
- 1 tablespoon cornstarch
- 6 inches of thin ribbon
Instructions
- In separate small cups, mix the clear school glue and cornstarch together until smooth.
- Add drops of your chosen liquid watercolor paint to each glue mixture, creating beautiful colors.
- Carefully pour the colored glue mixtures into the heart molds, swirling the colors gently with a toothpick for a marbled effect.
- Allow the molds to sit undisturbed on a flat surface for 48 hours until completely dry and clear.
- Once dry, gently peel the hardened hearts from the molds.
- Thread the thin ribbon through the top of each heart to create a way to hang them.
Notes
Mix colors carefully to avoid muddying. Ensure good air circulation while drying.