

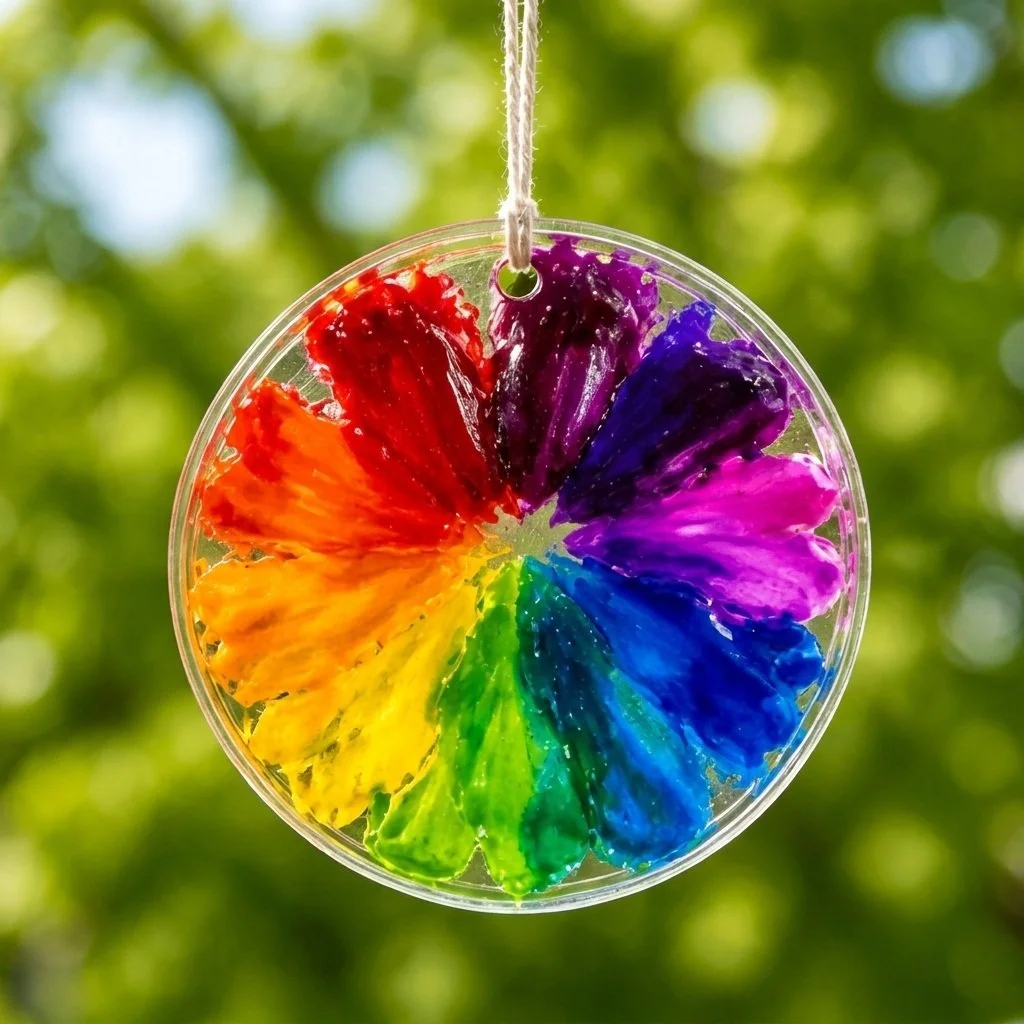
DIY Rainbow Coffee Filter Bloom Garland
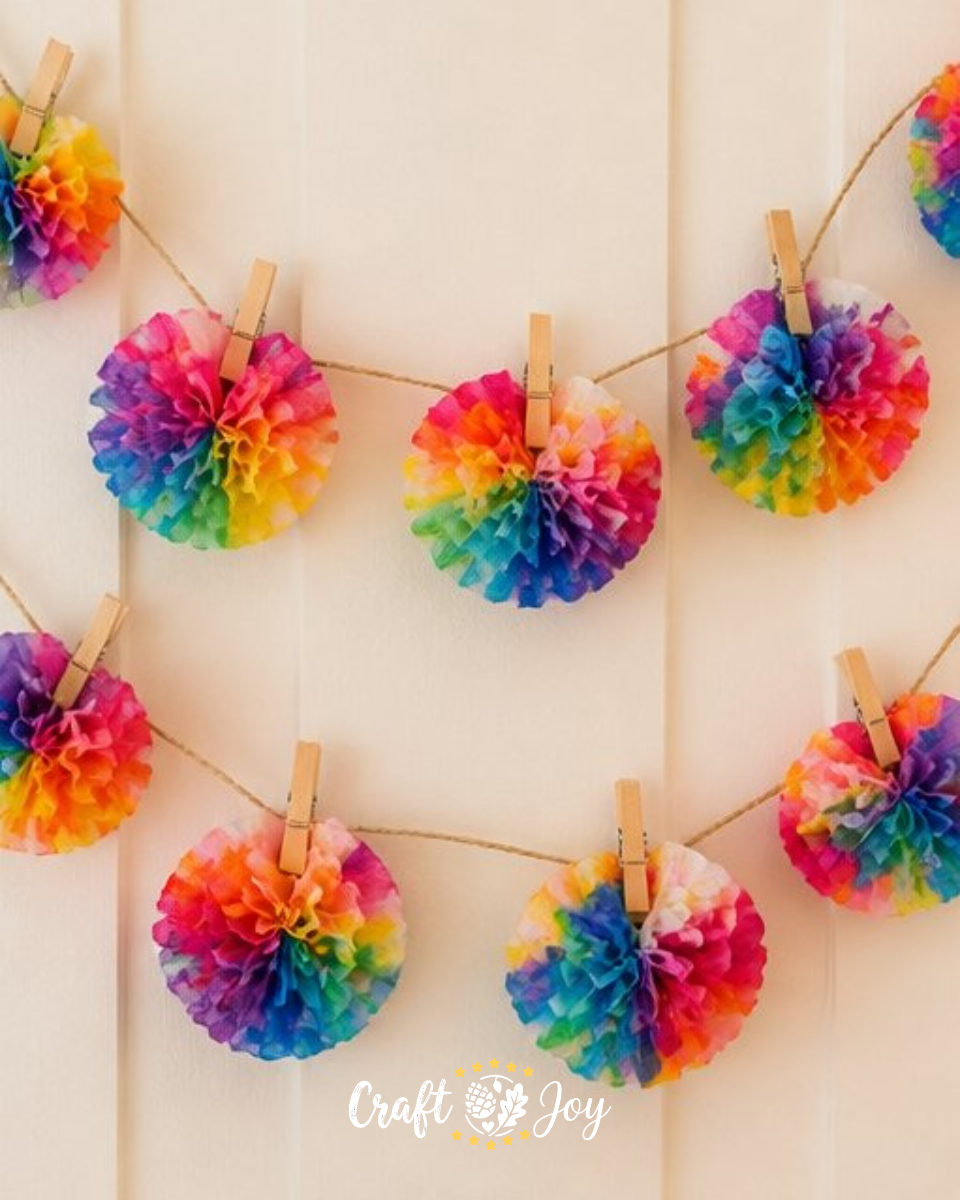
Add a splash of color to your space with a delightful DIY Rainbow Coffee Filter Bloom Garland! This simple craft project is not only fun but also perfect for all ages. You’ll enjoy creating these vibrant blooms, which can be used as decorations for parties, classrooms, or even your home. You may also find Rainbow Ghost Cupcake Liner Garland Halloween Decor useful.
The joy of this craft lies in its accessibility; with just a few materials, you can create cheerful decorations that brighten up any setting. If you’re interested in other colorful projects, check out how to make a DIY rainbow popsicle stick flower wheel for even more crafting fun.
Why You’ll Enjoy This Project
Creating a coffee filter garland is a wonderful experience for several reasons: You may also find Rainbow Monster Pencil Holders Diy Craft For Kids useful.
- Colorful Fun: The process of coloring coffee filters with markers is both artistic and enjoyable, making it a great activity for families.
- Simple Materials: You only need everyday supplies coffee filters, markers, and some basic crafting items.
- Customizable: This project encourages creativity; you can choose any colors or patterns you like.
- Weather-Friendly Decor: These blooms are perfect for indoor displays and can also brighten up outdoor spaces for parties.
- Engaging for Kids: This is a great project to engage children and teach them about blending colors.
You may also find Rainbow Tissue Paper Flower Lantern Diy For Kids useful.
Materials You’ll Need
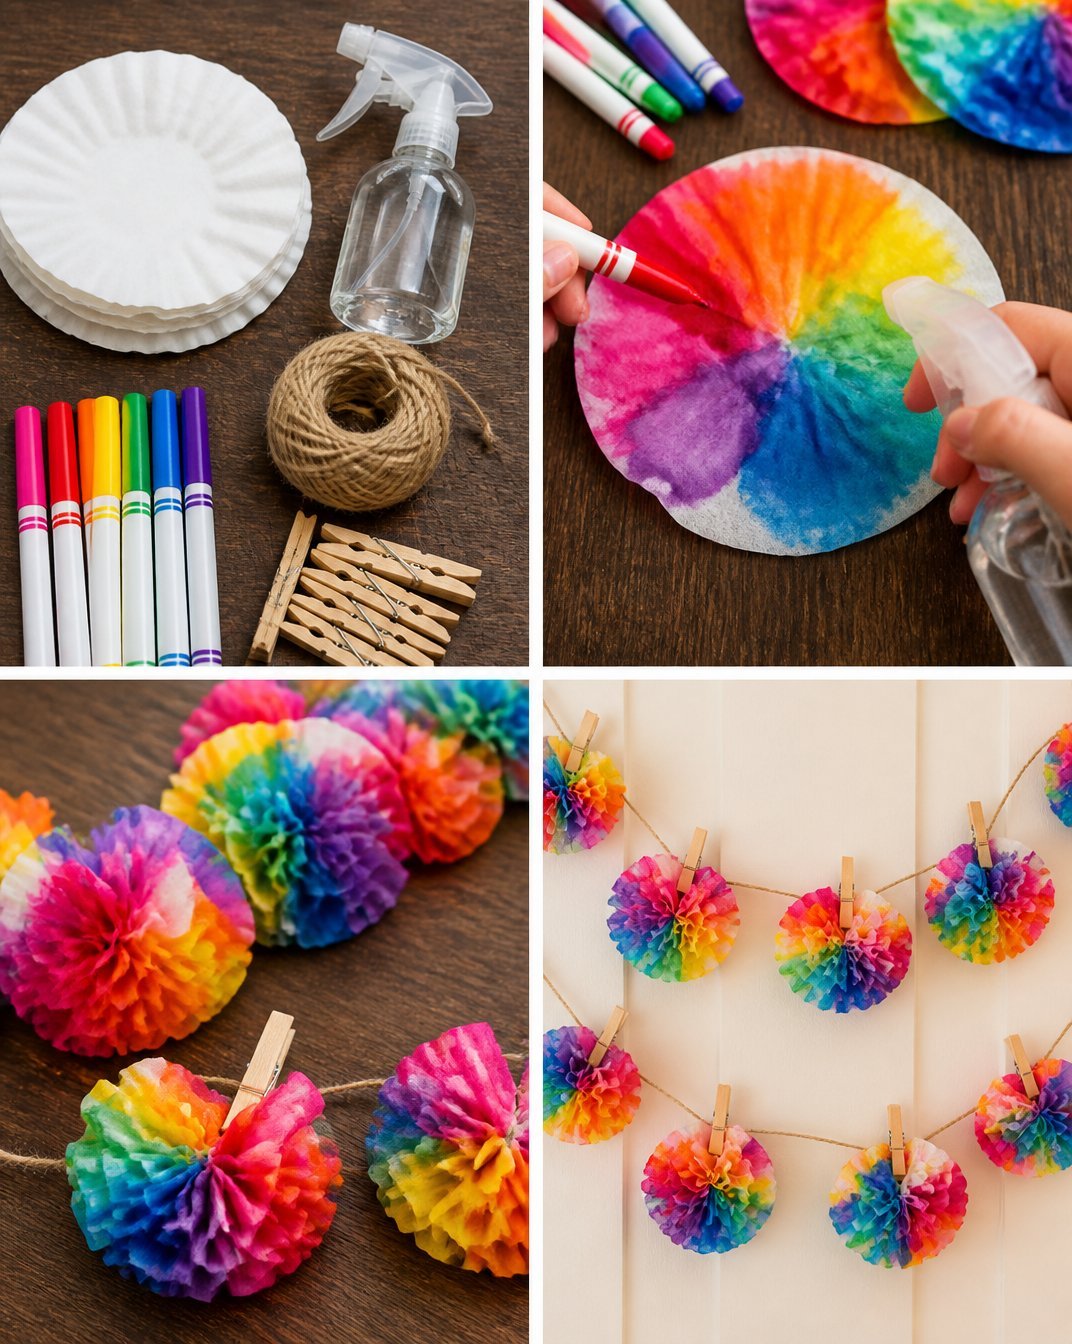
Gather these supplies before you start:
- Coffee filters
- Washable markers
- Spray bottle
- String
- Clothespins
Using washable markers is key, as this allows for easy cleanup and prevents permanent stains.
How to Make DIY Rainbow Coffee Filter Bloom Garland
Follow these simple steps to create your own garland:
- Color the Filters: Take a coffee filter and use washable markers to draw rainbow patterns on it. Feel free to get creative with different designs!
- Mist the Filters: Lightly mist the colored filters with water using your spray bottle. This helps the colors blend beautifully together.
- Dry the Filters: Allow the filters to dry completely. You can lay them flat or hang them up to dry for added flair.
- Gather into Shapes: Once dry, gather the center of each filter to create flower shapes. Use clothespins to secure the middle of the filters tightly.
- String the Flowers: Thread the gathered filters onto your string at even intervals to make a cheerful garland.
This process is straightforward and can be adapted for various occasions!
Helpful Tips
- Easier Assembly: If you’re crafting with kids, consider having adults help with gathering the filters into flower shapes, as this can be tricky for younger children.
- Cleaner Results: To avoid the colors running too much, spray lightly and don’t oversaturate the coffee filters.
- Creative Displays: You can create a variety of flowers using different color schemes, making it versatile for seasons or events.
- Adapting for Kids: This project is safe and suitable for children, with adult supervision best during the spraying phase.
Easy Variations
Here are some variations you can try:
- Use a monochromatic color scheme for a more sophisticated look.
- Cut the filters into various shapes before coloring for unique flower designs.
- Mix in seasonal colors for holidays or celebrations.
- Instead of string, use a decorative wire to hang the flowers.
- Create smaller blooms by using mini coffee filters for a dainty garland.
Making This Craft With Kids
This project is perfect for children to help with. Supervise during the misting stage to ensure they spray the filters lightly and avoid oversaturation. Let their creativity shine through in the coloring phase, as they can choose their favorite colors and patterns.
How to Display or Use It
Once assembled, you can hang your garland above a doorway, along a wall, or even across a table for a party. The cheerful blooms can also serve as playful room decor or a fun backdrop for photos.
Frequently Asked Questions
How long does it take for the filters to dry?
Typically, it takes about 30 minutes to an hour for the coffee filters to dry completely, depending on the humidity and the amount of water used.
Can I use any markers?
It’s best to use washable markers, as permanent markers will not blend well with water and could stain surfaces.
What if I want larger flowers?
You can stack multiple filters together to create fuller, larger blooms.
How do I store the garland?
Gently roll the garland and store it in a box to prevent any damage.
Can I use this concept for other decorations?
Absolutely! This technique can be used for making centerpieces, gift toppers, or even unique cards.
Are there other flower crafts I can try?
Yes! A wonderful option is making a cupcake liner dahlia bouquet which can complement your garland nicely.
Conclusion
Creating a rainbow coffee filter bloom garland is a joyful way to express creativity, especially with kids. For those looking to expand their crafting skills further, consider exploring how to make a coffee filter flower bouquet or check out the steps for making vibrantly colored coffee filter flowers for additional fun!
Print
DIY Rainbow Coffee Filter Bloom Garland
- Total Time: 30 minutes
- Makes: 1 garland
Description
Add a splash of color to your space with a delightful DIY Rainbow Coffee Filter Bloom Garland, perfect for all ages and occasions.
Materials
- Coffee filters
- Washable markers
- Spray bottle
- String
- Clothespins
Instructions
- Color the filters with washable markers to create rainbow patterns.
- Mist the colored filters lightly with water using your spray bottle.
- Dry the filters completely, laying them flat or hanging them up.
- Gather the center of each filter to form flower shapes and secure with clothespins.
- String the gathered filters onto your string at even intervals to make the garland.
Notes
For kids, have adults assist with gathering the filters into shapes. Use light sprays to achieve cleaner results.