

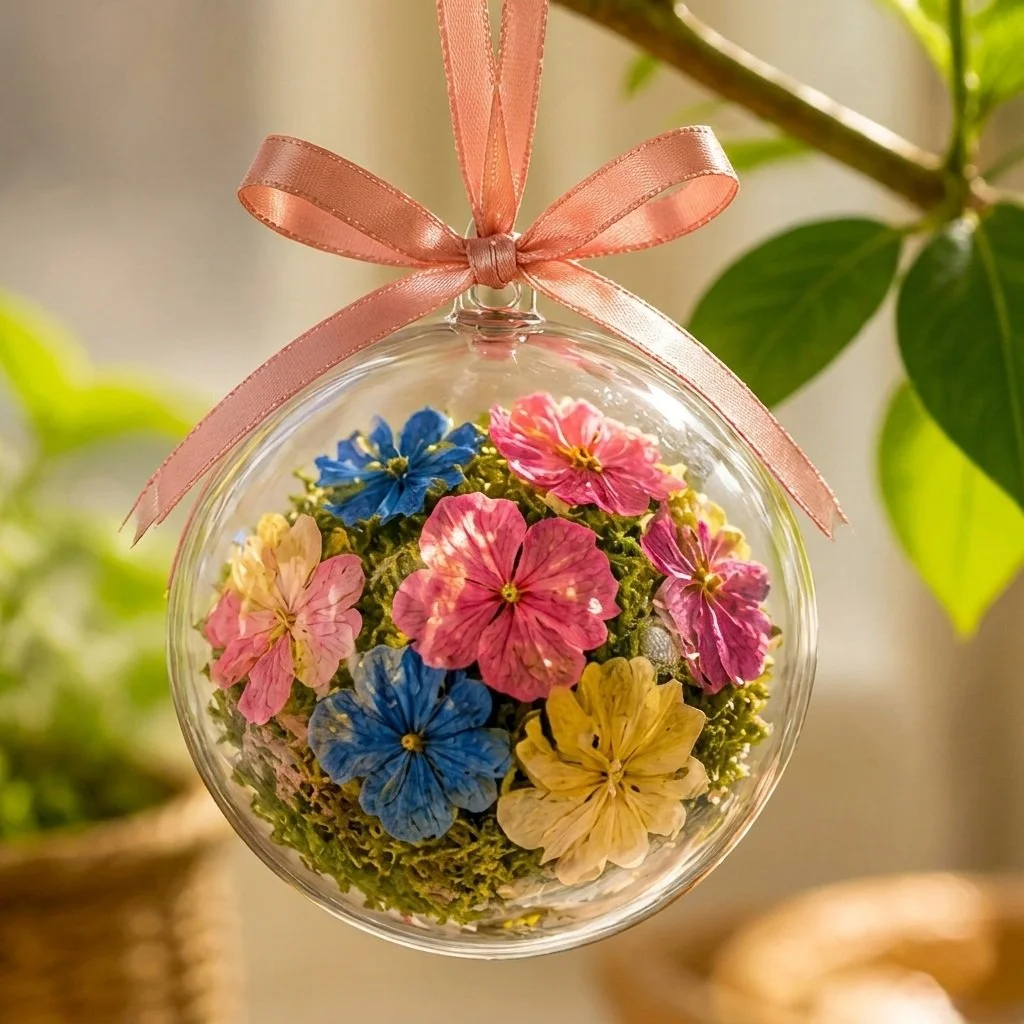
DIY Hanging Flower Globe Ornament
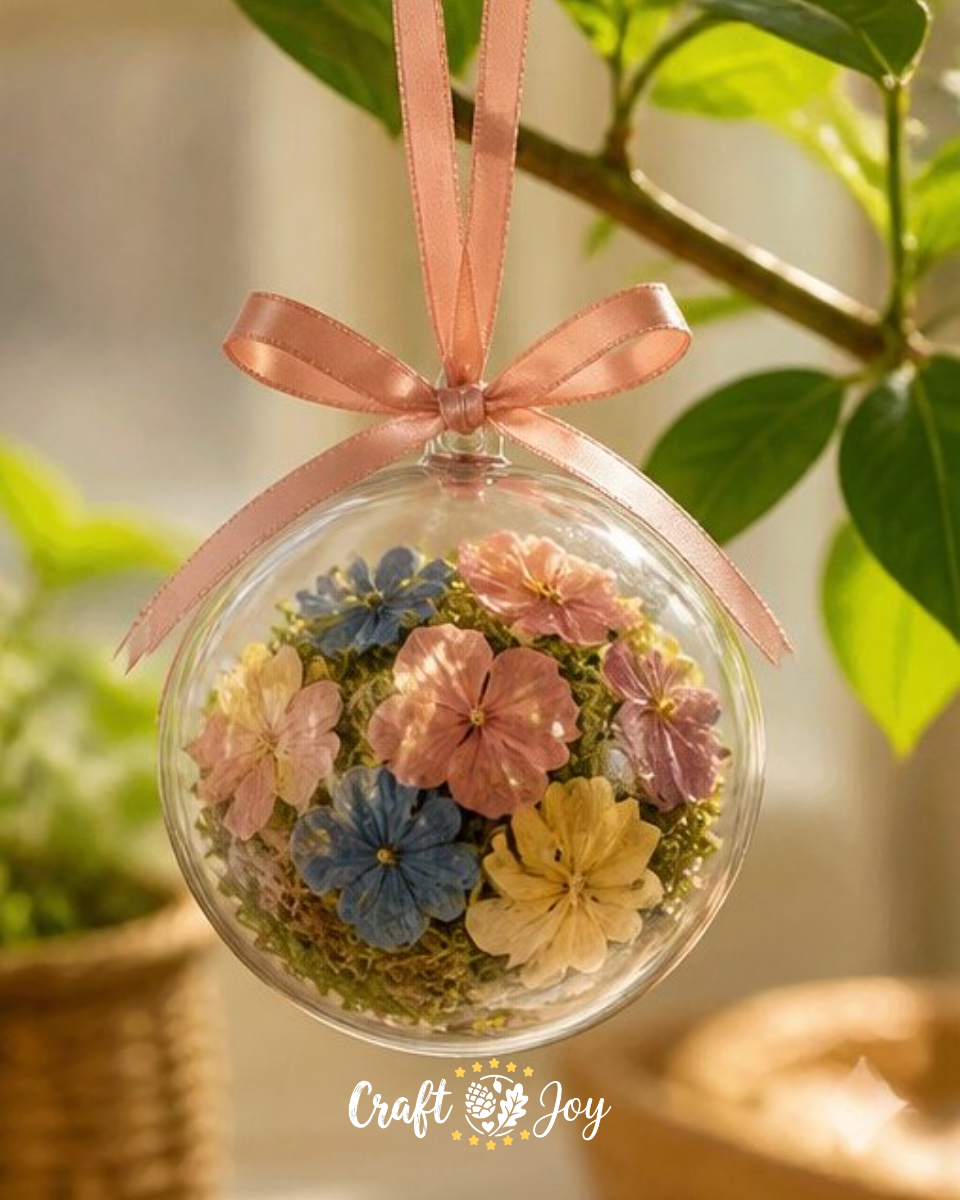
Creating a DIY hanging flower globe ornament is a fantastic craft project that brings a touch of nature indoors. Not only does this project involve beautiful materials like dried flowers and moss, but it also makes for a charming decoration or gift. As you work, you’ll enjoy the simple pleasure of arranging flowers in a way that showcases their colors and textures, making it a fulfilling experience for crafters of all ages. If you enjoy similar projects, you might also like our DIY Rainbow Popsicle Stick Flower Wheel Craft.
Why You’ll Enjoy This Project
- Creative Expression: This project allows you to showcase your creativity by choosing different flower combinations and designs.
- Simple Materials: It requires only a handful of easy-to-find materials, making it accessible for all skill levels.
- Versatile Decor: The finished ornament is perfect for hanging in windows, gifting, or using as part of your home decor.
You may also find Rainbow Tissue Paper Flower Lantern Diy For Kids useful.
Materials You’ll Need
- 1 clear plastic ornament (4 in)
- 10 dried flower petals
- 12 in ribbon
- Small preserved moss
You can find dried flower petals at local craft stores or online, and feel free to mix and match colors for a unique look! You may also find Colorful Cupcake Liner Flower Bouquet useful.
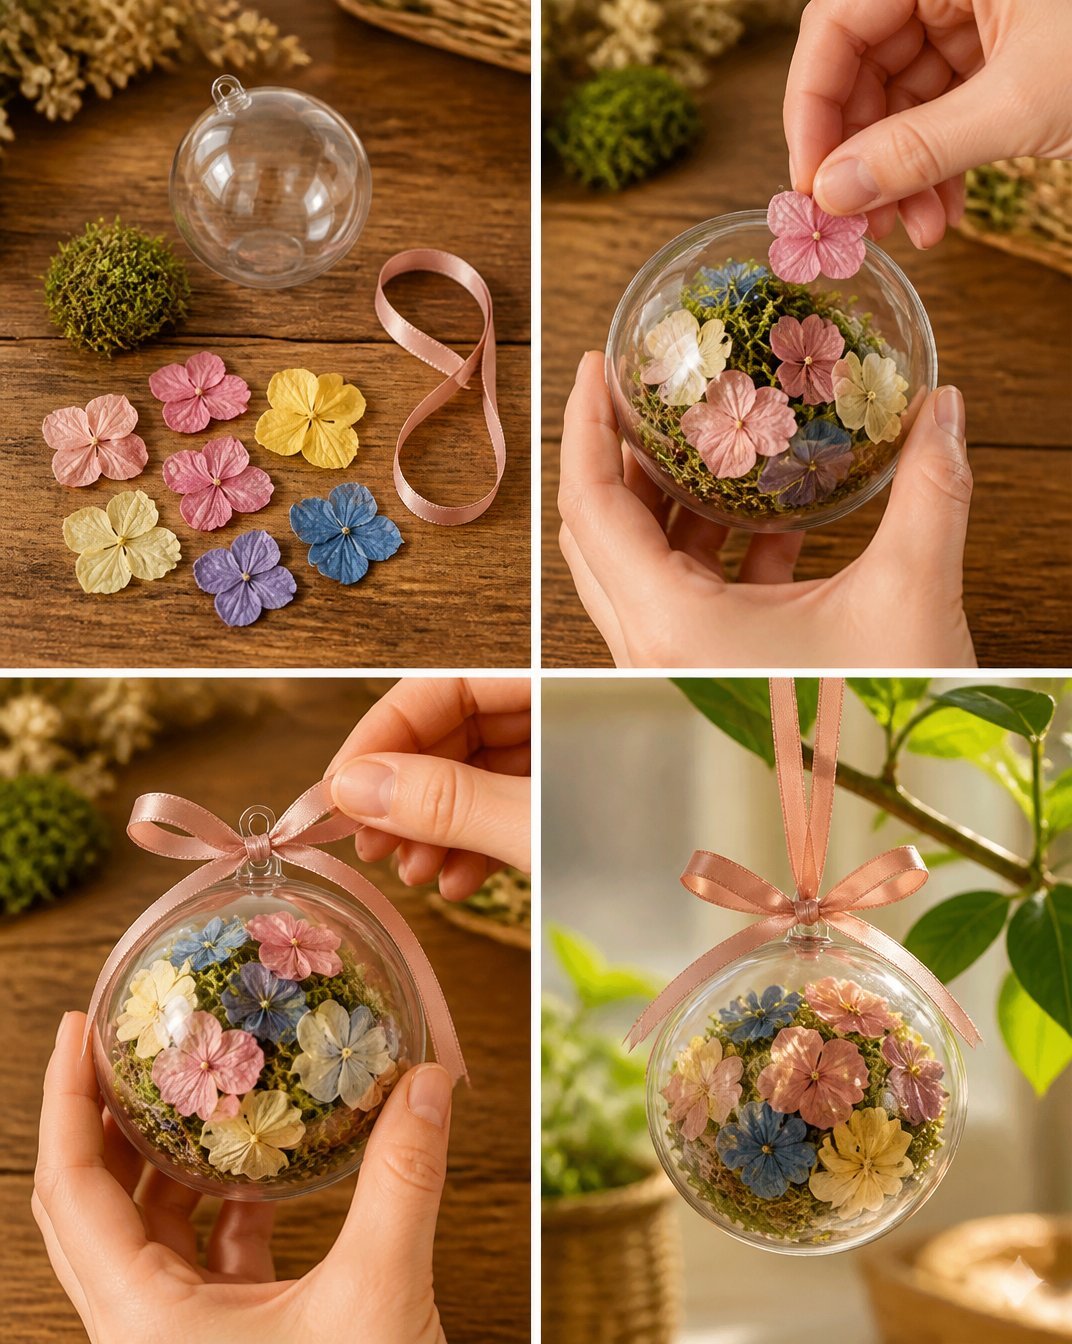
How to Make DIY Hanging Flower Globe Ornament
- Begin by carefully filling your clear plastic ornament with the preserved moss, creating a soft base.
- Next, add your dried flower petals, arranging them as you like for a beautiful display. Experiment with different flower layouts for a fresh look.
- Once you are satisfied with the look, close the ornament securely to keep everything in place. Ensure there are no gaps where the flowers could shift.
- Finally, tie the ribbon around the top of the ornament, creating a lovely hanging loop that will allow you to display your creation anywhere.
Helpful Tips
- If the moss seems too bulky, gently compress it down to create a flatter base for your flowers.
- Use a combination of various flower colors and sizes to add visual interest to your globe.
- Consider using a drop of glue to seal the top of the ornament if it tends to come loose after assembly, ensuring your design stays intact.
- Choose a sunny spot for hanging your ornament to showcase the flowers beautifully as they catch the light.
Easy Variations
- Seasonal Themes: Change the flower colors based on the season soft pastels for spring or rich reds and golds for autumn.
- Size Options: Use different sizes of clear ornaments for a varied collection that looks great together.
- Textural Additions: Incorporate small twigs or decorative stones along with the moss for added texture.
- Personalized Touches: Decorate the outside of the ornament with paint or glitter to make it even more unique.
- Warning Decoration: Tie a small tag with a personal note or quote on the ribbon for a gift that your loved ones will cherish.
Making This Craft With Kids
This project is an excellent choice for crafting with children, as it encourages creativity and fine motor skills. Supervise during the flower arrangement step to help with the design process. Be sure to emphasize careful handling of the clear ornament to avoid breaking it. You may also find Colorful Cupcake Liner Witch Flower Bouquet Craft useful.
How to Display or Use It
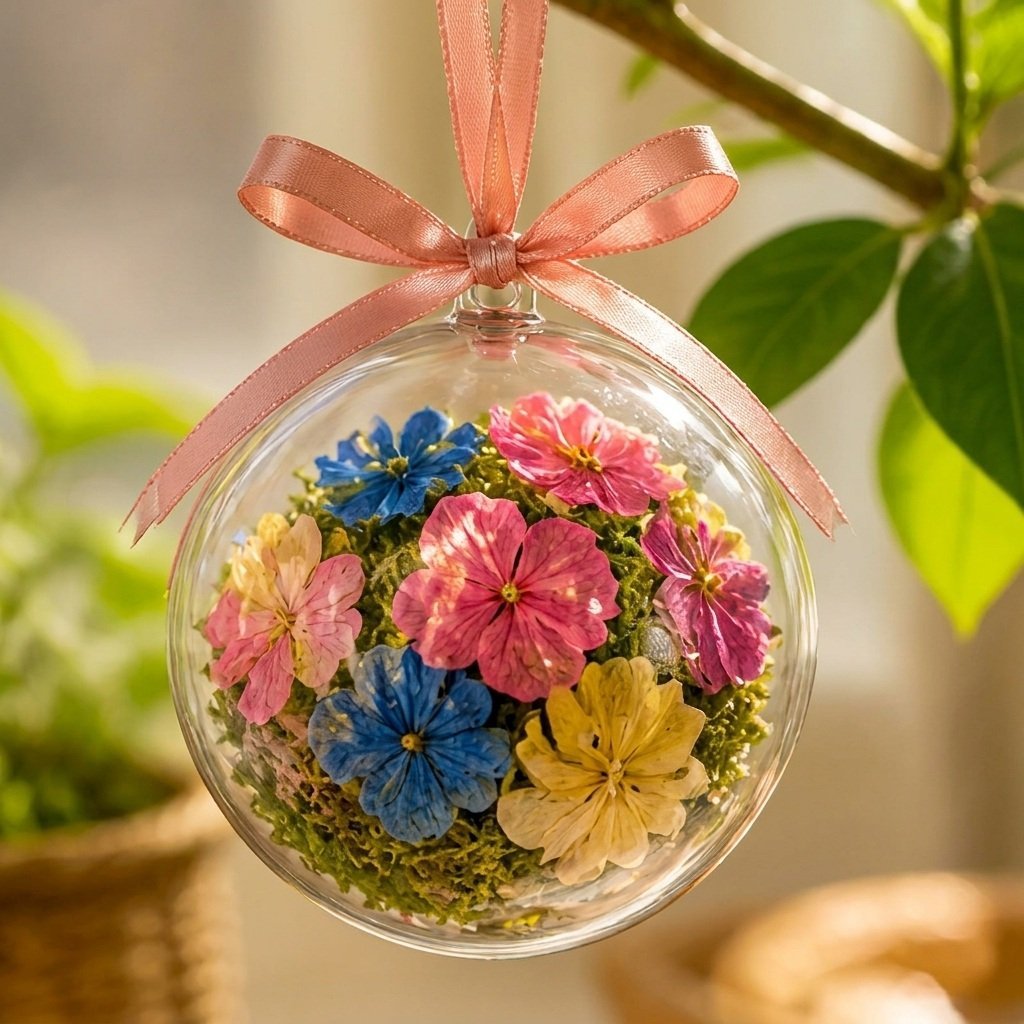
You can hang your finished flower globe ornament in a window to catch the sunlight or use it as a centerpiece for a table. Another great idea is to create a small gallery of different hanging ornaments for an eye-catching display. You may also find Cupcake Liner Dahlia Bouquet Diy Centerpiece Kids useful.
Frequently Asked Questions
Can I use fresh flowers instead of dried ones?
Fresh flowers may not last long in a globe ornament, so it’s best to stick with dried petals for longevity.
What if my ornament breaks?
If it does break, remember that you can use the same process to create a new one. Just be sure to handle the pieces carefully.
How do I clean the ornament after making it?
Simply wipe it gently with a dry cloth to remove any dust without damaging the flowers inside.
Can I make this craft as a group activity?
Absolutely! This craft works well for parties or classroom activities, allowing everyone to express their creativity.
How do I store my flower globe when not in use?
Keep it in a cool, dry place, ideally in its original packaging, to prevent damage.
Conclusion
Making a DIY hanging flower globe ornament is a delightful way to beautify your space while enjoying a fun crafting experience. If you’re interested in exploring more decorative ideas, check out the wedding hanging glass globe tealight holder for a stylish addition. You might also find inspiration in this hanging floral globe decoration guide. Happy crafting!
Print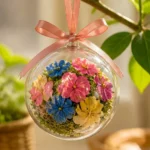
DIY Hanging Flower Globe Ornament
- Total Time: 10 minutes
- Makes: 1 ornament
Description
Create a charming DIY hanging flower globe ornament using dried flowers and moss, perfect for home decor or gifting.
Materials
- 1 clear plastic ornament (4 in)
- 10 dried flower petals
- 12 in ribbon
- Small preserved moss
Instructions
- Fill the clear plastic ornament with preserved moss, creating a soft base.
- Add dried flower petals, arranging them for a beautiful display.
- Close the ornament securely to keep everything in place.
- Tie the ribbon around the top of the ornament, creating a hanging loop.
Notes
Consider adding a drop of glue to seal the top of the ornament if it tends to come loose.