

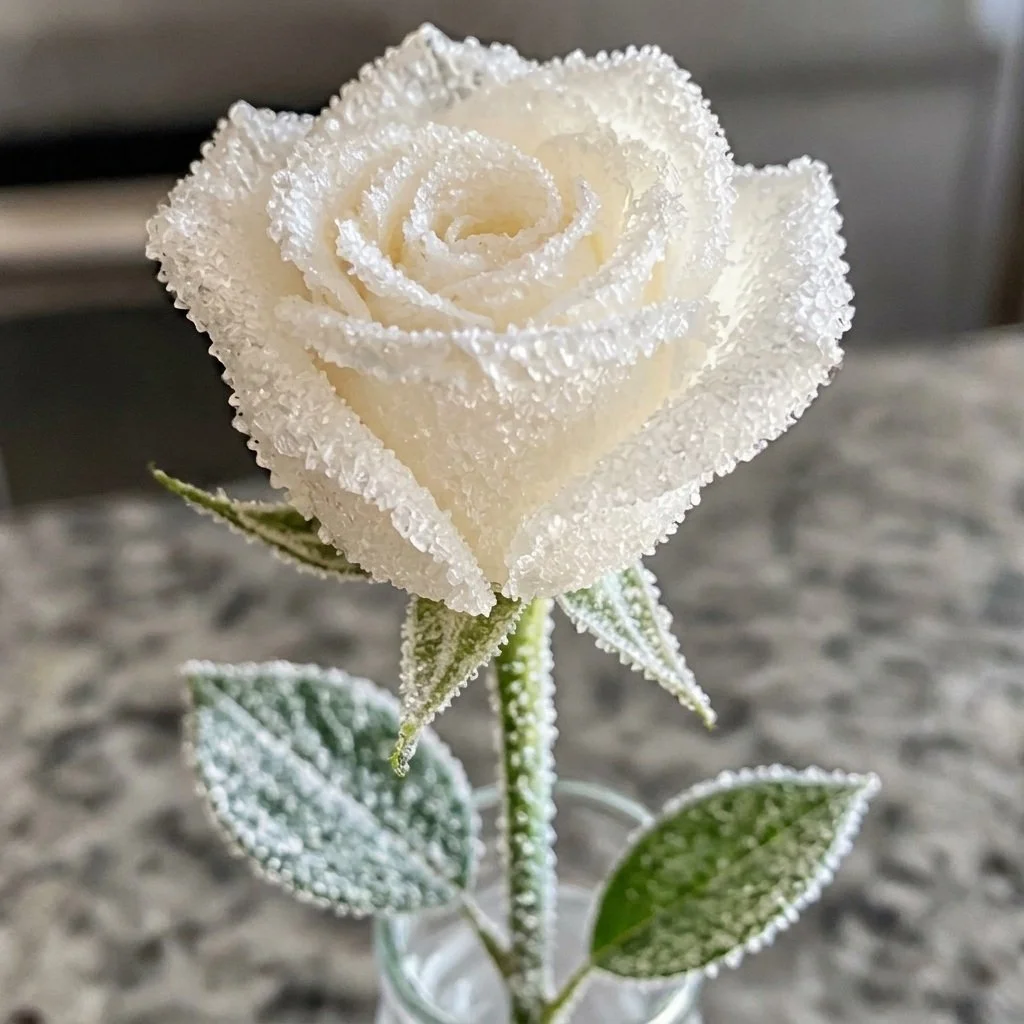
DIY Crystal Wedding Rose
Creating a stunning DIY crystal wedding rose can be an enjoyable and memorable project. Not only does it serve as a unique decoration, but it also provides an opportunity to engage in a fun crafting session that you can share with family and friends. This project is perfect for weddings or special events, adding an element of elegance to your decor. The process of crafting this rose teaches you about the beauty of transforming simple materials into something extraordinary, making it a rewarding experience. You may also find Cupcake Liner Dahlia Bouquet Diy Centerpiece Kids useful.
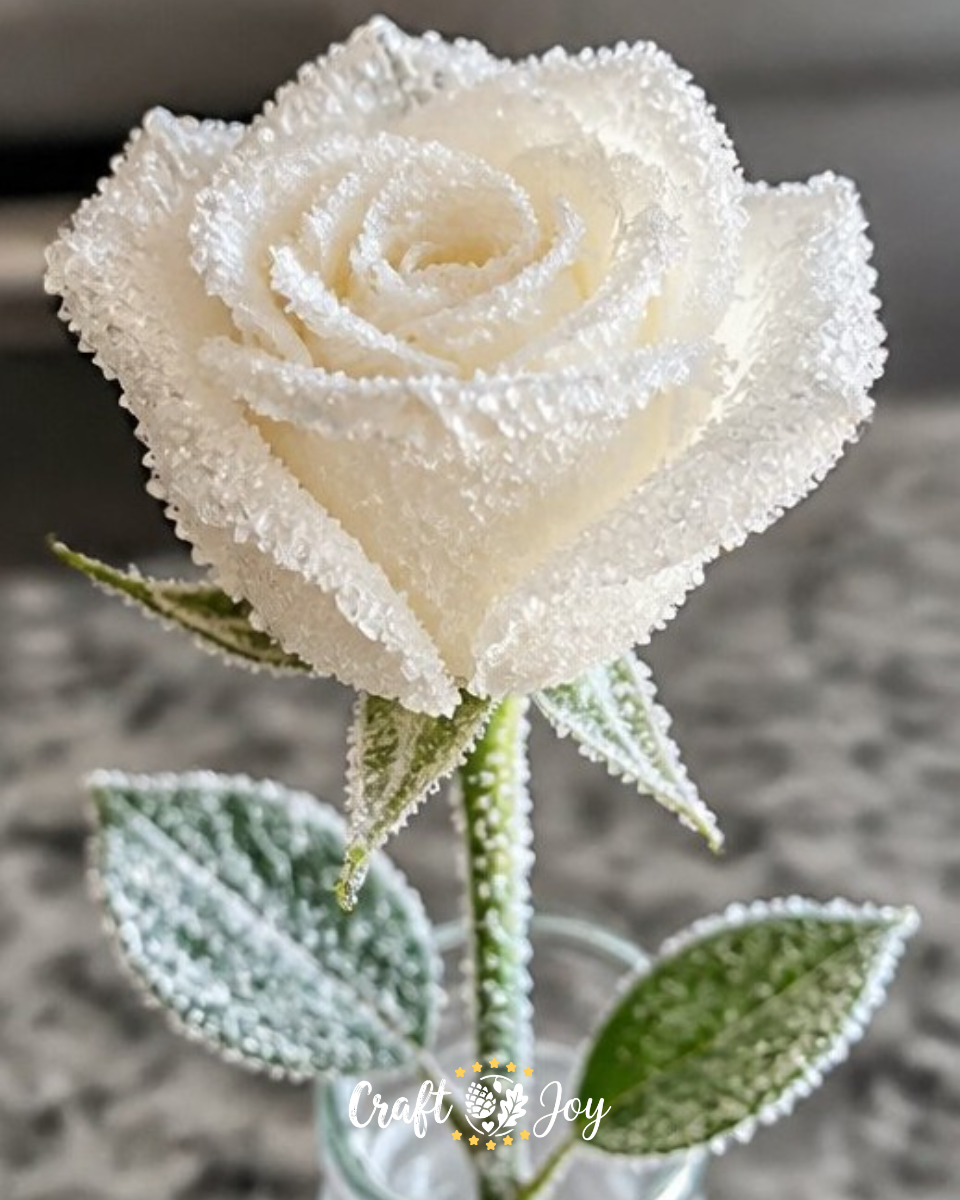
In this tutorial, you will learn how to create a beautiful crystal wedding rose using a fresh white rose, salt, and some everyday materials. This can be a wonderful addition to your wedding decor, or a charming gift for someone special. If you’re looking for more creative crafts to explore, consider trying this rainbow crystal butterfly suncatcher craft.
Why You’ll Enjoy This Project
- Simplicity: The materials are easy to find and the steps are straightforward.
- Creativity: You can customize the finished rose to match any color scheme or theme.
- Learning: It’s a great opportunity for children to learn about the crystallization process.
- Versatility: Use your crafted rose for decoration, gifts, or as a centerpiece.
- Affordable: The supplies are inexpensive and you can make multiple roses without breaking the bank.
You may also find Diy Rainbow Popsicle Stick Flower Wheel Craft useful.
Materials You’ll Need
- 1 fresh white rose with a stem
- 2 cups white granular salt
- 2 glass jars with lids
- 12 inches white cotton string
Make sure to choose a fresh rose that is fully intact for the best results. The white granular salt is essential for the crystallization process, so avoid using flavored or colored salts. You may also find Rainbow Monster Pencil Holders Diy Craft For Kids useful.
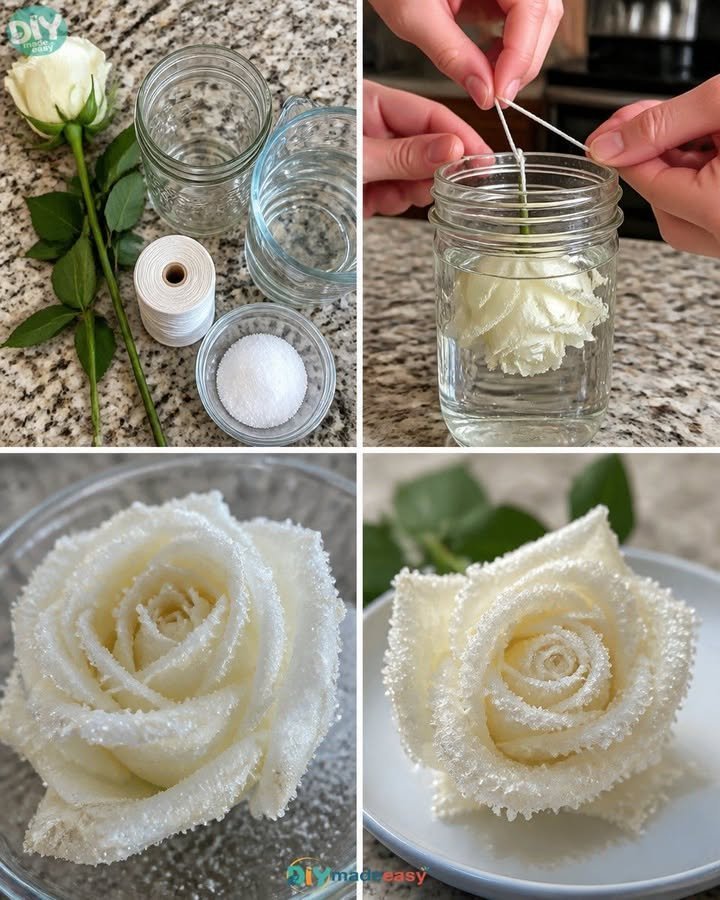
How to Make DIY Crystal Wedding Rose
- Begin by tying the string firmly around the stem of your fresh white rose. Ensure it’s secure so the rose doesn’t fall.
- Suspend the rose inside one of the glass jars by securing the other end of the string to the rim. This step is important for keeping the rose in the desired position.
- Carefully fill the jar with white granular salt until the rose is completely covered. Make sure the salt surrounds the rose evenly.
- Seal the jar tightly with its lid. This ensures that no moisture enters, which can affect the crystallization process.
- Place the jar in a cool, dry place and leave it alone for one week. Avoid moving the jar during this time to allow the crystals to form properly.
Helpful Tips
- To avoid spills while filling the jar with salt, try using a funnel.
- If you want a more vibrant color, consider using food coloring on your rose before suspending it in the jar.
- Placing the jar on a tray can help catch any salt that escapes during the filling process.
- For displaying your finished project, consider a simple stand or a glass dome to showcase its beauty.
- When crafting with kids, supervise them closely, especially when handling the glass jars.
Easy Variations
- Different Flowers: Try using different types of flowers such as daisies or tulips for a unique look.
- Colored Salt: Use colored salts or dye your salt for a fun twist.
- Smaller Roses: Create smaller versions of the rose using baby roses or petals for a varied display.
- Seasonal Decor: Use seasonal flowers and colors to create themed decorations throughout the year.
- Gift Presentation: Place the finished rose in a decorative box for a lovely gift.
Making This Craft With Kids
This project is suitable for older children, but younger kids will need supervision, especially around glass jars. Adults should assist with tying the string and sealing the jars to ensure safety and accuracy. You may also find Rainbow Tissue Paper Flower Lantern Diy For Kids useful.
How to Display or Use It
Once the flowers are finished, display them on a shelf, use them as table centerpieces, or gift them to friends and family. They also make delightful additions to wedding decor or special events.
Frequently Asked Questions
1. How long should I let the rose sit in the salt?
You should let it sit for one week to allow proper crystallization.
2. Can I use other types of flowers?
Yes, you can use other types of flowers, but make sure they are sturdy enough to withstand the salt.
3. What if the salt gets wet?
If the salt gets wet, it may not form crystals properly. Make sure to keep the jar sealed and in a dry place.
4. How can I clean up after filling the jars?
Use a dry cloth to wipe up any spilled salt and be cautious with the glass jars to prevent breakage.
5. Can I reuse the glass jars for other projects?
Yes, the glass jars can be cleaned and reused for various crafts, storage, or decorative purposes.
Conclusion
Crafting a DIY crystal wedding rose is a fantastic way to harness creativity, and its elegant appearance makes it perfect for any special occasion. If you’re looking for other projects to consider, you might enjoy exploring 9 pack rhinestone crystal wedding appliques for your decor or the DIY pink crystal rhinestone champagne flute kit for a touch of sophistication at your celebration. Happy crafting!
Print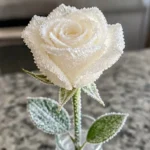
DIY Crystal Wedding Rose
- Total Time: 10095 minutes
- Makes: 1 rose
Description
Create a stunning DIY crystal wedding rose using simple materials for an elegant decoration.
Materials
- 1 fresh white rose with a stem
- 2 cups white granular salt
- 2 glass jars with lids
- 12 inches white cotton string
Instructions
- Begin by tying the string firmly around the stem of your fresh white rose.
- Suspend the rose inside one of the glass jars by securing the other end of the string to the rim.
- Carefully fill the jar with white granular salt until the rose is completely covered.
- Seal the jar tightly with its lid.
- Place the jar in a cool, dry place and leave it alone for one week.
Notes
Make sure to choose a fresh rose for the best results. Use a funnel to avoid spills when filling the jar with salt.