

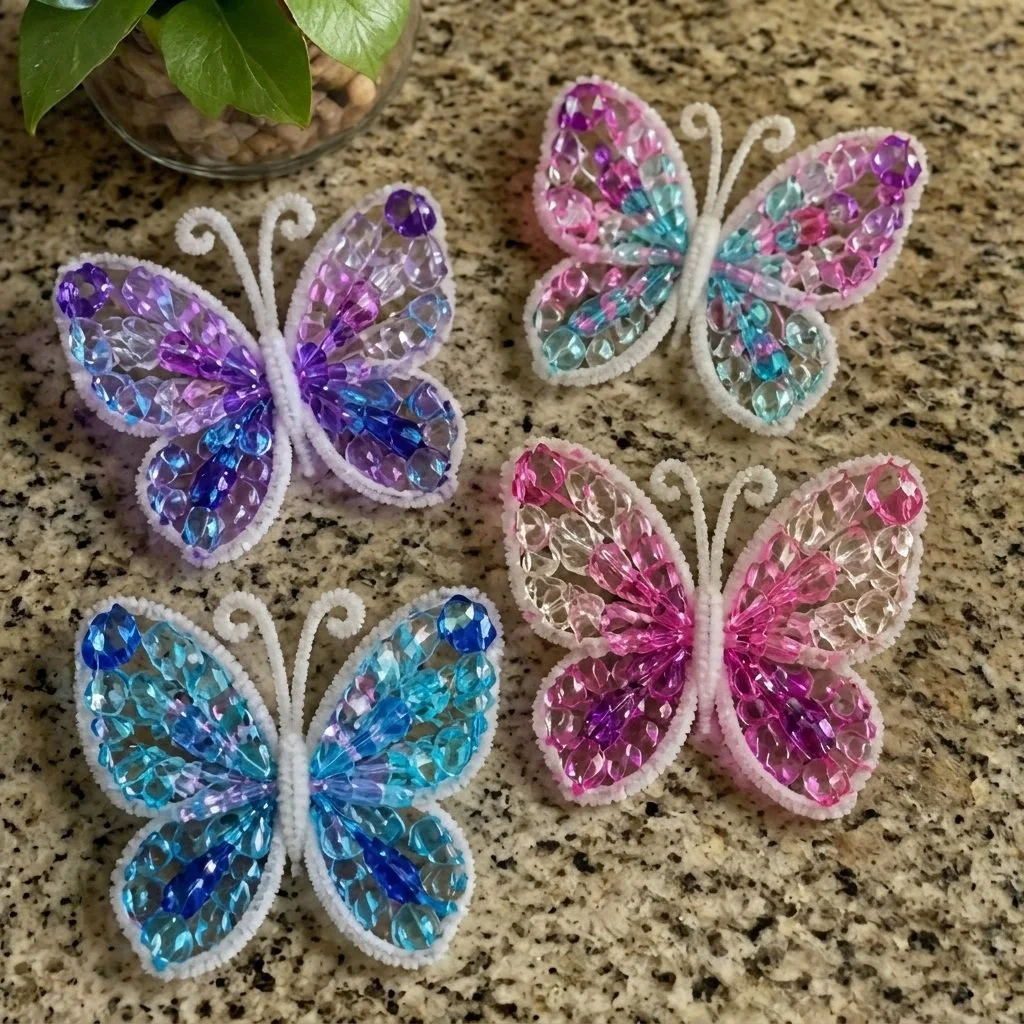
Crystal-Inspired Gem-Patterned Butterfly Wings
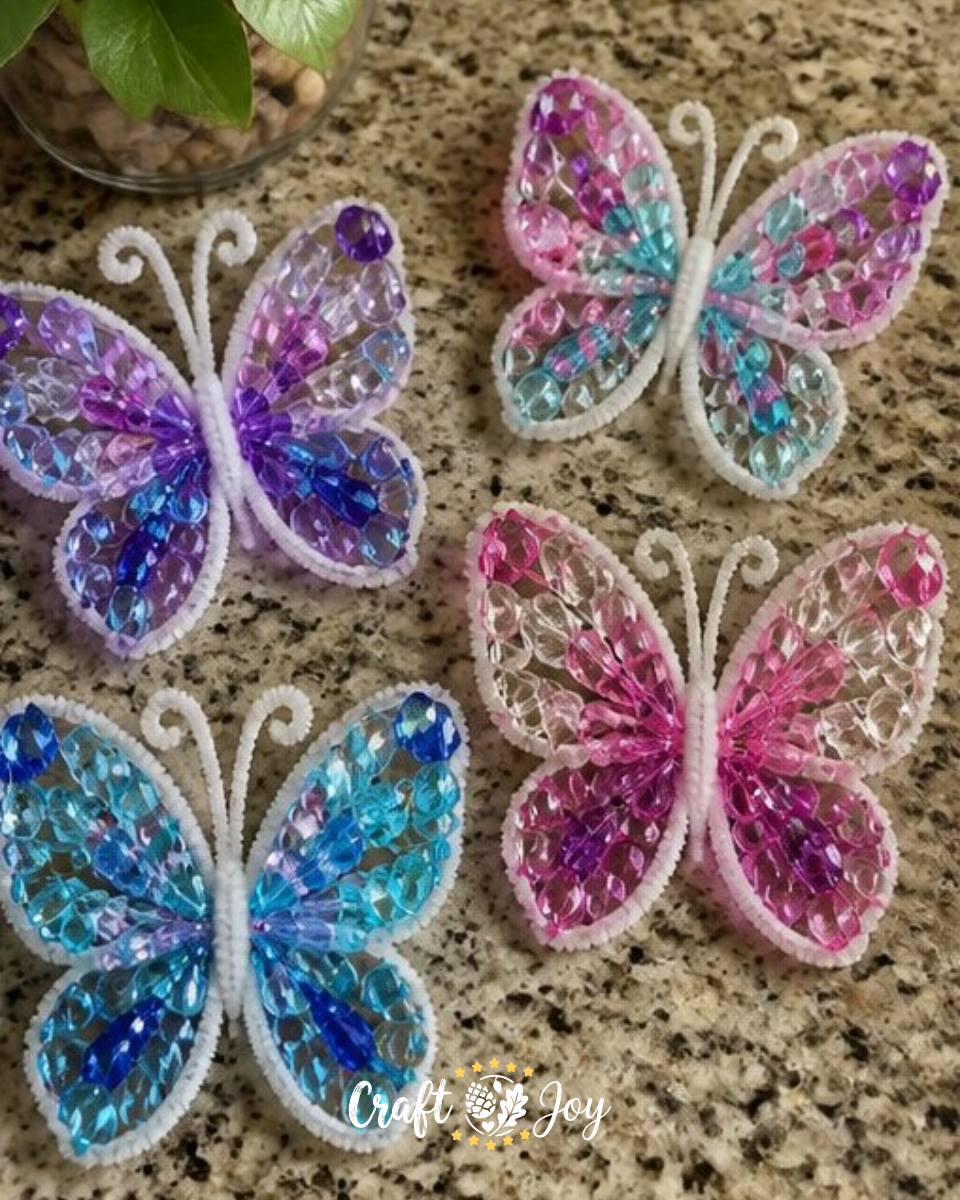
Creating crystal-inspired gem-patterned butterfly wings is a delightful craft project that sparkles with creativity. This fun activity allows you to make beautiful butterfly wings that shimmer in the light, perfect for hanging in a sunny window or adding a colorful touch to your garden. Not only is this craft simple, but it also encourages imaginative play and a connection to nature. You may also find Melted Crayon Rainbow Butterfly Suncatcher For Kids useful.
As you embark on this project, you’ll enjoy the hands-on experience of combining various ingredients to create something truly unique. Plus, if you’re looking for more engaging butterfly crafts, consider checking out this rainbow butterfly stakes using recycled bottles for a fun twist on your crafting day.
Why You’ll Enjoy This Project
- Visual Impact: The finished wings are vibrant and eye-catching, making them perfect for display.
- Engagement: Kids and adults alike can enjoy the process of mixing and creating, promoting bonding and creativity.
- Easy to Adapt: You can change the colors and patterns to suit your preferences or seasonal themes.
- Low Cost: The materials are affordable and easy to find around your kitchen or craft box.
You may also find Rainbow Crystal Butterfly Suncatcher Craft useful.
Materials You’ll Need
- 1 cup sugar
- 1/2 cup corn syrup
- 1/2 cup water
- Food coloring (your choice)
- Edible glitter (optional)
Using corn syrup helps create a shiny finish on your butterfly wings. If you’re looking for alternative colors, consider using natural food dyes from fruits or vegetables. You may also find Rainbow Cupcake Liner Butterfly Garden Craft useful.
How to Make Crystal-Inspired Gem-Patterned Butterfly Wings
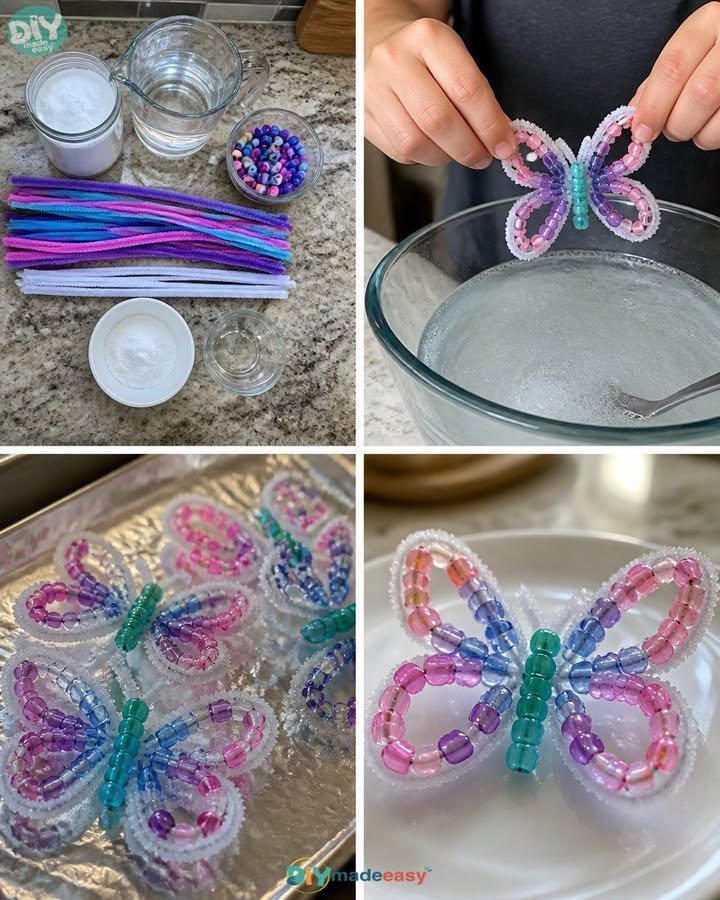
- In a saucepan, gently combine the sugar, corn syrup, and water over medium heat. Stir until everything is fully dissolved.
- Once dissolved, add in your chosen food coloring and edible glitter, mixing well until the color is vibrant and the glitter is evenly distributed.
- Take your butterfly wing frames and dip them into the colorful mixture, ensuring they are coated thoroughly.
- Carefully place the wet wings onto a foil-lined tray. Allow them to dry completely until they harden, which may take several hours.
Helpful Tips
To ensure the best results, here are a few tips:
- Mix Well: When adding food coloring and glitter, mix thoroughly to avoid clumps.
- Drying Space: Make sure the area where you place your wings to dry is well-ventilated to speed up the hardening process.
- Display Ideas: Once dried, consider hanging your butterfly wings in a window or on a tree branch outside.
- Help for Younger Crafters: Younger kids may need assistance with dipping the wings, so it’s a great time for adults to step in.
Easy Variations
Here are some fun variations you can explore:
- Color Themes: Create wings based on seasonal colors pastels for spring, vibrant hues for summer, warm tones for fall, and cool colors for winter.
- Size Adjustments: Experiment with different sizes of butterfly wing frames larger wings can create a more dramatic effect.
- Glitter Mixes: Try different types of edible glitter for varying sparkle. You can even mix colors for a unique look.
- Add Patterns: Use stencils to create fun patterns on the wings for added creativity.
Making This Craft With Kids
This project is perfect for children, providing a great way to explore colors and textures. However, adult supervision may be needed when working with the saucepan and while handling the hot mixture. Encourage children to express their creativity through coloring choices and patterns!
How to Display or Use It
Once your butterfly wings are dry, you can display them in various ways:
- Window Decorations: Hang them in sunny spots to catch the light and add a colorful touch to your home.
- Garden Art: Place them in your garden or flower pots to attract attention and bring whimsy to your outdoor spaces.
- Gift Items: Use these butterfly wings as thoughtful gifts for friends and family who appreciate handmade crafts.
Frequently Asked Questions
1. How long do the butterfly wings take to dry?
The wings may take several hours to dry completely, so it’s best to leave them overnight for optimal results.
2. Can I use regular glitter instead of edible glitter?
While regular glitter can be used for displays, it is not safe for edible items or if the wings will be handled by small children.
3. What type of food coloring works best?
Any liquid food coloring works well, but gel food coloring might give a more vibrant hue.
4. Can I use other items for the wing frames?
Yes! You can use sturdy cardboard or cutout shapes from plastic to create the frames for the wings.
Conclusion
Making crystal-inspired gem-patterned butterfly wings is not only a creative outlet but also a wonderful way to bring a bit of sparkle into your home. For additional fun and unique ideas, consider exploring the DIY Tooth Gem Kit or check out the charming hand-drawn watercolor butterfly patterns for more crafting inspiration. Let your imagination take flight!
Print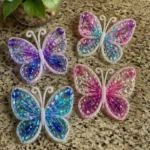
Crystal-Inspired Gem-Patterned Butterfly Wings
- Total Time: 195 minutes
- Makes: Multiple wings depending on frame size
Description
Create beautiful and vibrant butterfly wings using simple ingredients that shimmer with creativity, perfect for display in windows or gardens.
Materials
- 1 cup sugar
- 1/2 cup corn syrup
- 1/2 cup water
- Food coloring (your choice)
- Edible glitter (optional)
Instructions
- Combine the sugar, corn syrup, and water in a saucepan over medium heat until dissolved.
- Add your chosen food coloring and edible glitter, mixing until vibrant.
- Dip the butterfly wing frames into the mixture, ensuring thorough coating.
- Place the wet wings onto a foil-lined tray and allow them to dry until hard, which may take several hours.
Notes
Ensure the drying area is well-ventilated to speed up the hardening process. Adult supervision is advised for younger crafters when handling hot mixtures.