

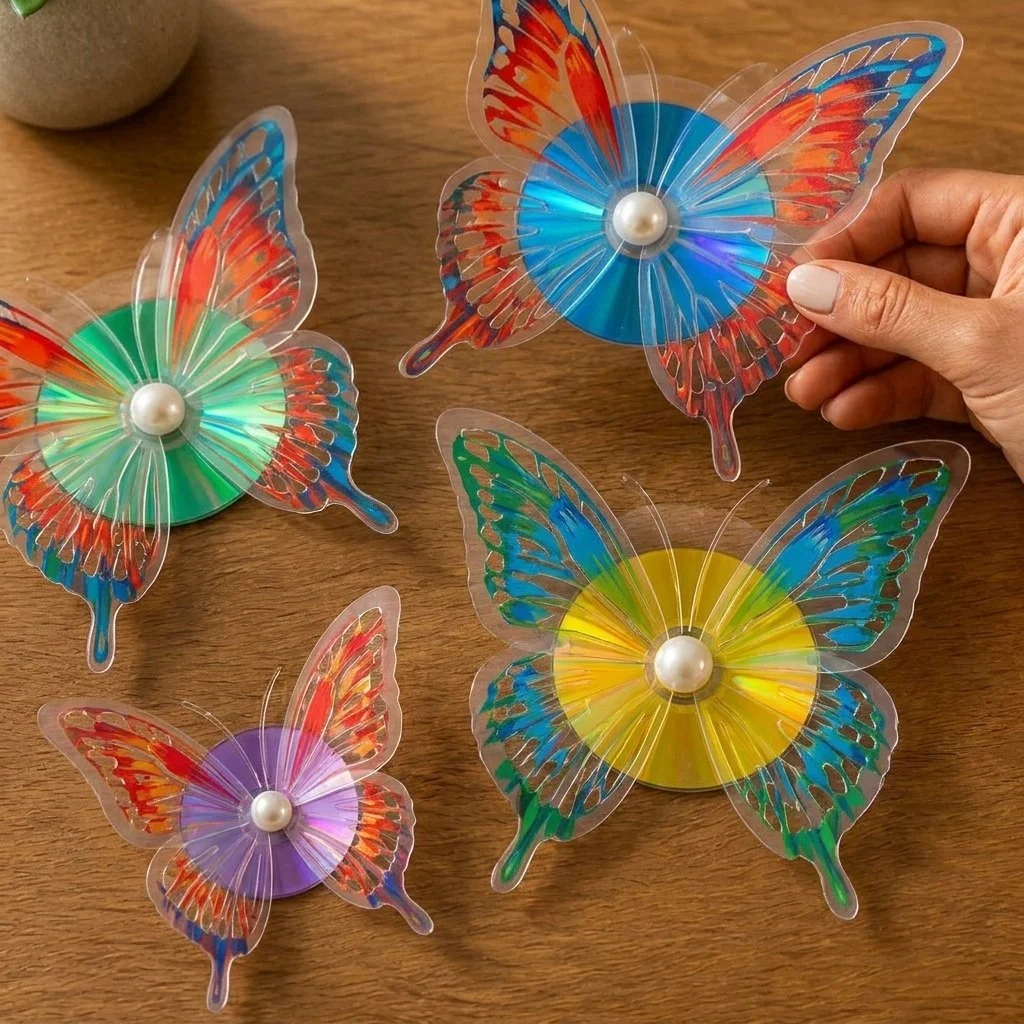
Butterfly Wall Art – Dreamy Home Decor
Creating a butterfly wall art piece is a fantastic way to bring a touch of whimsy and color into your home. Not only is this project simple and budget-friendly, but it also allows you to repurpose old materials, making it an environmentally conscious craft choice. As you make this delightful decor, you’ll enjoy turning everyday items into vibrant art that can brighten up any space. You may also find Melted Crayon Rainbow Butterfly Suncatcher For Kids useful.
This project makes use of old CDs or DVDs, heavy-duty translucent vellum paper, and some basic crafting supplies to create stunning butterfly shapes that can hang beautifully on your walls. You may also find Melted Crayon Rainbow Heart Suncatcher For Kids useful.
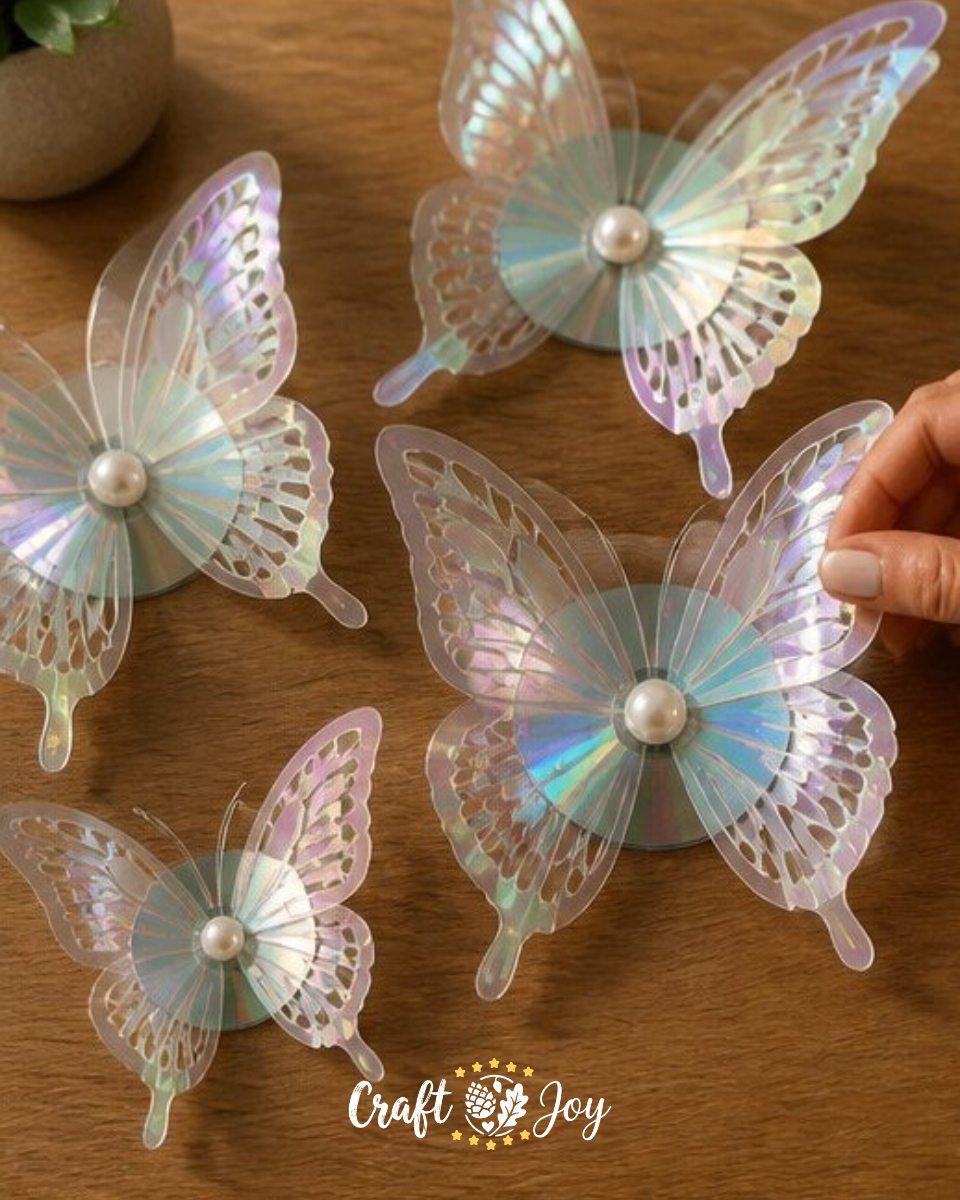
You may also find Rainbow Butterfly Stakes Recycled Bottles useful.
Why You’ll Enjoy This Project
- Repurposing Materials: You’ll give old CDs a new life rather than tossing them out.
- Easy to Create: The steps are straightforward, making it suitable even for beginners.
- Personalized Decor: You can choose colors and designs that match your decor style.
- Fun for Kids: Involving children can be a wonderful bonding experience, fostering their creativity.
Materials You’ll Need
- 4 old CDs or DVDs
- 1 sheet of heavy-duty translucent vellum paper
- 1 bottle of clear-drying craft glue
- 10 small white pearl embellishments
- 1 roll of thin craft wire
- 1 butterfly paper template
You can find heavy-duty translucent vellum paper at most craft stores, ensuring a sturdy yet delicate finish for your butterflies. You may also find Rainbow Crystal Butterfly Suncatcher Craft useful.
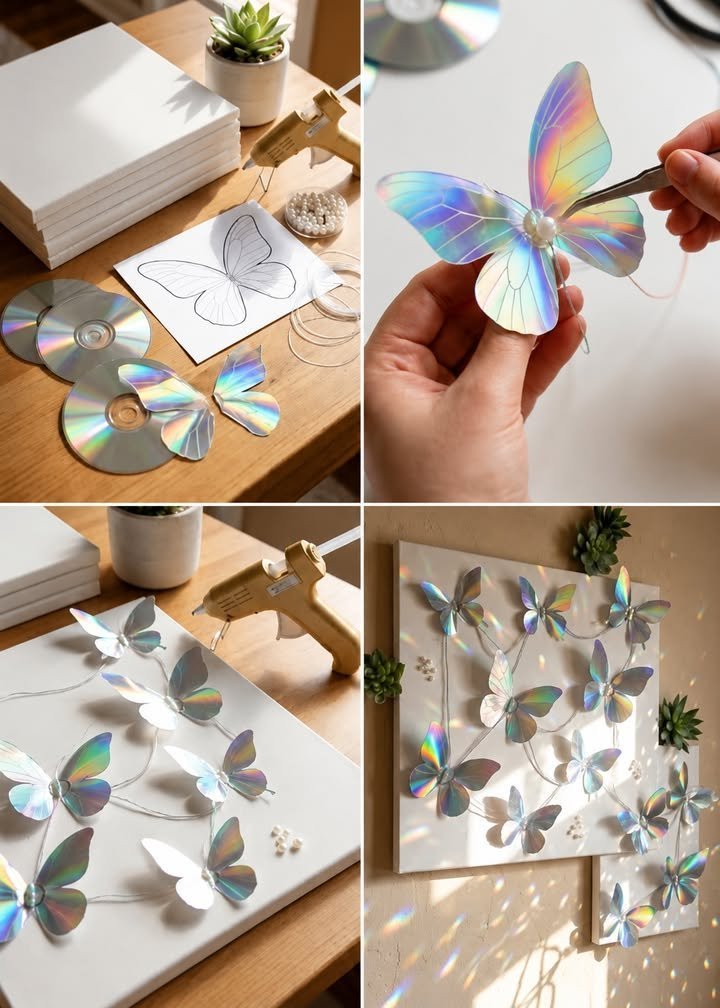
How to Make Butterfly Wall Art – Dreamy Home Decor
- Trace the Template: Begin by tracing the butterfly wing template onto the vellum paper and cutting out the shapes carefully.
- Prepare the CD Bodies: Clean the CDs to remove any residue or labels, ensuring a clear surface for assembling.
- Attach the Wings: Glue the CDs to the center of the vellum wings to create the butterfly body. Use a clear-drying craft glue for best results.
- Add Embellishments: Attach a pearl embellishment to the center of each CD using a small dab of glue for added charm.
- Shape the Wings: Gently shape the wings slightly by bending them to create dimension.
- Dry Completely: Allow everything to dry completely before mounting on your wall to prevent warping.
Helpful Tips
- Use Weights: While the glue dries, consider placing a weight on top to keep the wings flat and aligned.
- Display Options: Hang the butterflies at varying heights for a whimsical look.
- Custom Colors: Let your children paint the wings or use colorful markers on the vellum before gluing for a personal touch.
Easy Variations
- Seasonal Butterflies: Create butterflies in seasonal colors, such as pastels for spring or warm tones for fall.
- Patterned Wings: Use printed paper instead of vellum for patterned wings.
- Larger Art Pieces: Scale up the butterfly template for a more dramatic wall display.
- Mixed Media: Incorporate other materials like glitter or sequins for a sparkly effect.
- RSVPed Butterflies: Craft these butterflies for outdoor decor ideas, using weather-resistant materials.
Making This Craft With Kids
This project is a great way to engage children in crafting! Make sure to supervise them when using scissors and glue. Older children can handle most steps, while younger ones may need help with cutting and assembly. You may also find Rainbow Cupcake Liner Butterfly Garden Craft useful.
How to Display or Use It
After your butterfly wall art is finished, consider the best ways to show it off. You can mount them on the wall using small tacky putty or hang them with fishing line for an airy effect. They make great decorations for a child’s room or a fun family gathering area.
Frequently Asked Questions
1. Can I use other types of paper instead of vellum?
While vellum is translucent and provides a nice effect, you can use any decorative paper you prefer. Just make sure it is sturdy enough to hold the design.
2. How do I clean the CDs before using them?
Wash the CDs with a mild soap and water solution, then dry them thoroughly to avoid any moisture affecting the glue.
3. Can I paint the CDs?
Yes! You can paint the CDs before adding the wings to give your butterflies a more personalized look.
4. What if I don’t have a butterfly template?
You can easily find printable butterfly wing templates online or draw your own!
Conclusion
Creating butterfly wall art is not only a wonderful way to enhance your home decor but also an excellent opportunity to repurpose materials creatively. For more inspiration, check out this Floral Butterfly Face Canvas Painting – Dreamy Surreal Wall Art Gift. Additionally, you might find the Artilady Dream Catcher for Girls, Butterfly Small Suncatcher Room to be a charming decorative choice for your child’s room!
Print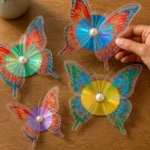
Butterfly Wall Art – Dreamy Home Decor
- Total Time: 45 minutes
- Makes: 1 wall art piece
Description
Create stunning butterfly wall art with repurposed materials for a whimsical touch in your home.
Materials
- 4 old CDs or DVDs
- 1 sheet of heavy-duty translucent vellum paper
- 1 bottle of clear-drying craft glue
- 10 small white pearl embellishments
- 1 roll of thin craft wire
- 1 butterfly paper template
Instructions
- Trace the butterfly wing template onto the vellum paper and cut out the shapes carefully.
- Prepare the CDs by cleaning them to remove any residue or labels.
- Attach the CDs to the center of the vellum wings using clear-drying craft glue.
- Add a pearl embellishment to the center of each CD with a small dab of glue.
- Shape the wings by gently bending them to create dimension.
- Dry everything completely before mounting on your wall.
Notes
Use weights to keep wings flat while drying. Display at varying heights for a whimsical look.