

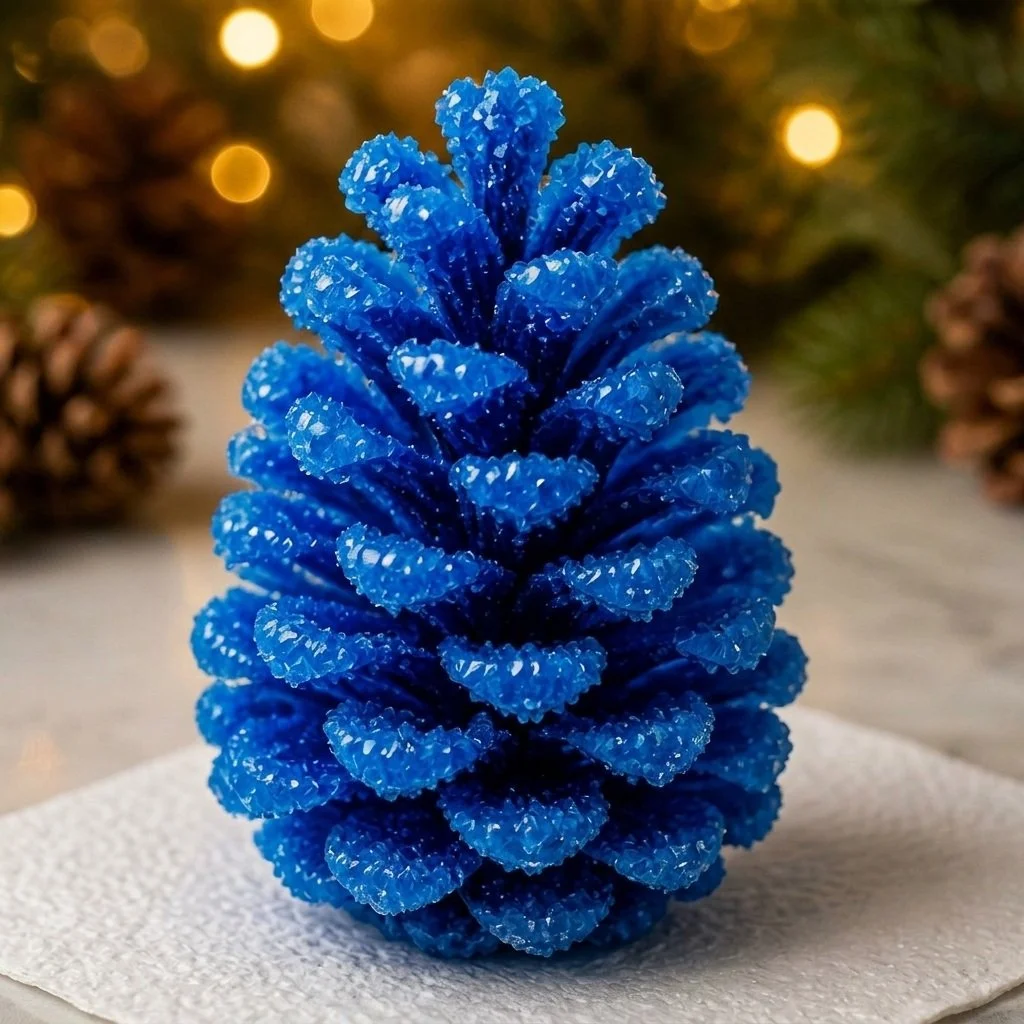
DIY Blue Crystal Pinecone Craft Tutorial
Creating beautiful crafts from natural materials can be a rewarding experience for families and crafters alike. The DIY Blue Crystal Pinecone Craft is not only visually stunning, but it also offers a fantastic way to engage with nature and explore science through the formation of crystals. By using simple materials, you can create a decorative piece that adds a touch of elegance to your home. Plus, you can inspire your kids by demonstrating how everyday items can transform into artistic creations! You may also find Diy Rainbow Popsicle Stick Flower Wheel Craft useful.
In this tutorial, we’ll guide you through the steps to make your own blue crystal pinecone, a fun project for both adults and children. This craft can be made easily at home and can serve as a thoughtful gift or a charming decoration for any season. You may also find Rainbow Crystal Butterfly Suncatcher Craft useful.
Why You’ll Enjoy This Project
- Educational Experience: Learn about the crystallization process while having fun. This craft serves as a practical science lesson!
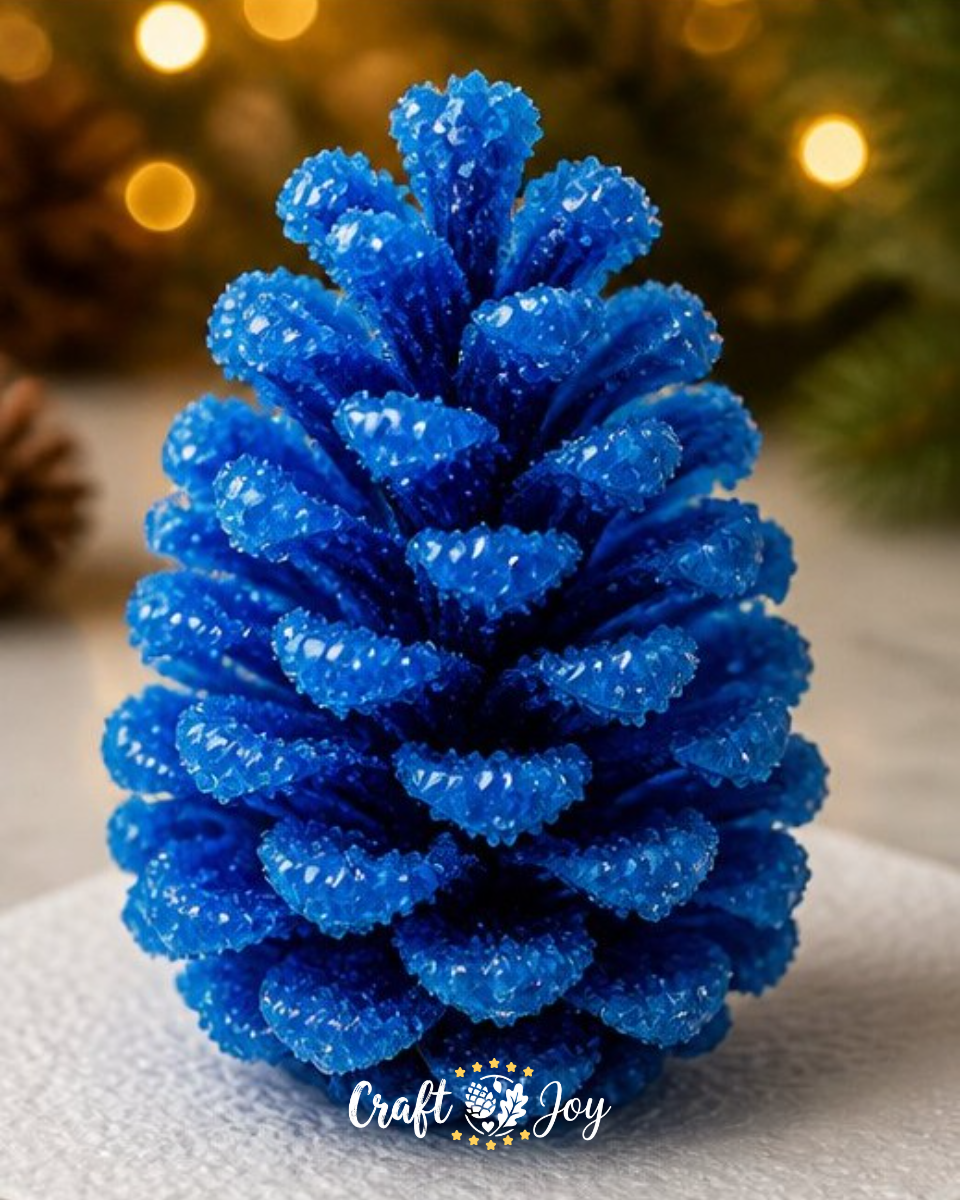
- Nature-Inspired Decor: The finished product looks beautiful and can be displayed in various ways around your home.
- Easy to Make: With minimal materials and straightforward instructions, this project is accessible for crafters of all skill levels.
- Family Bonding: Perfect for a weekend project with kids or grandkids, fostering creativity and collaboration.
- Customizable Colors: While this tutorial focuses on blue crystals, you can experiment with different colors to match your decor or personal taste.
You may also find Rainbow Monster Pencil Holders Diy Craft For Kids useful.
Materials You’ll Need
- 1 natural pinecone, clean and dry
- 1 wide-mouth mason jar or heat-safe glass jar
- 3 cups boiling water
- 9 to 12 tbsp Borax powder
- Blue liquid food coloring
- Cotton twine
- Pencil, skewer, or craft stick
- Spoon for stirring
- Paper towels
Be sure to select a clean, dry pinecone, as this will help the crystals form more effectively. You can also substitute the colored food dye with other colors to create your own variations! You may also find Colorful Cupcake Liner Witch Flower Bouquet Craft useful.
How to Make DIY Blue Crystal Pinecone Craft Tutorial
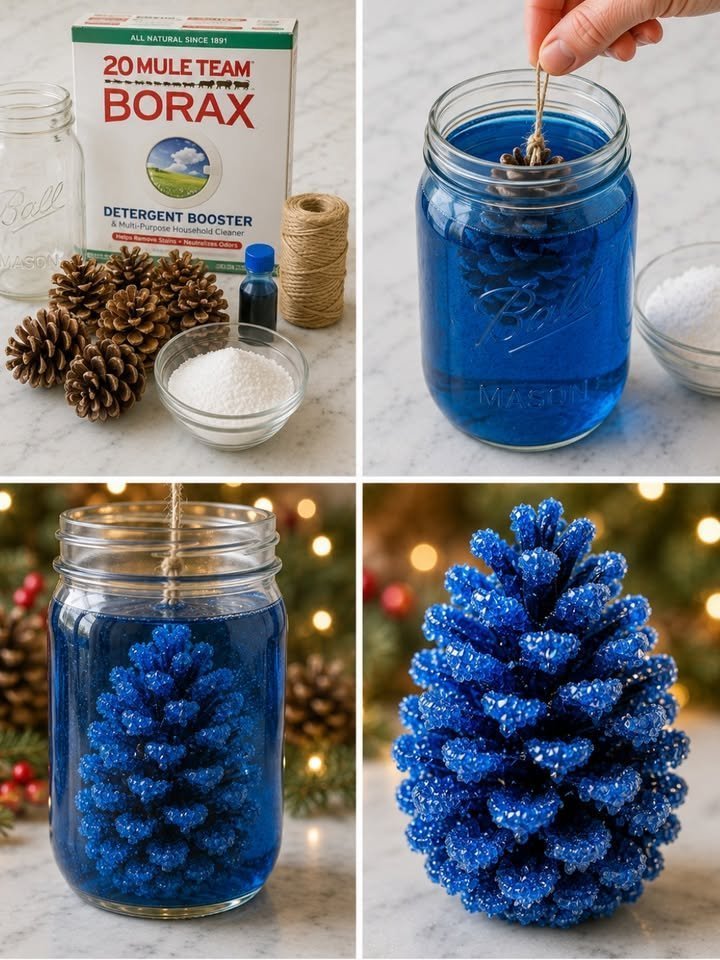
Tie a piece of twine around the top of the pinecone and secure the other end to the middle of a craft stick or pencil. This will help you suspend the pinecone in the jar without it touching the bottom. You may also find Cupcake Liner Dahlia Bouquet Diy Centerpiece Kids useful.
Stir the Borax powder and several drops of blue food coloring into the boiling water until the powder is completely dissolved. Be sure to mix thoroughly to avoid any clumps.
Suspend the pinecone into the jar by resting the craft stick across the rim, ensuring the pinecone is fully submerged without touching the bottom of the jar.
Allow the pinecone to soak undisturbed for at least 6 to 8 hours or overnight until the crystals have formed. You may notice some beautiful blue crystals starting to grow on the pinecone.
Remove the pinecone carefully and place it on paper towels to air dry completely before displaying. This final touch will ensure your pinecone looks its best!
Helpful Tips
- Make sure the jar is stable while the pinecone is submerged; a quick nudge could disturb the formation of the crystals.
- If you’re working with kids, supervise the use of boiling water to ensure safety.
- Consider displaying your finished pinecone in a place where it can catch the light, enhancing the crystal effect.
Easy Variations
- Different Colors: Experiment with various food coloring to create multi-colored pinecones.
- Glitter Additions: Add a sprinkle of edible glitter before the pinecone dries for a sparkling effect.
- Themed Decor: For seasonal decor, use fall colors like orange or deep red, or winter colors like silver and white.
- Scaled Sizes: Use smaller pinecones for desktop decorations or larger ones for a centerpiece.
Making This Craft With Kids
This project is ideal for older children who can safely handle boiling water. Adults should supervise the boiling process, while kids can help with other steps like tying the twine and stirring the solution. This craft fosters not only creativity but also an interest in science!
How to Display or Use It
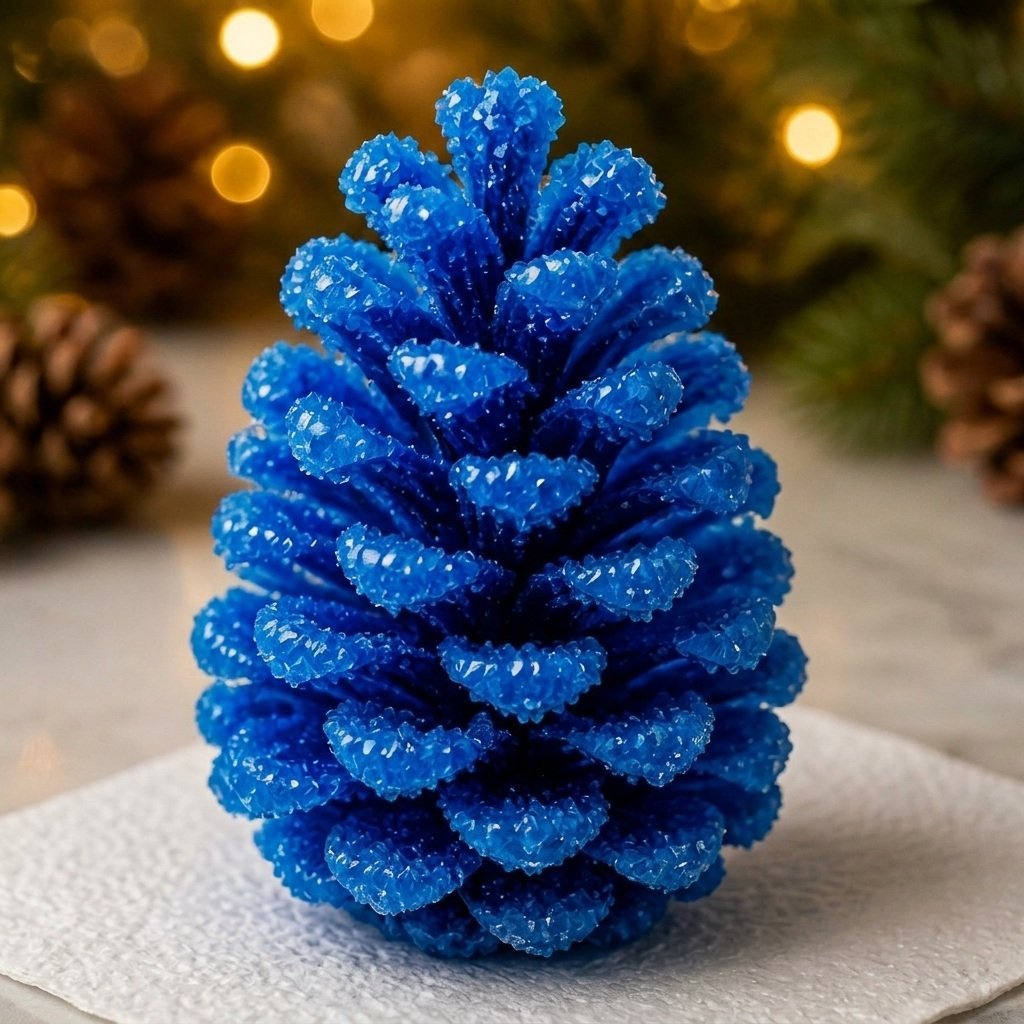
Once your blue crystal pinecone is completely dry, consider placing it in a decorative bowl, or use it as a unique part of a centerpiece. You can also tie a string around it and hang it as a lovely ornament. These pinecones make thoughtful gifts, showcasing the beauty of handmade crafts.
Frequently Asked Questions
1. How long will the crystals last on the pinecone?
The crystals can last for several weeks if kept dry and away from moisture.
2. Can I use other types of food coloring?
Yes! You can use any color of liquid food coloring to create different effects.
3. What should I do if the crystals don’t form?
Ensure that the Borax solution is saturated and that the pinecone was fully submerged. If necessary, try dissolving more Borax in the boiling water.
4. Is this project safe for young children?
While the preparation can be fun for kids, the handling of boiling water should be performed by an adult.
5. Can I reuse the Borax solution for another pinecone?
It’s best to use a fresh solution for better crystal formation, as the first batch may lose some effectiveness.
Conclusion
Creating a DIY Blue Crystal Pinecone can be a delightful and enriching experience for both kids and adults. As you explore more pinecone projects, consider checking out these ideas: How to Make Your Own Pinecone Fire Starters and Pine Cone Crafts – Secrets To Painting Pinecones. Happy crafting!
Print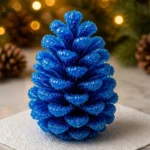
DIY Blue Crystal Pinecone Craft
- Total Time: 8 hours
- Makes: 1 decorative pinecone
Description
Transform a simple pinecone into a stunning blue crystal decor piece using natural materials and a fun crystallization process.
Materials
- 1 natural pinecone, clean and dry
- 1 wide-mouth mason jar or heat-safe glass jar
- 3 cups boiling water
- 9 to 12 tbsp Borax powder
- Blue liquid food coloring
- Cotton twine
- Pencil, skewer, or craft stick
- Spoon for stirring
- Paper towels
Instructions
- Tie a piece of twine around the top of the pinecone and secure the other end to the middle of a craft stick or pencil.
- Stir the Borax powder and several drops of blue food coloring into the boiling water until dissolved.
- Suspend the pinecone into the jar by resting the craft stick across the rim.
- Allow the pinecone to soak undisturbed for at least 6 to 8 hours or overnight until crystals have formed.
- Remove the pinecone carefully and place it on paper towels to air dry completely.
Notes
Ensure the jar is stable while the pinecone is submerged. Supervise kids with boiling water.