

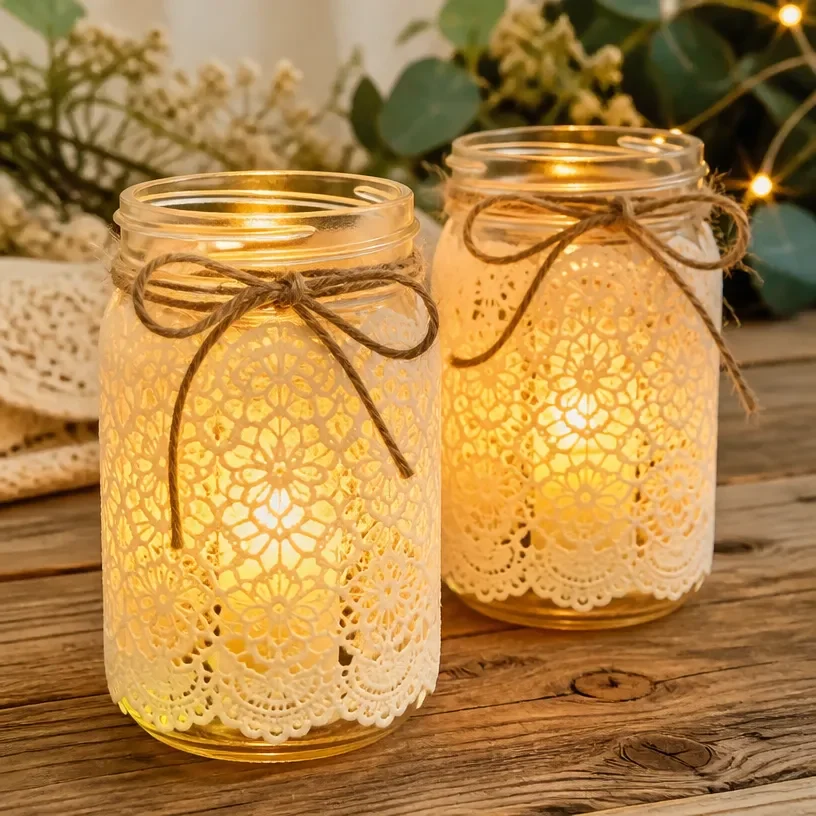
Firefly Lantern with Vintage Lace Detail
Creating a charming firefly lantern with vintage lace is a delightful craft that brings a touch of whimsy to any space. This project not only allows you to repurpose materials but also to express creativity, making it perfect for families and beginner crafters. You may also find Bird Feeder Vintage Teacup Garden Decor useful.
By using simple, accessible items and a bit of imagination, you can create a lantern that beautifully lights up your surroundings. This captivating firefly lantern will not only serve as enchanting decor but also as a fun project for everyone involved. You may also find Diy Dried Flower Lantern Jar That Glows Beautifully useful.
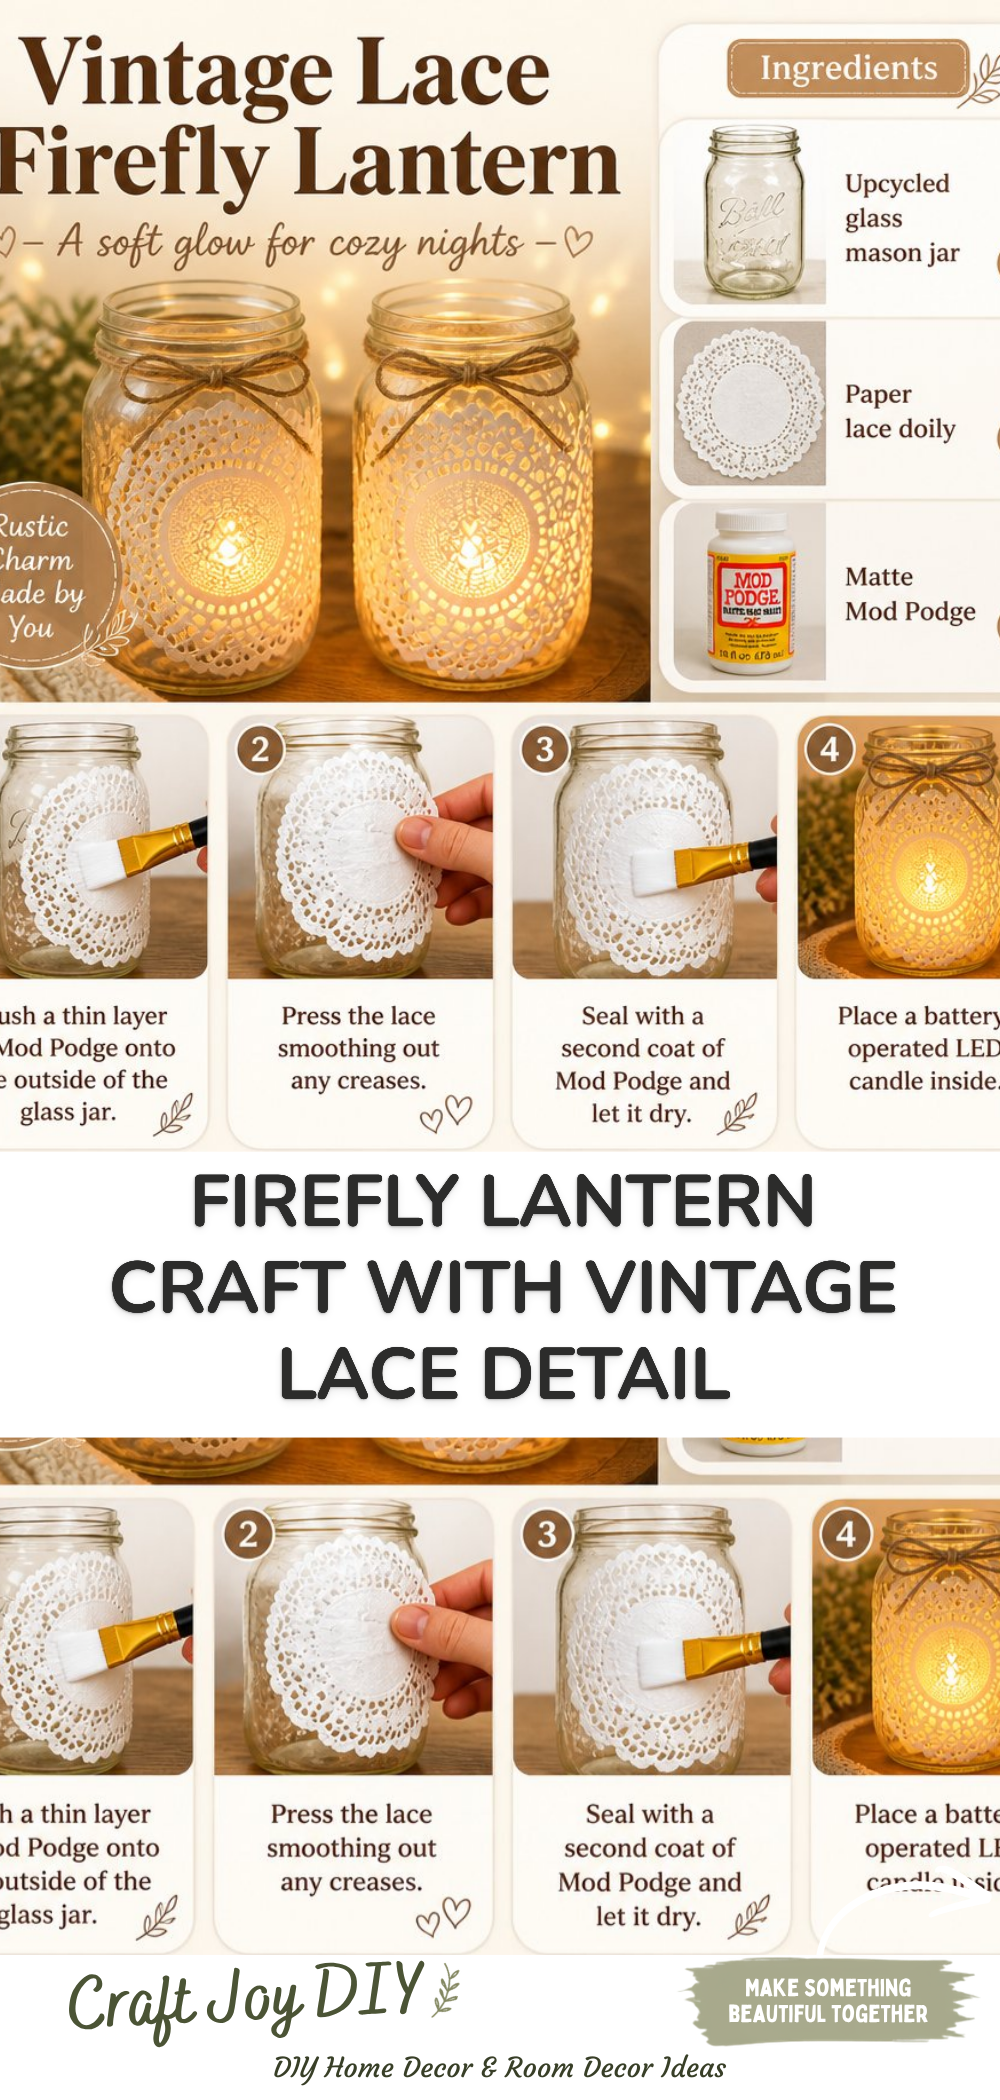
You may also find Diy Enchanted Jar Lanterns Garden Decor useful.
Why You’ll Enjoy This Project
- Creative Expression: The combination of lace and craft materials allows for unique personalization.
- Eco-Friendly: By repurposing items you already have at home, you’re making a sustainable choice.
- Fun for All Ages: This project is suitable for both adults and children, making it a great family activity.
- Versatile Decor: The finished lantern can be used indoors or outdoors to enhance your space.
Materials You’ll Need
- Glass jar with lid (or a similar container)
- Vintage lace (or lace ribbon)
- Battery-operated fairy lights
- Craft glue
- Scissors
- Decorative twine (optional)
- Paintbrush (for applying glue)
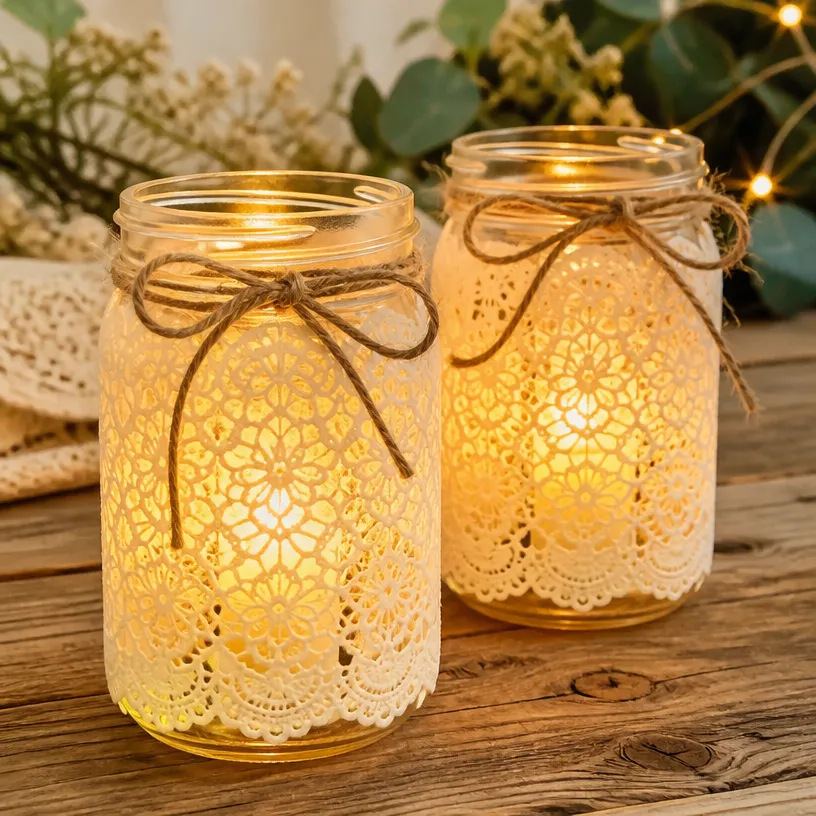
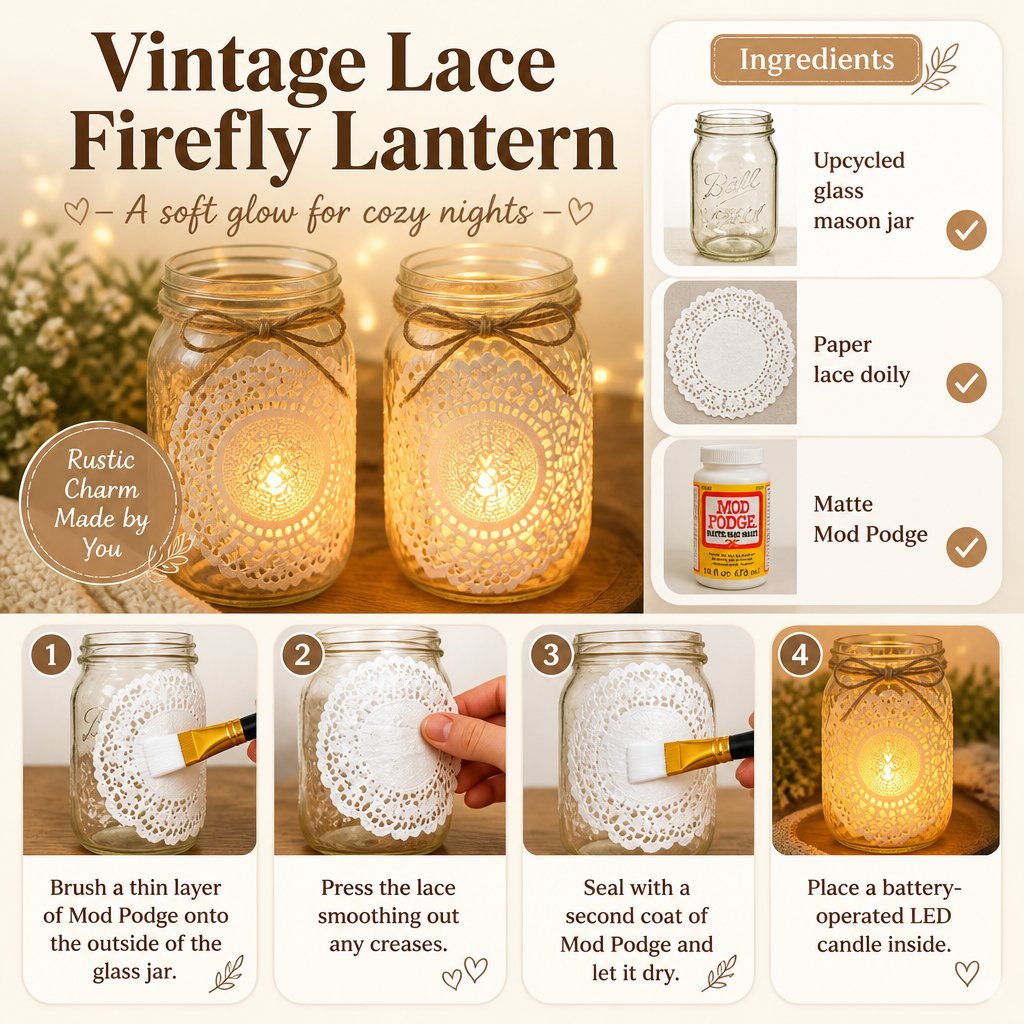
How to Make Firefly Lantern with Vintage Lace Detail
Prepare the Jar: Start with a clean glass jar. Remove any labels and clean it thoroughly. You may also find Diy Milk Jug Lanterns Stained Glass Look useful.
Cut the Lace: Measure and cut the lace to fit around the jar. Make sure it wraps around the jar without any overlaps. You may also find Glow In The Dark Rainbow Monster Lantern Diy Kids useful.
Apply Glue: Use a paintbrush to apply craft glue evenly on the jar’s surface where the lace will attach.
Attach the Lace: Carefully place the cut lace on the glued area, pressing gently to secure it. Allow it to dry according to the glue’s instructions.
Add Fairy Lights: Once the lace is secured, place the battery-operated fairy lights inside the jar, arranging them to create an appealing effect.
Seal the Jar: If your jar has a lid, you may decorate it with additional lace or twine for extra flair.
Helpful Tips
For Cleaner Edges: When cutting the lace, make sure to use sharp scissors for a clean cut.
Supervision for Kids: If completing this project with children, assist them with applying glue and handling scissors to ensure safety.
Placement Ideas: Consider placing the lantern on a windowsill or hanging it from a tree branch for outdoor gatherings.
Easy Variations
- Seasonal Decor: Use lace in different colors according to the season pastels for spring, rich tones for autumn.
- Size Adjustments: Experiment with different jar sizes to create a variety of lanterns.
- Theme Variations: Incorporate themed decorations (like holly for Christmas or flowers for summer) to fit your style.
- Alternative Light Sources: For a unique look, try using LED tealights instead of fairy lights.
Making This Craft With Kids
This project is ideal for children under adult supervision. Younger children can assist in choosing the lace colors and placing lights, while adults can handle the more delicate tasks such as cutting and gluing. Encourage creativity by letting kids design their lanterns in their own style.
How to Display or Use It
Once complete, display your firefly lantern in various ways. Hang it in an outdoor space during summer evenings or place it on a shelf indoors. It makes a heartfelt gift for friends and family or a lovely centerpiece for a gathering.
Frequently Asked Questions
Can I use any type of jar?
Yes, any glass jar or container can be used for this project. Just ensure it’s clean.
What if I don’t have vintage lace?
You can substitute it with any fabric that provides a similar aesthetic, like sheer curtains.
How do I keep the fairy lights from falling?
Position the battery pack below the lace or secure it with glue, ensuring it’s easy to access for switching on/off.
Can I use this lantern outdoors?
Yes, as long as the fairy lights are battery-operated and will not be exposed to moisture.
Conclusion
Crafting a firefly lantern with vintage lace detail is not only a fantastic way to elevate your space but also a fun project suitable for different skill levels. For those interested in unique lighting options, explore elegant designs with cordless lamps in porcelain. Additionally, if you’re looking for decor with a touch of magic, check out the Enchanted Fairy Portal Forest Print to inspire your next project.
Print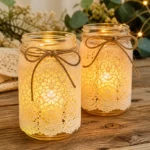
Firefly Lantern with Vintage Lace Detail
- Total Time: 10 minutes
- Makes: 1 lantern
Description
Create a charming firefly lantern using vintage lace and simple materials, perfect for all ages and occasions.
Materials
- Glass jar with lid
- Vintage lace or lace ribbon
- Battery-operated fairy lights
- Craft glue
- Scissors
- Decorative twine (optional)
- Paintbrush (for applying glue)
Instructions
- Prepare the jar: Start with a clean glass jar and remove any labels.
- Cut the lace: Measure and cut the lace to fit around the jar.
- Apply glue: Use a paintbrush to apply craft glue on the jar’s surface where the lace will attach.
- Attach the lace: Place the cut lace on the glued area, pressing gently to secure.
- Add fairy lights: Place the battery-operated fairy lights inside the jar.
- Seal the jar: Decorate the lid with lace or twine if desired.
Notes
Ensure supervision when crafting with kids, especially during the cutting and gluing steps.