

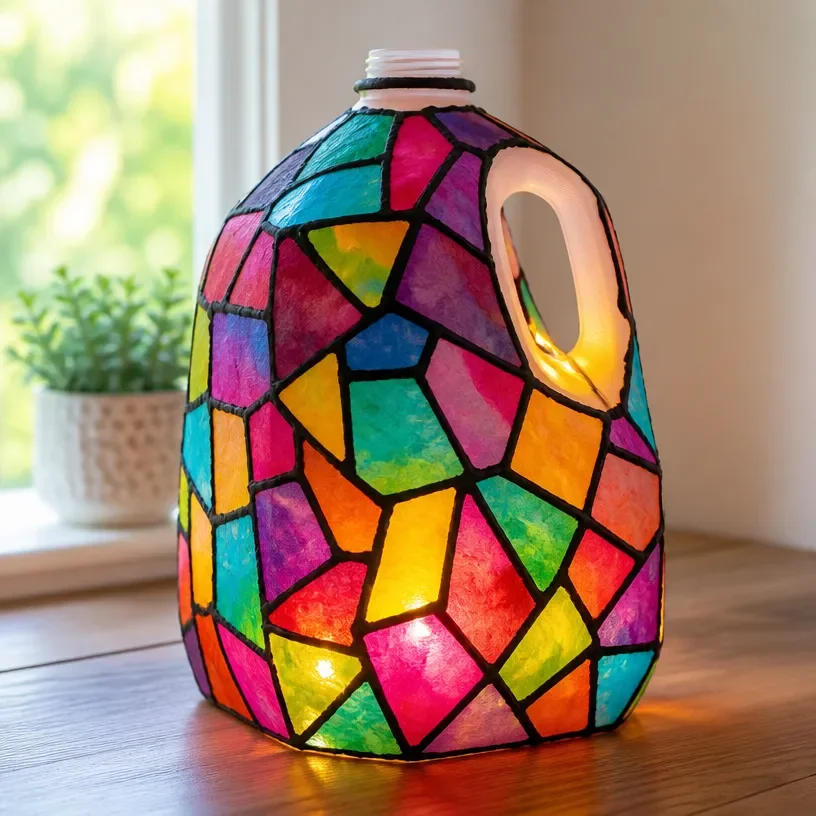
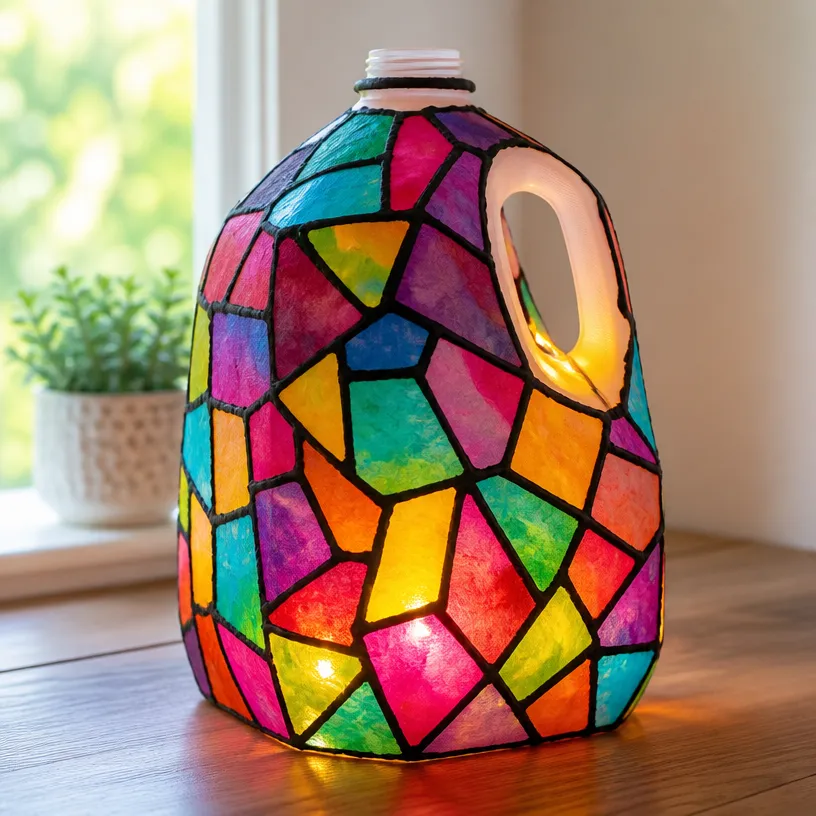
DIY Milk Jug Lanterns with a Stained-Glass Look
Transforming ordinary milk jugs into beautiful lanterns doesn’t just brighten up your space, it also engages creativity in a fun and accessible way. This project is perfect for families looking to add a touch of color to their outdoor or indoor decor. Kids will love to see their designs come alive with light, making this craft not only enjoyable but also rewarding. You may also find Bubble Dough Sensory Play Diy Activity For Kids useful.
In this tutorial, you’ll learn how to create stunning milk jug lanterns with a stained-glass effect that can be used as decorations for parties, holidays, or simply to brighten your home. Let’s dive into this colorful crafting experience! You may also find Coffee Filter Ghost Garland Diy Halloween Decor useful.
Why You’ll Enjoy This Project
- Creative Expression: This project allows children and parents to express creativity through design and color choices.
- Simple Materials: You only need a few materials, making it easy to gather what you need for this fun activity.
- Versatile Use: These lanterns can be used year-round for various occasions, bringing a pop of color wherever they go.
You may also find Colorful Rainbow Monster Pencil Holders Diy useful.
Materials You’ll Need
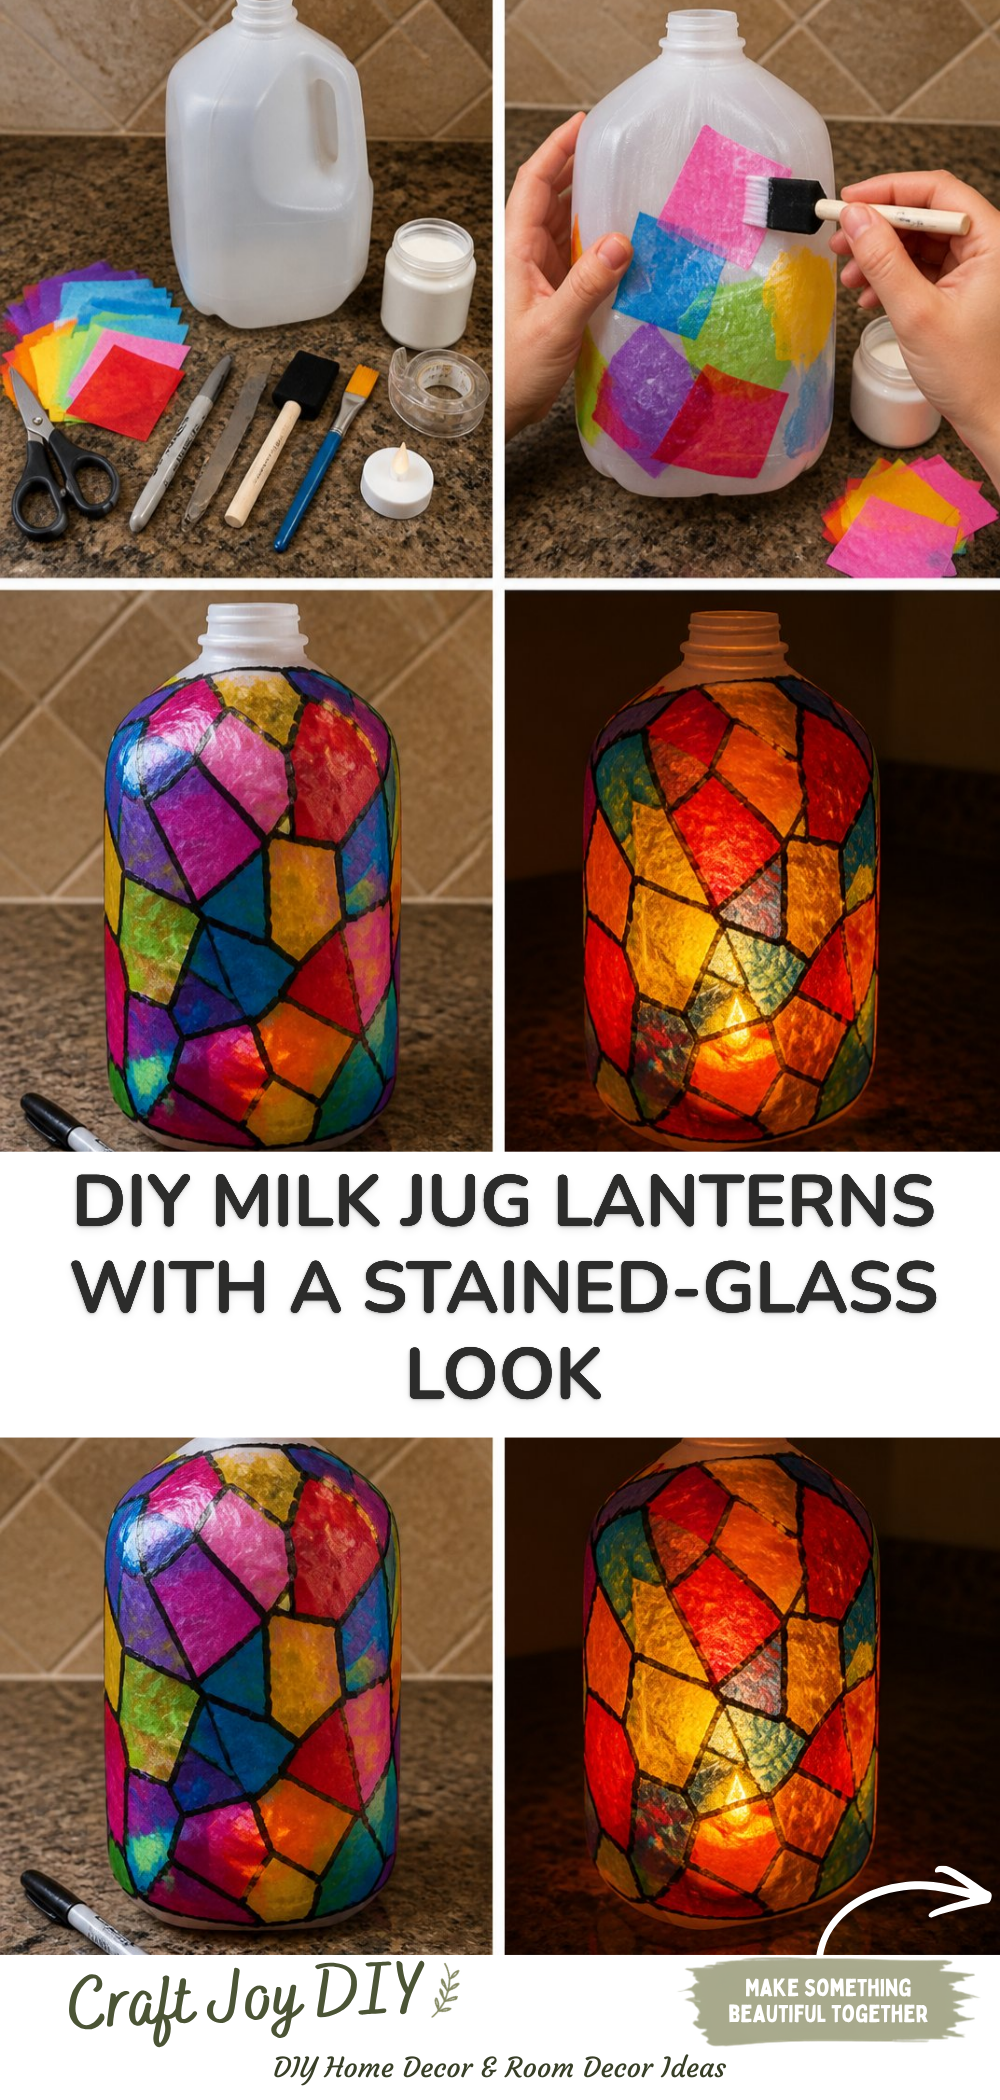
- Empty milk jugs (clean and dry)
- Acrylic paint (various colors)
- Paintbrushes (varied sizes)
- Black craft tape
- LED tealight candles (for safety)
- Water (to rinse brushes)
For this project, use bright acrylic paint for vibrant colors. If you want to experiment with textures, try using sponges or brushes of different sizes. You may also find Cupcake Liner Dahlia Bouquet Diy Centerpiece Kids useful.
How to Make DIY Milk Jug Lanterns with a Stained-Glass Look
Prepare the Jug: Remove any labels from the milk jug and wash it thoroughly. Make sure it is completely dry before starting.
Outline Your Design: Use black craft tape to outline your design on the jug. This will create the “leading” effect found in stained glass and give your lantern structure.
Paint the Jug: Use your brushes to fill in the areas between the outlines with colorful acrylic paint. You can create patterns or scenes as you prefer. Allow the paint to dry completely.
Add Details: Once the base coat is dry, you can add more colors or details. For example, use a smaller brush to create dots or lines for added texture.
Insert the Light: Once everything is dry, place an LED tealight inside the jug to illuminate your design.
This project is a wonderful way to explore color and light while engaging in a fun craft. For another enjoyable family activity, check out bubble dough sensory play which can also spark creativity in your kids.
Helpful Tips
- Supervision: Young children will need adult supervision, especially with painting and handling brushes.
- Drying Time: Ensure each layer of paint dries completely before adding more to avoid smudging.
- Experiment with Colors: Don’t hesitate to mix colors to get unique shades!
Easy Variations
- Seasonal Designs: Paint pumpkins for Halloween or snowflakes for winter.
- Different Sizes: Try using larger or smaller jugs for different lantern sizes.
- Light Effects: Explore using colored LED lights to change the ambiance.
Making This Craft With Kids
This project is perfect for kids and can be a great educational experience. Adults should supervise painting and cutting, especially when handling scissors if you opt to cut out shapes for additional designs.
How to Display or Use It
These vibrant milk jug lanterns can be displayed on windowsills, porches, or even at outdoor gatherings. Group several together for a magical effect during evening events, or use them as centerpieces for parties.

Frequently Asked Questions
Can I use regular candles instead of LED tealights?
It’s safest to use LED tealights as regular candles can pose a fire hazard with plastic jugs.
How do I clean my brushes after use?
Rinse your brushes with water immediately after use for easy cleaning.
What if my paint is too thick?
You can dilute acrylic paint with a little water to achieve a smoother application.
Will the paint last outside?
For outdoor displays, use a weatherproof sealant over the paint once it is completely dry.
Can I use other materials instead of jugs?
You can use other clear plastic containers, but ensure they can withstand the paint and light.
How do I store these lanterns?
Store them in a cool, dry place, and stack them carefully to avoid cracking the paint.
Conclusion
Creating DIY Milk Jug Lanterns with a Stained-Glass Look is both fun and practical for families wanting to craft together. This project allows you to explore colors and express creativity while making something beautiful for your home. For more crafting ideas, consider exploring DIY Milk Jug Scooter and Bike Lanterns or check out Easy Tissue Paper Mason Jar Lanterns For Kids. Happy crafting!
Print
DIY Milk Jug Lanterns with a Stained-Glass Look
- Total Time: 30 minutes
- Makes: 2 lanterns
Description
Transform ordinary milk jugs into beautiful lanterns that brighten up your space and engage creativity.
Materials
- Empty milk jugs (clean and dry)
- Acrylic paint (various colors)
- Paintbrushes (varied sizes)
- Black craft tape
- LED tealight candles (for safety)
- Water (to rinse brushes)
Instructions
- Prepare the jug: Remove any labels from the milk jug and wash it thoroughly. Make sure it is completely dry before starting.
- Outline your design: Use black craft tape to outline your design on the jug.
- Paint the jug: Use your brushes to fill in the areas with colorful acrylic paint. Allow the paint to dry completely.
- Add details: Once the base coat is dry, add more colors or details for texture.
- Insert the light: Place an LED tealight inside the jug to illuminate your design.
Notes
Supervise young children during painting and handling brushes. Ensure each layer of paint dries completely to avoid smudging.