

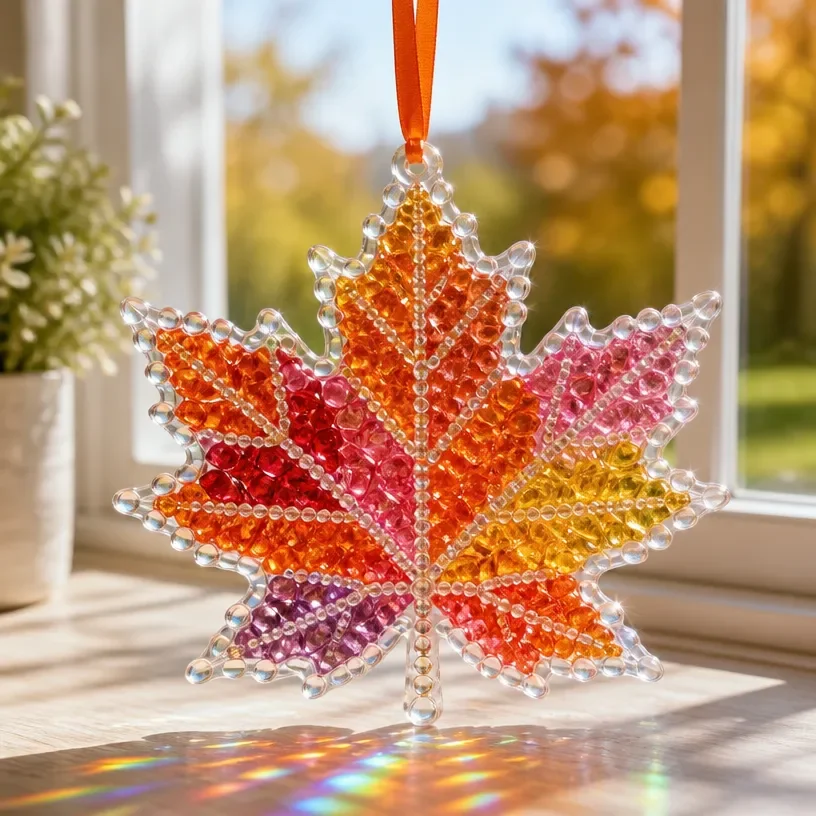
Autumn Leaf Window Art with Crystal Rainbow
Creating autumn leaf window art with a crystal rainbow is a delightful way to celebrate the changing seasons while making stunning décor. Not only does this project brighten up your windows, but it also introduces children to the beauty of nature through crafting. Imagine the vibrant colors of leaves illuminated by sunlight while casting colorful rays throughout your home! You may also find Autumn Leaf Crafts For Kids Rainbow Panda Leaf Art useful.
This project is perfect for individuals and families alike, as it encourages creativity, fine motor skills, and an appreciation for seasonal changes. Let’s dive into how to create these charming artworks! You may also find Autumn Tree Art Rainbow Pencil Shavings useful.
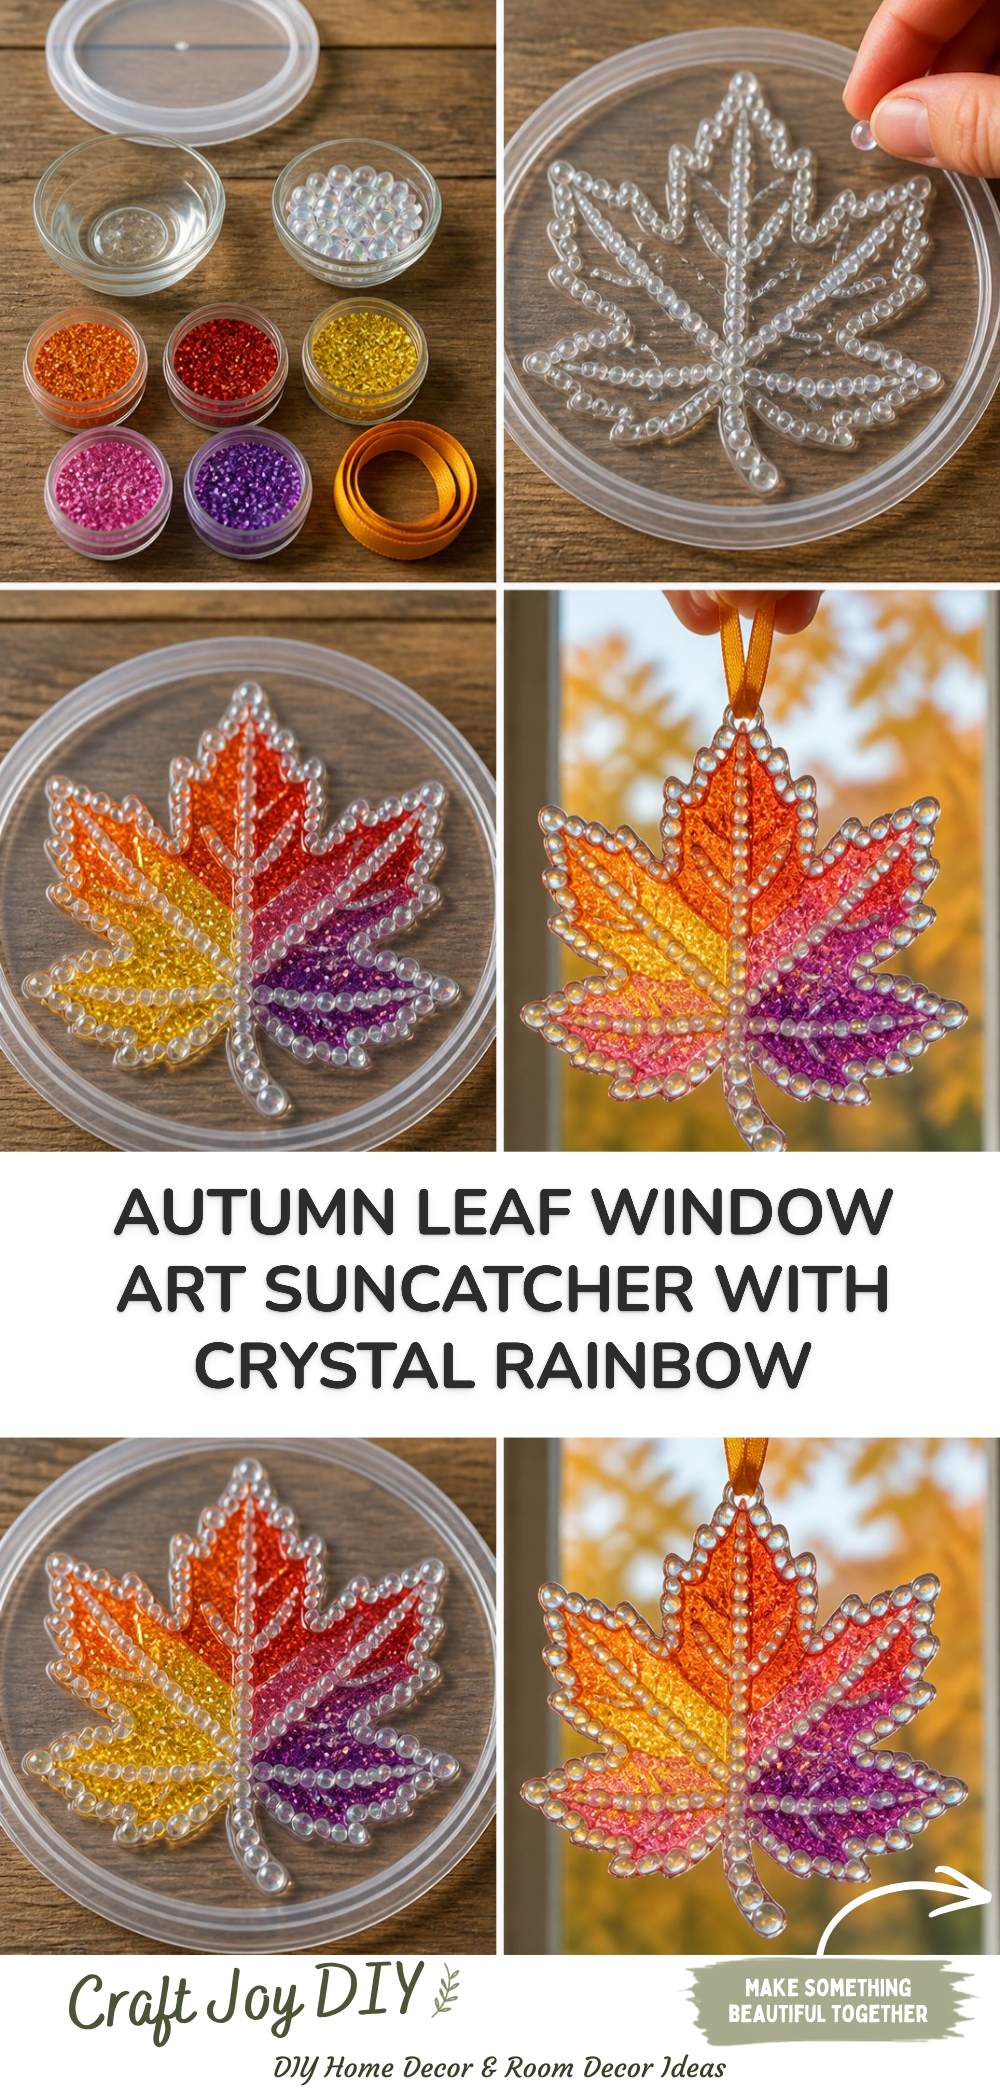
You may also find Bubble Paint Canvas Art Autumn Rainbow Tree Craft useful.
Why You’ll Enjoy This Project
- Nature-Inspired Crafting: Using real leaves adds a touch of nature indoors, allowing kids to learn about different leaf shapes and colors.
- Sunlight Magic: The crystal rainbows that form when the sun shines through your art create a magical effect, adding joy to any room.
- Easy to Customize: You can modify this project by experimenting with various leaves or colors to make it uniquely yours.
- Family Engagement: This craft is an excellent way to spend quality time with family, encouraging teamwork and creativity.
Materials You’ll Need
- Fresh autumn leaves (various shapes and colors)
- Clear contact paper
- Scissors
- Ribbon (for hanging)
- Crystals or beads (to create the rainbow effect)
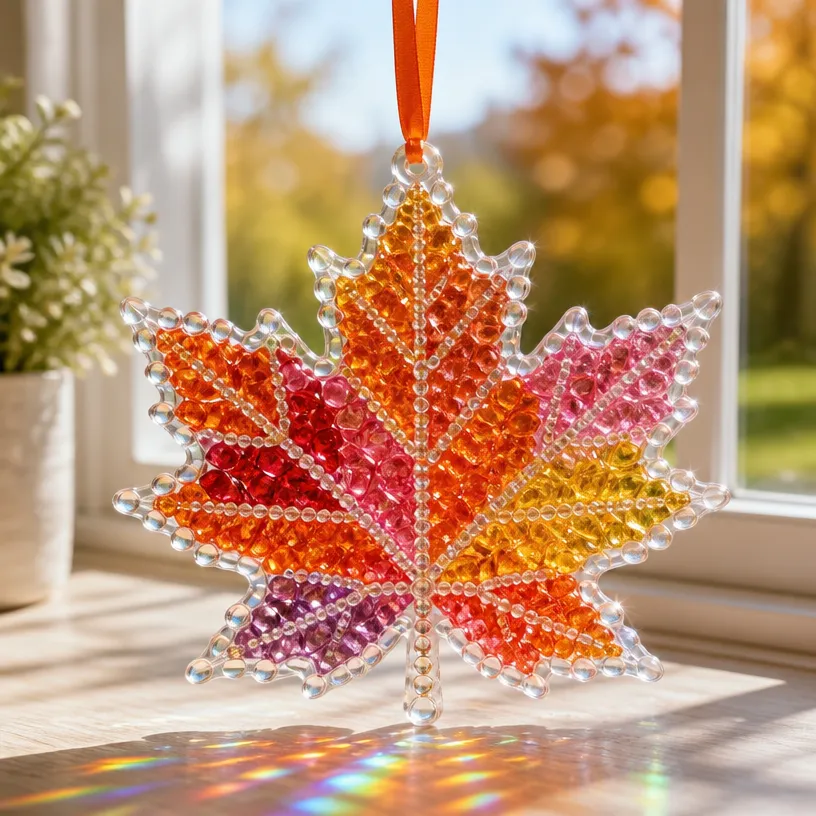
How to Make Autumn Leaf Window Art with Crystal Rainbow
- Gather Your Leaves: Take a leisurely stroll outside to collect a variety of leaves. Look for both colorful and unique shapes.
- Prepare the Contact Paper: Cut two pieces of clear contact paper to your desired size. One piece will serve as the base, while the other will cover the top.
- Arrange the Leaves: Place the leaves on one piece of contact paper. Get creative by overlapping them in various directions or arranging them in a pattern.
- Seal the Leaves: Once you’re happy with the arrangement, carefully peel the backing off the second piece of contact paper and place it over the leaves. Smooth out any air bubbles.
- Cut and Hang: Trim the edges to your desired shape. Attach a ribbon at the top for hanging, and add crystals or beads to the bottom for extra decoration and sunlight effects.
Helpful Tips
- Preserving Leaves: If using leaves that are starting to wither, press them in a book for a day before crafting to keep them flat.
- Clean Edges: Use a damp cloth to clean any sticky residue from the contact paper after sealing.
- Incorporating More Elements: For additional sparkle, consider adding small gemstones among the leaves.
- Positioning: Hang your art where sunlight can directly hit it for the best rainbow effect.
Easy Variations
- Seasonal Theme: Change the leaves based on season try using evergreens in winter or flowers in spring.
- Different Sizes: Create both large and small pieces to fill a window or use as a statement piece in a frame.
- Layering Colors: Use multiple layers of clear contact paper for a thicker, more textured effect.
Making This Craft With Kids
This project is great for children with adult supervision. Adults should handle the scissors and help with sealing the contact paper. Encourage kids to choose their favorite leaves and arrange them, allowing their creativity to shine. You may also find Autumn Rainbow Pinecone Fairies useful.
How to Display or Use It
Once your artwork is finished, hang it in a sunny window, where the light can enhance the colors and cast beautiful rainbows throughout the room. This artwork can also make a thoughtful gift for family and friends, inviting them to enjoy the beauty of nature in their homes. You may also find Colorful Button Mosaic Art Apple Inspired Rainbow Design useful.
Frequently Asked Questions
Can I use dried leaves?
Yes, dried leaves can work, but fresh leaves will provide more vibrant colors.
What should I do if the sun fades the colors?
To reduce fading, hang your artwork in a less direct sunlight area or rotate it every so often.
How do I protect the artwork?
Keep it out of direct sunlight for extended periods to prolong its life.
Can I use other shapes or materials?
Absolutely! Feel free to incorporate flowers or doilies for a different look.
What is the best way to clean the window after hanging the art?
Use a gentle window cleaner on a soft cloth to clean around the edges without disturbing your artwork.
Conclusion
Making autumn leaf window art with a crystal rainbow not only beautifies your home but also offers a fantastic family bonding experience. If you’re interested in more creative crafting ideas, consider exploring a colorful acrylic suncatcher or a lovely crystal prism window hanging to add to your collection. Enjoy crafting!
Print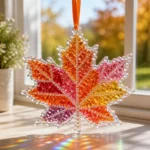
Autumn Leaf Window Art with Crystal Rainbow
- Total Time: 15 minutes
- Makes: 1 artwork
Description
Create beautiful autumn leaf window art with a stunning crystal rainbow effect to brighten your home and embrace the beauty of nature.
Materials
- Fresh autumn leaves (various shapes and colors)
- Clear contact paper
- Scissors
- Ribbon (for hanging)
- Crystals or beads (to create the rainbow effect)
Instructions
- Gather your leaves: Take a leisurely stroll outside to collect a variety of leaves.
- Prepare the contact paper: Cut two pieces of clear contact paper to your desired size.
- Arrange the leaves: Place the leaves on one piece of contact paper.
- Seal the leaves: Peel the backing off the second piece of contact paper and place it over the leaves.
- Cut and hang: Trim the edges and attach a ribbon at the top for hanging.
Notes
For additional sparkle, consider adding small gemstones among the leaves. Use damp cloth to clean any sticky residue from the contact paper after sealing.