

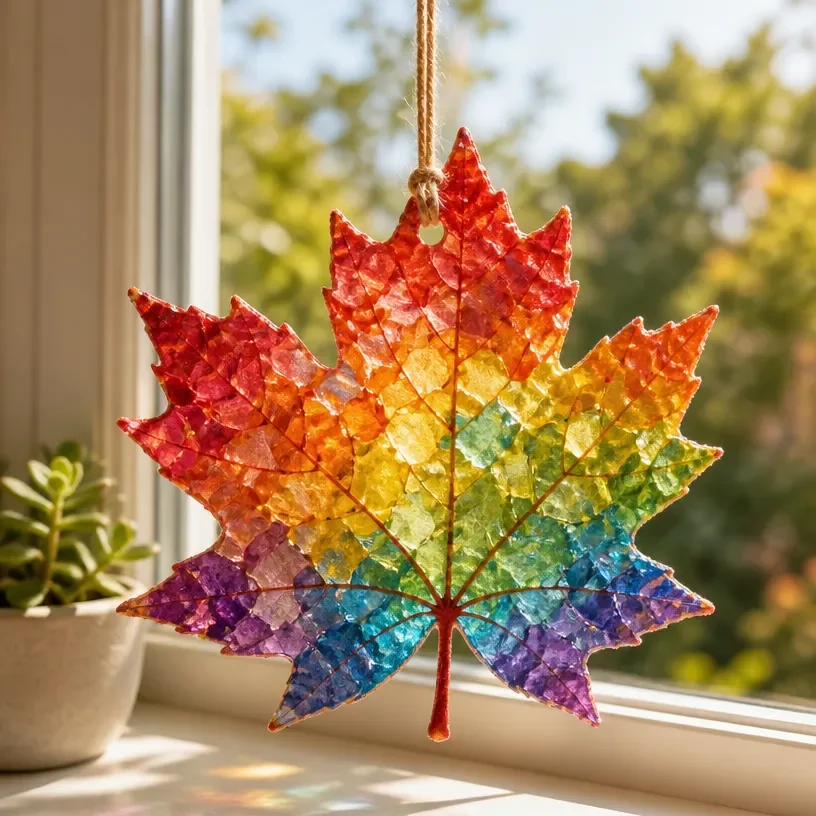
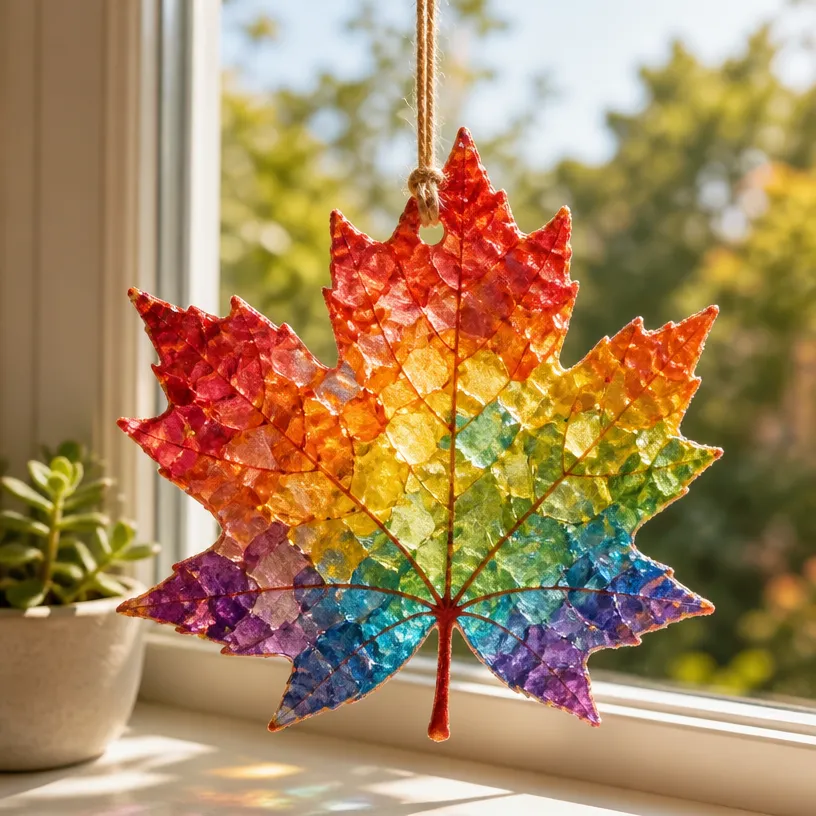
Rainbow Fall Leaves in a Stained Glass Window
Making stained glass crafts is a beautiful way to celebrate the vibrant colors of fall while creating something special for your home. This project, Rainbow Fall Leaves in a Stained Glass Window, allows you to transform simple materials into stunning decorations that can brighten up any window. Not only will it add a splash of color to your space, but it’s also an enjoyable craft to do with family, enhancing creativity and fine motor skills. You may also find Paper Plate Stained Glass Fall Wreath For Kids useful.
In this tutorial, you’ll learn how to create your very own rainbow leaves that mimic the rich colors of autumn foliage. This craft serves as a delightful way to bring the beauty of autumn indoors. You’ll find that it’s both easy to make and fun to display! You may also find Coastal Indoor Decor Driftwood Shells Sea Glass Garland useful.
Why You’ll Enjoy This Project
- Colorful Display: The finished product will create a bright, cheerful reflection in your home.
- Creative Expression: This project allows everyone to let their imagination run wild with color combinations.
- Simple Supplies: You only need a few everyday materials to create this stunning piece.
- Family Bonding: It’s a perfect activity for kids and adults alike, making it a great option for family craft time.
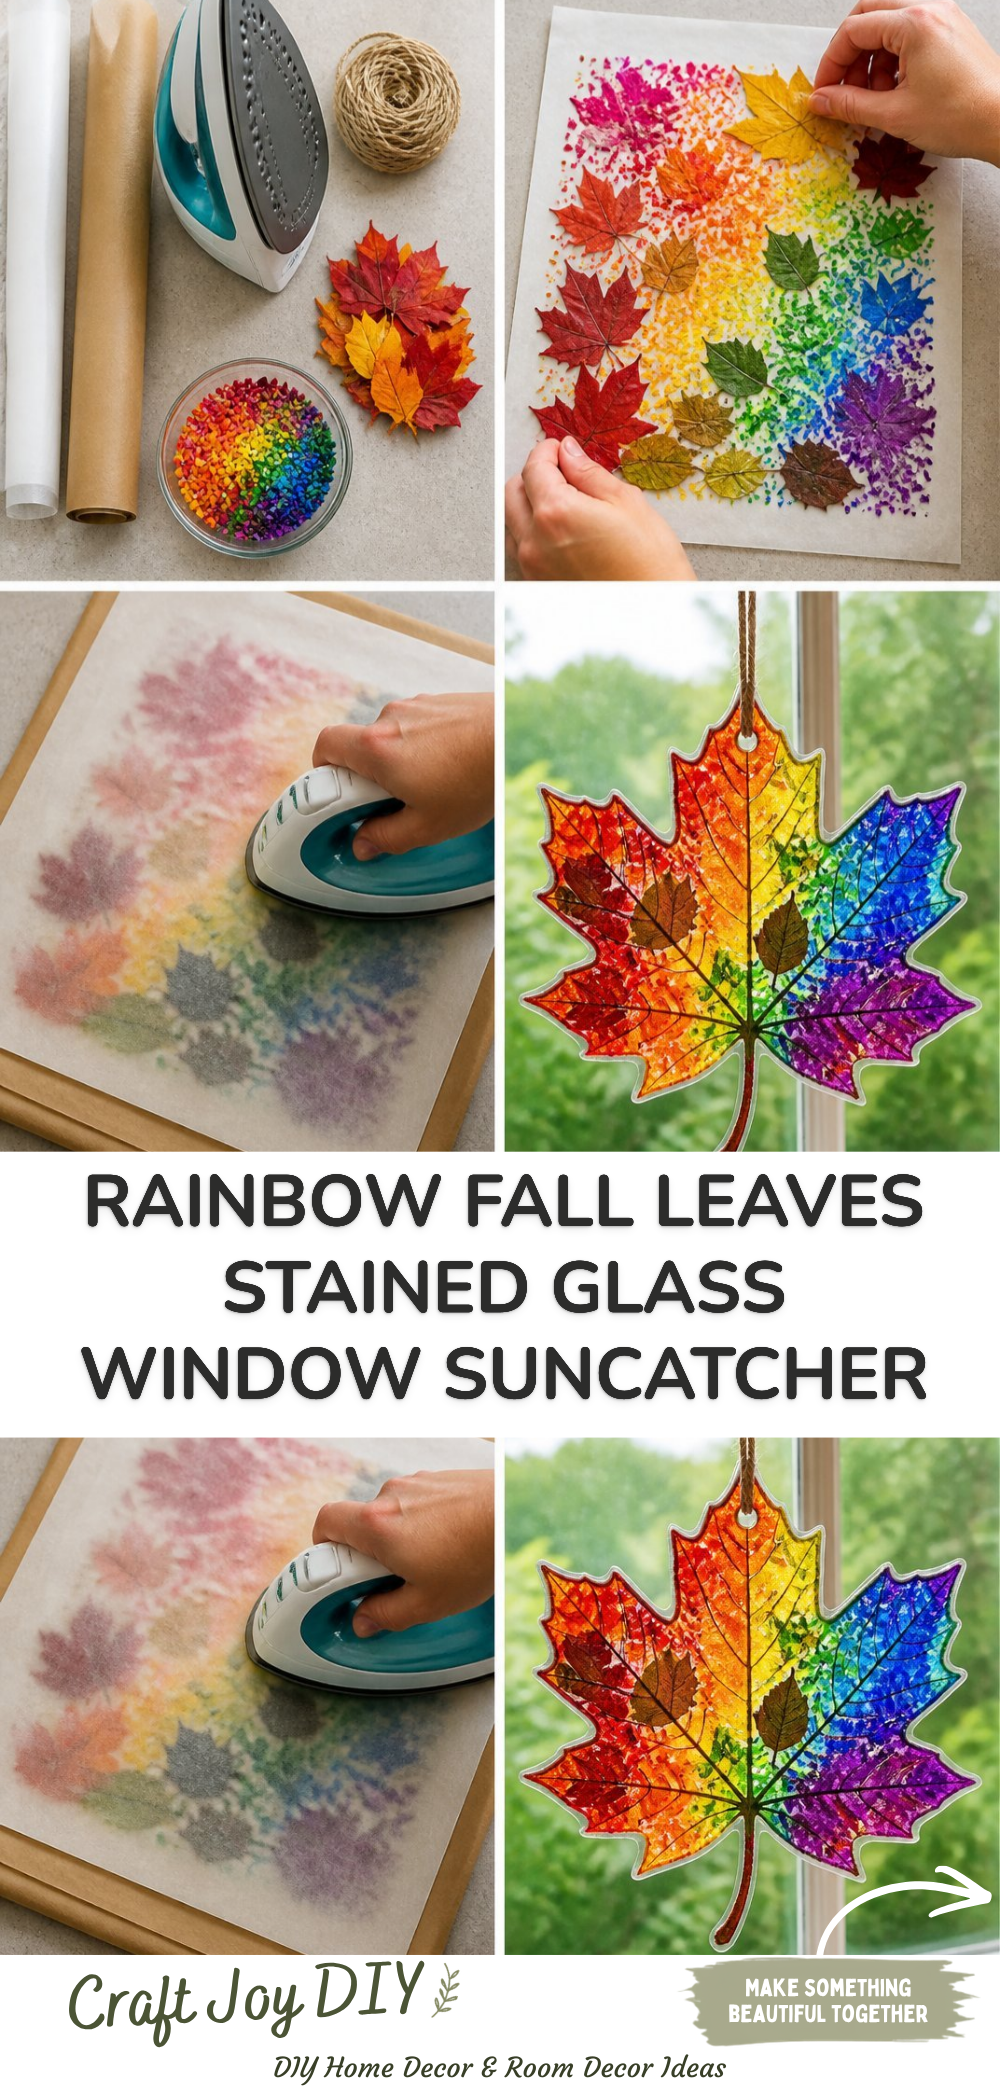
You may also find Coffee Filter Pumpkin Window Garland Fall Decor useful.
Materials You’ll Need
- Transparent contact paper or clear plastic (for the glass effect)
- Colored tissue paper (in fall colors like red, orange, yellow, and green)
- Scissors
- Pencil
- Craft stick or a paintbrush (to spread glue)
- A window or a flat surface to display your finished piece
Feel free to substitute other colorful materials if you don’t have tissue paper, such as scraps from magazines or old gift wrap. You may also find Cornstarch Suncatchers For Kids Colorful Window Art useful.
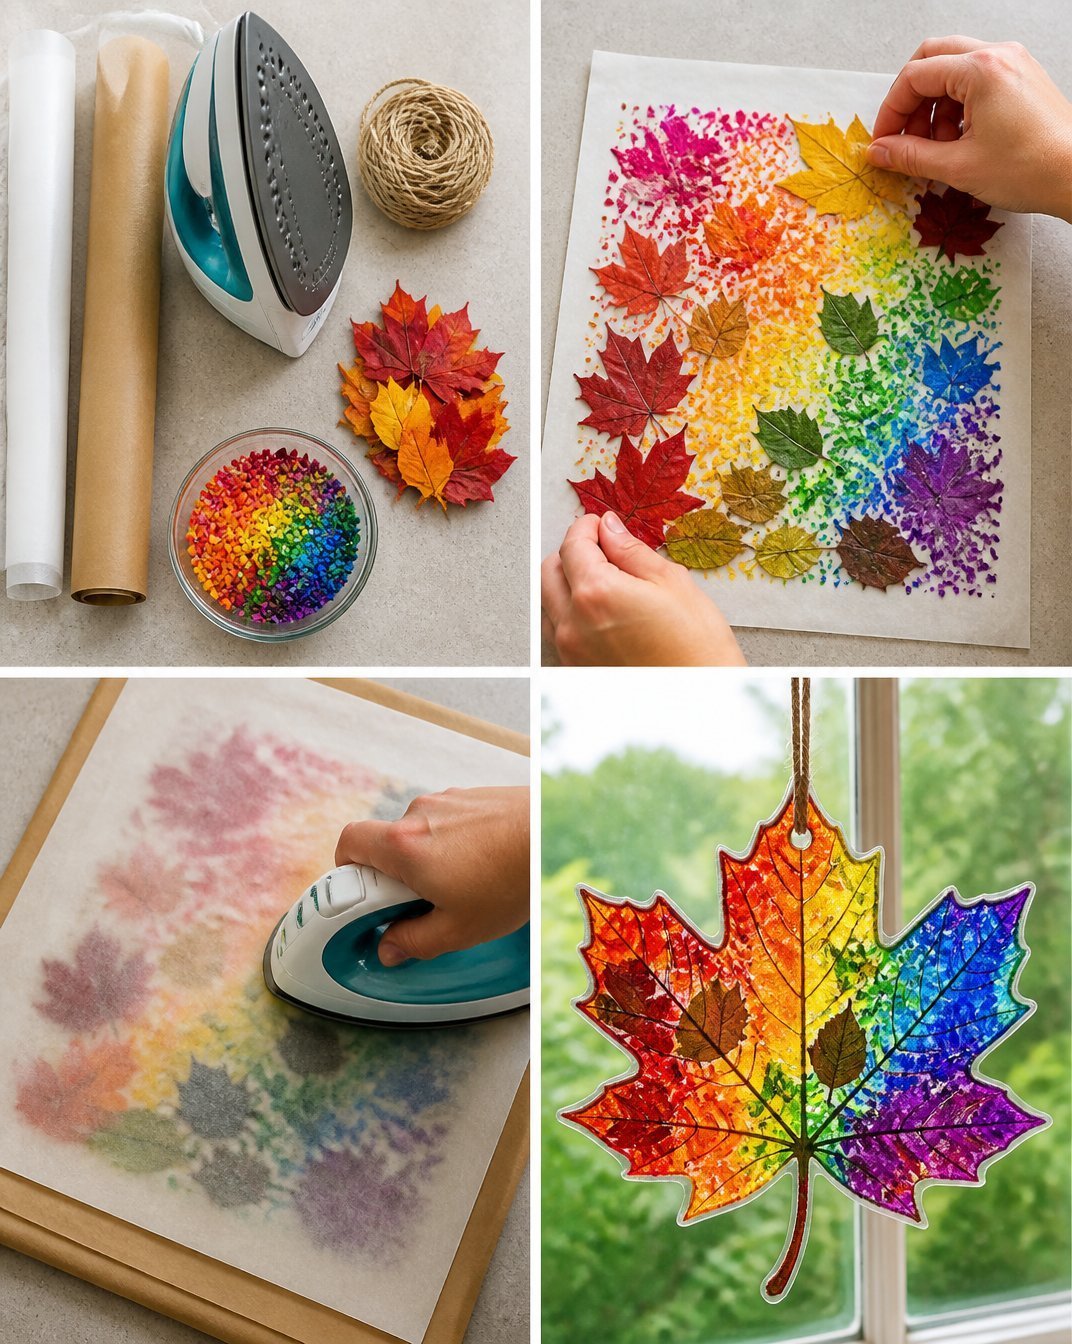
How to Make Rainbow Fall Leaves in a Stained Glass Window
Prepare Your Workspace: Clear a flat surface to work on and gather all your materials. You may also find Flower Petal Window Suncatcher Craft For Kids useful.
Draw Leaf Shapes: Using your pencil, draw various leaf shapes on the backside of the contact paper.
Cut the Shapes: Carefully cut out the leaf shapes you’ve drawn. Make sure to do this slowly so the shapes remain intact.
Create Colorful Layers: Tear or cut the colored tissue paper into small pieces. These will act as the colorful sections of your leaves.
Layer the Tissue Paper: Place the pieces of tissue paper on the sticky side of your cut leaves, overlapping them to create a stained-glass effect.
Seal Your Leaves: Place another piece of contact paper over the tissue paper to seal everything in.
Trim the Excess: Once sealed, trim the edges of the leaves neatly, if necessary.
Display Your Craft: Peel off the backing of the final piece of contact paper and stick your creations in a window. It’s best to choose a spot that receives natural light to really make those colors pop.
Helpful Tips
- If working with young kids, supervise them while using scissors to ensure safety.
- To make clean-up easier, you might want to cover your work surface with newspaper or a craft mat.
- Using a craft stick can help in smoothing out air bubbles between the layers of tissue paper.
Easy Variations
- Different Shapes: Instead of leaves, consider creating other autumn shapes like pumpkins or acorns.
- Color Combinations: Experiment with different color themes to match your home decor.
- Seasonal Changes: Adapt this project for winter or spring by choosing colors that fit those seasons.
Making This Craft With Kids
This project is ideal for children aged 4 and up, especially with adult supervision due to scissors. Kids can explore colors and shapes, making it an excellent learning activity.
How to Display or Use It
These stained glass leaves can be displayed in any sunny window, or you could create a garland by stringing multiple pieces together. They can also serve as beautiful seasonal gifts for friends and family, highlighting the beauty of fall.
Frequently Asked Questions
Can I use regular paper instead of tissue paper?
Yes, but the effect won’t be as transparent and vibrant.
What should I do if I don’t have contact paper?
You can use clear plastic sheets, which work in a similar way.
How can I keep the leaves from curling?
Make sure to seal the edges well when applying the second layer of contact paper.
Can I use this technique for other themes?
Absolutely! This method can be adapted to create crafts for any season or theme.
Conclusion
Creating your Rainbow Fall Leaves in a Stained Glass Window is not only a fun activity but also a wonderful way to enhance the beauty of your home. Consider using additional resources like this stained glass rainbow craft for more inspiration. Don’t forget to explore options for fall-themed decorations such as stained glass window film autumn for an extra touch. Happy crafting!
Print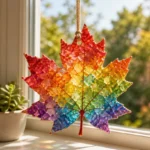
Rainbow Fall Leaves in a Stained Glass Window
- Total Time: 15 minutes
- Makes: Varies
Description
A delightful craft project to create colorful stained glass leaves that bring the beauty of autumn indoors.
Materials
- Transparent contact paper or clear plastic
- Colored tissue paper (red, orange, yellow, green)
- Scissors
- Pencil
- Craft stick or paintbrush
- A window or a flat surface to display the finished piece
Instructions
- Prepare your workspace: Clear a flat surface and gather all materials.
- Draw leaf shapes on the backside of the contact paper.
- Cut the shapes carefully to keep them intact.
- Create colorful layers by tearing or cutting tissue paper into small pieces.
- Layer the tissue paper on the sticky side of the cut leaves.
- Seal your leaves with another piece of contact paper over the tissue paper.
- Trim the edges of the leaves neatly if necessary.
- Display your craft by sticking the creations in a sunny window.
Notes
Supervise children when using scissors. Consider covering work surfaces to make clean-up easier.