

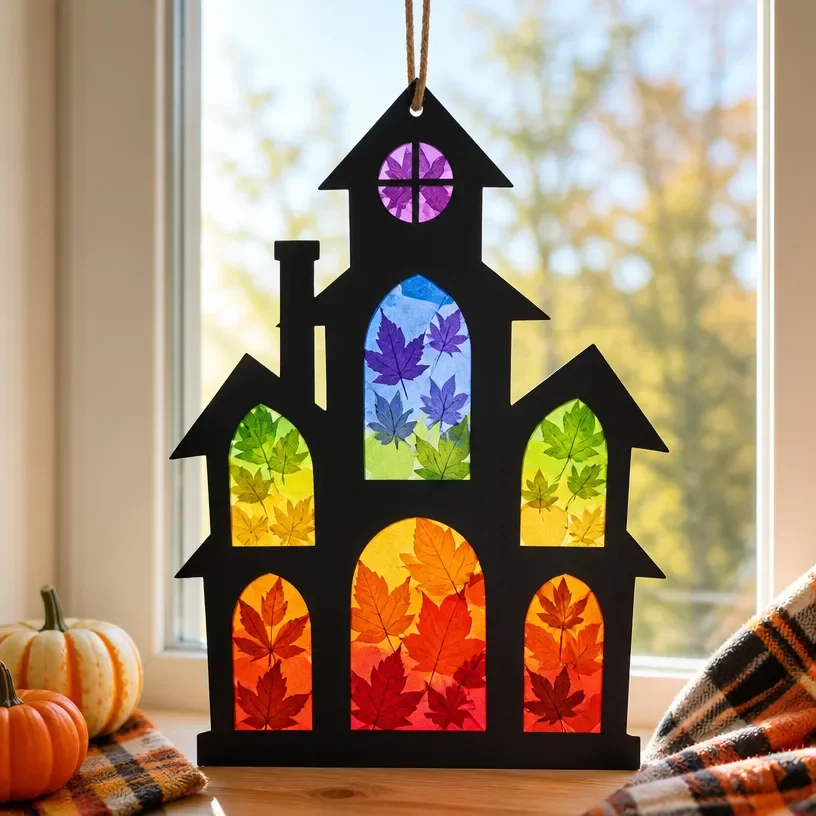
Rainbow Haunted House Suncatcher with Pressed-Leaf Design
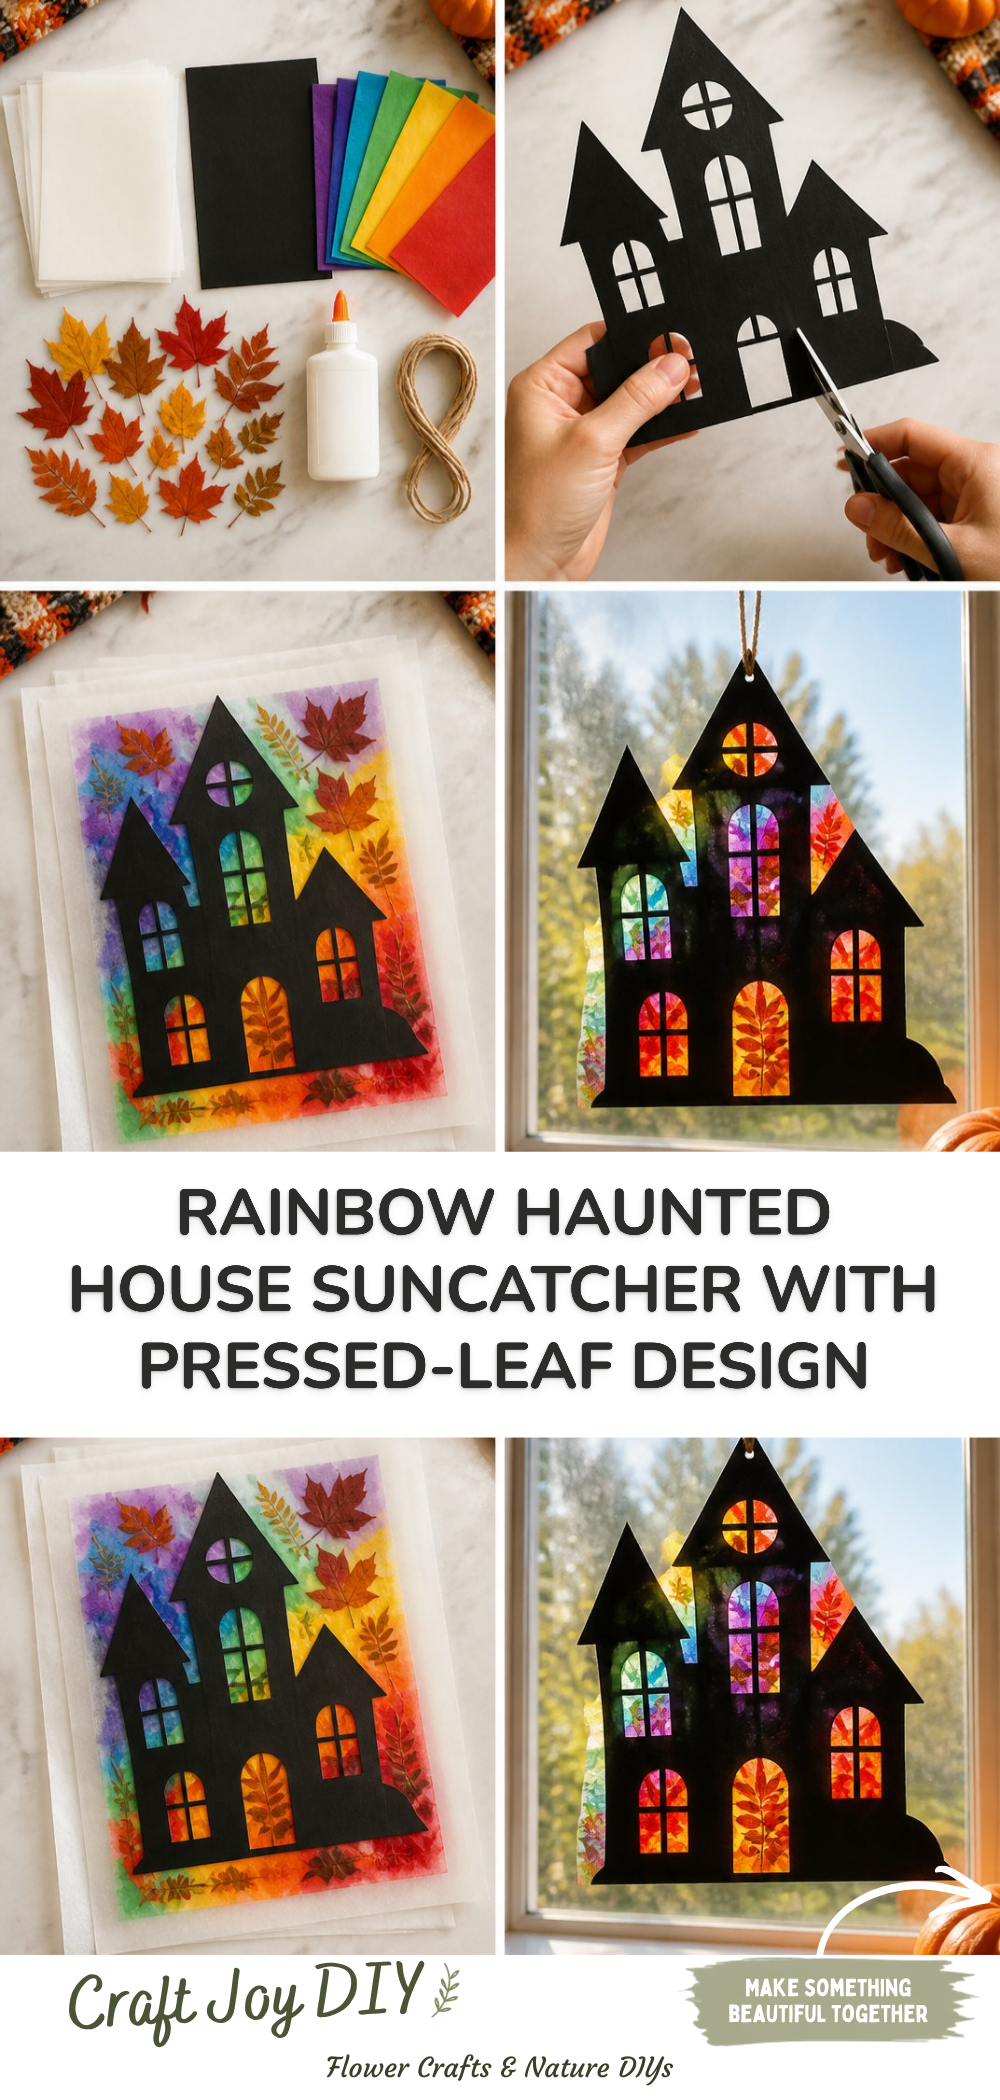
Creating a rainbow haunted house suncatcher using pressed leaves is a delightful autumn craft that combines natural beauty with creative play. This project is perfect for parents and kids who want to brighten their home while enjoying some quality crafting time. Not only does this suncatcher serve as a vibrant decoration, but it also helps children explore textures and colors found in nature. You may also find Melted Crayon Rainbow Haunted House Suncatcher Craft useful.
In this tutorial, you will learn how to make your own Rainbow Haunted House Suncatcher with a pressed-leaf design, ideal for adding a splash of fun to your fall décor. Let’s gather our materials and get started! You may also find Rainbow Crayon Haunted House Art For Kids useful.
You may also find Colorful Button Mosaic Art Apple Inspired Rainbow Design useful.
Why You’ll Enjoy This Project
- Creative Expression: This craft allows both kids and adults to express their creativity and make unique designs using various leaves and colors.
- Educational Experience: Along the way, children can learn about different types of leaves, enhancing their observation skills.
- Seasonal Decor: Your finished suncatcher will add a cheerful touch to your home, making it a perfect seasonal decoration.
- Multi-Sensory: Working with different materials (leaves, glue, and tissue paper) engages multiple senses, making crafting more enjoyable.
Materials You’ll Need
- Transparent contact paper
- Colorful tissue paper (in shades of red, orange, yellow, green, blue, and purple)
- Pressed leaves (from your fall adventures)
- Scissors
- A craft stick or spatula for spreading
- A black marker or construction paper (for outlines)
- String or ribbon (for hanging)
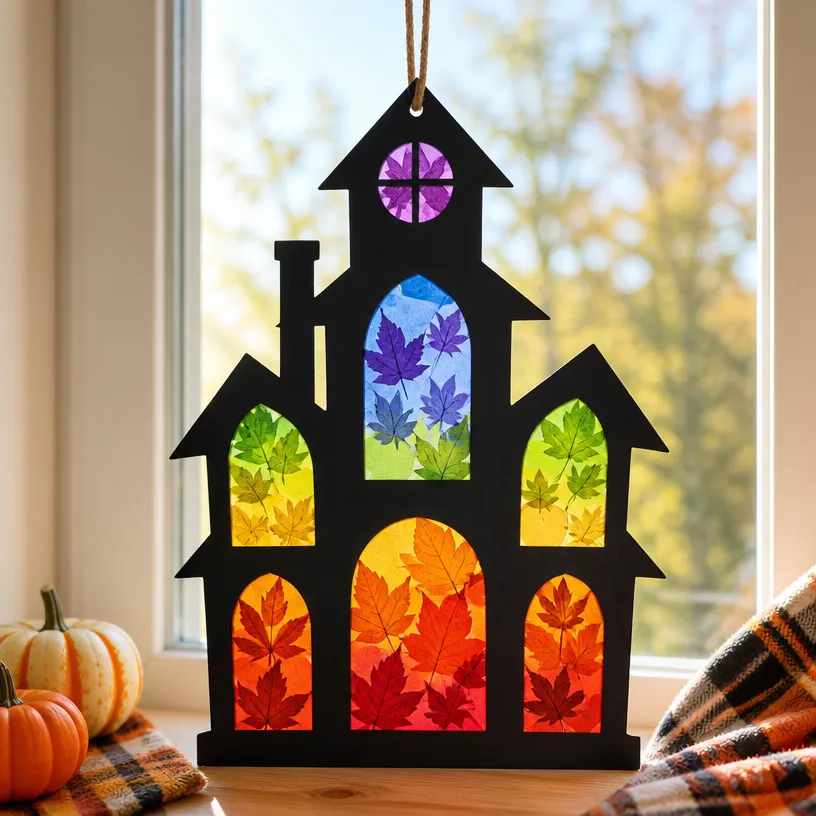
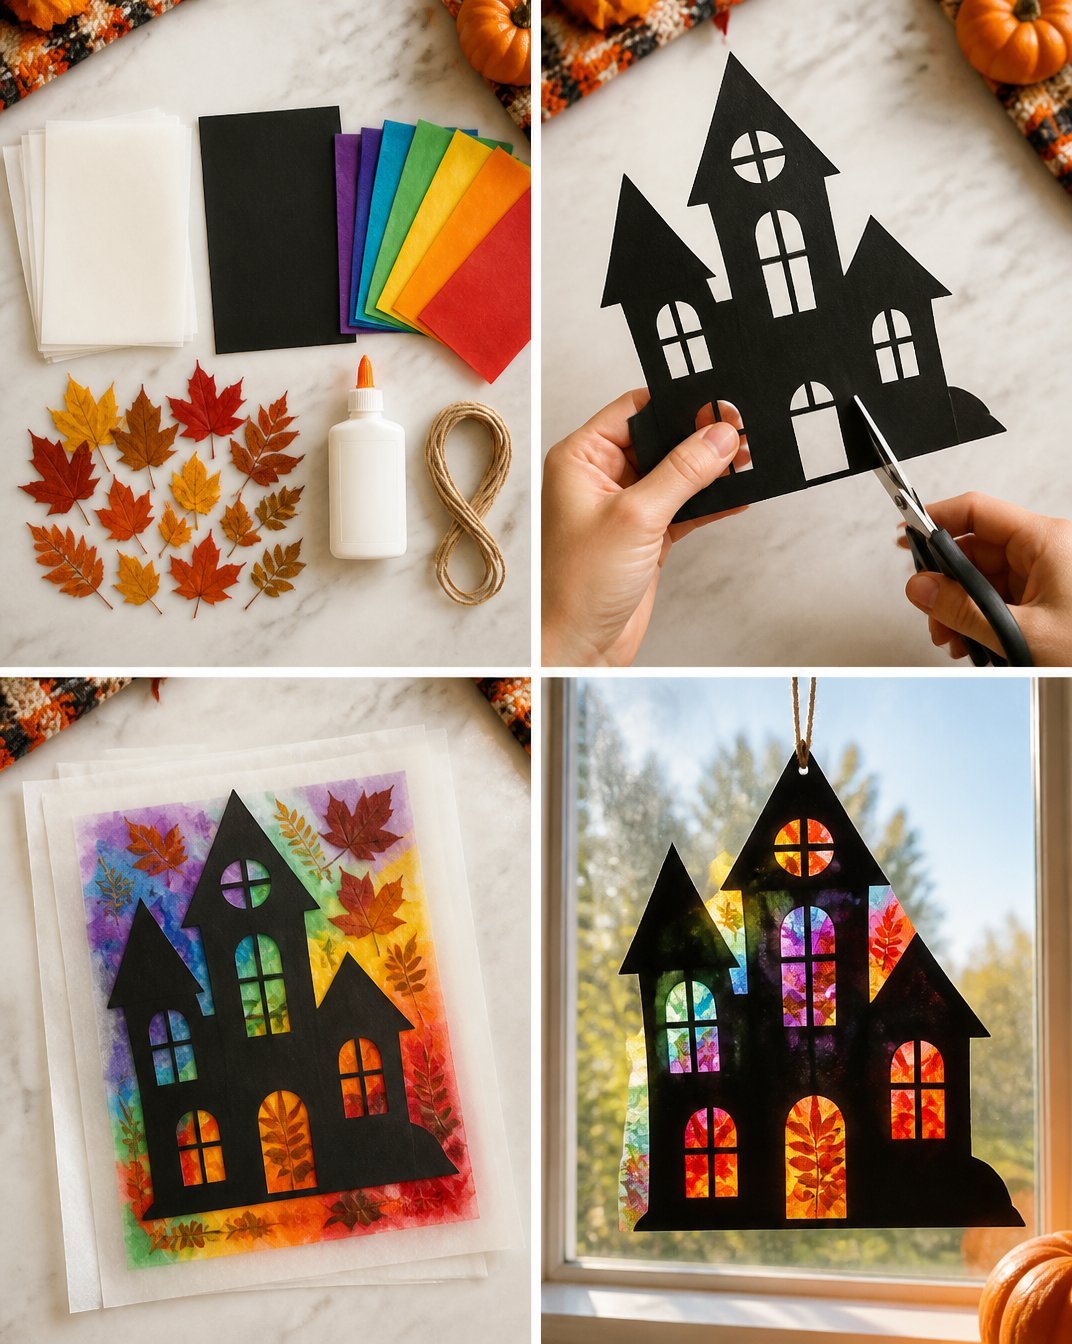
How to Make Rainbow Haunted House Suncatcher with Pressed-Leaf Design
- Prepare Your Leaves: If you haven’t already, press your leaves by placing them between heavy books for a few days. Once flattened, they will be easier to work with.
- Cut the Contact Paper: Cut a large piece of contact paper, ensuring it fits your desired suncatcher size. Remember to peel off the backing when ready to stick on your leaves and tissue paper.
- Design the Base: Using the black marker, outline a haunted house shape on the contact paper. If you’re looking for a fun pattern, check out this haunted house decoration template for inspiration.
- Layer Your Tissue Paper: Cut the tissue paper into small squares and arrange them around the house outline, creating a rainbow pattern. Glue them down smoothly with the craft stick.
- Add the Leaves: Place your pressed leaves strategically between the tissue paper. Ensure they are secure by pressing them with your fingers or the craft stick.
- Seal the Suncatcher: Once you are happy with your design, cut another piece of contact paper to cover the top for protection. Press down gently to seal everything in place.
- Trim Excess: Cut around the edges of your suncatcher, leaving a small border of contact paper to help keep everything intact.
- Hang Your Creation: Attach a string or ribbon to the top of the suncatcher for easy hanging. Look for an ideal spot, such as a window where light can shine through.
Helpful Tips
- When pressing leaves, try to use wider varieties as they create a more striking visual effect against the colorful background.
- If the tissue paper rips during application, you can always add another piece to cover it.
- For a cleaner finish, use an iron on a low setting (with a cloth over the contact paper) to smooth out any bubbles after making the suncatcher.
- Consider making several suncatchers as gifts for friends or family to share the joy of crafting!
Easy Variations
- Seasonal Themes: Use seasonal leaves and colors to create variations, like red and orange for more autumnal vibes.
- Different Shapes: Instead of haunted houses, try creating suncatchers in the shapes of pumpkins, ghosts, or bats.
- Added Textures: Incorporate other materials like beads or glitter to enhance the visual appeal of your suncatcher.
- Mini Versions: Make smaller suncatchers for a fun grouping effect on a window or wall.
- Age-Appropriate Adjustments: For young children, simplify the process by pre-cutting materials and allowing them to stick instead of cutting.
Making This Craft With Kids
This project is perfect for children with some supervision. Parents should help with tasks like cutting the contact paper and using scissors. It’s great for older kids to design their patterns independently, fostering creativity and coordination. You may also find Diy Colorful Popsicle Stick Haunted House Village Halloween useful.
How to Display or Use It
Your completed suncatcher will look beautiful hanging in any window, casting colorful rays of light throughout your space. You can also use it as a seasonal decoration on a mantel or entryway.
Frequently Asked Questions
1. How do I Preserve the Leaves?
To keep leaves from browning, store them in a cool, dry place before use. Pressing them helps maintain their color.
2. Can I Use Different Colors of Tissue Paper?
Absolutely! Feel free to use any colors that resonate with your theme or personal style.
3. What can I do if the leaves don’t stick?
Ensure the contact paper is clean and free from dust. Press down firmly on the leaves to secure them.
4. How long does it take to complete the suncatcher?
This project can take about 1-2 hours, depending on how detailed your design is.
5. Can I make this project without pressed leaves?
Yes! You can use only tissue paper for a layered color effect without leaves.
Conclusion
Creating a Rainbow Haunted House Suncatcher with a pressed-leaf design is an enjoyable way to engage with the fall season while promoting creativity. For more craft inspiration, explore how to make Fall Window Suncatchers that bring colorful joy to your spaces. Don’t forget to check out these Shamrock Suncatchers for another fun seasonal craft!
Print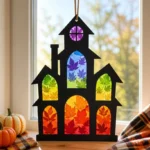
Rainbow Haunted House Suncatcher with Pressed-Leaf Design
- Total Time: 120 minutes
- Makes: 1 suncatcher
Description
A delightful autumn craft that combines natural beauty with creative play, perfect for parents and kids to brighten their home.
Materials
- Transparent contact paper
- Colorful tissue paper (red, orange, yellow, green, blue, purple)
- Pressed leaves
- Scissors
- A craft stick or spatula
- A black marker or construction paper
- String or ribbon
Instructions
- Prepare your leaves by pressing them between heavy books.
- Cut the contact paper to fit your desired suncatcher size.
- Design the base by outlining a haunted house shape with the black marker.
- Layer the tissue paper squares around the house outline in a rainbow pattern.
- Add the pressed leaves between the tissue paper.
- Seal the suncatcher with another piece of contact paper on top.
- Trim the edges, leaving a small border of contact paper.
- Hang your creation using string or ribbon in a sunny window.
Notes
When pressing leaves, use wider varieties for a striking visual effect.