

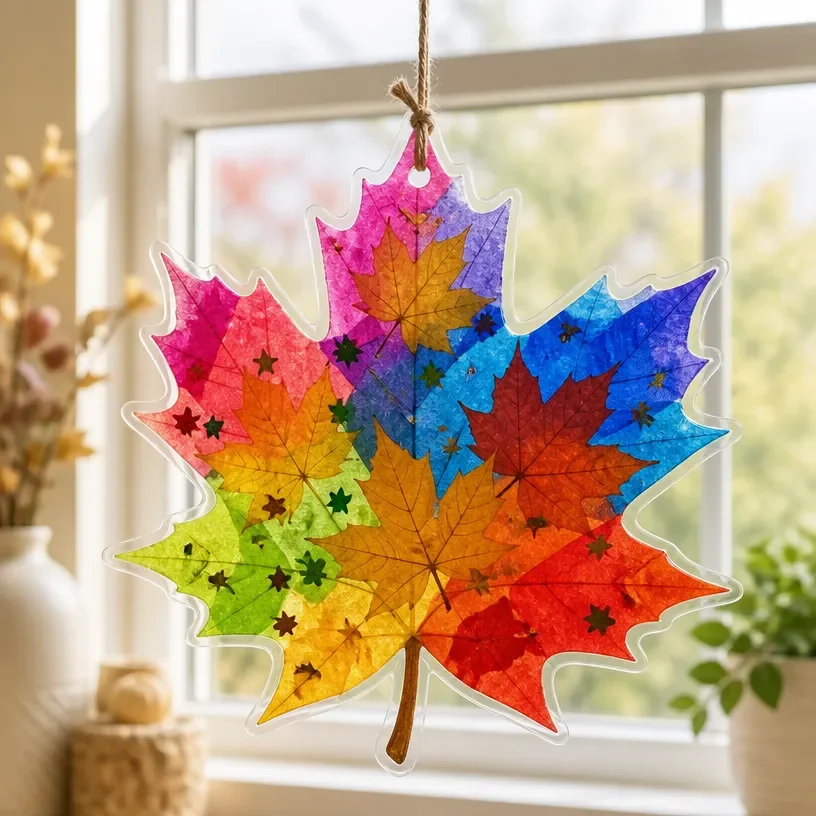
Rainbow Leaf Suncatcher Collage
Creating a Rainbow Leaf Suncatcher Collage is a delightful project that brings color and joy into any space. This craft allows kids and adults alike to explore their creativity while appreciating the beauty of nature through colorful leaves. These suncatchers not only brighten up windows but also serve as lovely decorations throughout the home. You may also find Rainbow Melted Crayon Maple Leaf Suncatcher Diy useful.
Whether you’re a parent looking for a fun activity with your kids or a teacher seeking engaging art ideas for your classroom, the Rainbow Leaf Suncatcher Collage is perfect for all. You can use various materials, making it an adaptable project that fits your available supplies. You may also find Rainbow Watercolor Leaf Fox Suncatcher For Kids useful.
Why You’ll Enjoy This Project
- Creative Expression: This craft lets everyone express their artistic side using vibrant colors and natural elements.
- Easy to Make: The steps are straightforward, making it a great project for families and classrooms.
- Education: Kids can learn about nature, colors, and the importance of recycling during the crafting process.
- Customizable: You can adapt the project to different seasons by using various leaves or colors.
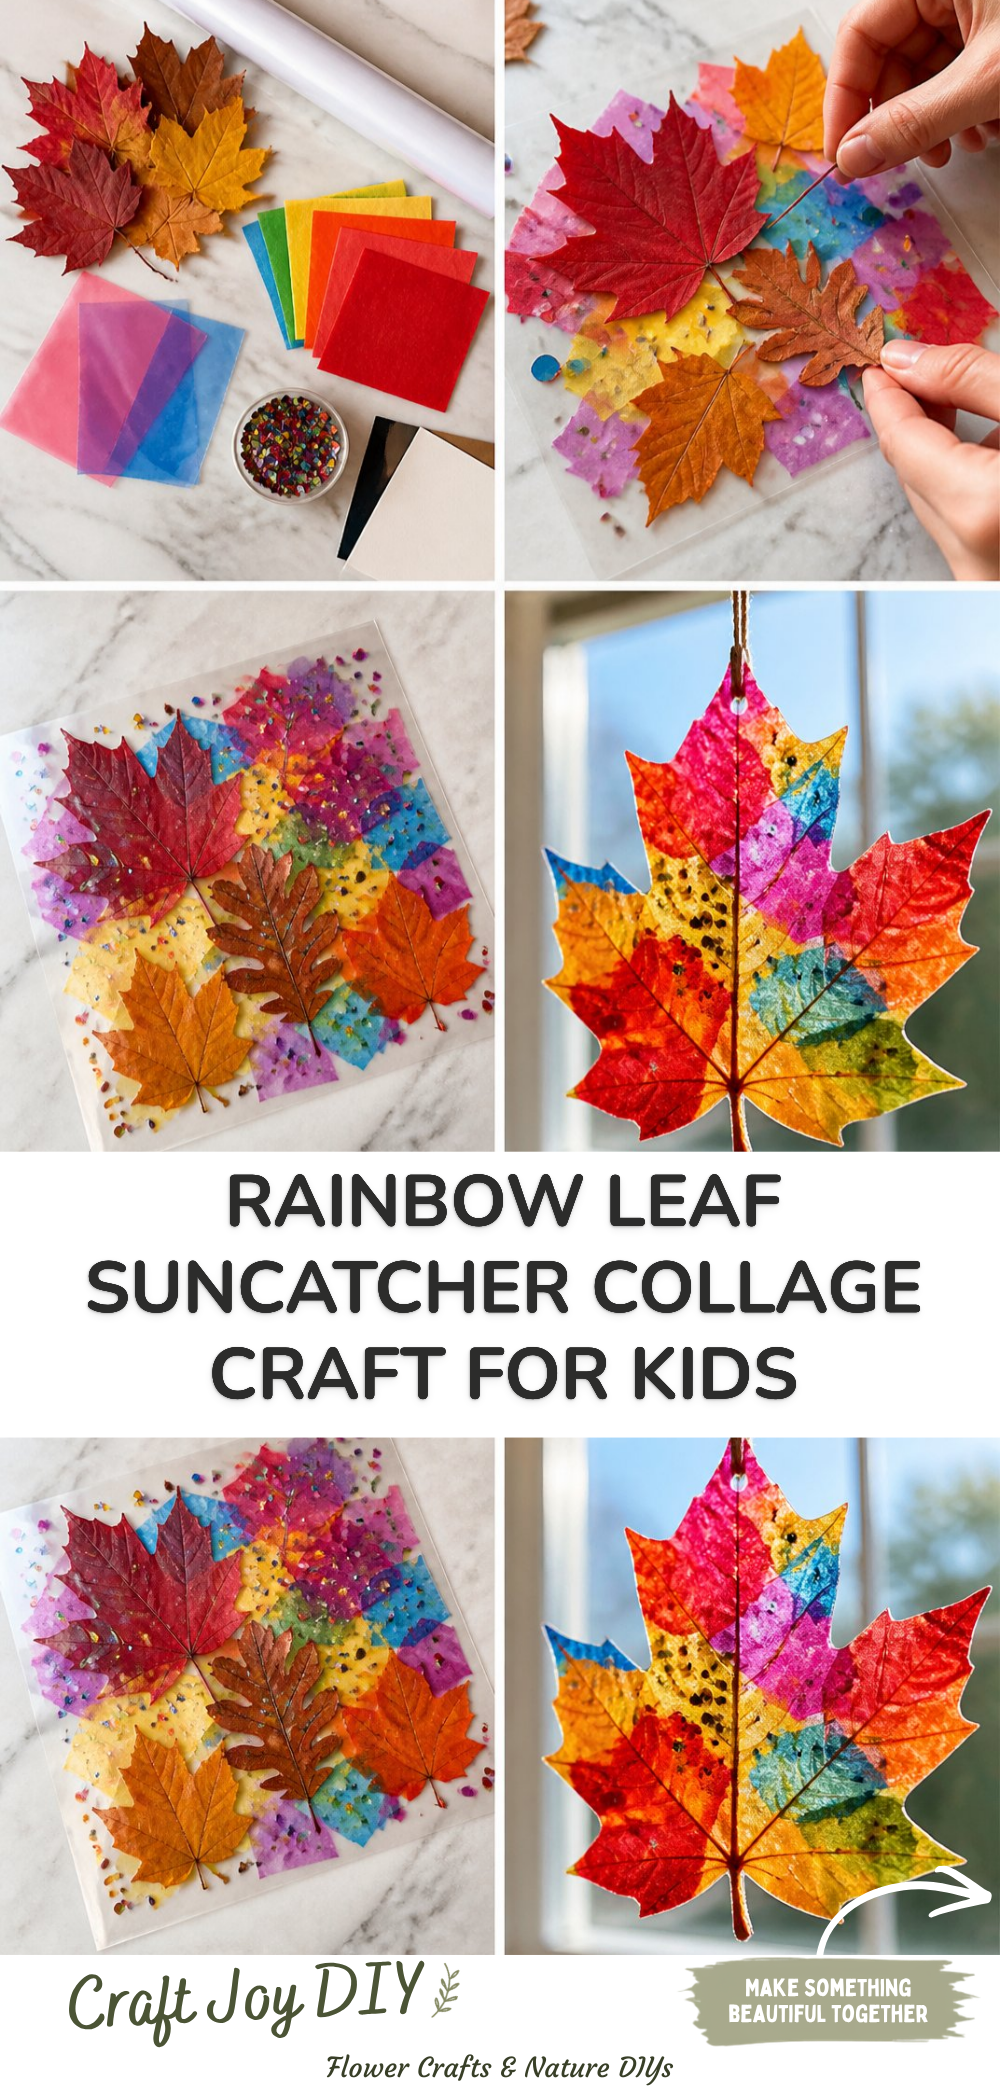
You may also find Fall Leaf Friends Craft Kids Rainbow Panda useful.
Materials You’ll Need
- Colorful leaves: Use real leaves or cut-out paper leaves in various colors.
- Contact paper: This will serve as the base for the suncatcher.
- Scissors: For cutting the leaves.
- Markers or crayons: To add designs on the leaves if desired.
- String or ribbon: For hanging the finished suncatcher.
- Optional: Additional decorations like glitter or stickers.
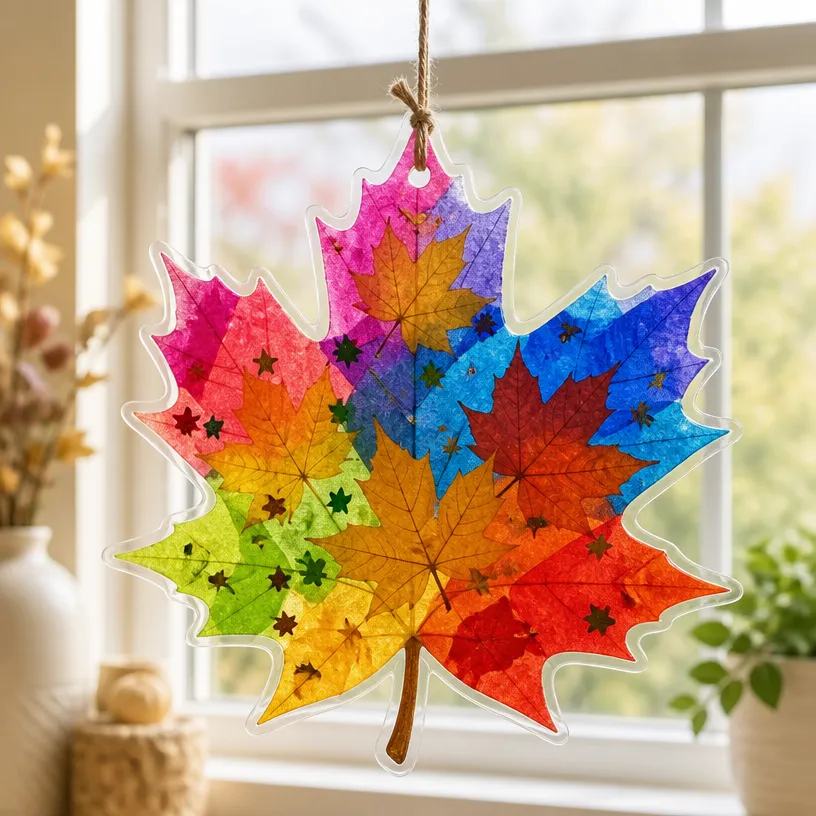
How to Make Rainbow Leaf Suncatcher Collage
- Prepare the Leaves: Gather your colorful leaves. If using real leaves, ensure they are flat and not too fragile.
- Cut the Contact Paper: Take a piece of contact paper and cut it to your desired size for the suncatcher.
- Peel the Backing: Carefully peel the backing off the contact paper, exposing the sticky side.
- Arrange the Leaves: Place the leaves on the sticky side, arranging them in a collage-style pattern.
- Seal the Leaves: Once satisfied with the arrangement, cut another piece of contact paper to the same size and place it over the leaves, sealing them in between.
- Cut Out the Suncatcher: Trim around the edges to create your desired shape, leaving a small margin of contact paper to prevent the leaves from peeling out.
- Add a String: Punch a small hole at the top and tie the string or ribbon for hanging.
Helpful Tips
- To achieve cleaner results, keep the edges as even as possible when cutting the contact paper.
- Encourage children to experiment with patterns and colors for unique outcomes.
- Make sure to supervise the cutting steps if working with younger kids to ensure safety.
- To prevent the suncatcher from curling, use a thicker piece of contact paper.
Easy Variations
- Seasonal Themes: Use leaves from different trees to reflect the current season, such as bright green for spring or orange and brown for autumn.
- Size Options: Create smaller suncatchers to use as gifts or larger ones to make a striking display in your window.
- Different Shapes: Instead of traditional shapes, experiment with fun designs like hearts or stars.
- Using Paint: Instead of markers, consider painting the leaves for a different texture and effect.
Making This Craft With Kids
This project is ideal for kids ages 4 and up, as it allows them to be creative while improving their fine motor skills. While arranging leaves can be done independently, adults should assist with cutting the contact paper and ensuring the leaves are securely sealed. You may also find Melted Crayon Rainbow Butterfly Suncatcher Craft useful.
How to Display or Use It
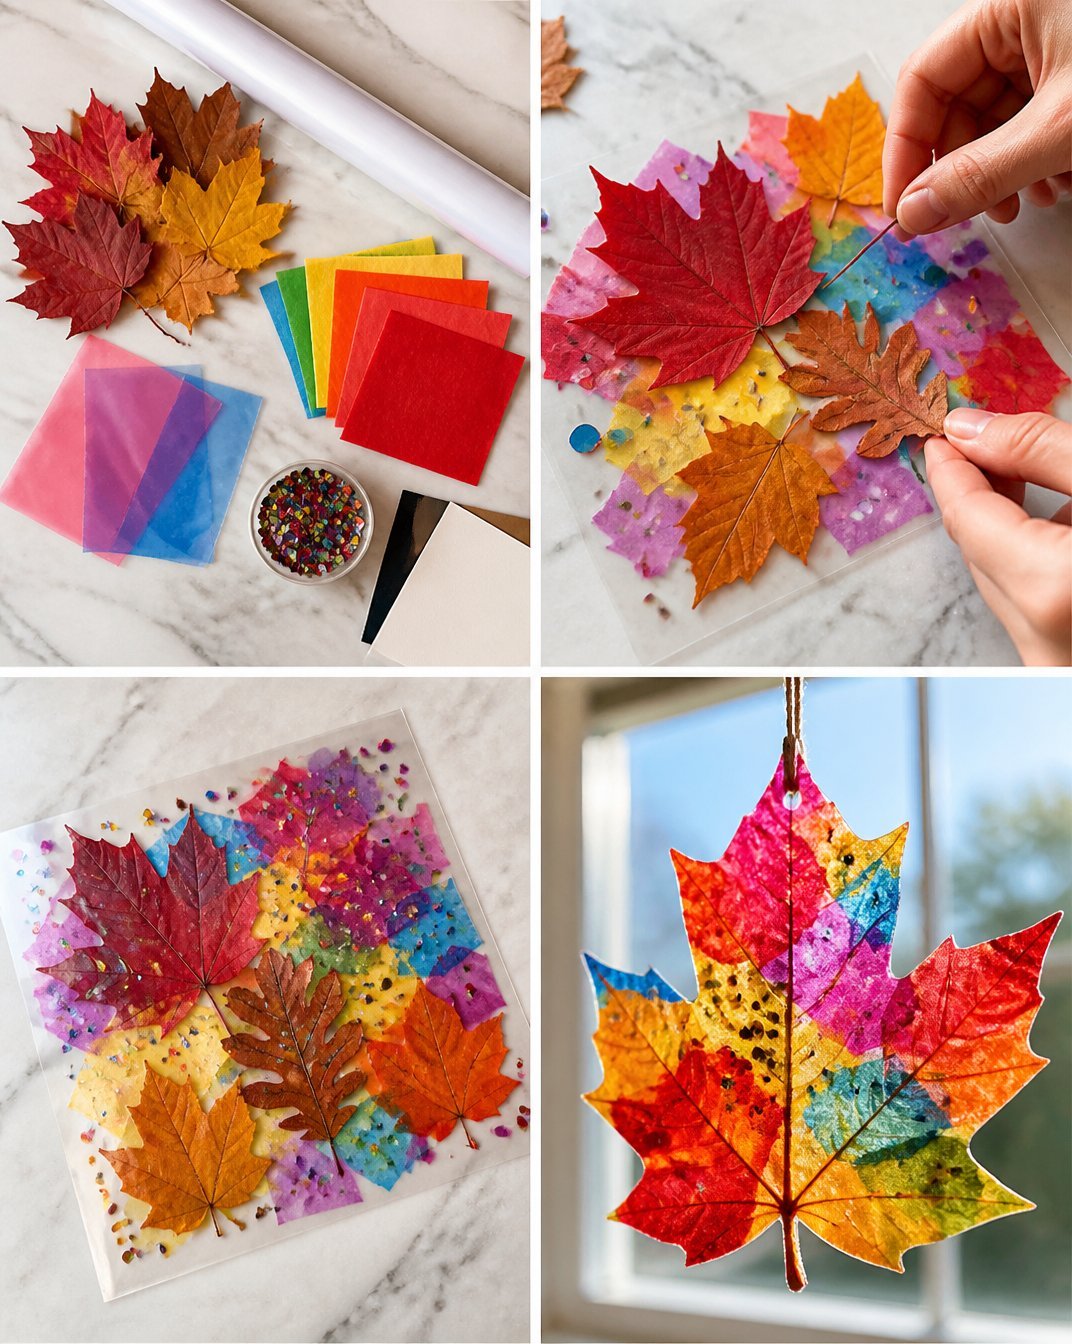
Once completed, hang your Rainbow Leaf Suncatcher in a sunny window where it can catch the light. This project also makes for a wonderful gift or as part of seasonal decorations. You can display them on a string for a movable art installation when in a group setting, such as at school. You may also find Melted Crayon Rainbow Butterfly Suncatcher For Kids useful.
Frequently Asked Questions
Can I use fake leaves?
Yes, fake leaves work well for this project and can add a fun twist with their unique textures.
Is contact paper safe for kids?
Yes, contact paper is generally safe for kids, but ensure they do not ingest any materials.
How do I clean my suncatcher?
To clean the suncatcher, gently wipe it with a damp cloth. Avoid using harsh chemicals that could damage it.
What if my leaves curl?
Pressing the leaves flat before using them can help prevent curling later.
Conclusion
Crafting a Rainbow Leaf Suncatcher Collage is an enjoyable and creative way to bring nature into your home. This project is not only a feast for the eyes but also helps children develop their crafting skills. For additional ideas, you might explore the Leaf Suncatcher project for inspiration or check out the Fall Leaf Suncatchers Craft for more similar crafts to try.
Print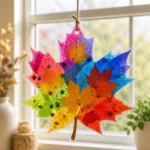
Rainbow Leaf Suncatcher Collage
- Total Time: 15 minutes
- Makes: 1 suncatcher
Description
A fun and colorful project that allows kids and adults to create beautiful suncatchers using leaves and contact paper.
Materials
- Colorful leaves (real or paper)
- Contact paper
- Scissors
- Markers or crayons
- String or ribbon
- Optional: Additional decorations like glitter or stickers
Instructions
- Gather your colorful leaves. Ensure they are flat and not too fragile.
- Cut a piece of contact paper to your desired size for the suncatcher.
- Peel the backing off the contact paper to expose the sticky side.
- Arrange the leaves on the sticky side in a collage-style pattern.
- Seal the leaves by placing another piece of contact paper on top.
- Trim around the edges to create your desired shape, leaving a small margin.
- Punch a hole at the top and tie the string or ribbon for hanging.
Notes
Encourage creativity with patterns and colors, and supervise children during cutting.