

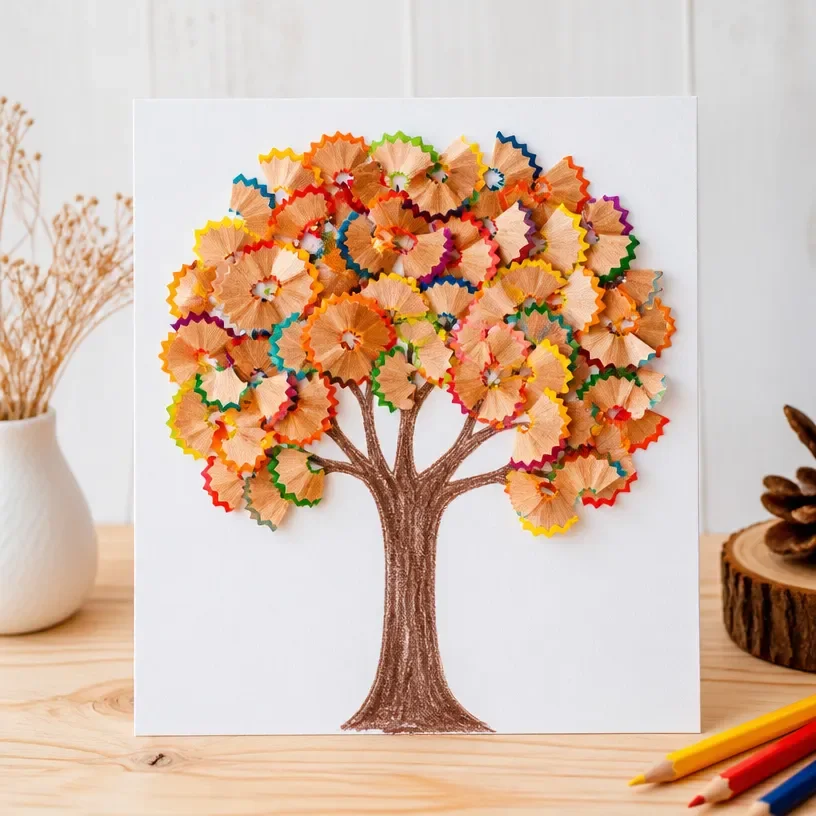
Rainbow Pencil-Shaving Fall Tree Art
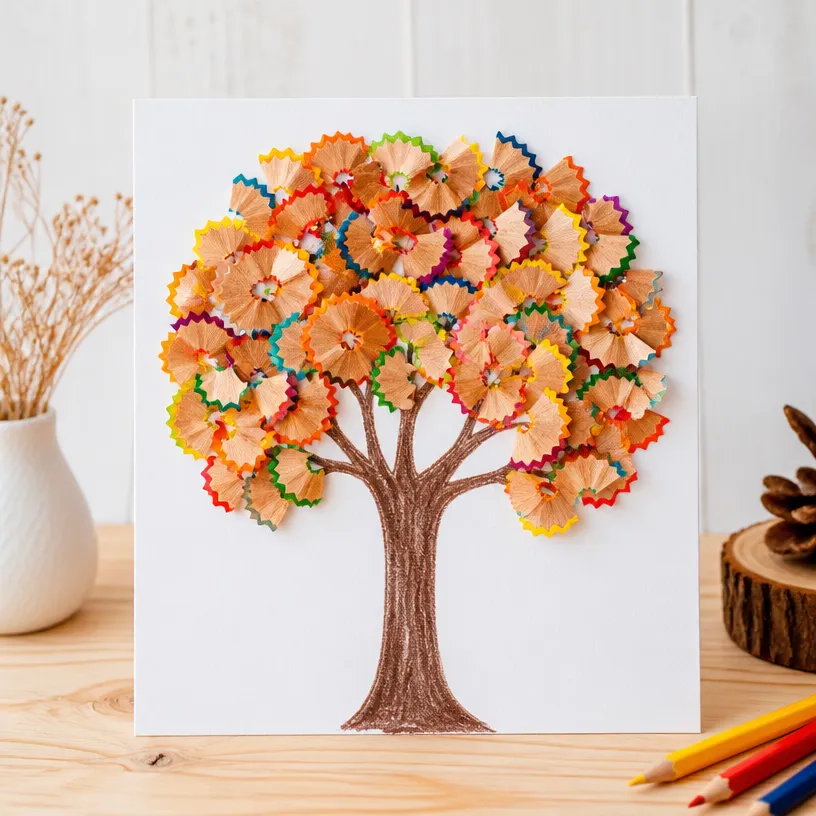
Creating a vibrant Rainbow Pencil-Shaving Fall Tree Art piece is a delightful way to celebrate the color and beauty of autumn. Not only does this craft project brighten your home, but it also encourages creativity in a fun, hands-on manner. The process involves using pencil shavings coupled with traditional craft materials, resulting in a colorful tree that perfectly embodies the spirit of the season. This project is excellent for families who want to make lasting memories with their children while exploring different artistic techniques. You may also find Bubble Paint Canvas Art Autumn Rainbow Tree Craft useful.
Why You’ll Enjoy This Project
- Fun and Creative: Working with pencil shavings allows for unique textures and colors, making this craft visually stunning.
- Great for All Ages: Kids and adults alike can enjoy this activity, making it perfect for family bonding or classroom projects.
- Simple Materials: Most of the materials needed are easily accessible, making it a hassle-free craft to undertake.
- Educational Opportunity: As you create, you can teach kids about colors, shapes, and the seasonal significance of a fall tree.
- Displayable Art: The final product can be showcased at home, allowing you to take pride in your artistic efforts.
You may also find Colorful Button Mosaic Art Apple Inspired Rainbow Design useful.
Materials You’ll Need
- Pencil shavings (various colors)
- Thick paper or cardstock (brown works best for the tree trunk)
- Glue (white school glue or a glue stick)
- Scissors
- Markers or crayons (optional, for additional decorations)
How to Make Rainbow Pencil-Shaving Fall Tree Art
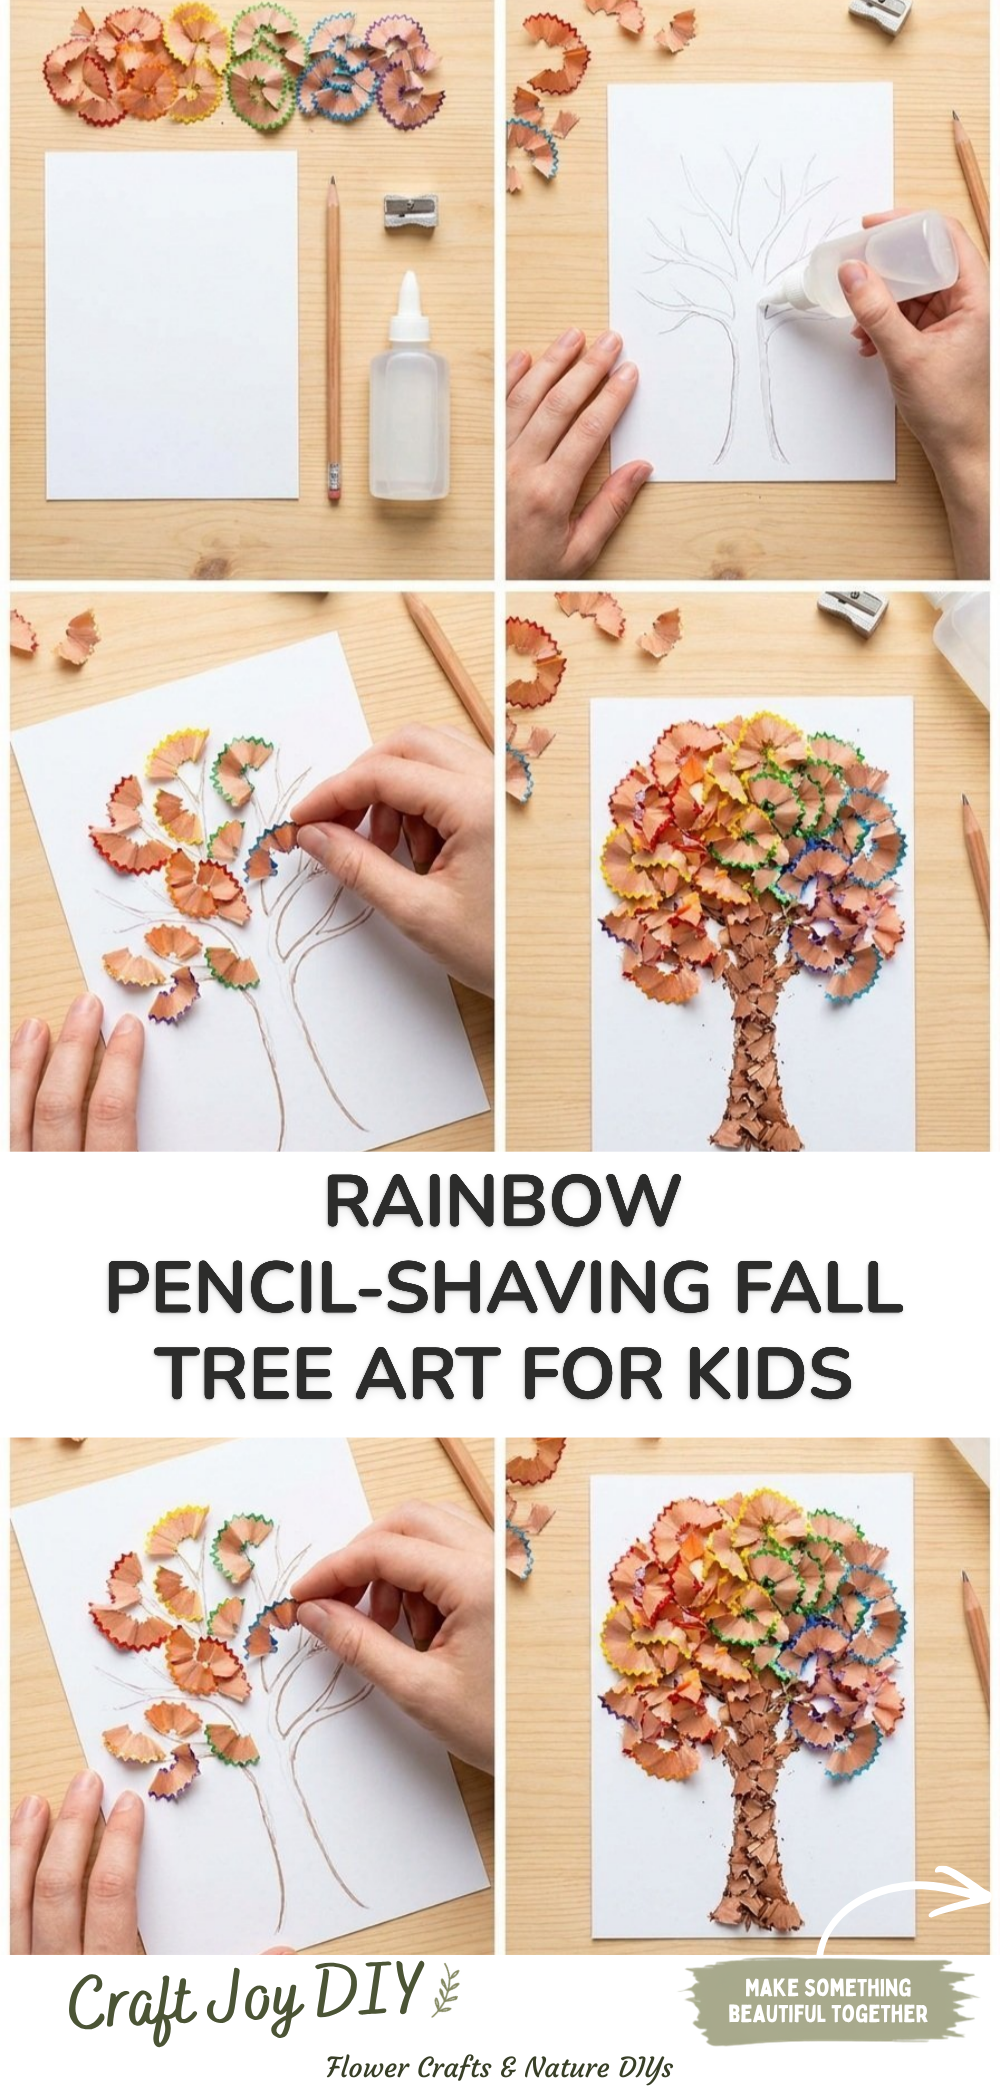
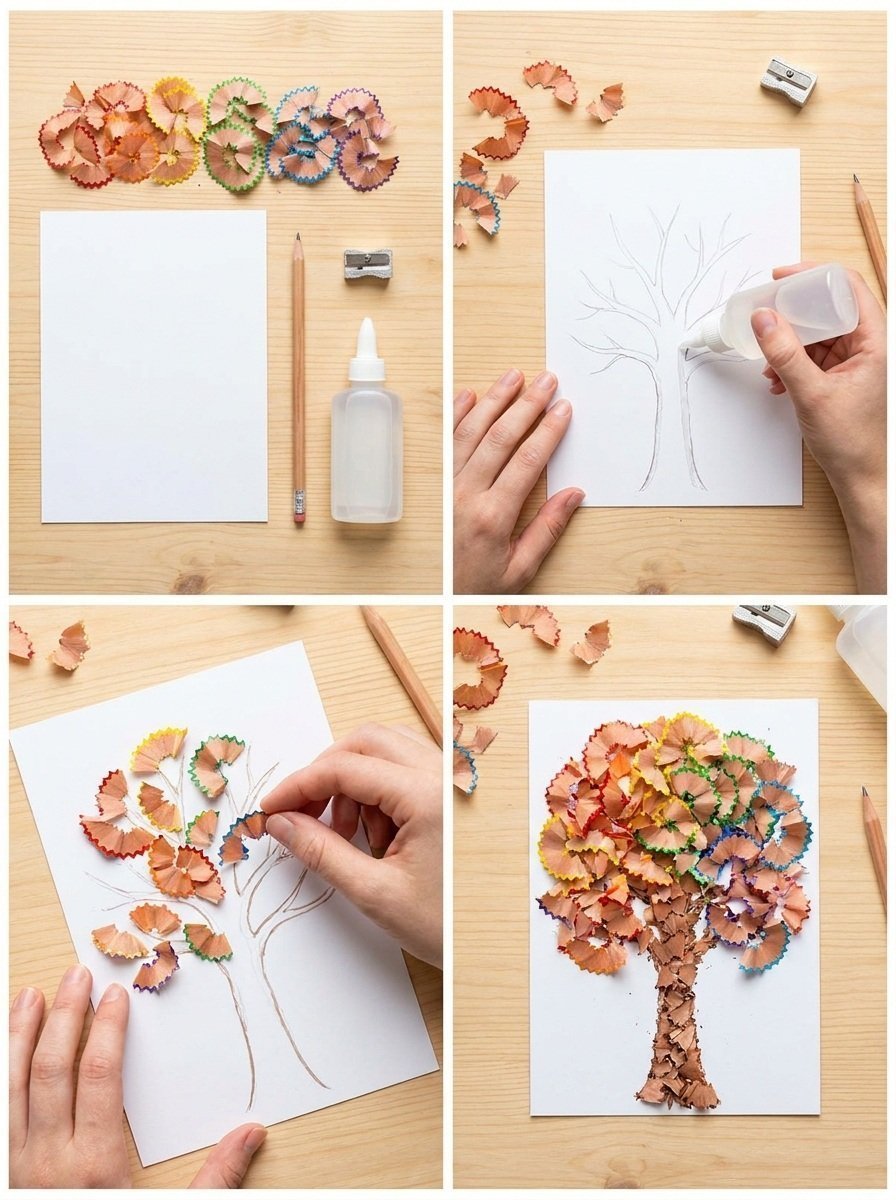
- Prepare Your Paper: Start with your thick paper or cardstock. If you’re making a trunk, cut out a simple tree shape to act as your base.
- Gather Pencil Shavings: Sharpen colored pencils to create shavings. You can collect different colors to represent various leaves.
- Shape the Tree: Use glue to attach pencil shavings onto the tree base in a way that resembles a full, colorful canopy. Feel free to mix colors for a more vibrant look.
- Create the Trunk: If you haven’t done so, cut out a trunk from brown paper and glue it to the bottom of your tree.
- Add Details: Enhance your artwork with markers or crayons by drawing additional elements like grass, clouds, or even a sun.
Helpful Tips
- Use a variety of colors for the pencil shavings to achieve a more dynamic and lively tree.
- Encourage kids to layer the shavings, which adds depth to the tree.
- If you’re working with younger children, supervise them while using scissors to ensure safety.
- Once finished, place the crafts flat to dry completely.
- Consider spraying the finished art with a light aerosol fixative to keep everything in place, especially if the glue is still wet.
Easy Variations
- Seasonal Shift: Change the color scheme to represent different seasons; use richer colors for fall or bright pastels for spring.
- Size Adjustment: Alter the size of the tree depending on how large you want to display it.
- Material Swap: Instead of pencil shavings, use crumpled tissue paper or colored paper circles for a different texture.
- Themed Trees: Create a tree that incorporates seasonal themes add small paper pumpkins for autumn or flowers for spring.
- Group Project: Construct multiple trees for a community display or classroom project.
Making This Craft With Kids
This craft is particularly suited for children, allowing them to express their creativity while working with fun materials. Adults may need to assist with cutting out shapes and supervise the use of scissors, ensuring safety as kids explore their artistic abilities. You may also find Fall Leaf Friends Craft Kids Rainbow Panda useful.
How to Display or Use It
Once your Rainbow Pencil-Shaving Fall Tree Art is complete, consider framing it to hang on your wall. Alternatively, it can be a lovely addition to classroom decorations or even served as a thoughtful gift to family members. Display it on a table with other seasonal crafts to create a festive atmosphere. You may also find Melted Crayon Rainbow Heart Suncatcher For Kids useful.
Frequently Asked Questions
1. How do I get pencil shavings without a sharpener?
You can use a knife to carefully shave the pencils, but adult supervision is recommended for safety.
2. Can I use other types of glue?
Yes, while traditional white glue works well, any craft glue that dries clear will suffice.
3. What if I don’t have colored pencils?
Feel free to use crayons or even pieces of colored paper that you can cut into shavings.
4. How can I keep the pencil shavings from falling off?
Make sure they are securely glued down, and once the glue is dry, you may consider spray sealing the piece lightly.
5. What age group is this craft appropriate for?
This project is suitable for ages 5 and up, with adult supervision recommended for younger kids during specific steps.
Conclusion
This Rainbow Pencil-Shaving Fall Tree Art project is an engaging way to celebrate autumn while learning about colors and crafting techniques. For inspiration and similar projects, you can explore the Back-to-School Pencil Shaving Garland or check out Pencil Shaving Autumn Tree Art for Kids for more ideas! Happy crafting!
Print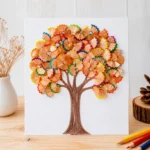
Rainbow Pencil-Shaving Fall Tree Art
- Total Time: 45 minutes
- Makes: 1 art piece
Description
Create a vibrant tree art using colorful pencil shavings, perfect for celebrating the beauty of autumn.
Materials
- Pencil shavings (various colors)
- Thick paper or cardstock (brown works best for the tree trunk)
- Glue (white school glue or a glue stick)
- Scissors
- Markers or crayons (optional, for additional decorations)
Instructions
- Prepare your paper by cutting it into a simple tree shape if making a trunk.
- Gather pencil shavings by sharpening colored pencils.
- Shape the tree by using glue to attach the shavings onto the tree base to resemble a canopy.
- Create the trunk by cutting out a shape from brown paper and gluing it to the bottom.
- Add details using markers or crayons for additional decorations.
Notes
Encourage kids to layer the pencil shavings for depth. Supervise children using scissors for safety.