

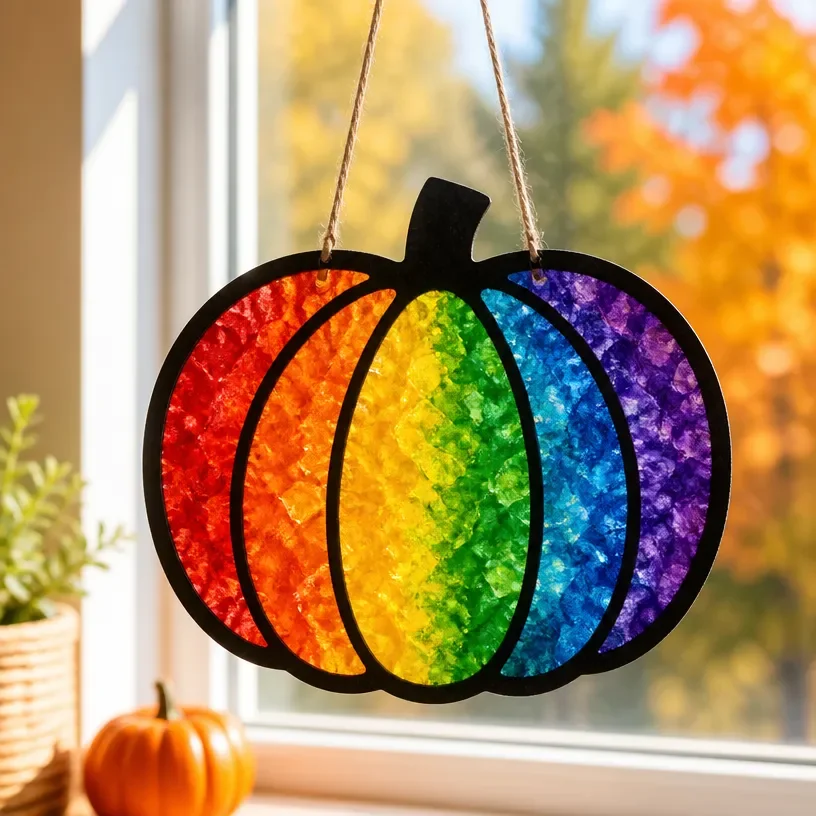
DIY Rainbow Crayon Pumpkin Suncatcher
Creating beautiful crafts is a wonderful way to brighten up your home, especially during fall. One delightful project to consider is making a DIY Rainbow Crayon Pumpkin Suncatcher. This engaging craft combines colorful melted crayons, the essence of autumn, and a fun activity for kids and adults alike. Not only will you end up with a stunning piece of art, but the process is enjoyable and straightforward for crafters of all skill levels. You may also find Rainbow Melted Crayon Maple Leaf Suncatcher Diy useful.
Why You’ll Enjoy This Project
- Colorful Outcome: The rich, vivid colors from melted crayons create a beautiful display of light and shadows when hung in a window.
- Easy to Make: With a few simple steps, you can create this project quickly, making it an excellent choice for busy families.
- Great for All Ages: Kids can get involved in the melting and crafting process, making it a perfect family activity.
- Encourages Creativity: This project allows for personal expression through color choices and design variations.
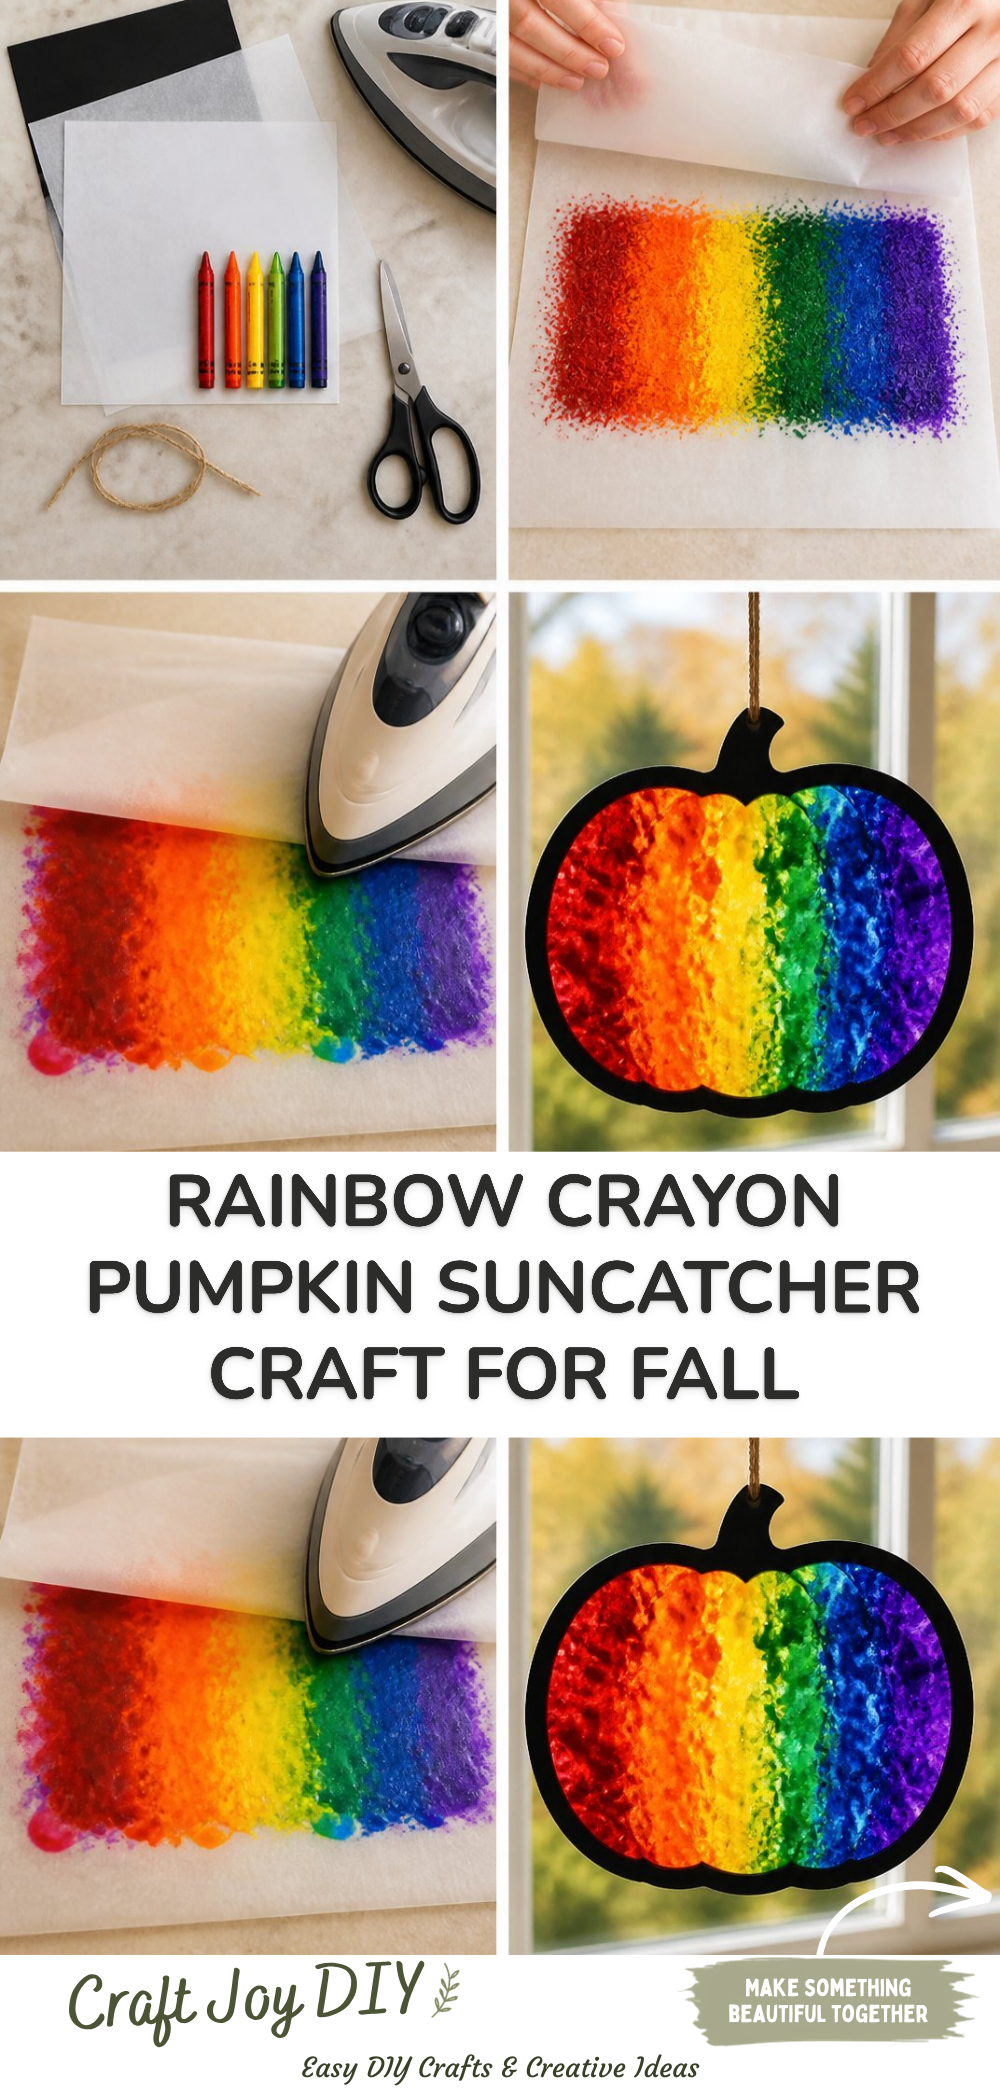
You may also find Rainbow Melted Crayon Pumpkin Suncatcher For Kids useful.
Materials You’ll Need
- Crayons: Various colors for a vibrant look.
- Parchment Paper: To prevent sticking during the melting process.
- Pumpkin Template: For guiding your suncatcher shape (you can create your own).
- Iron: For melting the crayons safely.
- Baking Sheet: To catch any drips from the melted crayons.
- Scissors: For cutting out your pumpkin shape.
- String or Fishing Line: For hanging your finished suncatcher.
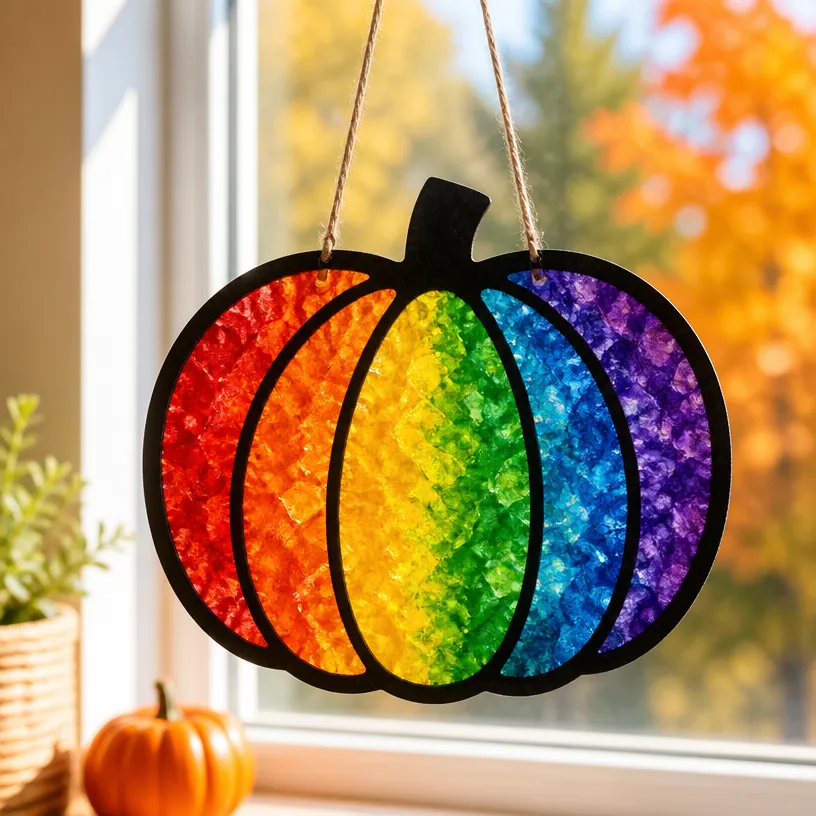
How to Make DIY Rainbow Crayon Pumpkin Suncatcher
- Preheat Your Iron: Set your iron to a low setting with no steam.
- Prepare the Crayons: Remove the paper from the crayons and break them into small pieces.
- Set Up Your Template: Place the pumpkin template on a baking sheet lined with parchment paper.
- Fill the Template: Arrange the crayon pieces inside the pumpkin shape, ensuring they are in colorful clusters.
- Cover with Parchment: Place another piece of parchment paper over the crayons to avoid direct contact with the iron.
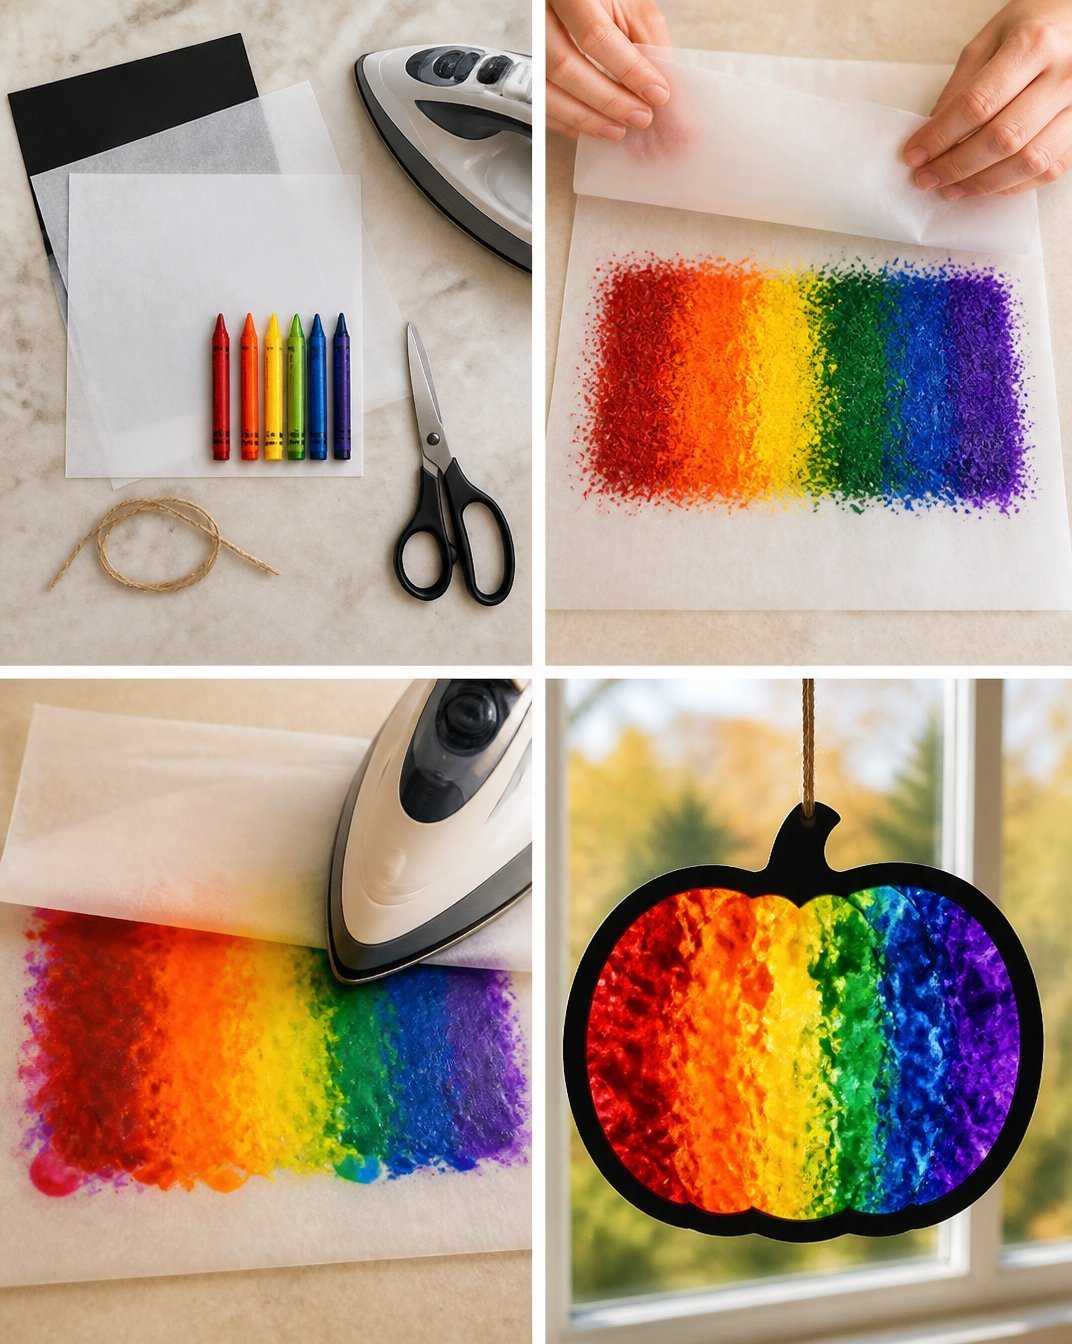
- Melt the Crayons: Gently press the iron down on the parchment-covered crayons for a few seconds until melted.
- Cool Down: Allow the melted crayon mixture to cool for a few minutes.
- Cut Out the Shape: Once cool, carefully peel off the top layer of parchment, and cut around your pumpkin shape.
- Add Hanging String: Punch a small hole at the top of the pumpkin, and thread your string or fishing line through for easy hanging.
Helpful Tips
- Supervision Required: Keep an eye on younger kids during the melting process to ensure safety with the iron.
- Experiment with Colors: Don’t hesitate to mix crayon colors to find your perfect palette.
- Hang in Bright Light: Position the suncatcher where sunlight can shine through for the best effect.
Easy Variations
- Color Themes: Create suncatchers in autumn colors like orange, red, and yellow for a seasonal touch or choose pastels for a spring look.
- Different Shapes: Instead of pumpkins, you can try other shapes like leaves, hearts, or even ghosts for Halloween.
- Layering: For a more intricate design, layer multiple colors by cooling and reheating the melts.
Making This Craft With Kids
This project is a fabulous way to engage children in creative play. Adults should handle the iron, but kids can chop crayons and arrange pieces into the template. Make it a fun team effort, discussing color choices and decoration as you go. You may also find Diy Pumpkin Suncatchers Tie Dye Coffee Filters useful.
How to Display or Use It
Once completed, hang your Rainbow Crayon Pumpkin Suncatcher in a sunny window, where it can catch and reflect light beautifully. It can also be a lovely decoration for autumn-themed parties or as a handmade gift for friends and family. You may also find Melted Crayon Rainbow Butterfly Suncatcher For Kids useful.
Frequently Asked Questions
Can I use broken crayons?
Yes, broken pieces are perfect for this project! You may also find Melted Crayon Rainbow Haunted House Suncatcher Craft useful.
What if I don’t have a pumpkin template?
Feel free to create your own pumpkin shape freehand, or download one online.
Can I make this project outdoors?
It’s best to do this indoors, especially when using the iron.
How long should the crayon melting take?
The melting process should only take about 1-2 minutes in total, but keep checking!
What if my colors mix too much?
Layer the crayons more carefully and avoid overlapping colors to maintain distinct hues.
Can I use other types of crayons?
Non-toxic crayons work best; however, other brands may melt differently.
Conclusion
Making a DIY Rainbow Crayon Pumpkin Suncatcher is not just a fun craft; it’s also a wonderful opportunity to bond with family and create beautiful memories. For more inspiration, look at the Rainbow Melted-Crayon Pumpkin Suncatcher – DIY Glow or explore another creative idea with the Melted Crayon Pumpkin – The Best Ideas for Kids. Happy crafting!
Print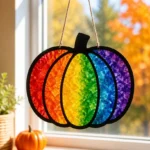
DIY Rainbow Crayon Pumpkin Suncatcher
- Total Time: 20 minutes
- Makes: 1 suncatcher
Description
Create a stunning rainbow crayon pumpkin suncatcher that brightens your home this fall with vibrant colors and a fun craft project for all ages.
Materials
- Crayons: Various colors for a vibrant look
- Parchment Paper: To prevent sticking during the melting process
- Pumpkin Template: For guiding your suncatcher shape
- Iron: For melting the crayons safely
- Baking Sheet: To catch any drips from melted crayons
- Scissors: For cutting out your pumpkin shape
- String or Fishing Line: For hanging your finished suncatcher
Instructions
- Preheat your iron: Set your iron to a low setting with no steam.
- Prepare the crayons: Remove the paper from the crayons and break them into small pieces.
- Set up your template: Place the pumpkin template on a baking sheet lined with parchment paper.
- Fill the template: Arrange the crayon pieces inside the pumpkin shape, ensuring they are in colorful clusters.
- Cover with parchment: Place another piece of parchment paper over the crayons to avoid direct contact with the iron.
- Melt the crayons: Gently press the iron down on the parchment-covered crayons for a few seconds until melted.
- Cool down: Allow the melted crayon mixture to cool for a few minutes.
- Cut out the shape: Once cool, carefully peel off the top layer of parchment, and cut around your pumpkin shape.
- Add hanging string: Punch a small hole at the top of the pumpkin, and thread your string or fishing line through for easy hanging.
Notes
Keep supervision during the melting process. Experiment with different color combinations for unique designs.