

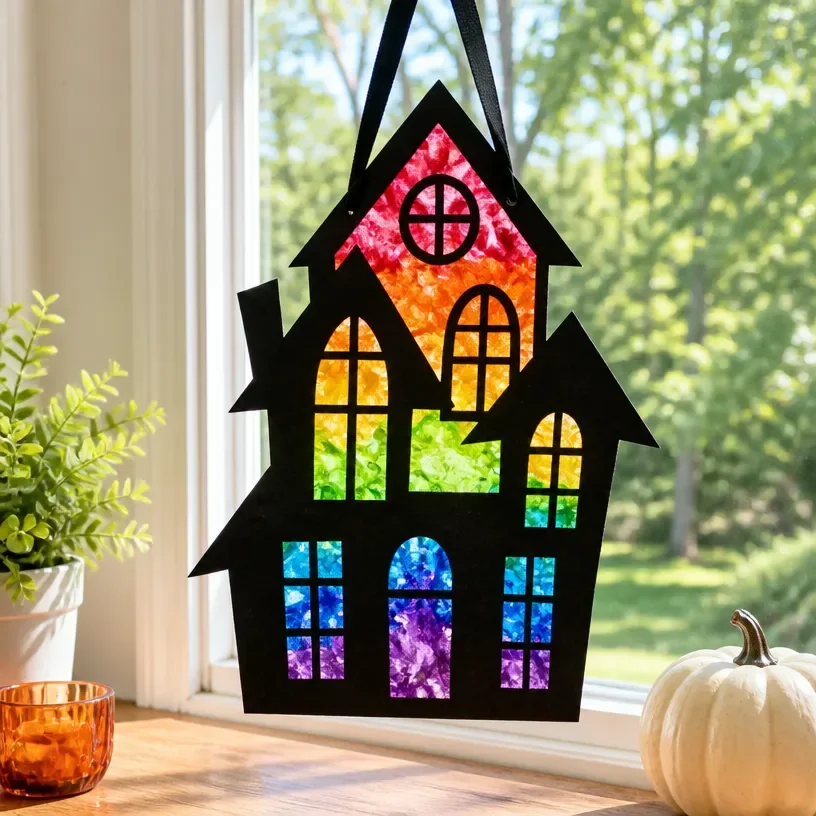
DIY Melted Crayon Rainbow Suncatcher: Haunted House Craft
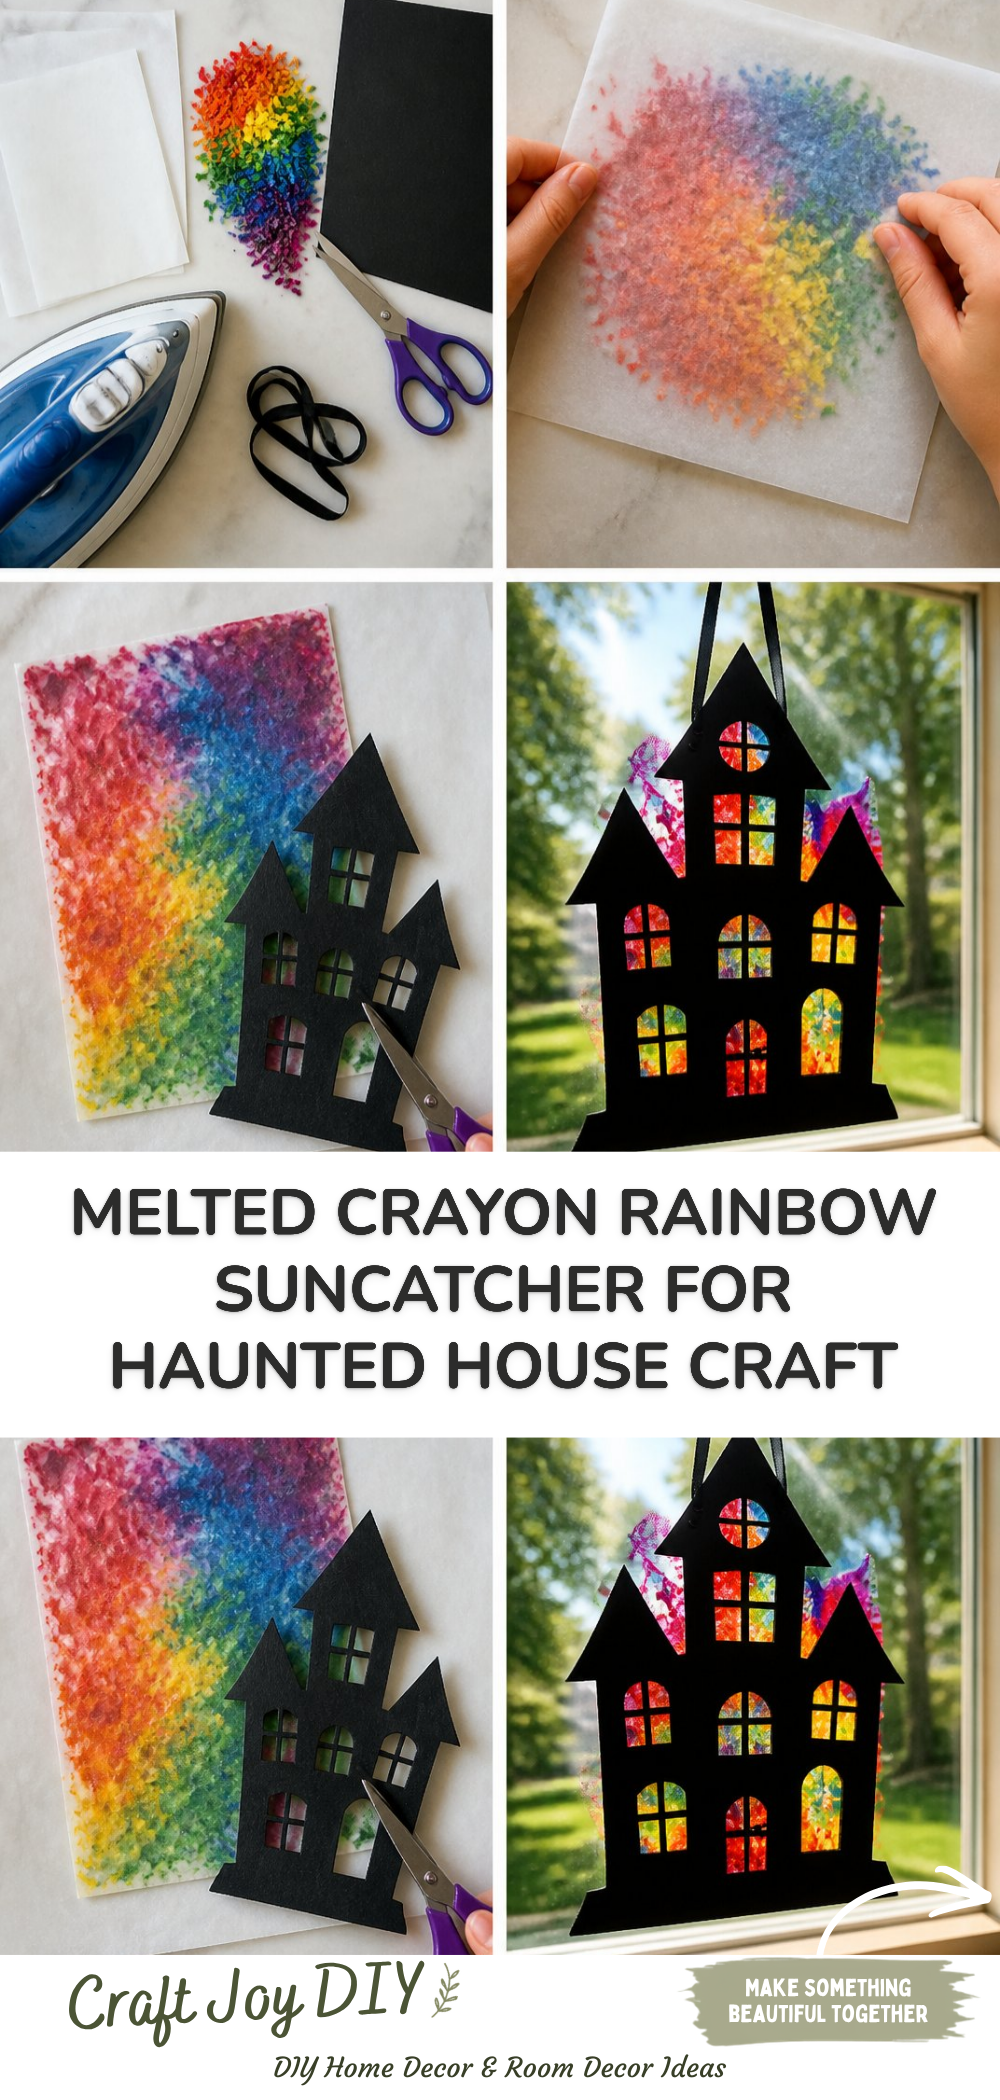
Creating your own DIY Melted Crayon Rainbow Suncatcher is a fun and colorful way to decorate your home, especially during spooky seasons like Halloween. This project combines art with a touch of creativity and imagination, making it a delightful activity for both kids and adults. You’ll end up with a vibrant suncatcher that captures light beautifully, perfect for brightening up any window. You may also find Melted Crayon Rainbow Haunted House Suncatcher Craft useful.
In this craft, you will melt crayons to form a stunning rainbow that can resemble a haunted house theme. It’s an enjoyable way to recycle old crayons while following simple steps that even beginner crafters can handle. Let’s dive into how to create this festive piece of art! You may also find Rainbow Crayon Haunted House Art For Kids useful.
Why You’ll Enjoy This Project
- Fun and Colorful: Melting crayons creates beautiful colors that are perfect for brightening any space.
- Engaging for All Ages: This craft is suitable for kids with adult supervision and can be a fun family activity.
- Creative Expression: Each suncatcher can be unique, allowing for personal touches in the designs.
- Simple Materials: Most families have crayons on hand, making this an inexpensive craft option.
- Sustainable Crafting: This project helps to reuse old crayons, reducing waste in a fun way.
You may also find Diy Colorful Popsicle Stick Haunted House Village Halloween useful.
Materials You’ll Need
- Old crayons (broken or whole)
- Wax paper
- An iron
- Scissors
- A cookie sheet or flat baking pan
- A craft knife
- Window or clear glue (for attaching)
Using broken crayons is ideal for this project as it allows you to experiment with different colors. If you don’t have wax paper, you can also use parchment paper but be cautious of the melting temperature. You may also find Diy Rainbow Popsicle Stick Flower Wheel Craft useful.
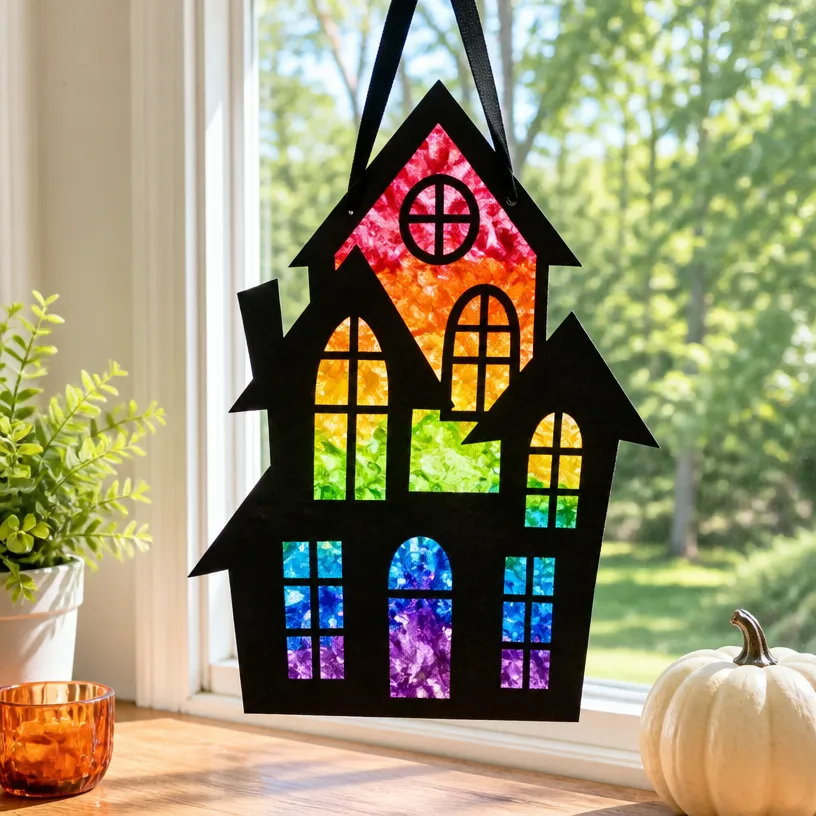
How to Make DIY Melted Crayon Rainbow Suncatcher: Haunted House Craft
Prepare the Crayons: Start by peeling the wrappers off the crayons. Use a craft knife if needed, being careful to cut away from yourself.
Chop the Crayons: Break or cut the crayons into smaller pieces, about 1 inch long.
Layer the Crayons: Arrange the crayon pieces on a sheet of wax paper in a rainbow pattern or design that resembles a haunted house. Use various colors to create an eye-catching blend.
Cover with Wax Paper: Place another piece of wax paper on top of the arranged crayons. Flatten it with your hands to secure the crayon pieces in place.
Iron the Crayons: Set your iron to a low setting without steam, and gently press down on the top wax paper. Move the iron in circles to evenly melt the crayons together, but don’t press too hard, or the paper may burn.
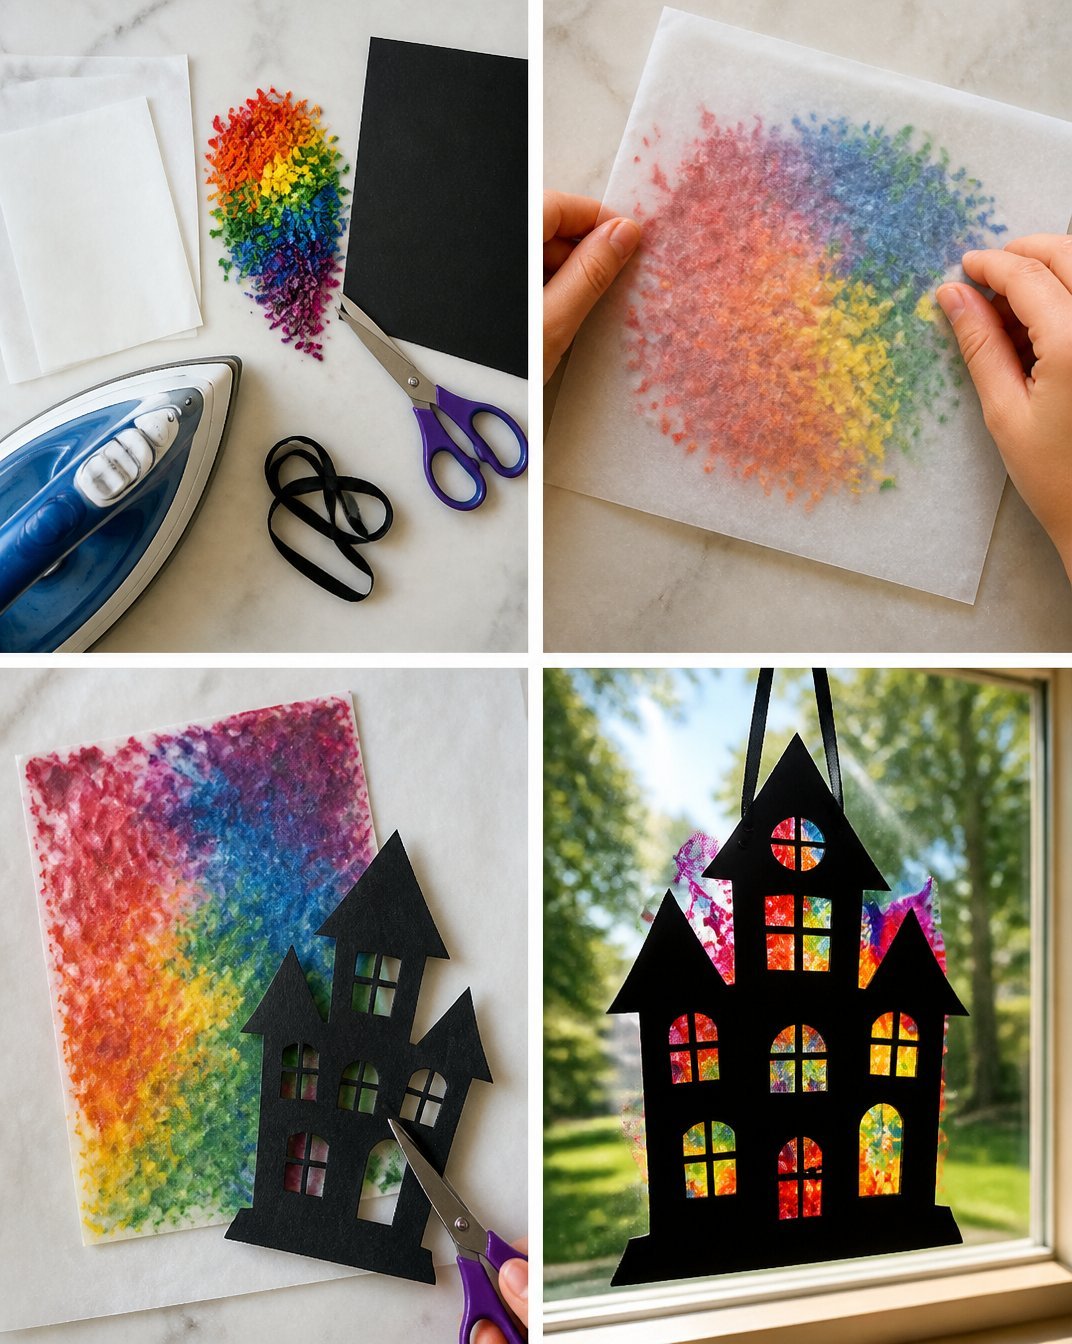
Cool and Cut: Let the melted crayon design cool for a few minutes. Once it’s firm, carefully peel the wax paper apart and use scissors to cut your suncatcher into your desired shape, like a haunted house.
Attach the Suncatcher: Use window or clear glue to attach your suncatcher to a window or other shiny surfaces.
Helpful Tips
- For cleaner results, keep the iron moving continuously to prevent burning the wax paper.
- If you want more texture, try layering different colors for a more dynamic look.
- Set up a dedicated craft area with newspapers or old towels to keep the workspace clean.
- Display your suncatcher in a spot where it can catch the sunlight for a colorful effect.
Easy Variations
- Seasonal Colors: Use oranges and blacks for Halloween themes or pinks and reds for Valentine’s Day.
- Different Shapes: Instead of a haunted house, try creating autumn leaves or flowers for a seasonal touch.
- Size Variations: Make smaller suncatchers for a window or larger ones to feature as wall art.
- Mixed Media: Mix crayon art with other crafts, such as creating a spooky background using paint or markers.
- Layering Designs: Layer two different designs for added depth and visual appeal.
Making This Craft With Kids
This craft is perfect for children, but adult supervision is recommended during the melting process to handle the iron safely. Allow kids to arrange the crayon pieces and discuss color choices with them to make it more engaging.
How to Display or Use It
Once your suncatcher is complete, display it in a bright window where it can soak up the sun. You can also gift it as a handmade piece to family or friends. Consider taking it down as seasons change and creating new designs to refresh your decor.
Frequently Asked Questions
What type of crayons work best?
Any standard crayons will work, but avoid using glitter or specialty crayons as they may not melt well.
Can I use other types of paper?
Wax paper is ideal, but parchment paper can be used with caution during the heating process.
How long do these suncatchers last?
With proper care, your suncatcher can last for many seasons in a window, but sunlight may fade the colors over time.
Is this project safe for kids?
Yes, but adult supervision is important when using the iron and craft knife.
Can I use the melted crayon for other projects?
Absolutely! You might enjoy creating other crafts like the Maple Leaf Suncatcher or artwork.
How can I clean up any crayon spills?
Use a protective surface under your craft area and a damp cloth to wipe any crayon residues off surfaces immediately.
Conclusion
Making a DIY Melted Crayon Rainbow Suncatcher is not only an enjoyable craft but also a creative way to create colorful decorations. As you gather materials and start this fun project, consider exploring different crafting ideas, such as making a Puffy Paint Ghost craft or a Melted Crayon Pumpkin. Each craft brings its own flair and adds a festive touch to your home. Enjoy creating beautiful art together with your family!
Print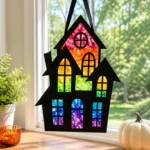
DIY Melted Crayon Rainbow Suncatcher
- Total Time: 20 minutes
- Makes: 1 suncatcher
Description
Create a vibrant and colorful DIY Melted Crayon Rainbow Suncatcher that’s perfect for brightening up any window, especially during Halloween.
Materials
- Old crayons (broken or whole)
- Wax paper
- An iron
- Scissors
- A cookie sheet or flat baking pan
- A craft knife
- Window or clear glue (for attaching)
Instructions
- Prepare the crayons: Peel the wrappers off the crayons using a craft knife if needed.
- Chop the crayons: Break or cut the crayons into smaller pieces, about 1 inch long.
- Layer the crayons: Arrange them in a rainbow pattern or haunted house design on a sheet of wax paper.
- Cover with wax paper: Place another piece on top and flatten it to secure the pieces.
- Iron the crayons: Set the iron to a low setting without steam and gently press on the top wax paper.
- Cool and cut: Allow it to cool and then cut the suncatcher into your desired shape.
- Attach the suncatcher: Use glue to attach it to a window or shiny surface.
Notes
Ensure to have a dedicated craft area to keep the workspace clean, and supervise children during the melting process.