

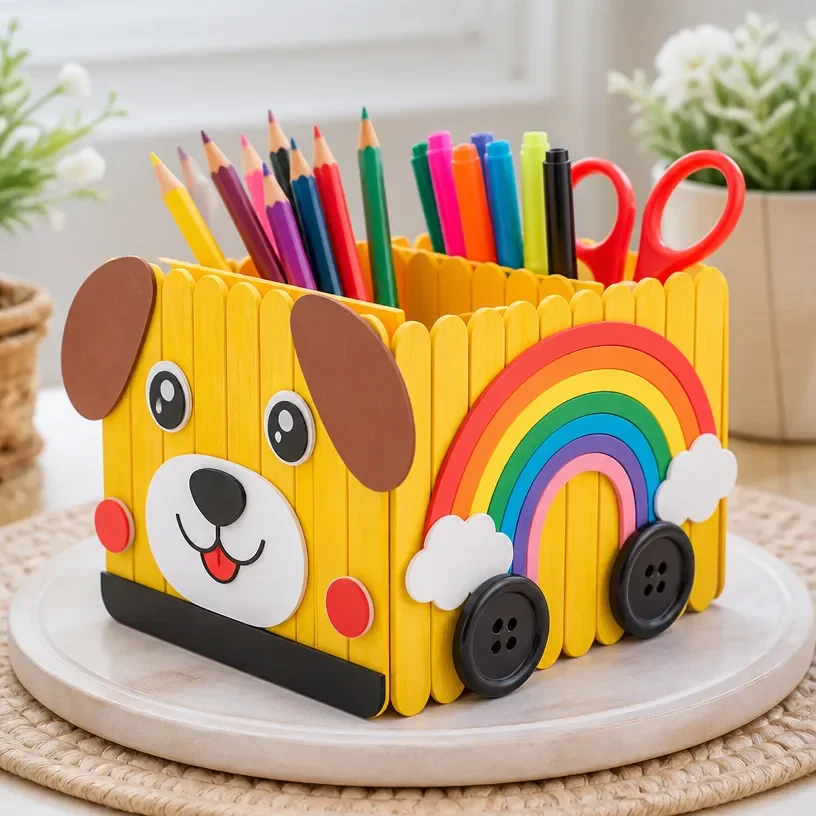
DIY Rainbow School Bus Craft with Popsicle Sticks for Kids
Creating a DIY Rainbow School Bus with popsicle sticks is a fun and creative activity for kids. This craft not only sparks imagination but also helps develop fine motor skills as they paint, glue, and assemble the pieces. The vibrant colors of the rainbow bus will brighten up any room and make for a delightful display or gift. You may also find Diy Rainbow School Bus Photo Frame Craft For Kids useful.
In this tutorial, you’ll learn how to make this charming school bus craft step by step, ensuring it’s accessible for children and parents alike. By the end of this project, you’ll have a delightful handmade bus that your child will love! You may also find Rainbow Popsicle Stick Daisy Wheel Craft For Kids useful.
Why You’ll Enjoy This Project
- Hands-On Learning: This craft helps enhance children’s fine motor skills and hand-eye coordination.
- Creative Expression: Kids can personalize their school bus with different colors and additional decorations.
- Family Bonding: This activity offers a great way for families to spend quality time together.
- Simple Materials: You’ll only need basic supplies that are easy to find around the house or at a craft store.
- Engaging Presentation: The finished project can be used as a toy, decoration, or even a photo frame, adding functionality to creativity.
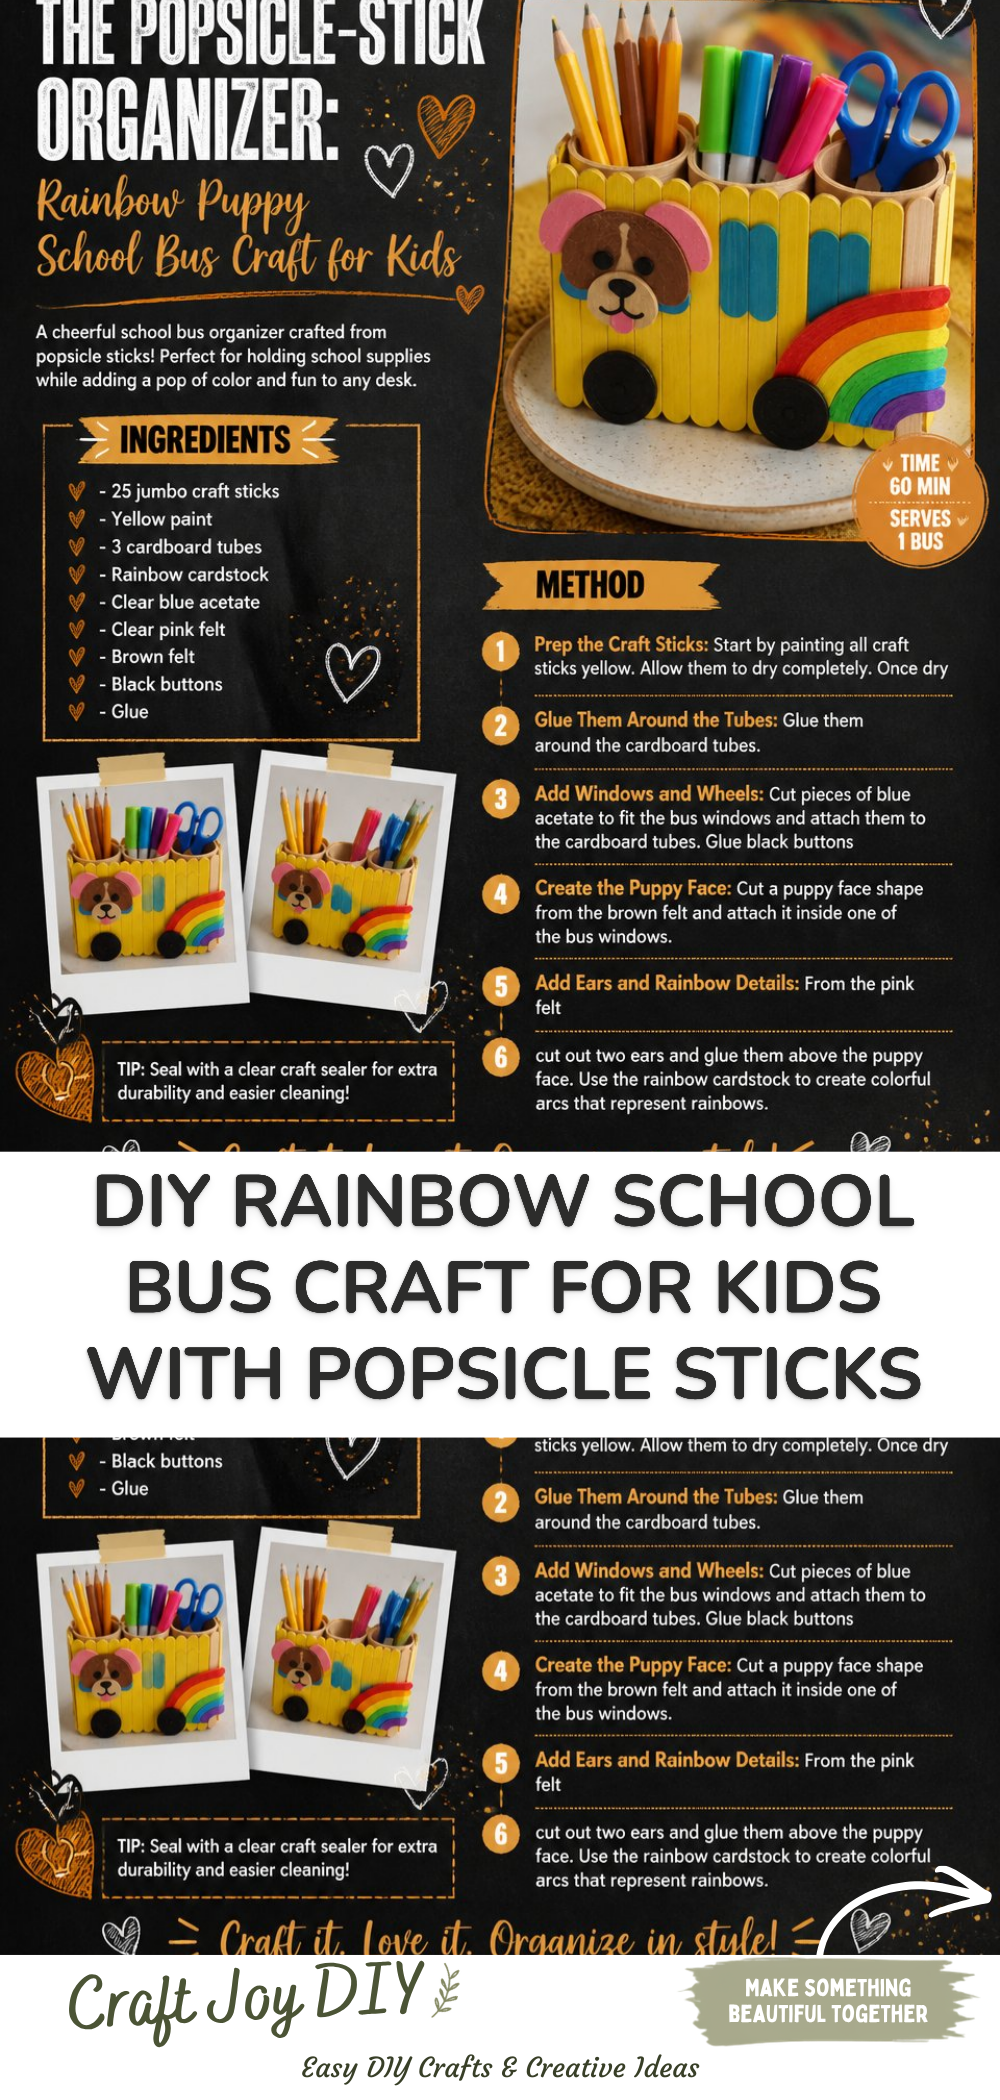
You may also find Rainbow Puppy Photo Frame Craft School Bus Kids useful.
Materials You’ll Need
- Popsicle sticks (at least 10)
- Yellow paint
- Black marker or paint
- Glue
- Craft scissors
- Colored paper (for embellishments)
- Small googly eyes (optional)
For best results, choose bright, washable paints that are safe for children.
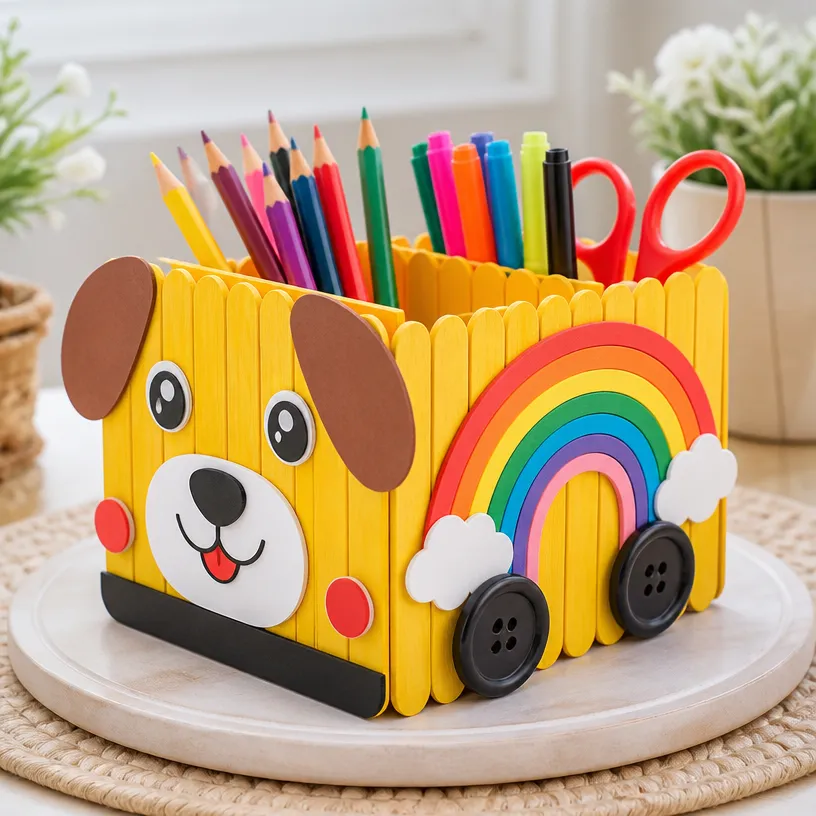
How to Make DIY Rainbow School Bus Craft with Popsicle Sticks for Kids
Step 1: Gather Your Supplies
Start by gathering all your materials in one place. This way, you won’t have to stop the fun to find something.
Step 2: Paint the Popsicle Sticks
Take five popsicle sticks and paint them yellow. This will be the body of the school bus. Allow them to dry completely before moving on.
Step 3: Create the Front and Back
Use two more popsicle sticks for the front and back of the bus. You can glue them vertically between the two sets of horizontal sticks to create a box shape.
Step 4: Add Wheels
Cut out four circles from black paper to serve as wheels. Use glue to attach these to the bottom of the bus. For a creative twist, consider using the wheels from the rainbow puppy craft that can add a playful element!
Step 5: Decorate the Bus
Now it’s time to let your child’s creativity shine! Add embellishments like colored paper cutouts for windows, and attach googly eyes if desired. Each bus can look unique!
Step 6: Finishing Touches
Once everything is glued and dried, use a black marker to draw details like wheels, headlights, or a license plate to give your bus some personality.
Helpful Tips
- Sturdier Craft: If your bus feels wobbly, add an extra popsicle stick on the underside for support.
- Drying Time: Allow adequate drying time for painted sections to prevent smudging.
- Display: Consider placing your finished bus on a shelf or using it in a play scenario to keep it safe.
Easy Variations
- Rainbow Colors: Instead of yellow, paint the bus using multiple colors to create a rainbow effect.
- Seasonal Decor: Use different colors to match holidays or seasons, making it a festive decoration.
- Larger Size: Use jumbo popsicle sticks for a larger bus that can serve as a centerpiece.
- Interactive Features: Add a pull string to make it a mobile play vehicle.
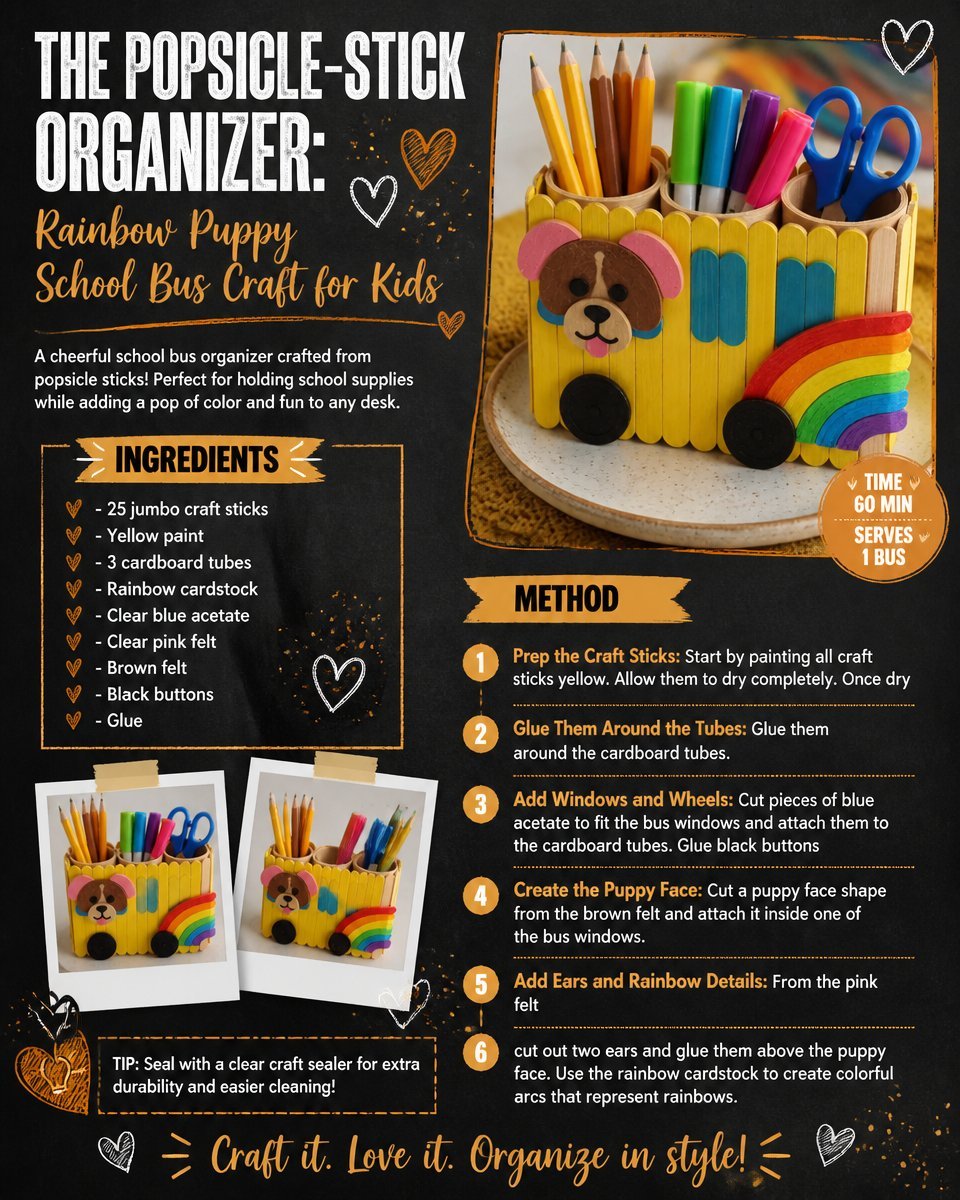
- Pencil Holder: Incorporate a small container inside the bus to turn it into a pencil holder like in the rainbow monster pencil holders craft.
Making This Craft With Kids
This craft is perfect for children, but adult supervision is advisable, especially during the painting and cutting stages. It’s a great way for parents to engage with their children, answering their creative questions and helping with tricky steps.
How to Display or Use It
Once the DIY Rainbow School Bus is completed, it can be displayed on shelves, used as a decoration for a child’s room, or featured in a classroom. It also makes for a unique gift for a friend or family member.
Frequently Asked Questions
Can I use different materials instead of popsicle sticks?
Yes! You can use cardboard or other crafting materials, but popsicle sticks are sturdy and easy to work with.
How do I make the bus more colorful?
Feel free to mix paint colors or use washi tape in various colors for added flair.
What age group is this craft suitable for?
This project is great for ages 4 and up, but younger kids may need assistance with painting and cutting.
How long will it take to complete this craft?
Expect to spend about 1-2 hours, depending on drying time and decoration complexity.
Can this craft be made more complex for older children?
Absolutely! Older kids can add more details, like extra compartments or thematic elements.
Conclusion
Creating a DIY Rainbow School Bus Craft is not only enjoyable but an enriching experience that promotes creativity and skill development. If you’re looking for other fun craft ideas, you might enjoy exploring this easy school bus craft from Moms and Crafters or check out this easy 4th of July flag kids craft to further inspire your crafting adventures!
Print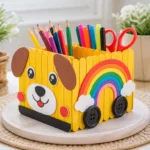
DIY Rainbow School Bus Craft with Popsicle Sticks for Kids
- Total Time: 75 minutes
- Makes: 1 craft
Description
A fun and creative activity for kids to make a colorful school bus using popsicle sticks, enhancing their fine motor skills and artistic expression.
Materials
- Popsicle sticks (at least 10)
- Yellow paint
- Black marker or paint
- Glue
- Craft scissors
- Colored paper (for embellishments)
- Small googly eyes (optional)
Instructions
- Gather Your Supplies
- Paint the Popsicle Sticks
- Create the Front and Back
- Add Wheels
- Decorate the Bus
- Finishing Touches
Notes
Recommended to use bright, washable paints that are safe for children. Adult supervision is advised.