

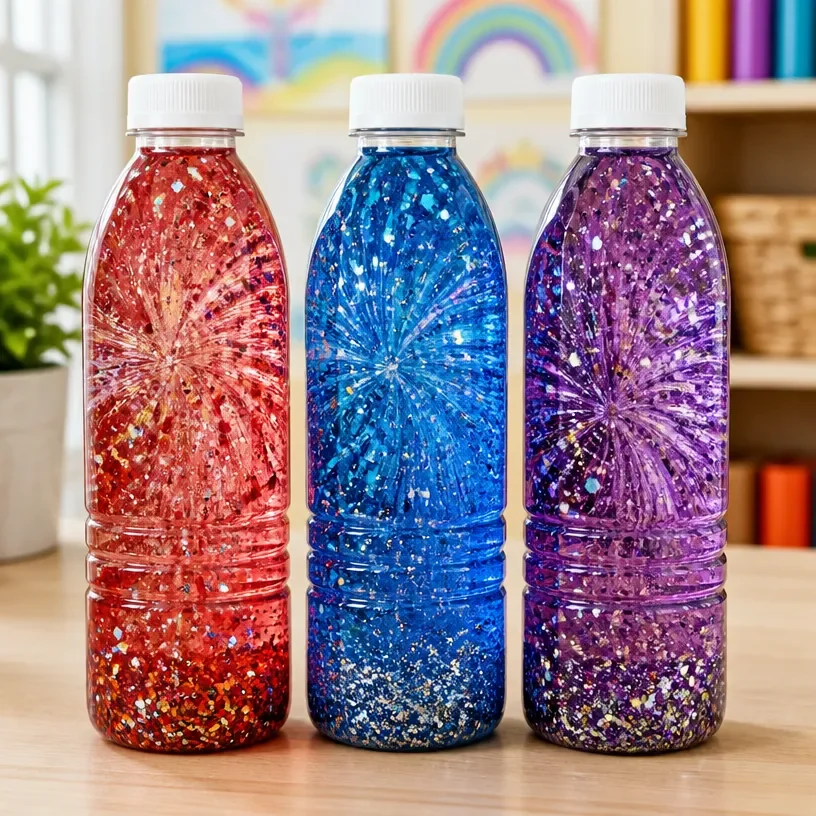
DIY Fireworks-Inspired Sensory Bottles for Kids
Creating DIY fireworks-inspired sensory bottles is a delightful and engaging project for children. These colorful bottles not only capture the fun of fireworks but also make fantastic sensory tools that promote exploration and play. Kids love shaking them up and watching the brilliant colors swirl and float, making for a calming and captivating experience. This activity is perfect for enhancing creativity while developing fine motor skills. You may also find Bubble Dough Sensory Play Diy Activity For Kids useful.
By bringing this craft into your home, you can enjoy a hands-on activity that encourages imagination and provides endless enjoyment. Whether you’re a parent, grandparent, or caregiver, making these sensory bottles is a fun way to spend time with kids while introducing them to the principles of color and movement. You may also find Bubble Dough Sensory Play Kids Easy Diy Activity useful.
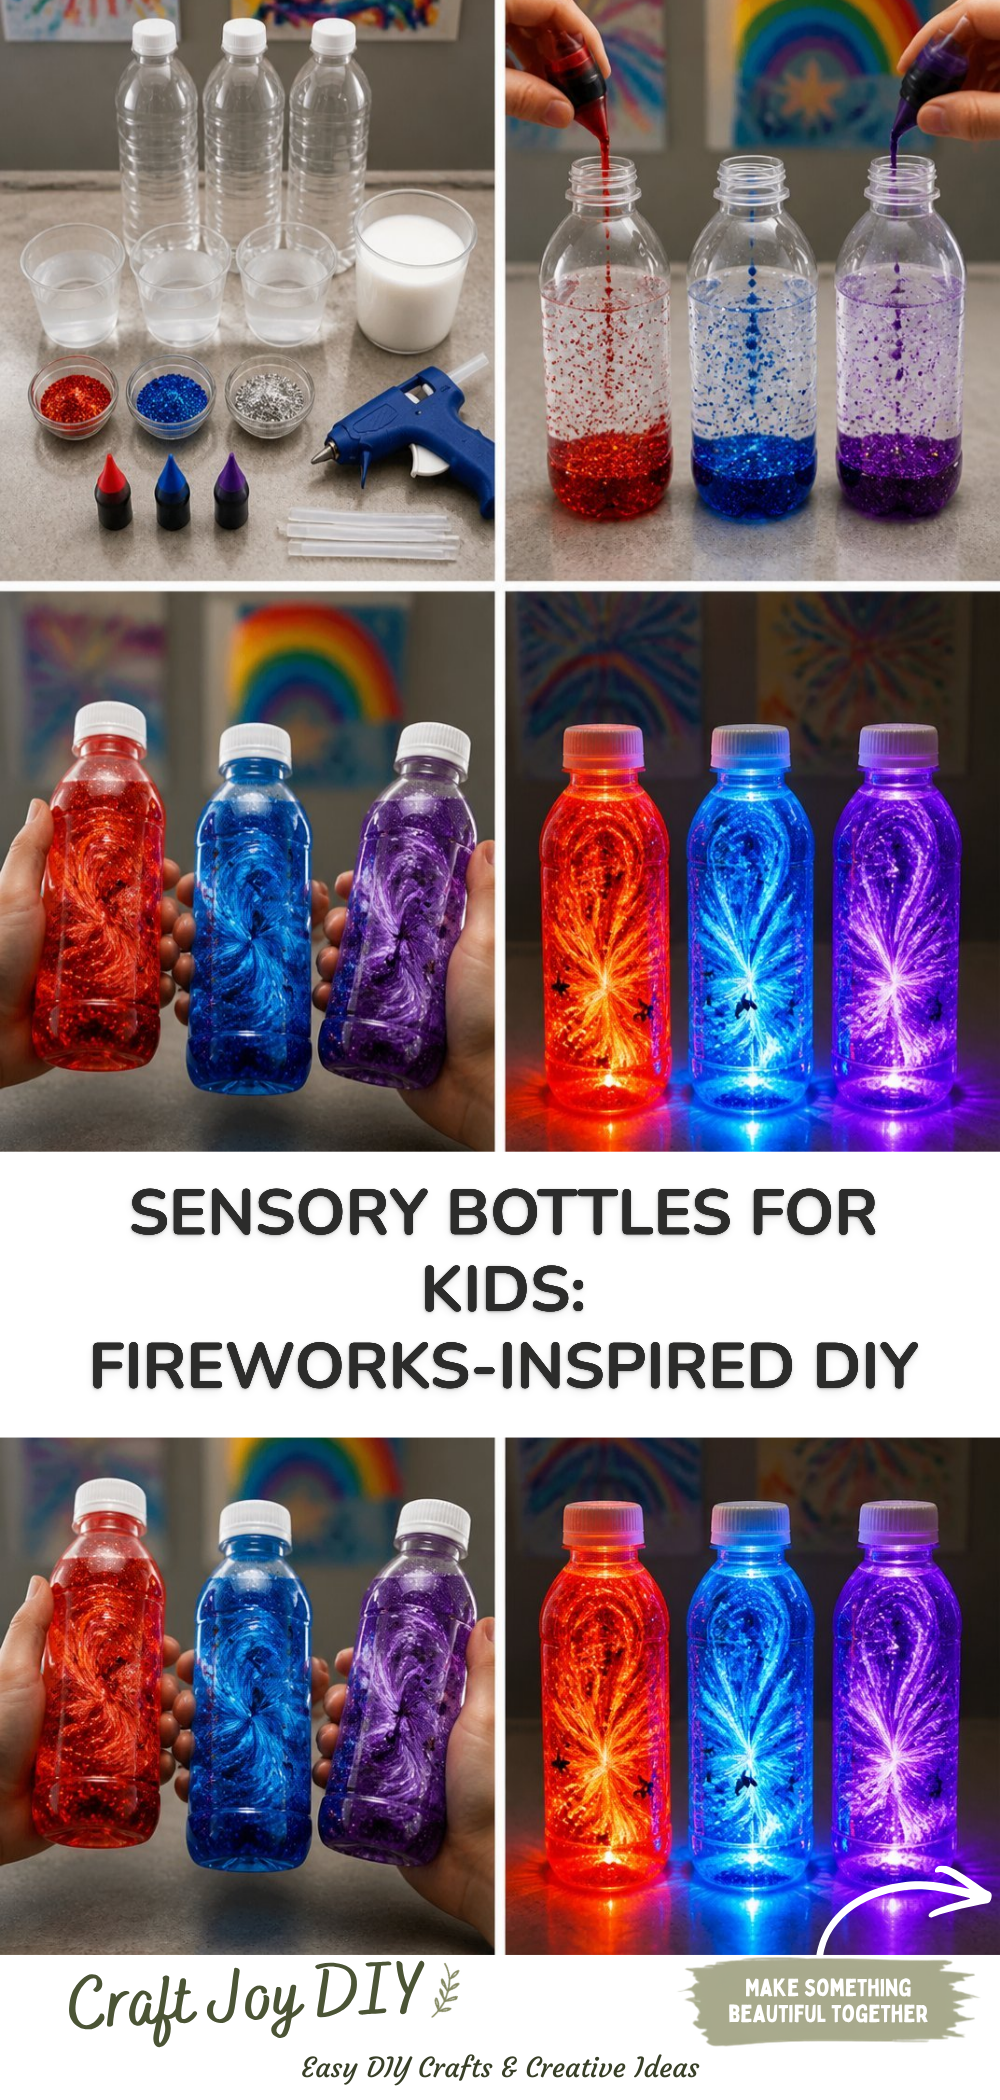
You may also find Bubbly Dough Sensory Play For Kids useful.
Why You’ll Enjoy This Project
- Easy and Affordable: This project requires minimal supplies and is budget-friendly, making it accessible for everyone.
- Sensory Fun: Children can explore different textures, colors, and movements, enhancing their sensory experiences.
- Creative Expression: Kids can personalize their bottles with various colors and materials, fostering their creativity.
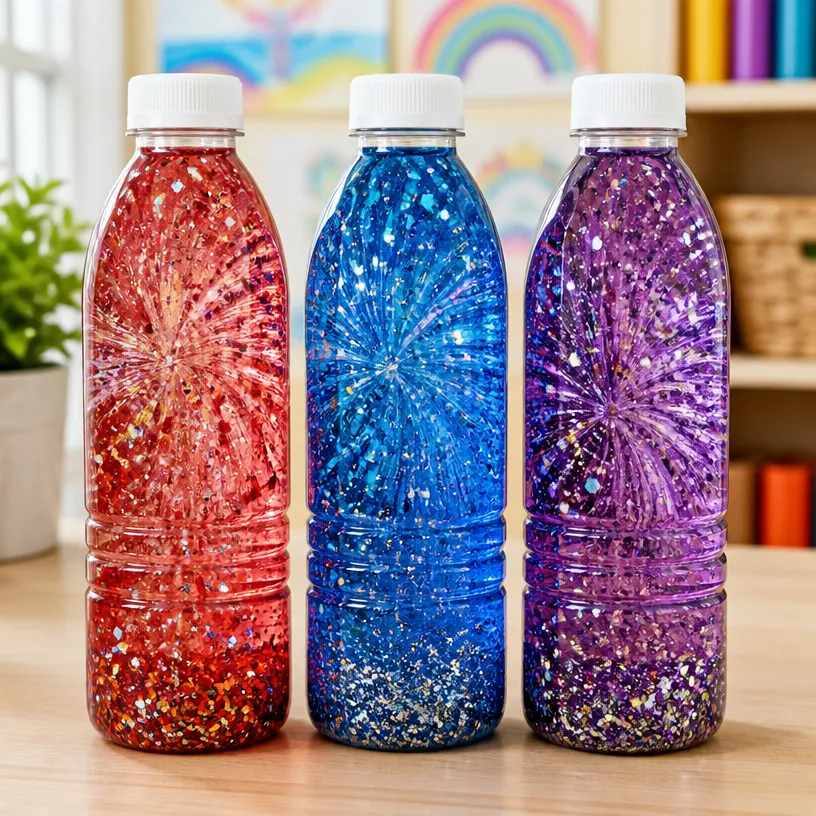
Materials You’ll Need
- Clear plastic bottles with lids (e.g., water bottles)
- Water
- Vegetable oil
- Liquid food coloring
- Glitter or sequins (optional)
- Small beads or buttons (optional)
- Funnel (for easier filling)
Using clear plastic bottles allows your kids to see the colorful results, while vegetable oil creates the captivating floating effect. You can also choose to decorate the bottles with stickers or labels once they are completed. You may also find Diy Halloween Boo Basket For Kids useful.
How to Make DIY Fireworks-Inspired Sensory Bottles for Kids
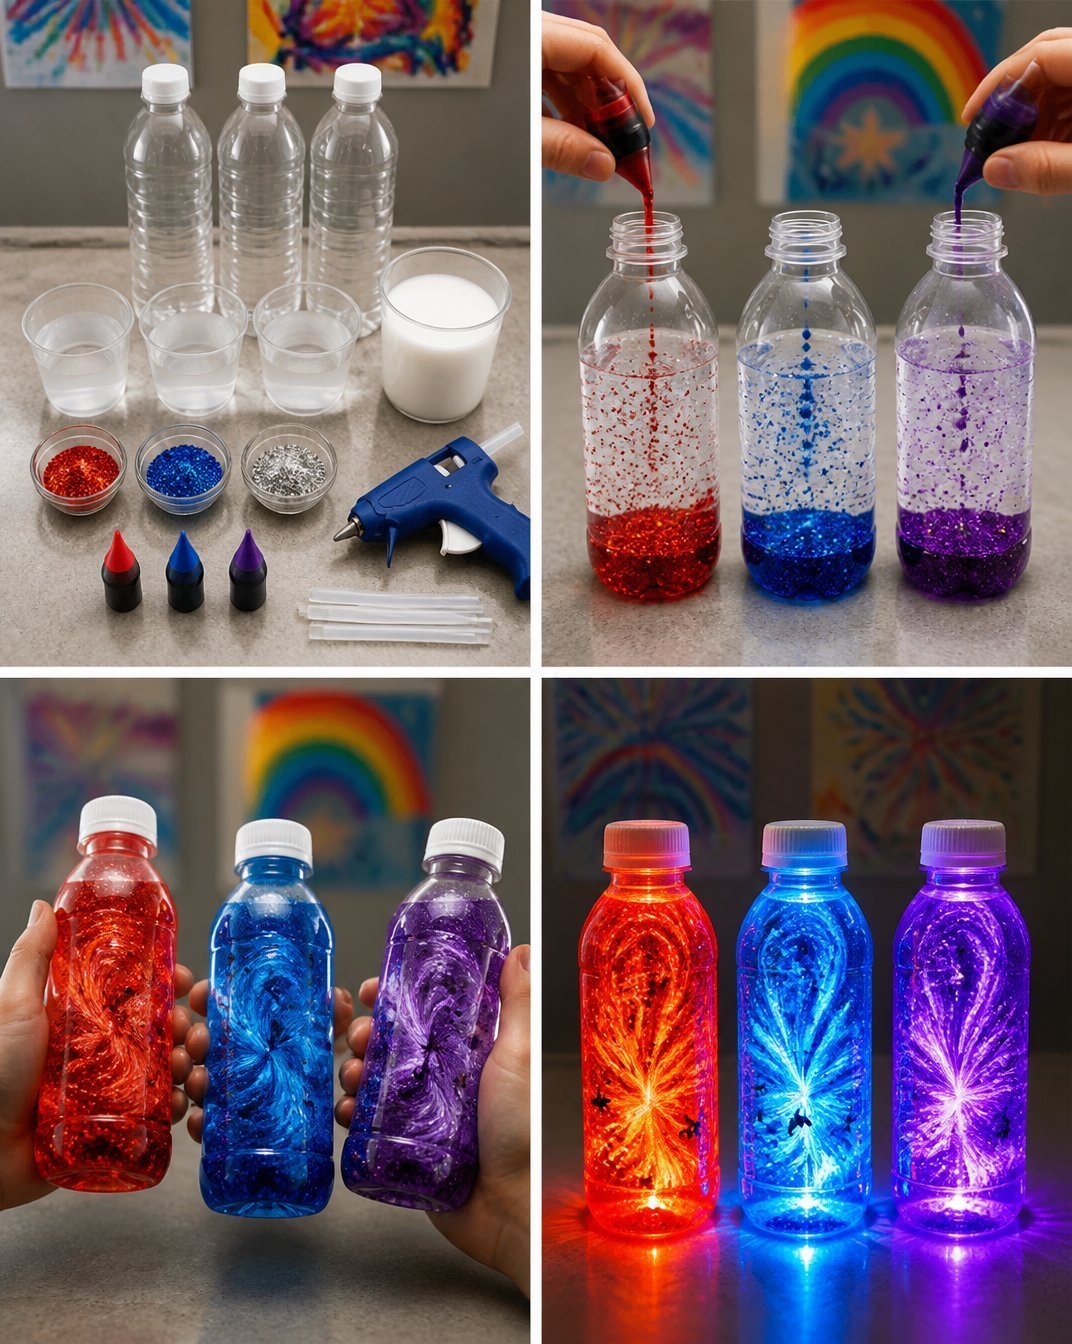
- Start by gathering all your materials on a flat surface.
- Use a funnel to fill each bottle one-third with water.
- Next, fill the remaining two-thirds of the bottle with vegetable oil. The oil will float on top of the water.
- Add 1-2 drops of liquid food coloring into the bottle. Watch as it slowly mixes with the water.
- Optionally, add glitter, small beads, or buttons for extra flair.
- Securely screw the lid on the bottle. You might want to tape it shut for extra safety.
- Shake the bottle and watch the colors swirl, resembling fireworks!
Helpful Tips
- Experiment with Colors: Encourage kids to mix different colors to create dazzling effects.
- Safety First: Always supervise younger children during the creation process, especially when handling colored liquids.
- Sealing: For younger children, securely sealing the bottle with tape can prevent spills and messes.
Easy Variations
- Theme Colors: Use specific colors for holidays or events, like red, white, and blue for Independence Day.
- Seasonal Themes: Change the décor for different seasons, such as warm colors for fall or pastel tones for spring.
- Size Variations: Use different bottle sizes for a collection of sensory bottles.
Making This Craft With Kids
This activity is perfectly suited for kids of various ages. You may need to assist younger children in filling the bottles and sealing the lids. Older kids can take charge of the project, making it an excellent opportunity for them to lead a creative endeavor. You may also find Diy Rainbow School Bus Photo Frame Craft For Kids useful.
How to Display or Use It
These sensory bottles work wonderfully as decorative pieces in a playroom or as calming tools to help children focus and relax. You can place them on a shelf or a table, where children can easily access them for play. They also make lovely gifts when wrapped beautifully in cellophane.
Frequently Asked Questions
What can I use for sealing the bottle securely?
Use tape to seal the lid tightly, ensuring that it won’t open and spill.
Can I reuse the bottles if we want to change designs?
Yes, you can clean and reuse the bottles, just be careful to remove any residue from the previous contents.
What type of oil should I use?
Vegetable oil works best for this craft, as it creates the desired floating effect.
How long does it take to make one sensory bottle?
The craft takes about 15-20 minutes from start to finish, depending on how many colors and decorations you choose to use.
Conclusion
DIY fireworks-inspired sensory bottles are a simple yet delightful way to engage children in sensory play. They not only offer entertainment but also serve as tools for calming and creative expression. If you want to explore more on sensory projects, check out Sensory in a Bottle – OT and Grow With Me or learn more about crafting sensory bottles by visiting How to Make DIY Sensory Bottles – Especially Education. Enjoy this exciting activity with your little ones and watch their creativity soar!
Print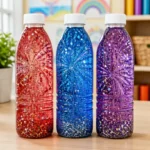
DIY Fireworks-Inspired Sensory Bottles for Kids
- Total Time: 15 minutes
- Makes: 1 sensory bottle
Description
Create delightful fireworks-inspired sensory bottles to engage children in sensory play and enhance their creativity.
Materials
- Clear plastic bottles with lids (e.g., water bottles)
- Water
- Vegetable oil
- Liquid food coloring
- Glitter or sequins (optional)
- Small beads or buttons (optional)
- Funnel (for easier filling)
Instructions
- Start by gathering all your materials on a flat surface.
- Use a funnel to fill each bottle one-third with water.
- Next, fill the remaining two-thirds of the bottle with vegetable oil. The oil will float on top of the water.
- Add 1-2 drops of liquid food coloring into the bottle. Watch as it slowly mixes with the water.
- Optionally, add glitter, small beads, or buttons for extra flair.
- Securely screw the lid on the bottle. You might want to tape it shut for extra safety.
- Shake the bottle and watch the colors swirl, resembling fireworks!
Notes
Encourage kids to experiment with colors and always supervise younger children during the creation process.