

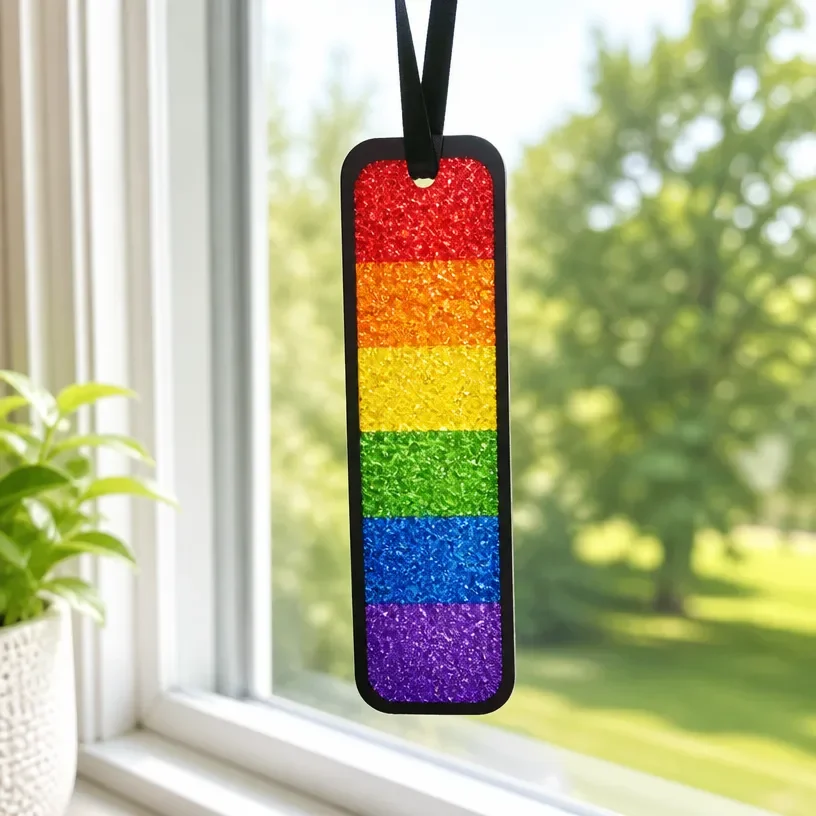
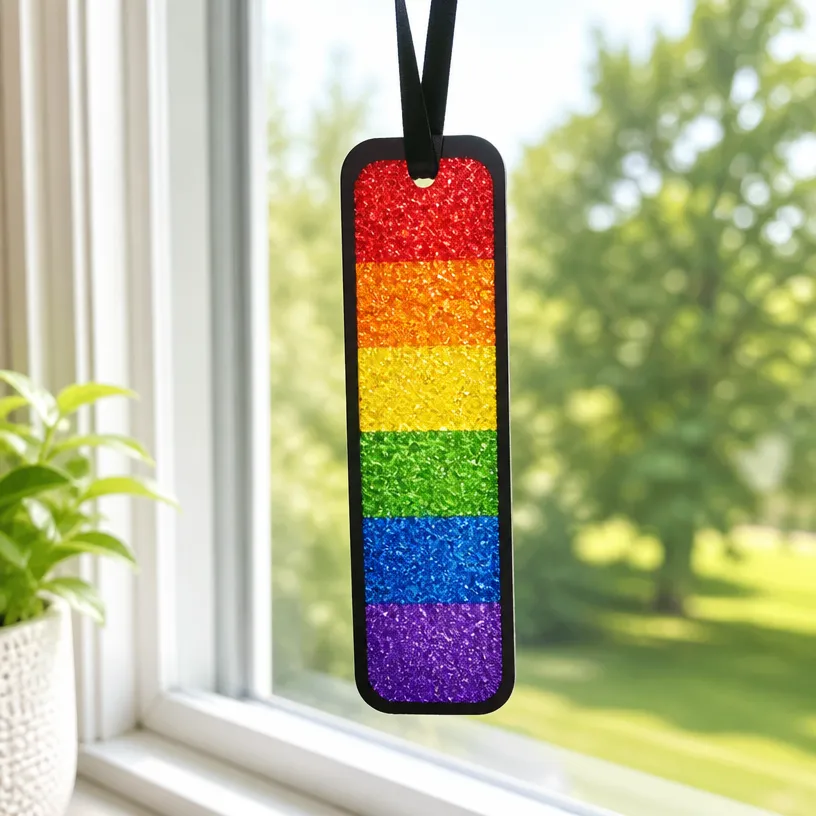
Rainbow Crayon Suncatcher Craft for Kids
Creating beautiful suncatchers is a delightful way to brighten your home with colorful displays. In this project, we’ll make a Rainbow Crayon Suncatcher that is not only fun but also a perfect way to repurpose old crayons. Watching the sun shine through the vibrant colors will surely bring joy to kids and adults alike. You may also find Melted Crayon Rainbow Butterfly Suncatcher For Kids useful.
In this guide, you’ll find all the necessary materials and step-by-step instructions to help you through the crafting process, making it an enjoyable experience for everyone involved. Plus, the finished product makes for a lovely decoration during any season! You may also find Melted Crayon Rainbow Heart Suncatcher For Kids useful.
Why You’ll Enjoy This Project
- Simple Materials: This craft uses just a few supplies, mainly old crayons, so it’s budget-friendly.
- Colorful Outcome: The melting crayon colors create beautiful rainbows that light up any window.
- Perfect for All Ages: Kids can enjoy the process with some adult supervision, making it a wonderful family activity.
You may also find Rainbow Ghost Shaker Suncatcher Craft For Kids useful.
Materials You’ll Need
- Old crayons
- Wax paper
- An iron
- Parchment paper or a thick paper towel
- Scissors
- Hole punch or string (for hanging)
How to Make Rainbow Crayon Suncatcher Craft for Kids
Step 1: Prepare Your Crayons
Start by peeling the wrappers off your old crayons. This is a great job for kids, as it helps them practice their fine motor skills. You may also find Rainbow Melted Crayon Ghost Suncatcher For Kids useful.
Step 2: Break the Crayons
Once the wrappers are off, break the crayons into small pieces. You can mix different colors for a vibrant effect. You may also find Rainbow Melted Crayon Pumpkin Suncatcher For Kids useful.
Step 3: Layer the Crayon Pieces
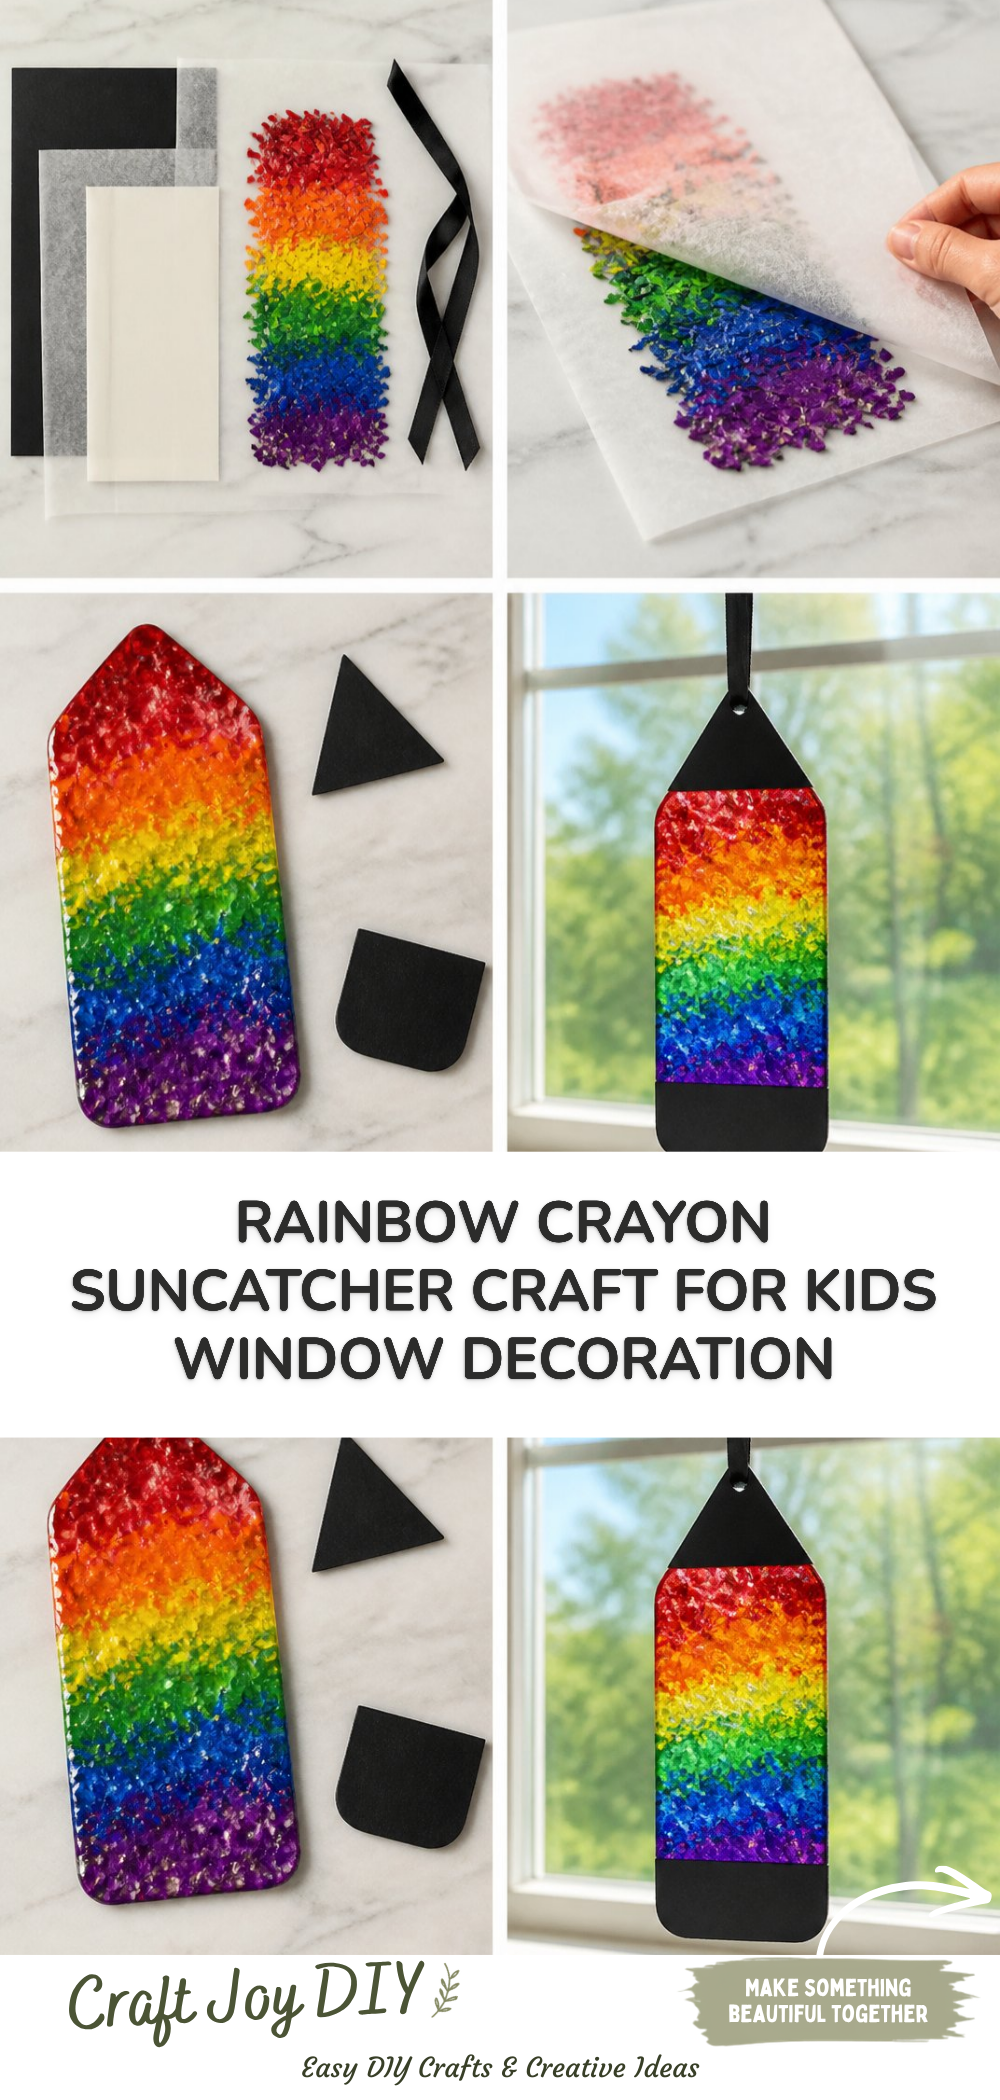
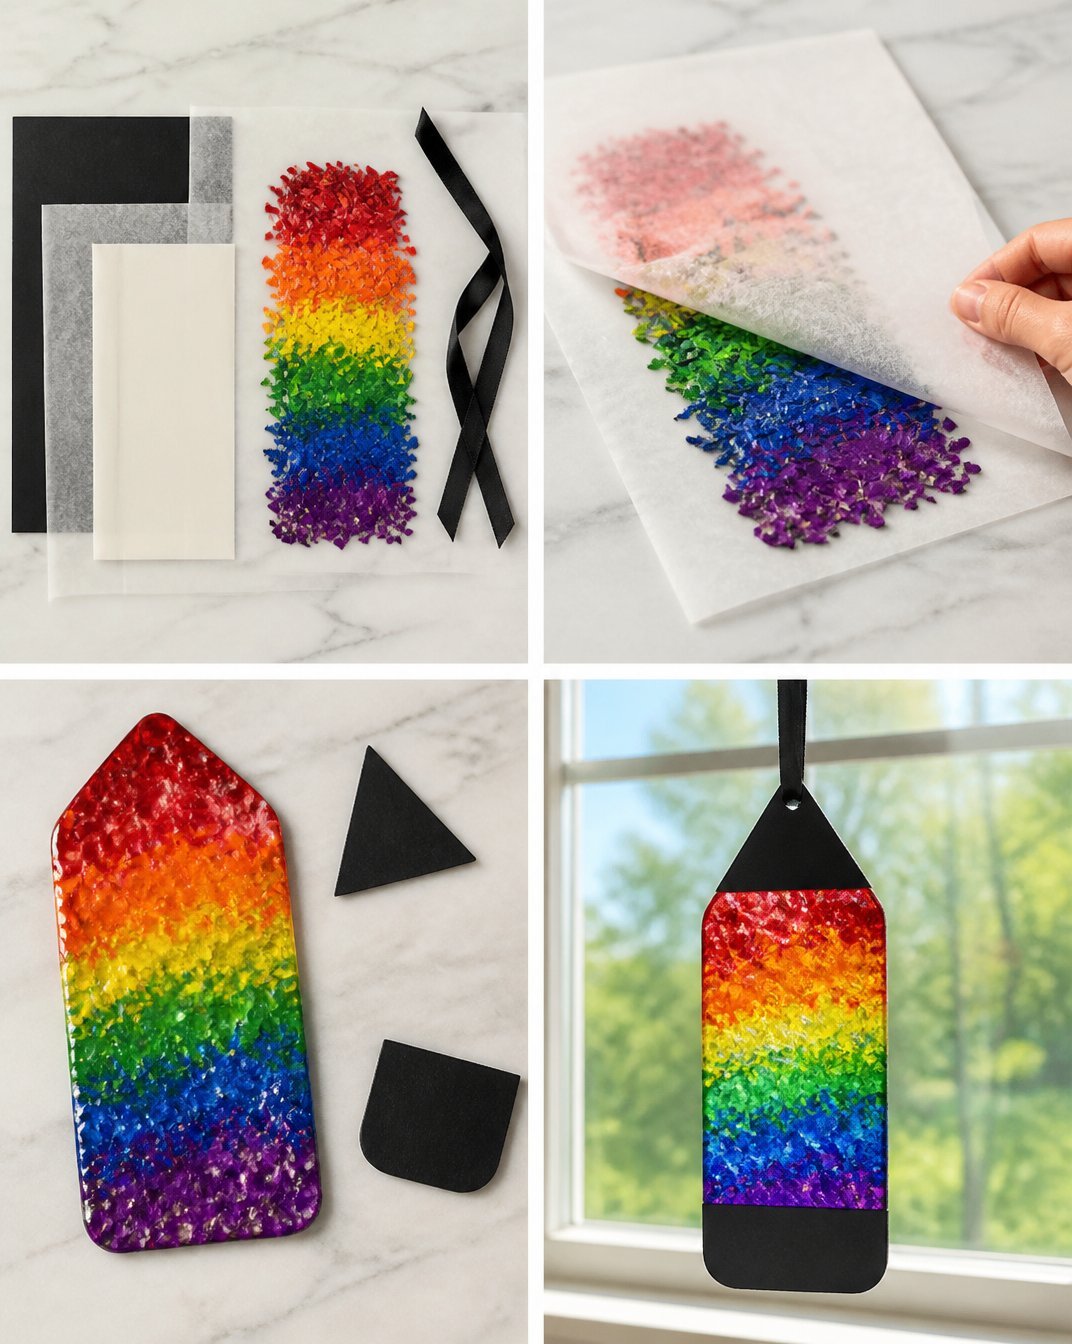
Take a piece of wax paper and lay it flat. Place the crayon pieces in a single layer on one half of the wax paper. You can create patterns or simply scatter colors for a playful feel.
Step 4: Fold and Melt
Carefully fold the wax paper in half to cover the crayon pieces. Preheat your iron on a low setting without steam, then place a piece of parchment paper over the wax paper. Press the iron gently over the parchment for just a few seconds to melt the crayons.
Step 5: Trim and Punch
Once the crayons have melted and blended, allow the wax paper to cool slightly. Carefully cut out a shape or leave it as a rectangle, then punch a hole at the top for hanging.
Step 6: Display your Creation
Use string to hang your new suncatcher in a sunny window and watch as the light brings the colors to life.
Helpful Tips
- Ensure Safety: Always supervise kids when using the iron, as it can be dangerous.
- Warm Up the Iron: Preheating the iron helps the crayons melt more evenly.
- Hold It Steady: Keep the parchment in place while you press down to avoid shifting the crayon pieces.
Easy Variations
- Themed Colors: Use specific colors for different seasons, like pastels for spring or warm hues for fall.
- Shape Choices: Create fun shapes like hearts, stars, or even animals to add variety to your decorations.
- Layered Effects: For a more intricate design, layer different colors and allow them to cool before cutting out shapes.
Making This Craft With Kids
Involving children in this project can be very rewarding. They can help with peeling crayons, breaking them into pieces, and even placing them on the wax paper. However, adult supervision is crucial when it comes time to use the iron. Make sure to explain the importance of being careful around the hot surfaces.
How to Display or Use It
These colorful suncatchers can be displayed in windows, hung from a ceiling, or even given as gifts to friends and family. They add a personal touch to any space and are a great way to share the joy of crafting with others.
Frequently Asked Questions
Can I use other types of crayons?
While standard wax crayons work best, you can also experiment with colored pencils, but results may vary.
What if my suncatcher isn’t melting properly?
Make sure you’re using enough heat from the iron and that you’re pressing down evenly. If needed, try adjusting the temperature slightly.
How do I clean the iron if any crayon gets stuck on it?
While cooling, carefully wipe off the crayon residue with a cloth. You can also use parchment paper to prevent it from sticking in the first place.
Can I make these suncatchers in larger sizes?
Absolutely! Just adjust your wax paper size and the amount of crayon you use accordingly.
Conclusion
Creating a Rainbow Crayon Suncatcher is a wonderful way to engage creatively with children or enjoy a quiet moment crafting alone. For more kid-friendly crafting ideas, you might explore suncatcher crafts or check out recycled crayon suncatchers for additional inspiration. Happy crafting!
Print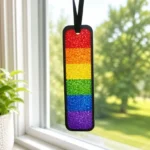
Rainbow Crayon Suncatcher Craft for Kids
- Total Time: 15 minutes
- Makes: 1 suncatcher
Description
A fun and creative way to repurpose old crayons into beautiful suncatchers that brighten your home.
Materials
- Old crayons
- Wax paper
- An iron
- Parchment paper or a thick paper towel
- Scissors
- Hole punch or string (for hanging)
Instructions
- Prepare your crayons by peeling the wrappers off.
- Break the crayons into small pieces.
- Layer the crayon pieces on one half of the wax paper.
- Fold the wax paper in half and preheat your iron on a low setting.
- Trim the melted crayon piece into your desired shape and punch a hole at the top.
- Display your creation in a sunny window.
Notes
Always supervise children when using the iron. Preheat the iron for better melting and keep parchment in place during pressing.