

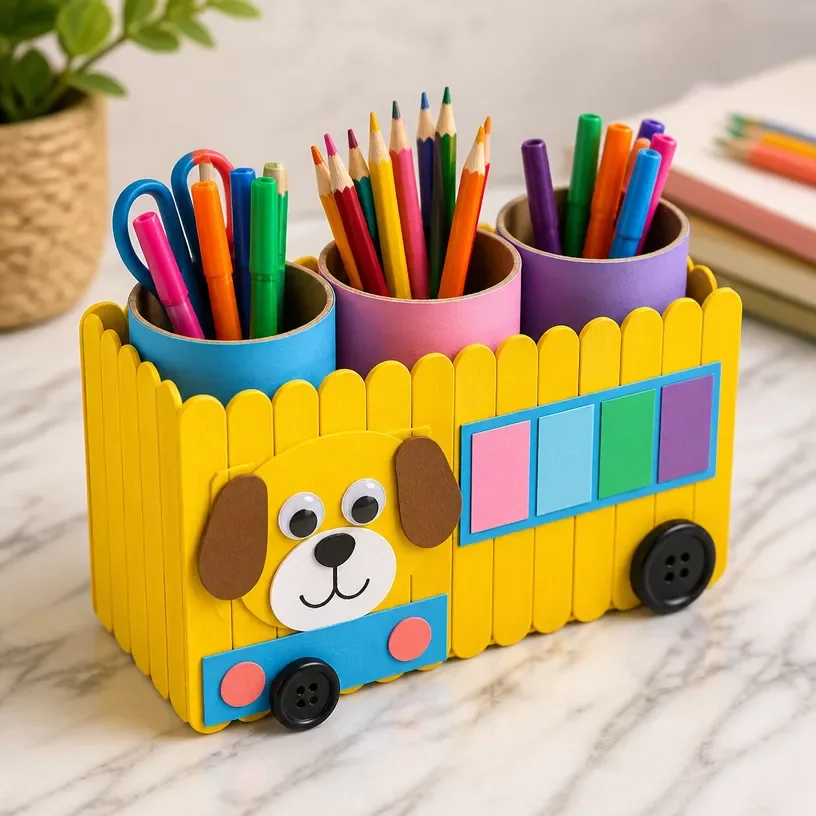
Popsicle-Stick Organizer: Rainbow Puppy School Bus Craft for Kids
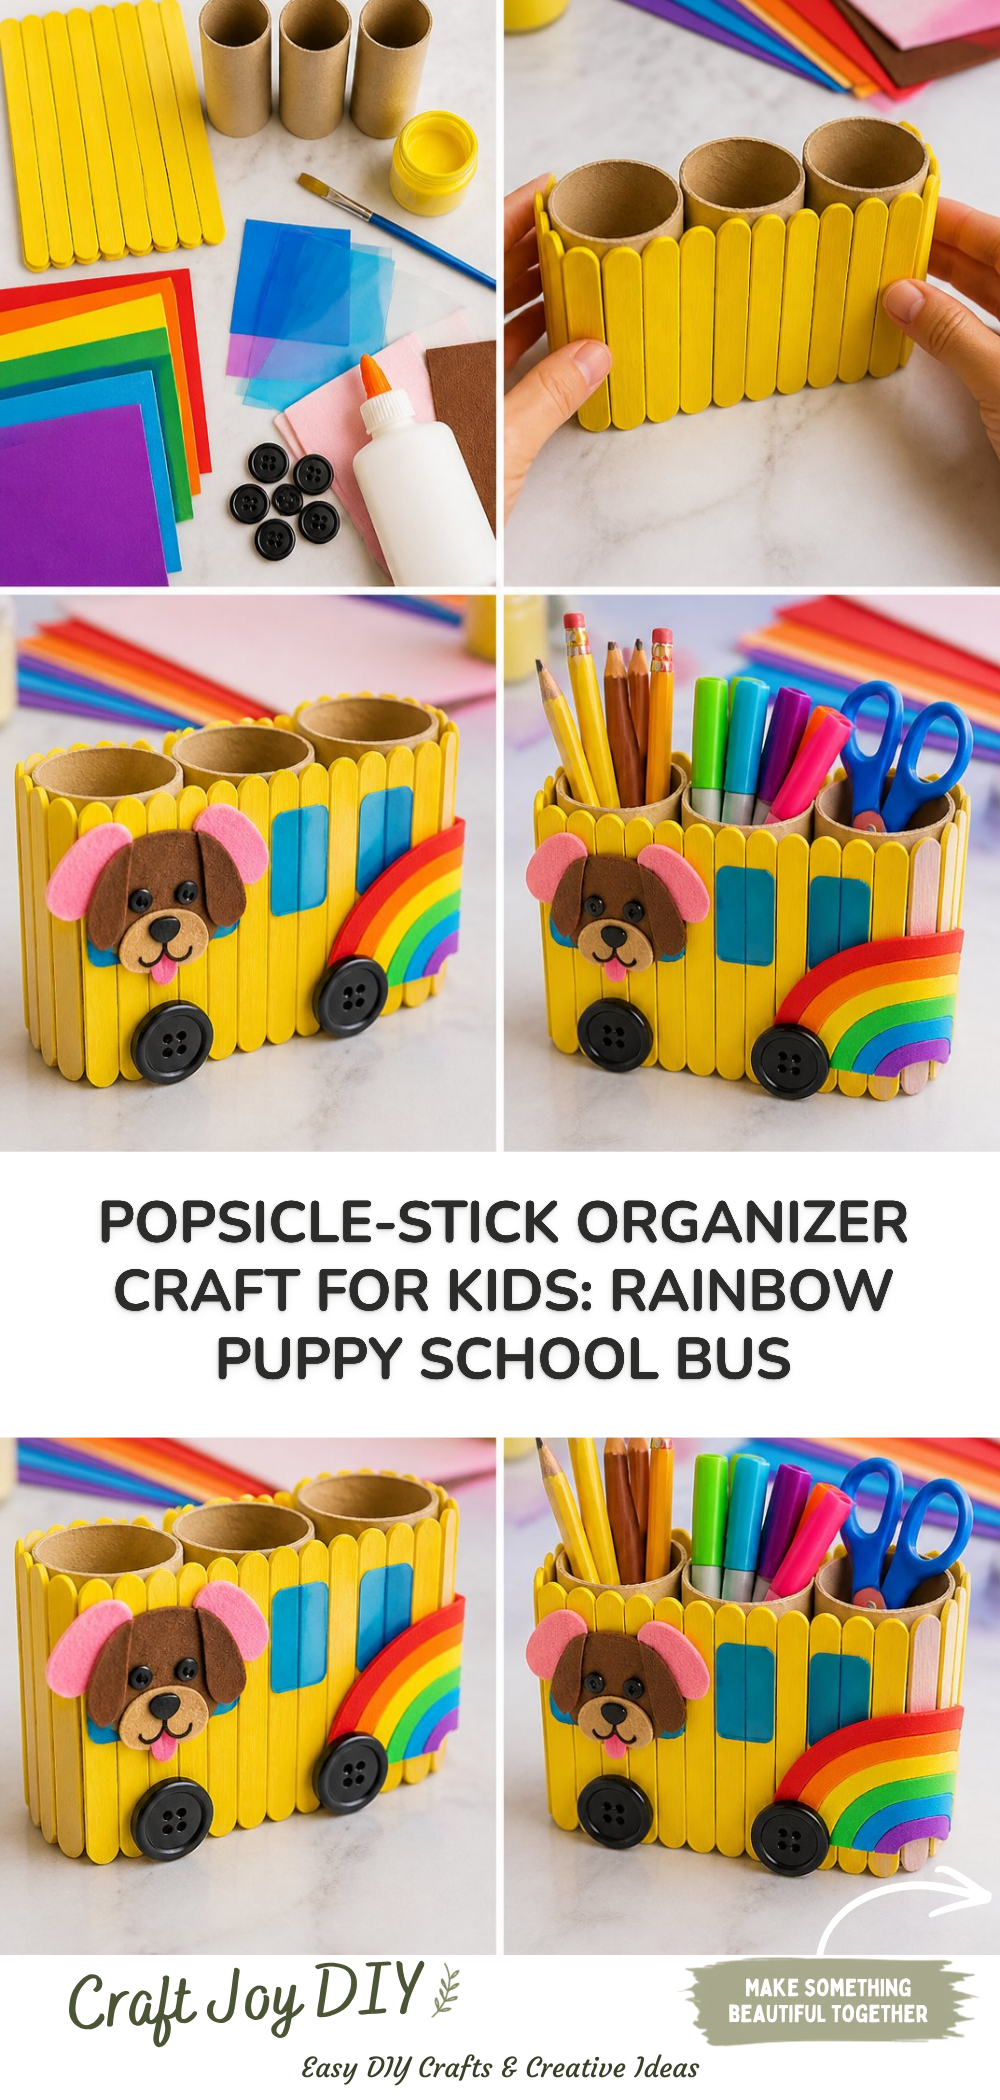
Creating a colorful and functional Popsicle-stick organizer is a delightful way for kids to channel their creativity while also crafting something useful. This fun project results in a charming school bus that can hold pencils, markers, and other small items in a vibrant way. Not only is it a neat activity, but kids will also enjoy playing with their newly created bus! You may also find Rainbow Popsicle Stick Daisy Wheel Craft For Kids useful.
This project is perfect for family crafting time or as a classroom activity. Gather your craft supplies, and get ready to make a whimsical organizer that celebrates the joy of creativity and organization. You may also find Beaded Pipe Cleaner Snail Craft For Kids 2 useful.
Why You’ll Enjoy This Project
- Engaging Crafting: Kids love working with colorful materials and seeing their creations take shape.
- Functional Use: The completed bus serves a practical purpose, helping keep school supplies organized.
- Skill Development: Children practice fine motor skills while gluing and assembling the craft.
- Creative Expression: This project allows for personalization through different colors and embellishments.
You may also find Beaded Pipe Cleaner Snail Craft For Kids useful.
Materials You’ll Need
- Popsicle sticks (wooden or colored)
- Construction paper in various colors
- Glue (craft glue or hot glue, adult supervision required for hot glue)
- Scissors
- Markers or crayons for decorating
- Googly eyes (optional)
- Small craft items (to decorate, like stickers or pom-poms)
If you don’t have all these materials, feel free to substitute with similar items like cardboard for structure or paints instead of markers. You may also find Coffee Filter Butterfly Chromatography Craft For Kids useful.
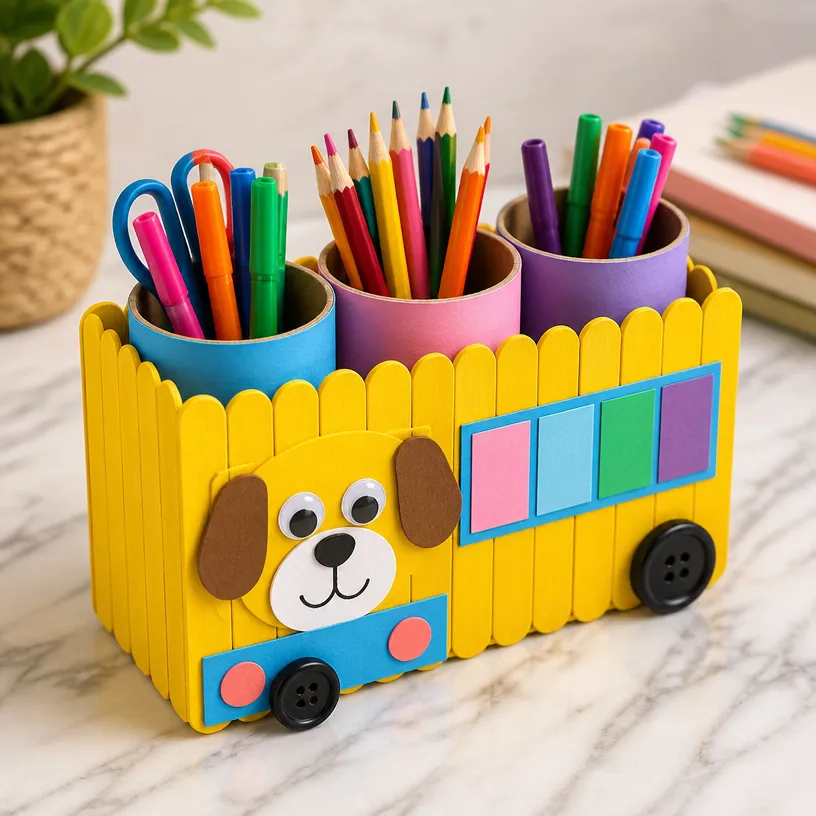
How to Make Popsicle-Stick Organizer: Rainbow Puppy School Bus Craft for Kids
- Create the Base: Start by laying out 10 popsicle sticks side by side. Glue them together at the ends to form a flat base for your school bus.
- Build the Sides: Take two more sticks to create the sides of the bus. Cut them to the desired height and glue them vertically onto the base.
- Add the Back and Front: Use two popsicle sticks to create the bus’s front and back. Make sure they are glued securely to the sides.
- Make the Roof: Glue a stick across the top to form the roof of the school bus. You can use two short sticks if you prefer.
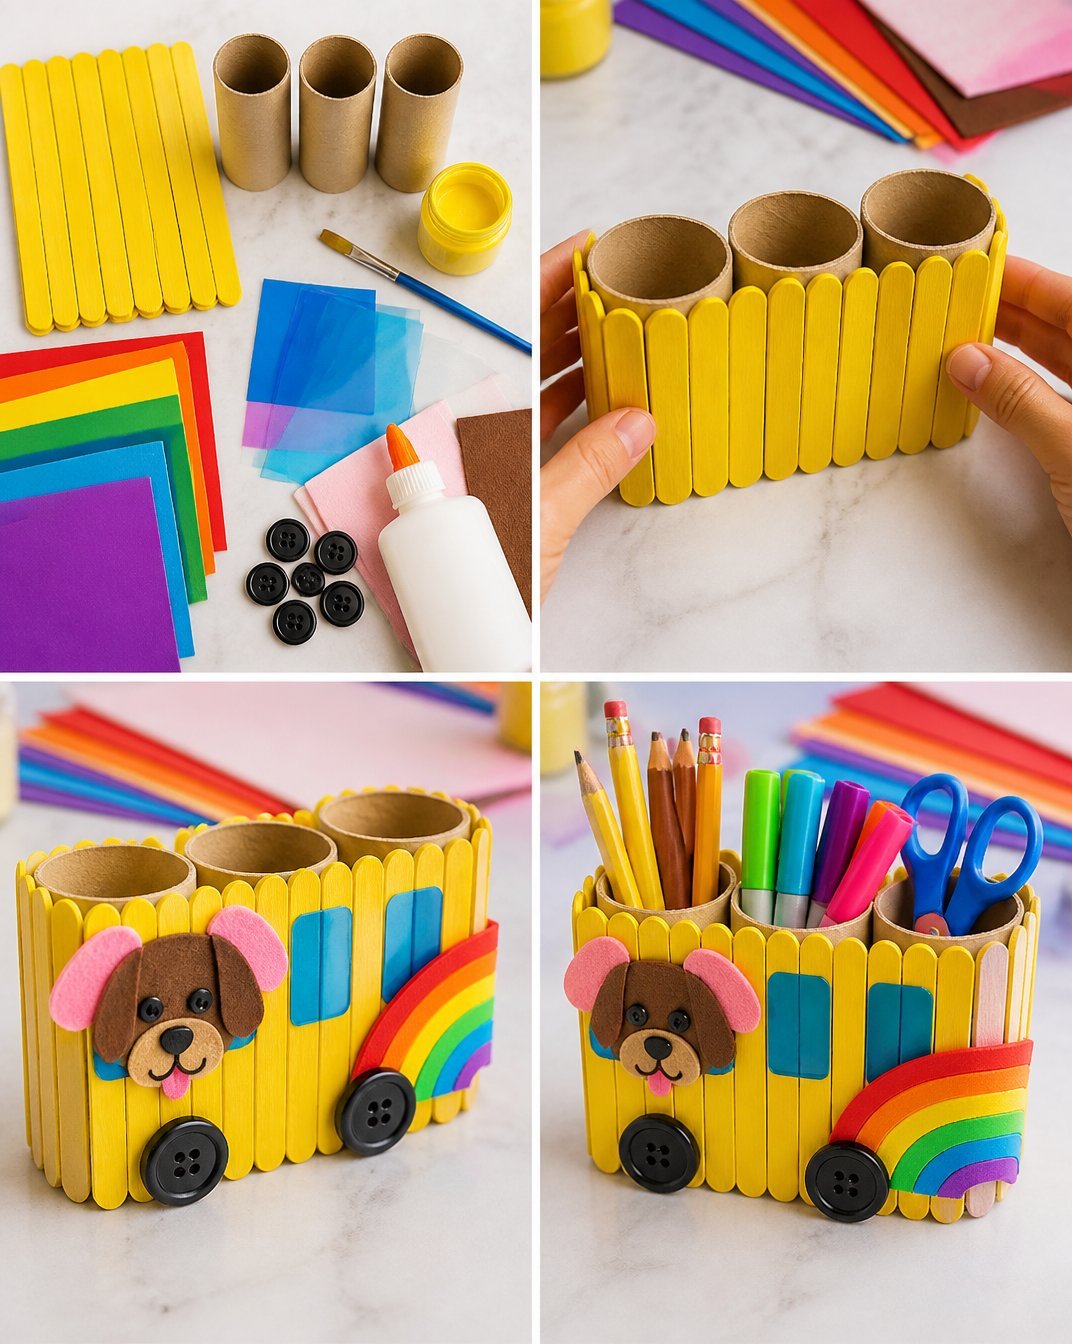
- Decorate the Bus: Now comes the fun part! Cut shapes from construction paper to make windows, doors, and even wheels. Glue them onto the wooden structure.
- Add Finishing Touches: Once all the decorative elements are in place, consider adding googly eyes or drawing a friendly face on the front of the bus with markers.
Useful Tip
Make sure to let the glue dry for at least an hour before using the organizer so it holds together nicely. Supervise children when using scissors, and if you’re using hot glue, an adult should handle it.
Easy Variations
- Color Themes: Use a single color scheme or a rainbow theme, like this Rainbow Monster Pencil Holder.
- Size Adjustment: Create a bigger bus by using more popsicle sticks for larger storage or a smaller version for desk supplies.
- Seasonal Decorations: Change the design based on seasons or holidays with themed paper decorations.
- Animal Features: Turn the bus into an animal bus by adding animal ears and features along the sides.
Making This Craft With Kids
This craft is perfect for children of various ages, but younger kids may need more assistance with cutting and gluing. Adults should supervise the use of scissors and hot glue. Encourage kids to express their unique designs while you help them with the more complex tasks.
How to Display or Use It
Once completed, the Popsicle-stick bus can be used on desks to hold pencils, markers, or other crafting supplies. For an added touch, place it on a shelf as a colorful decoration, or gift it to a friend as a thoughtful handmade present.
Frequently Asked Questions
Can I make a different vehicle shape?
Yes! Feel free to change the design into a car, truck, or any other vehicle by adjusting the popsicle stick placement.
What if I don’t have popsicle sticks?
You can substitute with cardboard or even sturdy paper straws if those are available.
How do I clean up?
Make sure to use a damp cloth to clean any glue spills and keep the workspace tidy.
How can I personalize the bus further?
Decorate it with stickers, paint it with your favorite colors, or add LED lights for a fun glow at night.
Conclusion
Crafting can be both a fun and educational experience, as shown by this imaginative project. For more creative ideas, you might enjoy reading an interview with Sarah Kurpiel or learn how to make Popsicle Stick Snowflakes to add to your collection of crafts. Happy crafting!
Print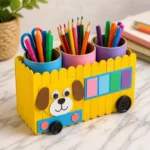
Popsicle-Stick Organizer: Rainbow Puppy School Bus Craft for Kids
- Total Time: 75 minutes
- Makes: 1 school bus organizer
Description
A fun and colorful craft project where kids can create a functional school bus organizer using popsicle sticks. Perfect for holding pens and pencils while encouraging creativity.
Materials
- Popsicle sticks (wooden or colored)
- Construction paper in various colors
- Glue (craft glue or hot glue, adult supervision required for hot glue)
- Scissors
- Markers or crayons for decorating
- Googly eyes (optional)
- Small craft items (to decorate, like stickers or pom-poms)
Instructions
- Create the base: Start by laying out 10 popsicle sticks side by side. Glue them together at the ends to form a flat base for your school bus.
- Build the sides: Take two more sticks to create the sides of the bus. Cut them to the desired height and glue them vertically onto the base.
- Add the back and front: Use two popsicle sticks to create the bus’s front and back. Make sure they are glued securely to the sides.
- Make the roof: Glue a stick across the top to form the roof of the school bus. You can use two short sticks if you prefer.
- Decorate the bus: Cut shapes from construction paper to make windows, doors, and even wheels. Glue them onto the wooden structure.
- Add finishing touches: Once all the decorative elements are in place, consider adding googly eyes or drawing a friendly face on the front of the bus with markers.
Notes
Make sure to let the glue dry for at least an hour before using the organizer so it holds together nicely. Supervise children when using scissors, and if you’re using hot glue, an adult should handle it.